There are a lot of great terrain generators out there but most of them have a free version with a terrain size limitation.
This is a much simpler generator, but it can export maps as big as you want.
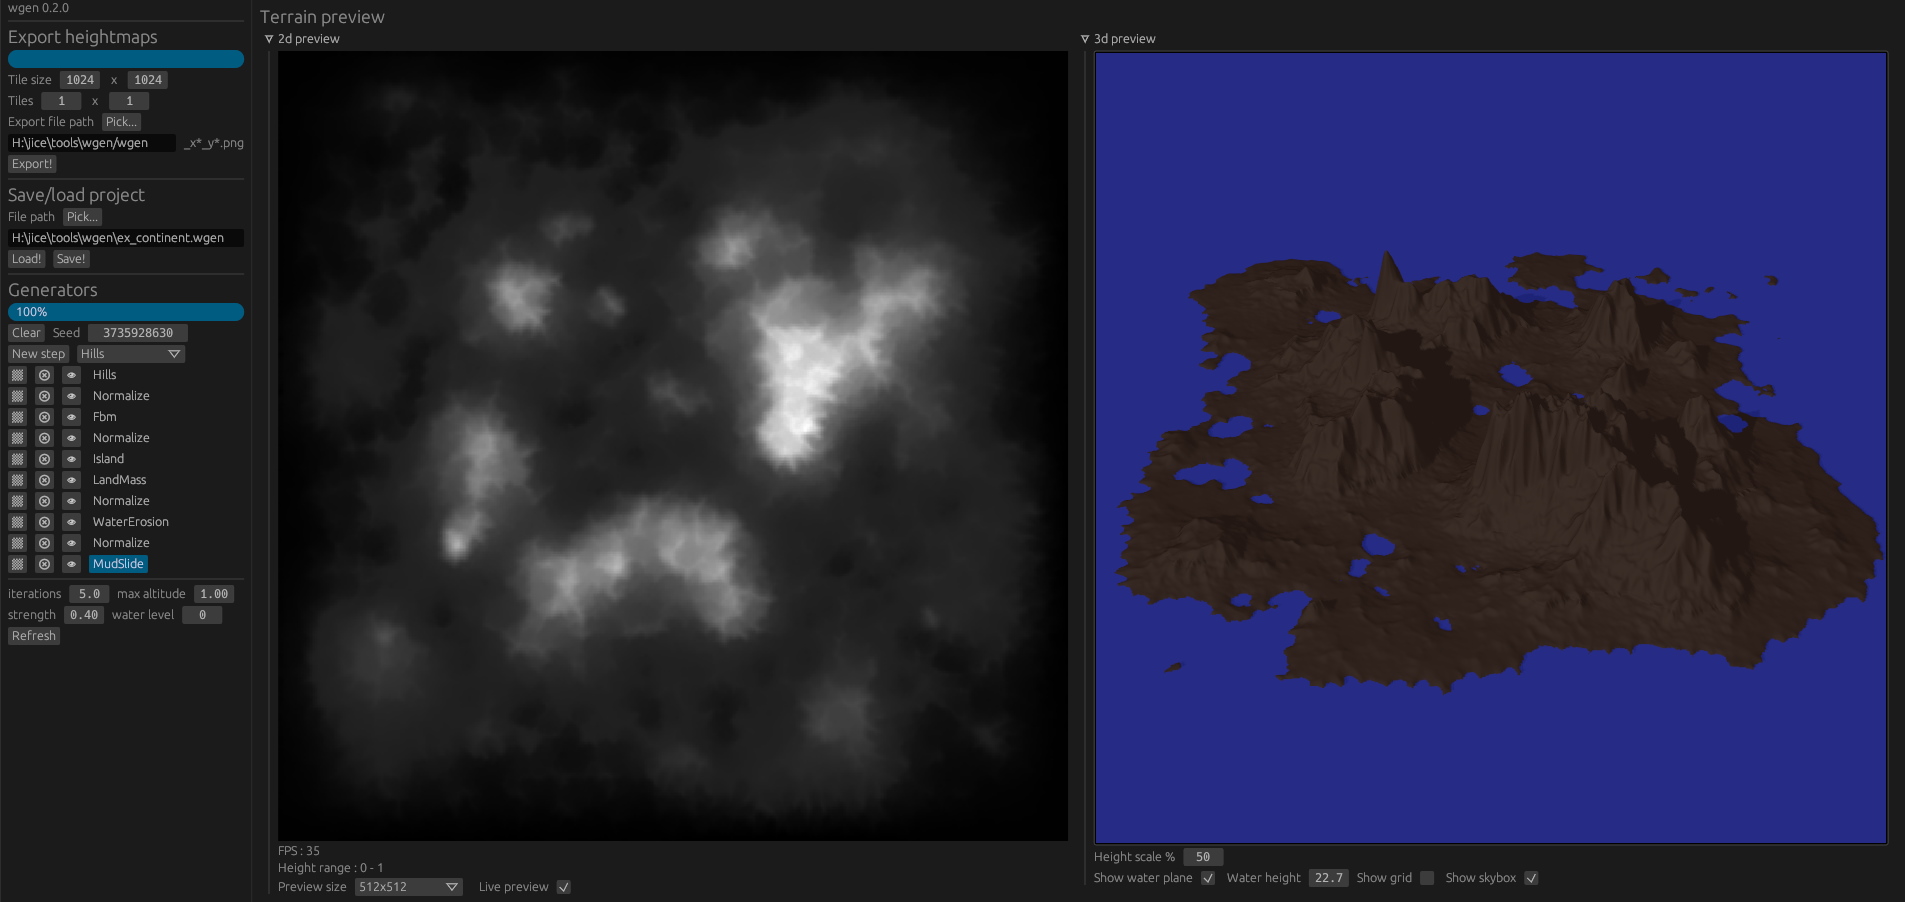
Continent example, using a rough hill pattern and a high frequency FBM :
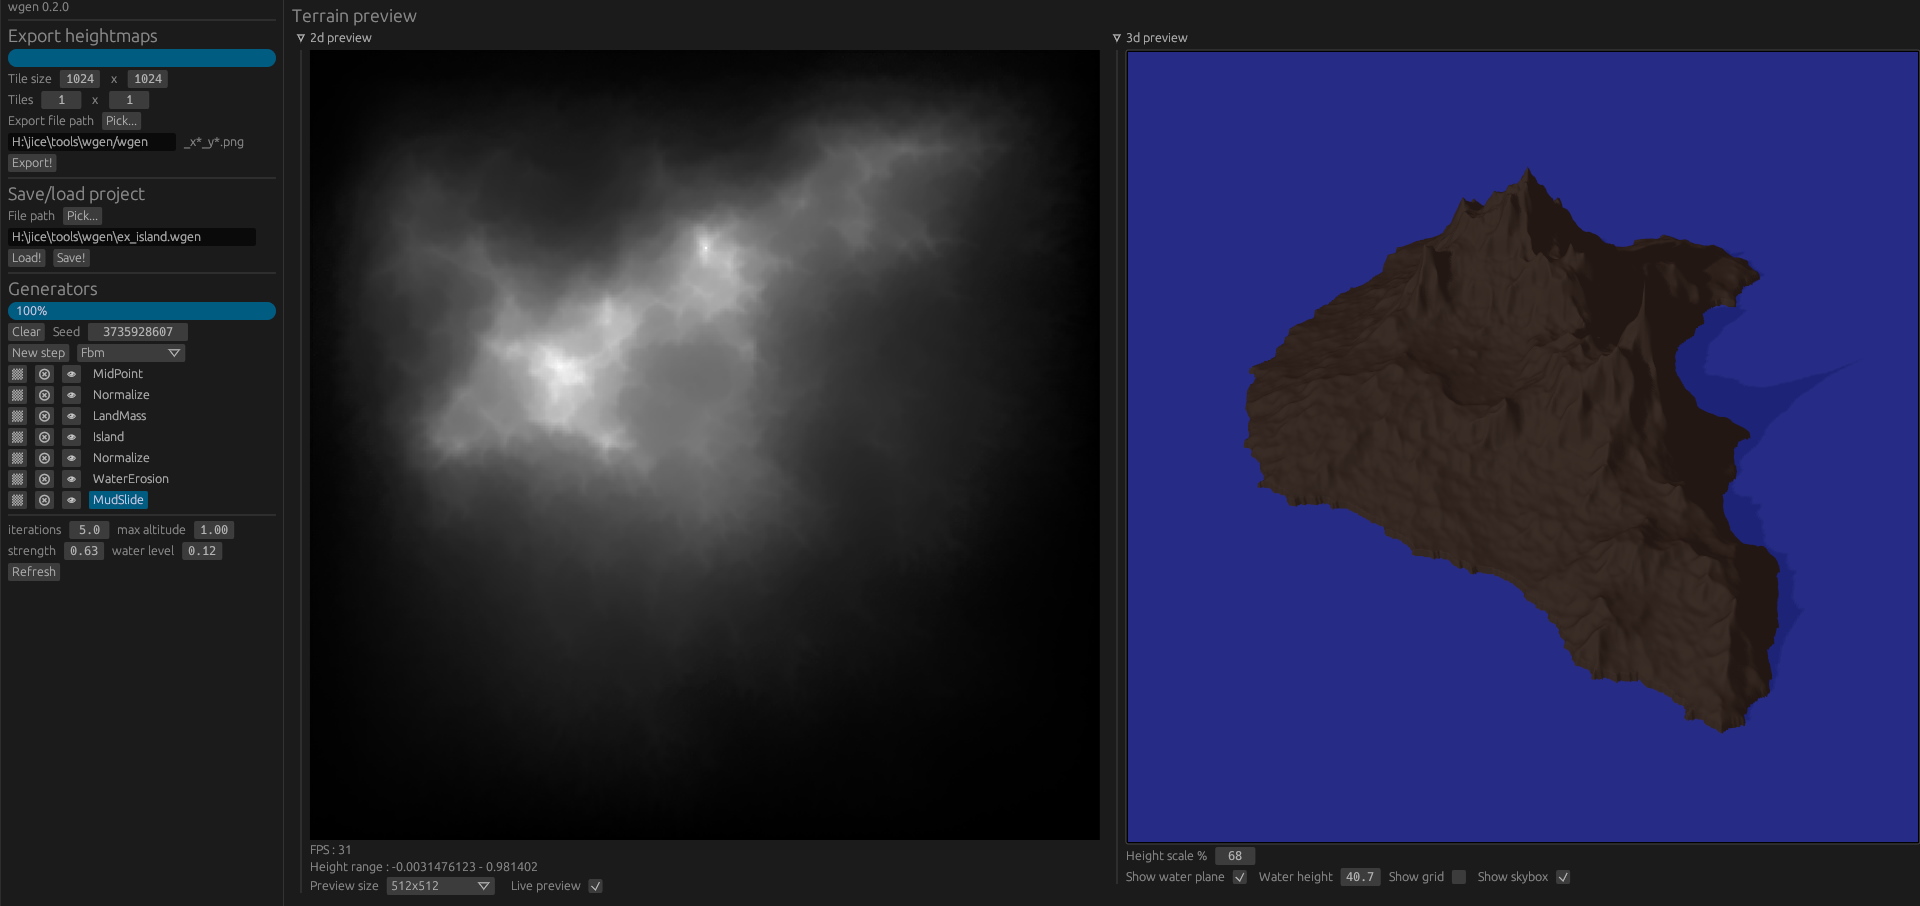
Island example, using mid-point deplacement algorithm :
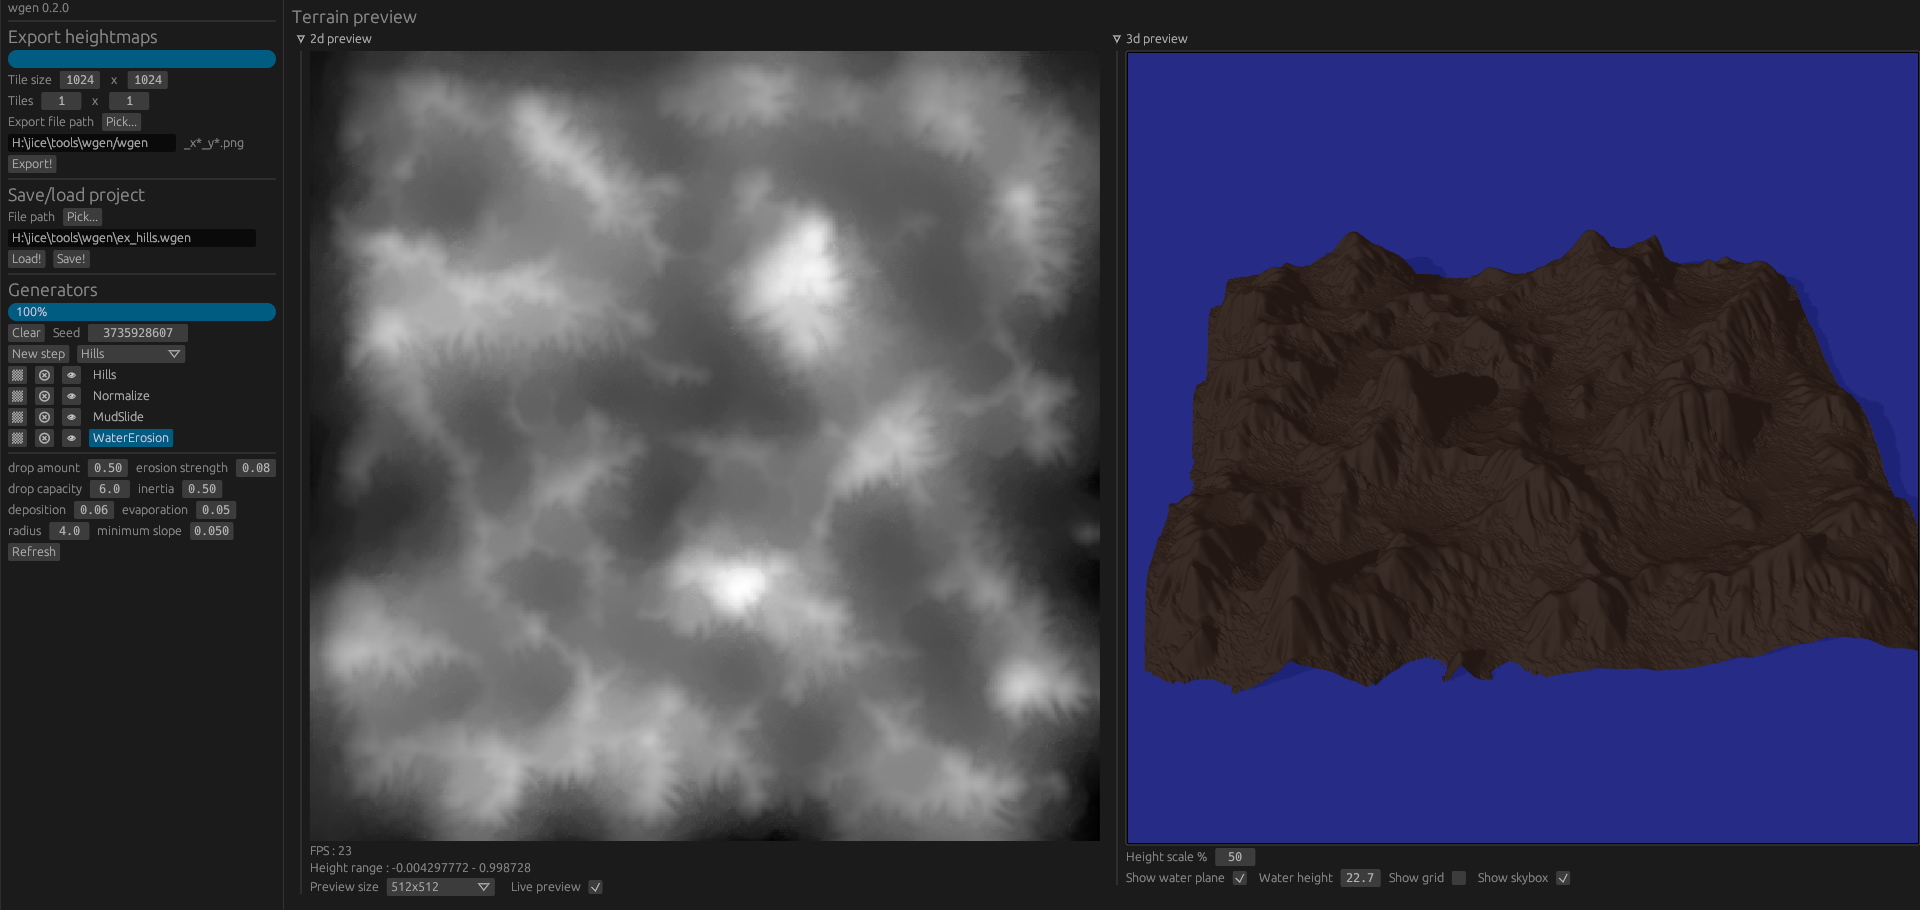
Smoother landscape using only hills generator :
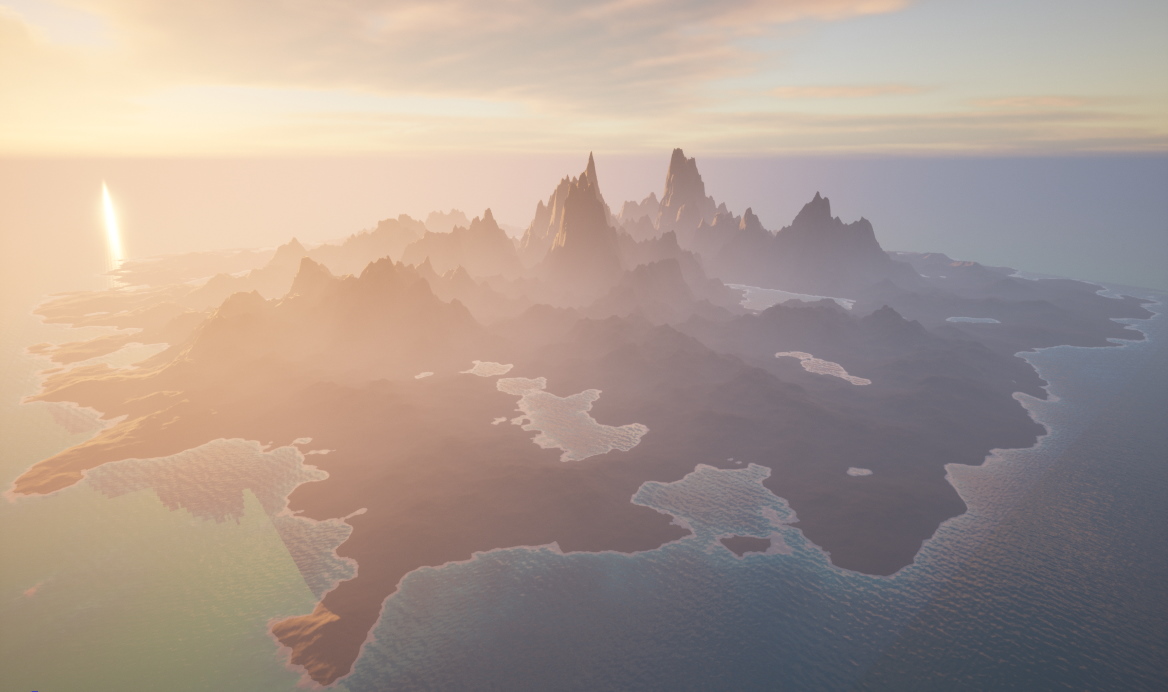
Exemple of (untextured) 4K x 4K landscape imported in Unreal Engine 5 :
If you like this project and want to support its development, feel free to donate at
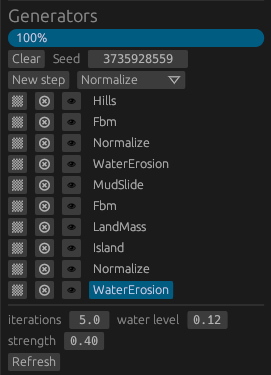
This is where you control the world generation. You can stack several "generators" that applies some modification to the heightmap.
Select the generator with the dropdown button, then press New step button to add it to the stack.
You can click on a step label in the stack to select it and display its parameters. Click the Refresh button once you changed the parameters values to recompute the heightmap from this step.
The current version features those generators :
- Hills : superposition of hemispheric hills to generate a smooth terrain
- Fbm : fractal brownian motion can be used to add noise to an existing terrain or as first step to generate a continent-like terrain.
- MidPoint : square-diamond mid-point deplacement generates a realistic looking heightmap
- Normalize : scales the heightmap back to the range 0.0..1.0. Some generators work better with a normalized heightmap. Check your heightmap values range in the 2D preview.
- LandMass : scale the terrain so that a defined proportion is above a defined water level. Also applies a x^3 curve above water level to have a nice plain/mountain ratio and can lower underwater terrain to have a crisp coast line
- MudSlide : smoothen the terrain by simulating earth sliding along slopes
- WaterErosion : carves rivers by simulating rain drops dragging earth along slopes
- Island : lower the altitude along the borders of the map
You can add a mask to a generator step by clicking the square next to the generator name.
You can then edit the mask using a painting brush. The generator effect will be scaled depending on the mask color.
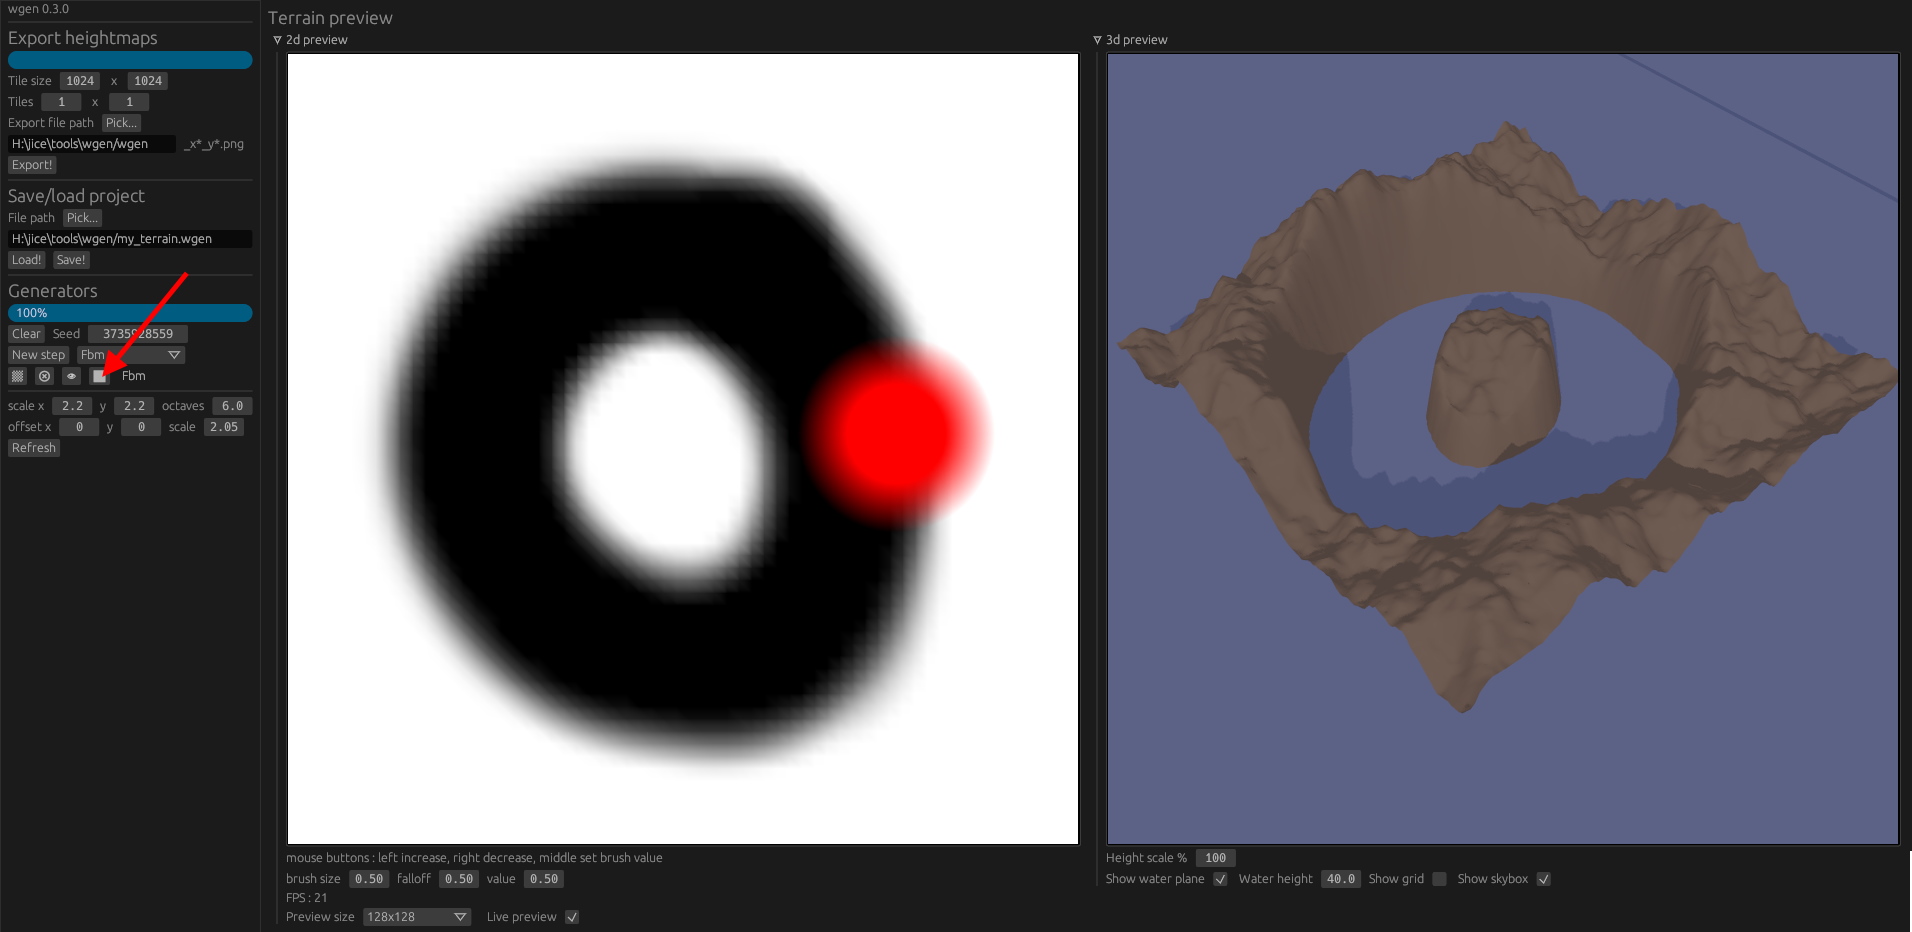
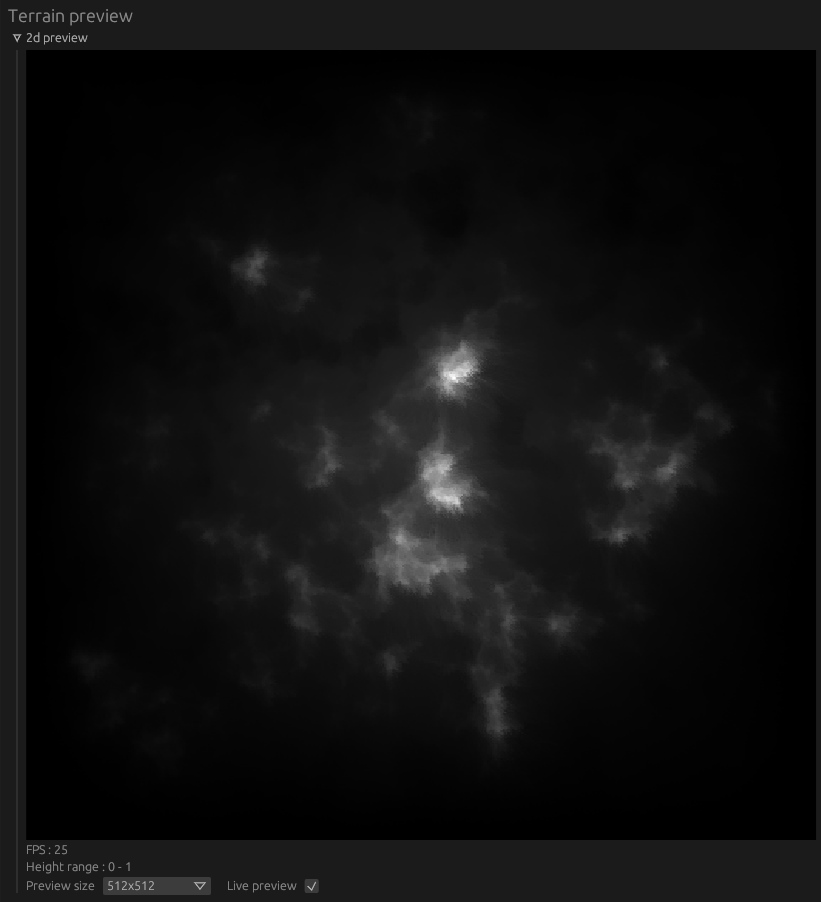
You have a 2D preview displaying the heightmap (at current selected step in the generators UI). You can change the preview heightmap size from 64x64 for very fast computation to 512x512 for a more precise visualization. If live preview button is checked, the 2D preview will be updated at every step during computation.
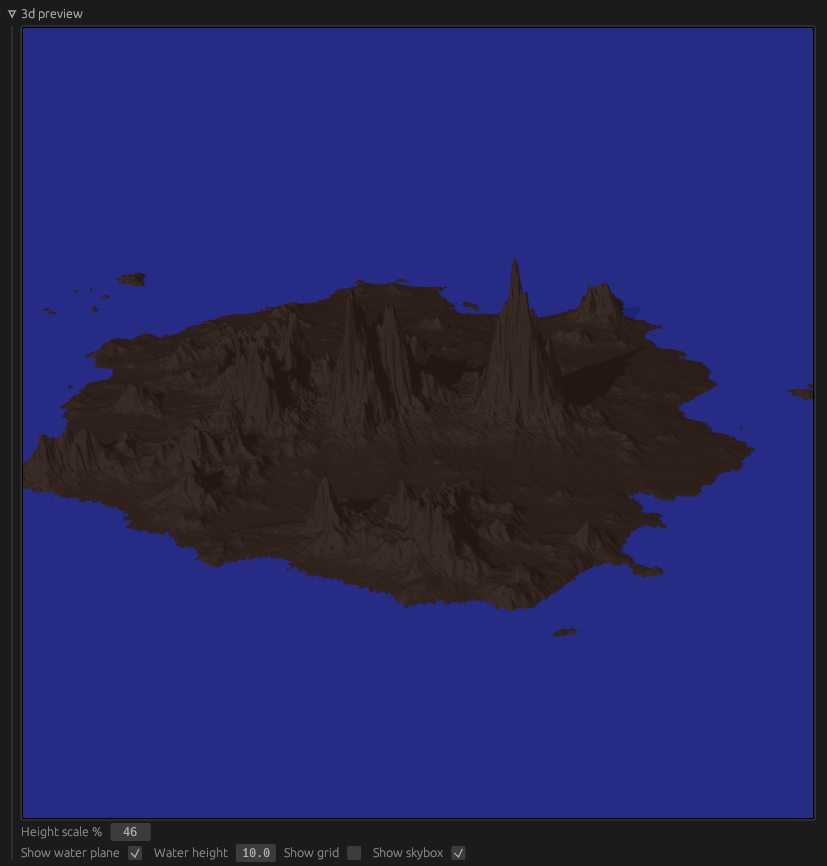
You also have a 3D preview displaying the final 3D mesh. The mesh uses the same resolution as the 2D preview. You can change the view by dragging the mouse cursor in the view :
- rotate the terrain with left button
- zoom with middle button
- pan with right button
You can also display a water plane with configurable height and a grid to help visualize the terrain.
Here you can save the current generator configuration (all the steps with their parameters) in a plain text file using RON format. You can also load a previously saved project, erasing the current configuration.
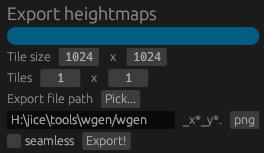
You can export the resulting heightmap as a single image file or several tiled files using this panel.
You can click on the file extension to chose another format (16 bits PNG or EXR currently supported).
File names will be generated using _x?_y? pattern, for example for 2x2 tiles :
- ..._x0_y0.png
- ..._x1_y0.png
- ..._x0_y1.png
- ..._x1_y1.png
If the seamless checkbox is checked, the same row of pixels will be repeated on the border of two adjacent tiles. This is not needed if you export to unreal engine as it natively supports multi-textures heightmaps. This might be needed for other engines where each tile is an independant terrain object that needs to have matching border vertices with the adjacent object.
Unreal natively support multi-textures heightmap. All you have to do is to choose the texture size (preferably 1024x1024 or 2048x2048 PNG) and adjust the number of tiles to match your total terrain size. The seamless flag should be unchecked as Unreal automatically joins the tile borders.
As of version 3.5, Godot only support 8bits PNG so using the PNG format will result in posterization of the heightmap and a staircase effect. So the prefered format here when using the Heightmap Terrain plugin is a single square EXR file with a "power of two plus one" size (1025x1025, 2049x2049 or 4097x4097). The EXR file contains values between 0.0 and 1.0 and might look completely flat in Godot, so increase the y scale of your HTerrain object to something near 500.

