Code for a home-made, Arduino-based word clock! Made by Jonny Arnold and Sarah-May Gould.
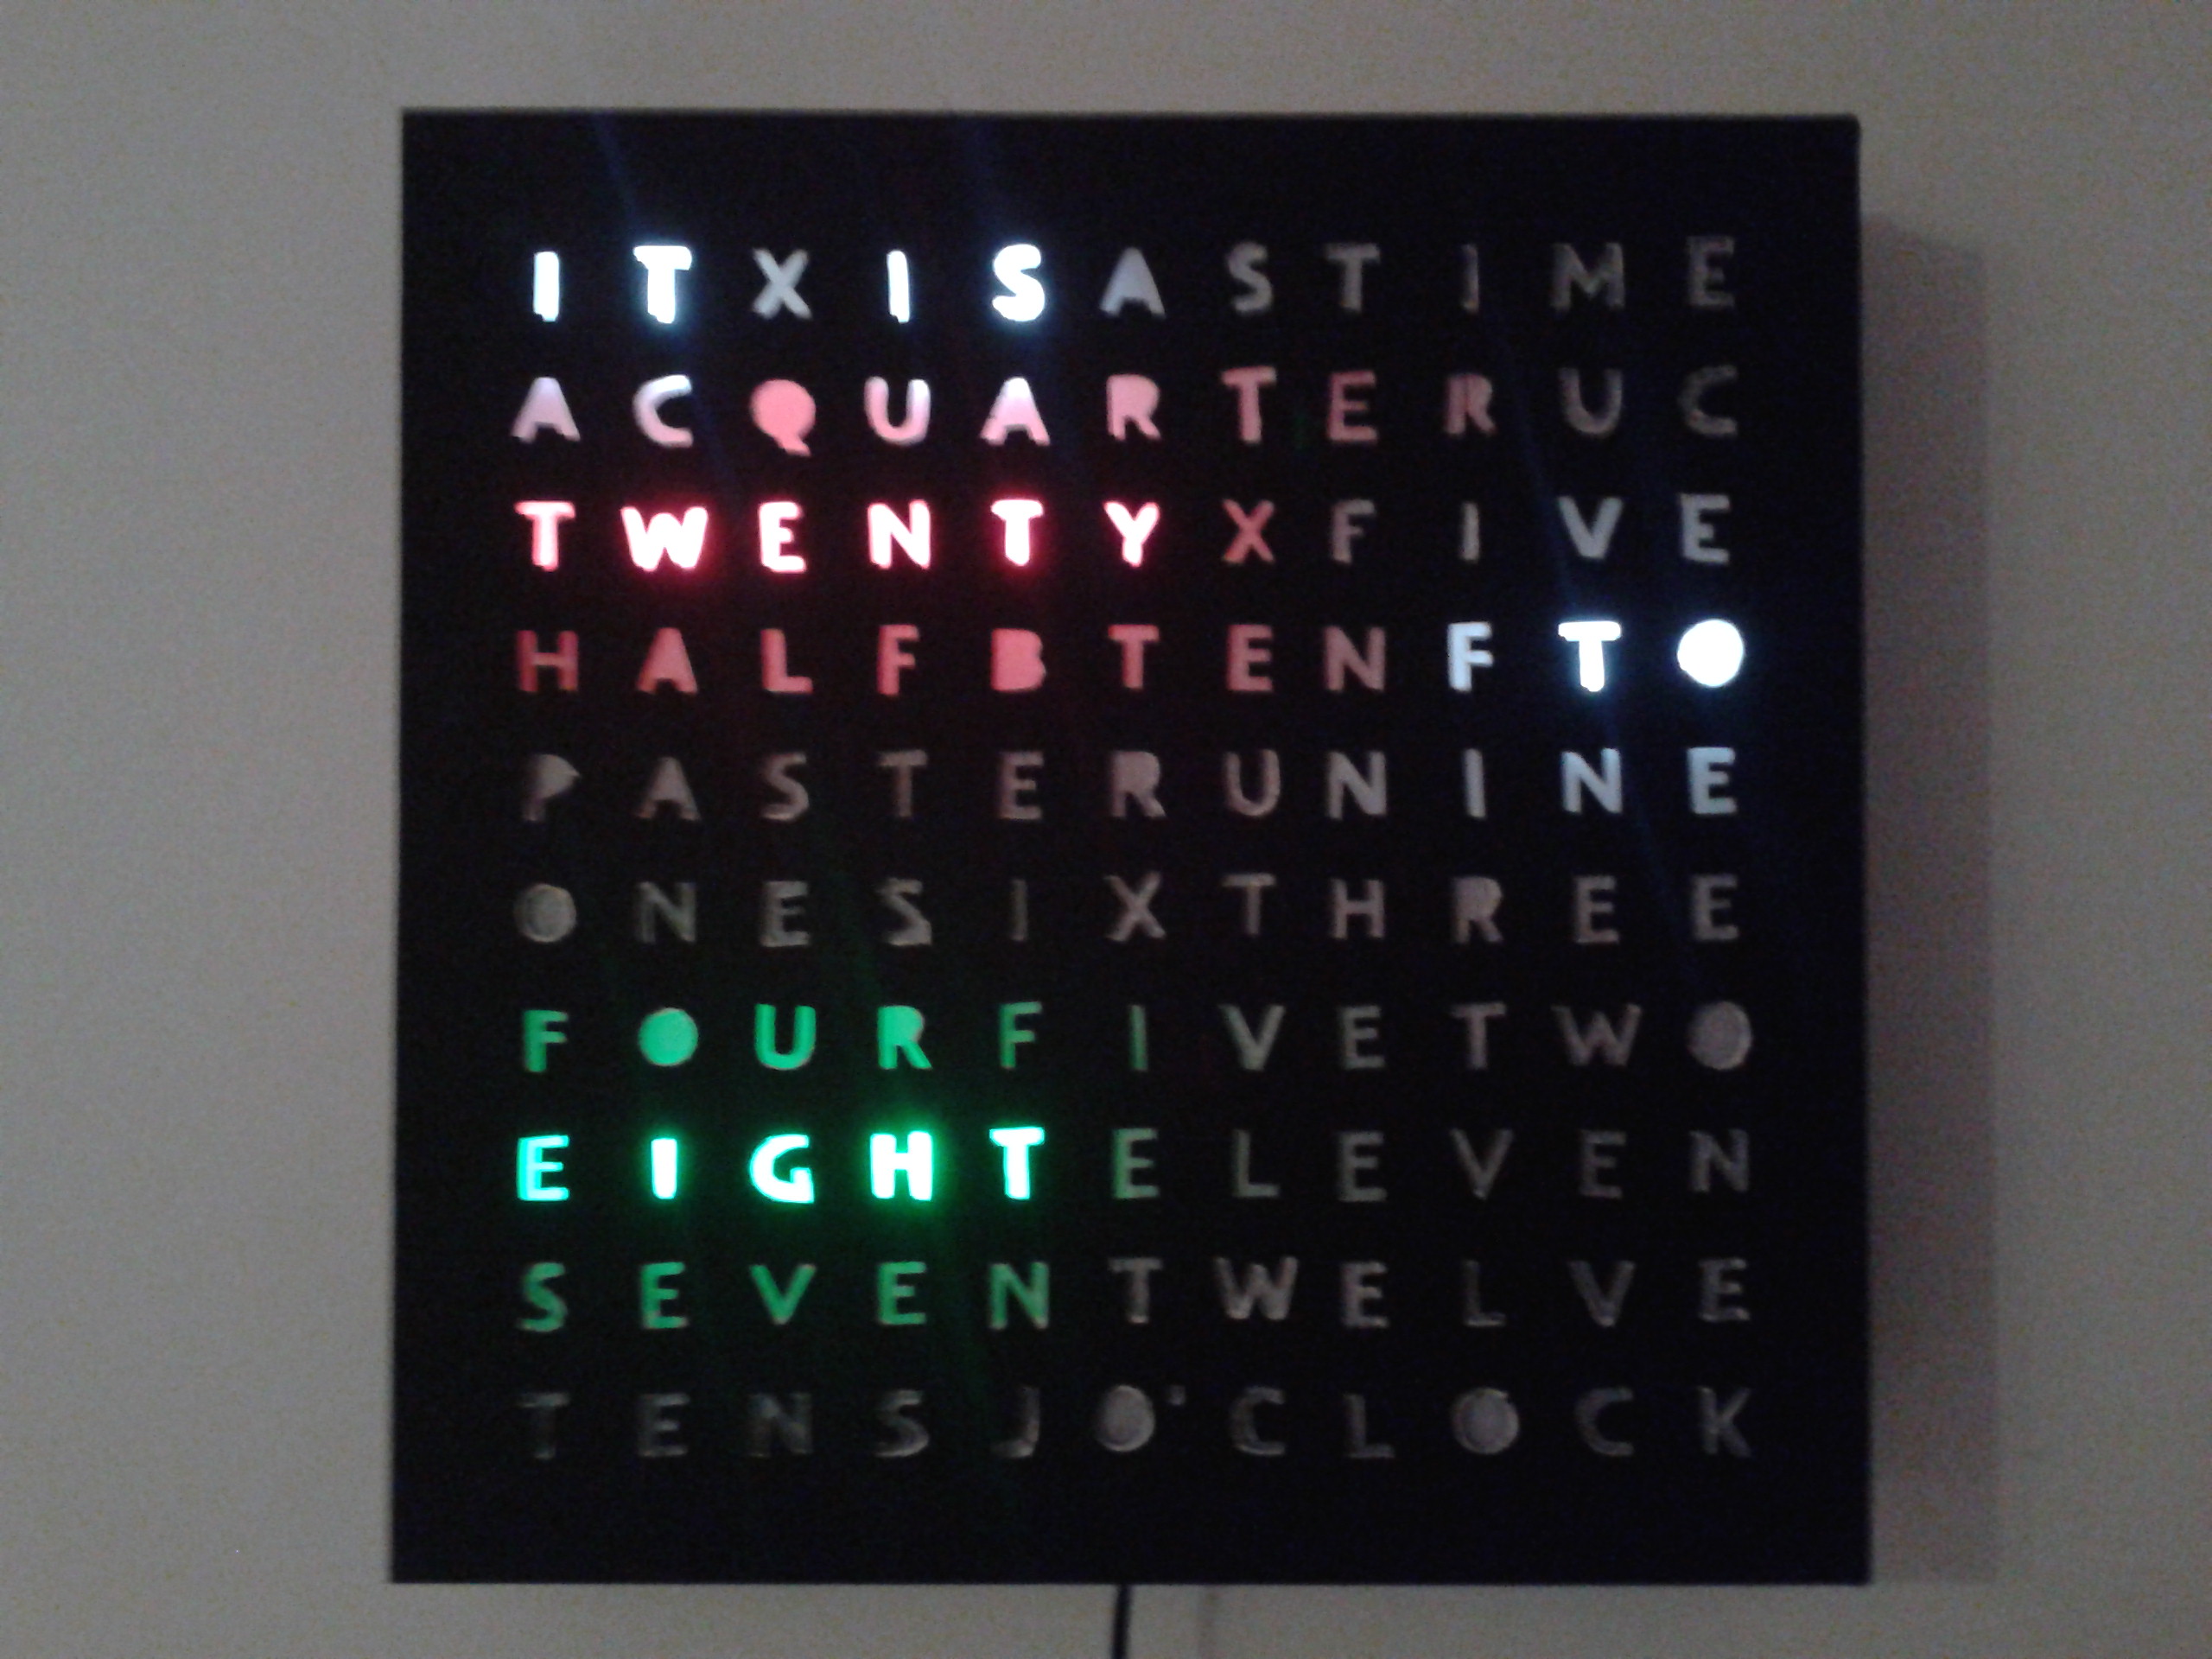
We wanted a clock like this one, but we didn't want to pay for it. Why don't we make our own?
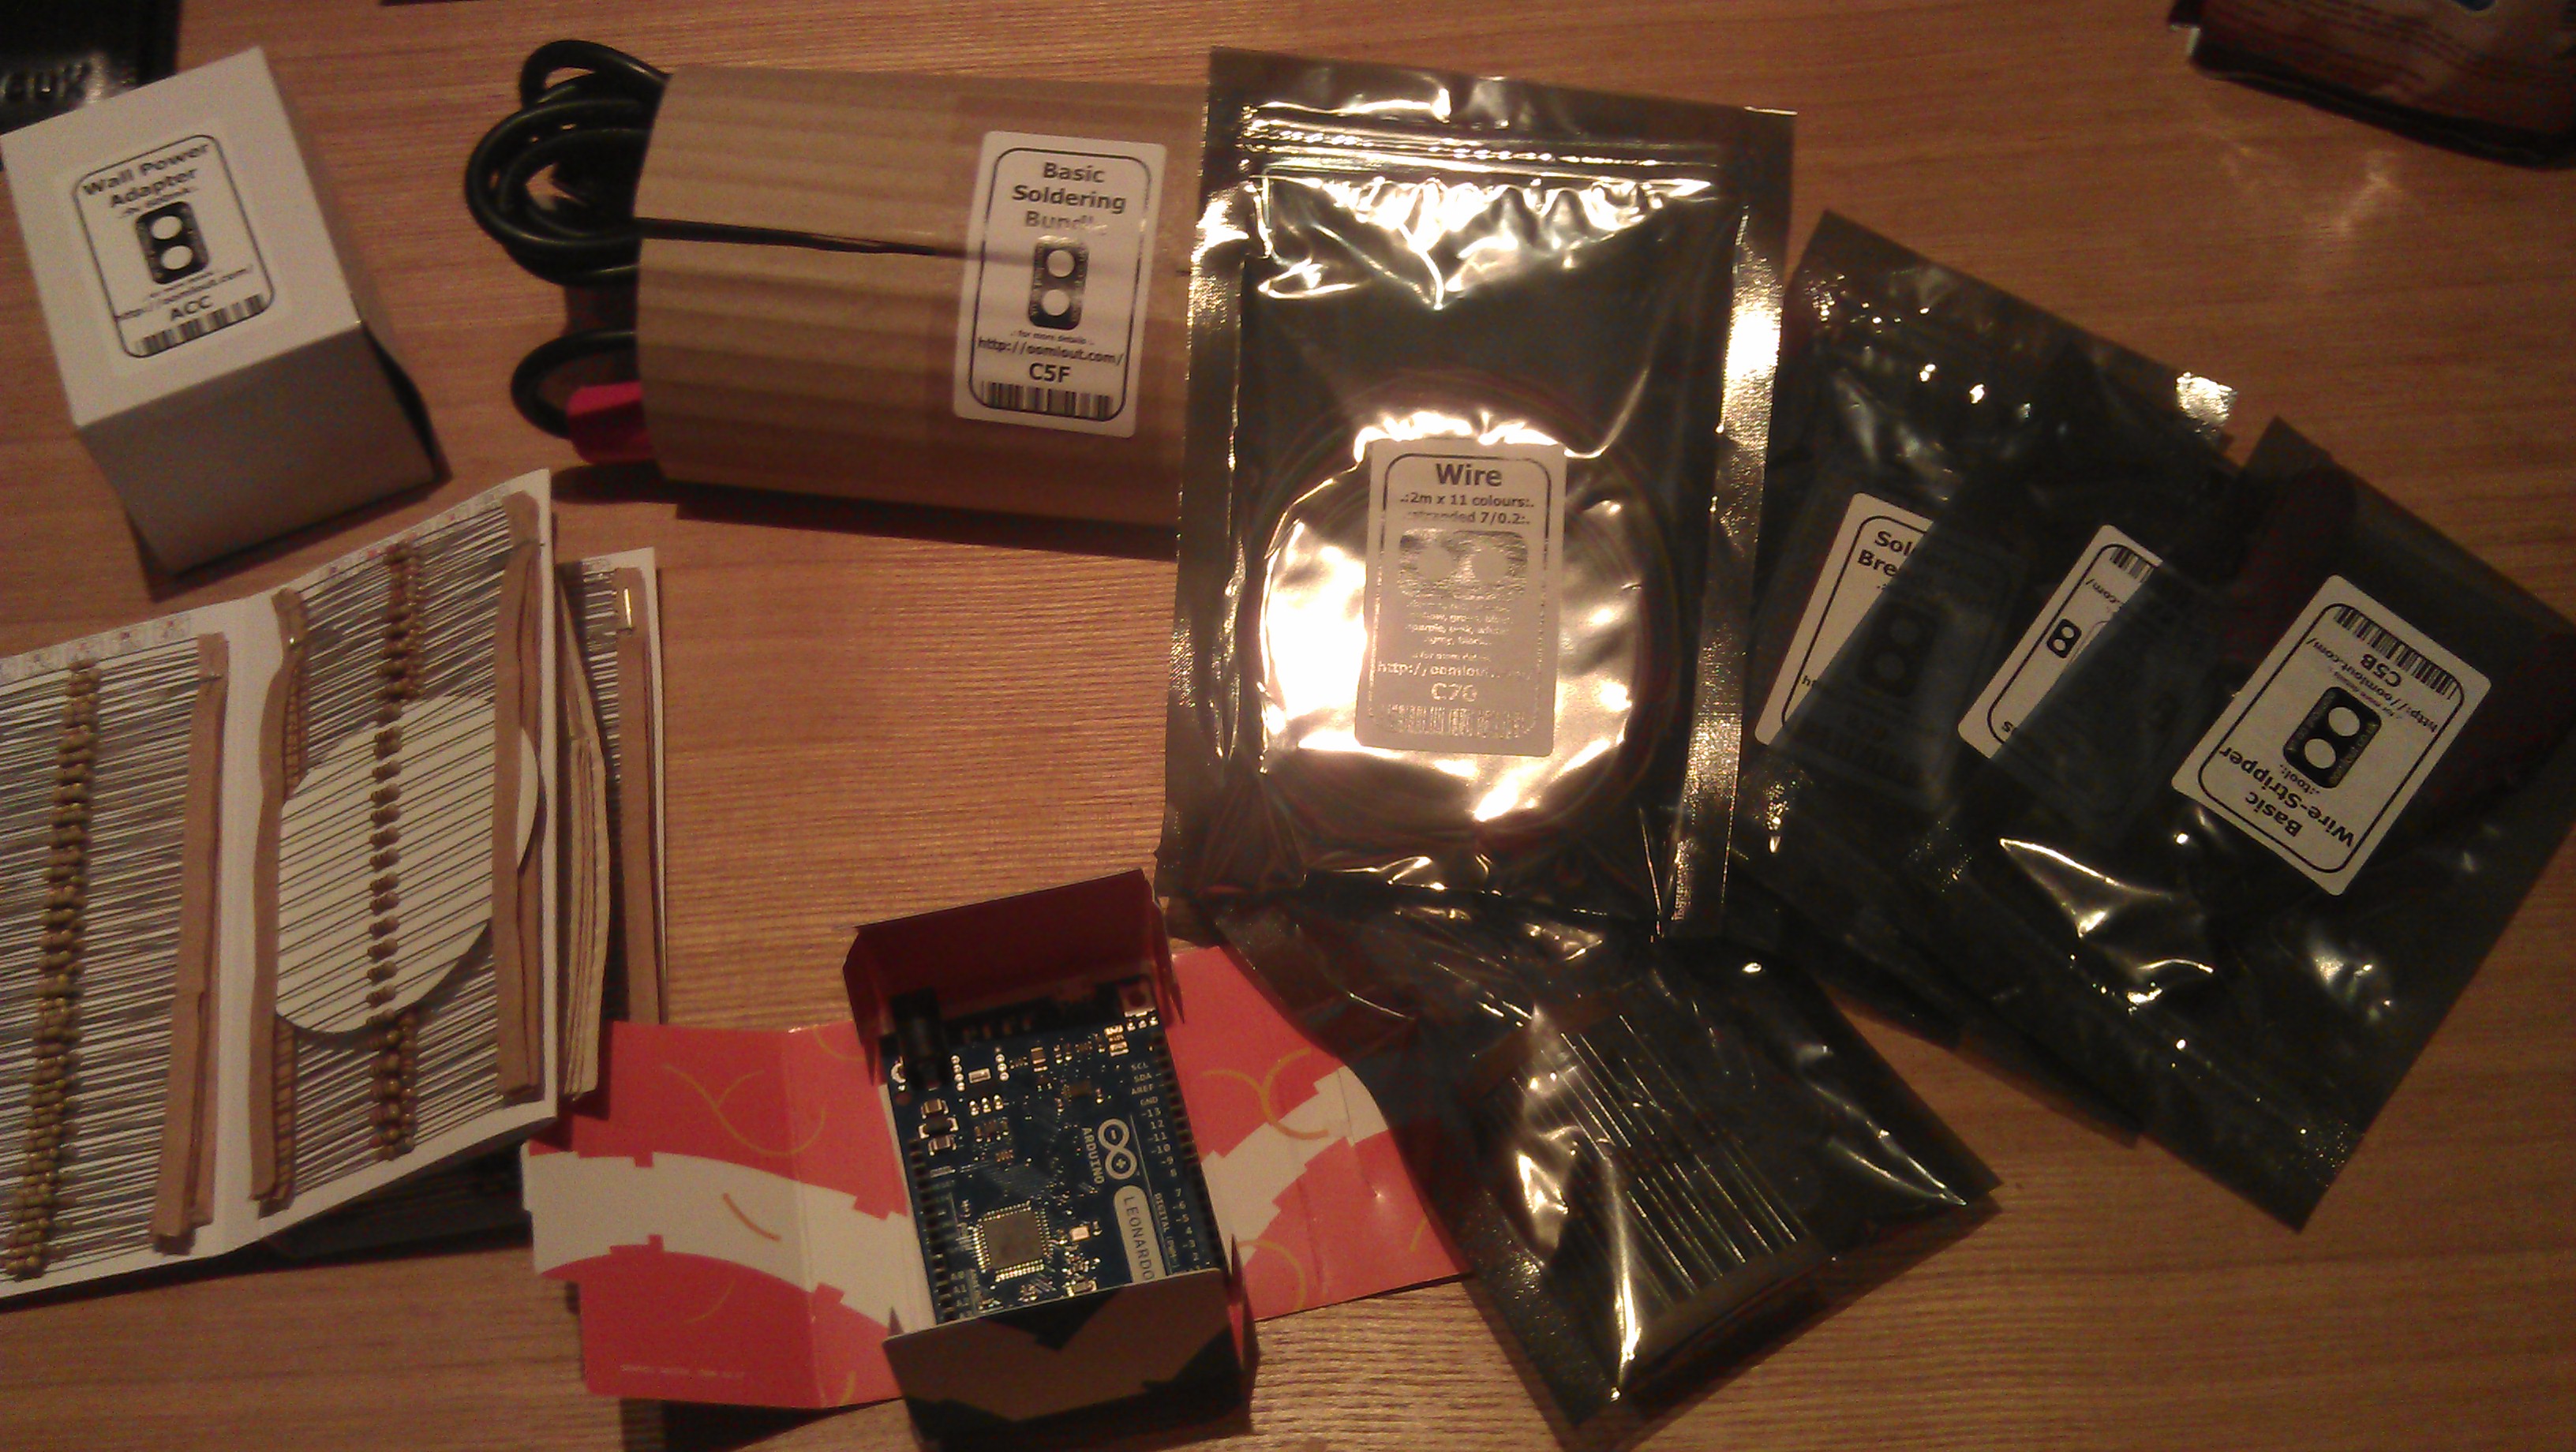
We needed all of this:
- Arduino Leonardo - this has exactly the right number of I/O pins required for this project. We'd have preferred an extra one for setting the time, so if you have the money then grab the Arduino Mega.
- Lots of LEDs - we bought a pack of these but we'd have preferred a few more. Try to get as large a viewing angle as possible to spread the light throughout the letters.
- Power Adaptor - the total current drawn when all the LEDs above are on is around 400 mA, if I remember rightly.
- Lots of Wire.
- A breadboard, a soldering iron or some other clever way of connecting your LEDs to your Arduino (I've seen people printing circuit boards for this kind of thing).
- Some corkboard to mount the Arduino and LEDs onto.
- 2 square canvas frames (like these) to make up the frame. Note that your stencil should fit within the inner border of the frame.
- A hinge to allow the box to open. The hinge should allow the corkboard to slide in between the frames when attached to the frames.
- Some thick black mounting board to make your frame look good and to cut the stencil into.
- A Stanley knife and a large amount of patience (or someone with a laser cutter), for your stencil.
- Tracing paper to diffuse the light from the LEDs.
- Some corrugated cardboard to make dividers for the words.
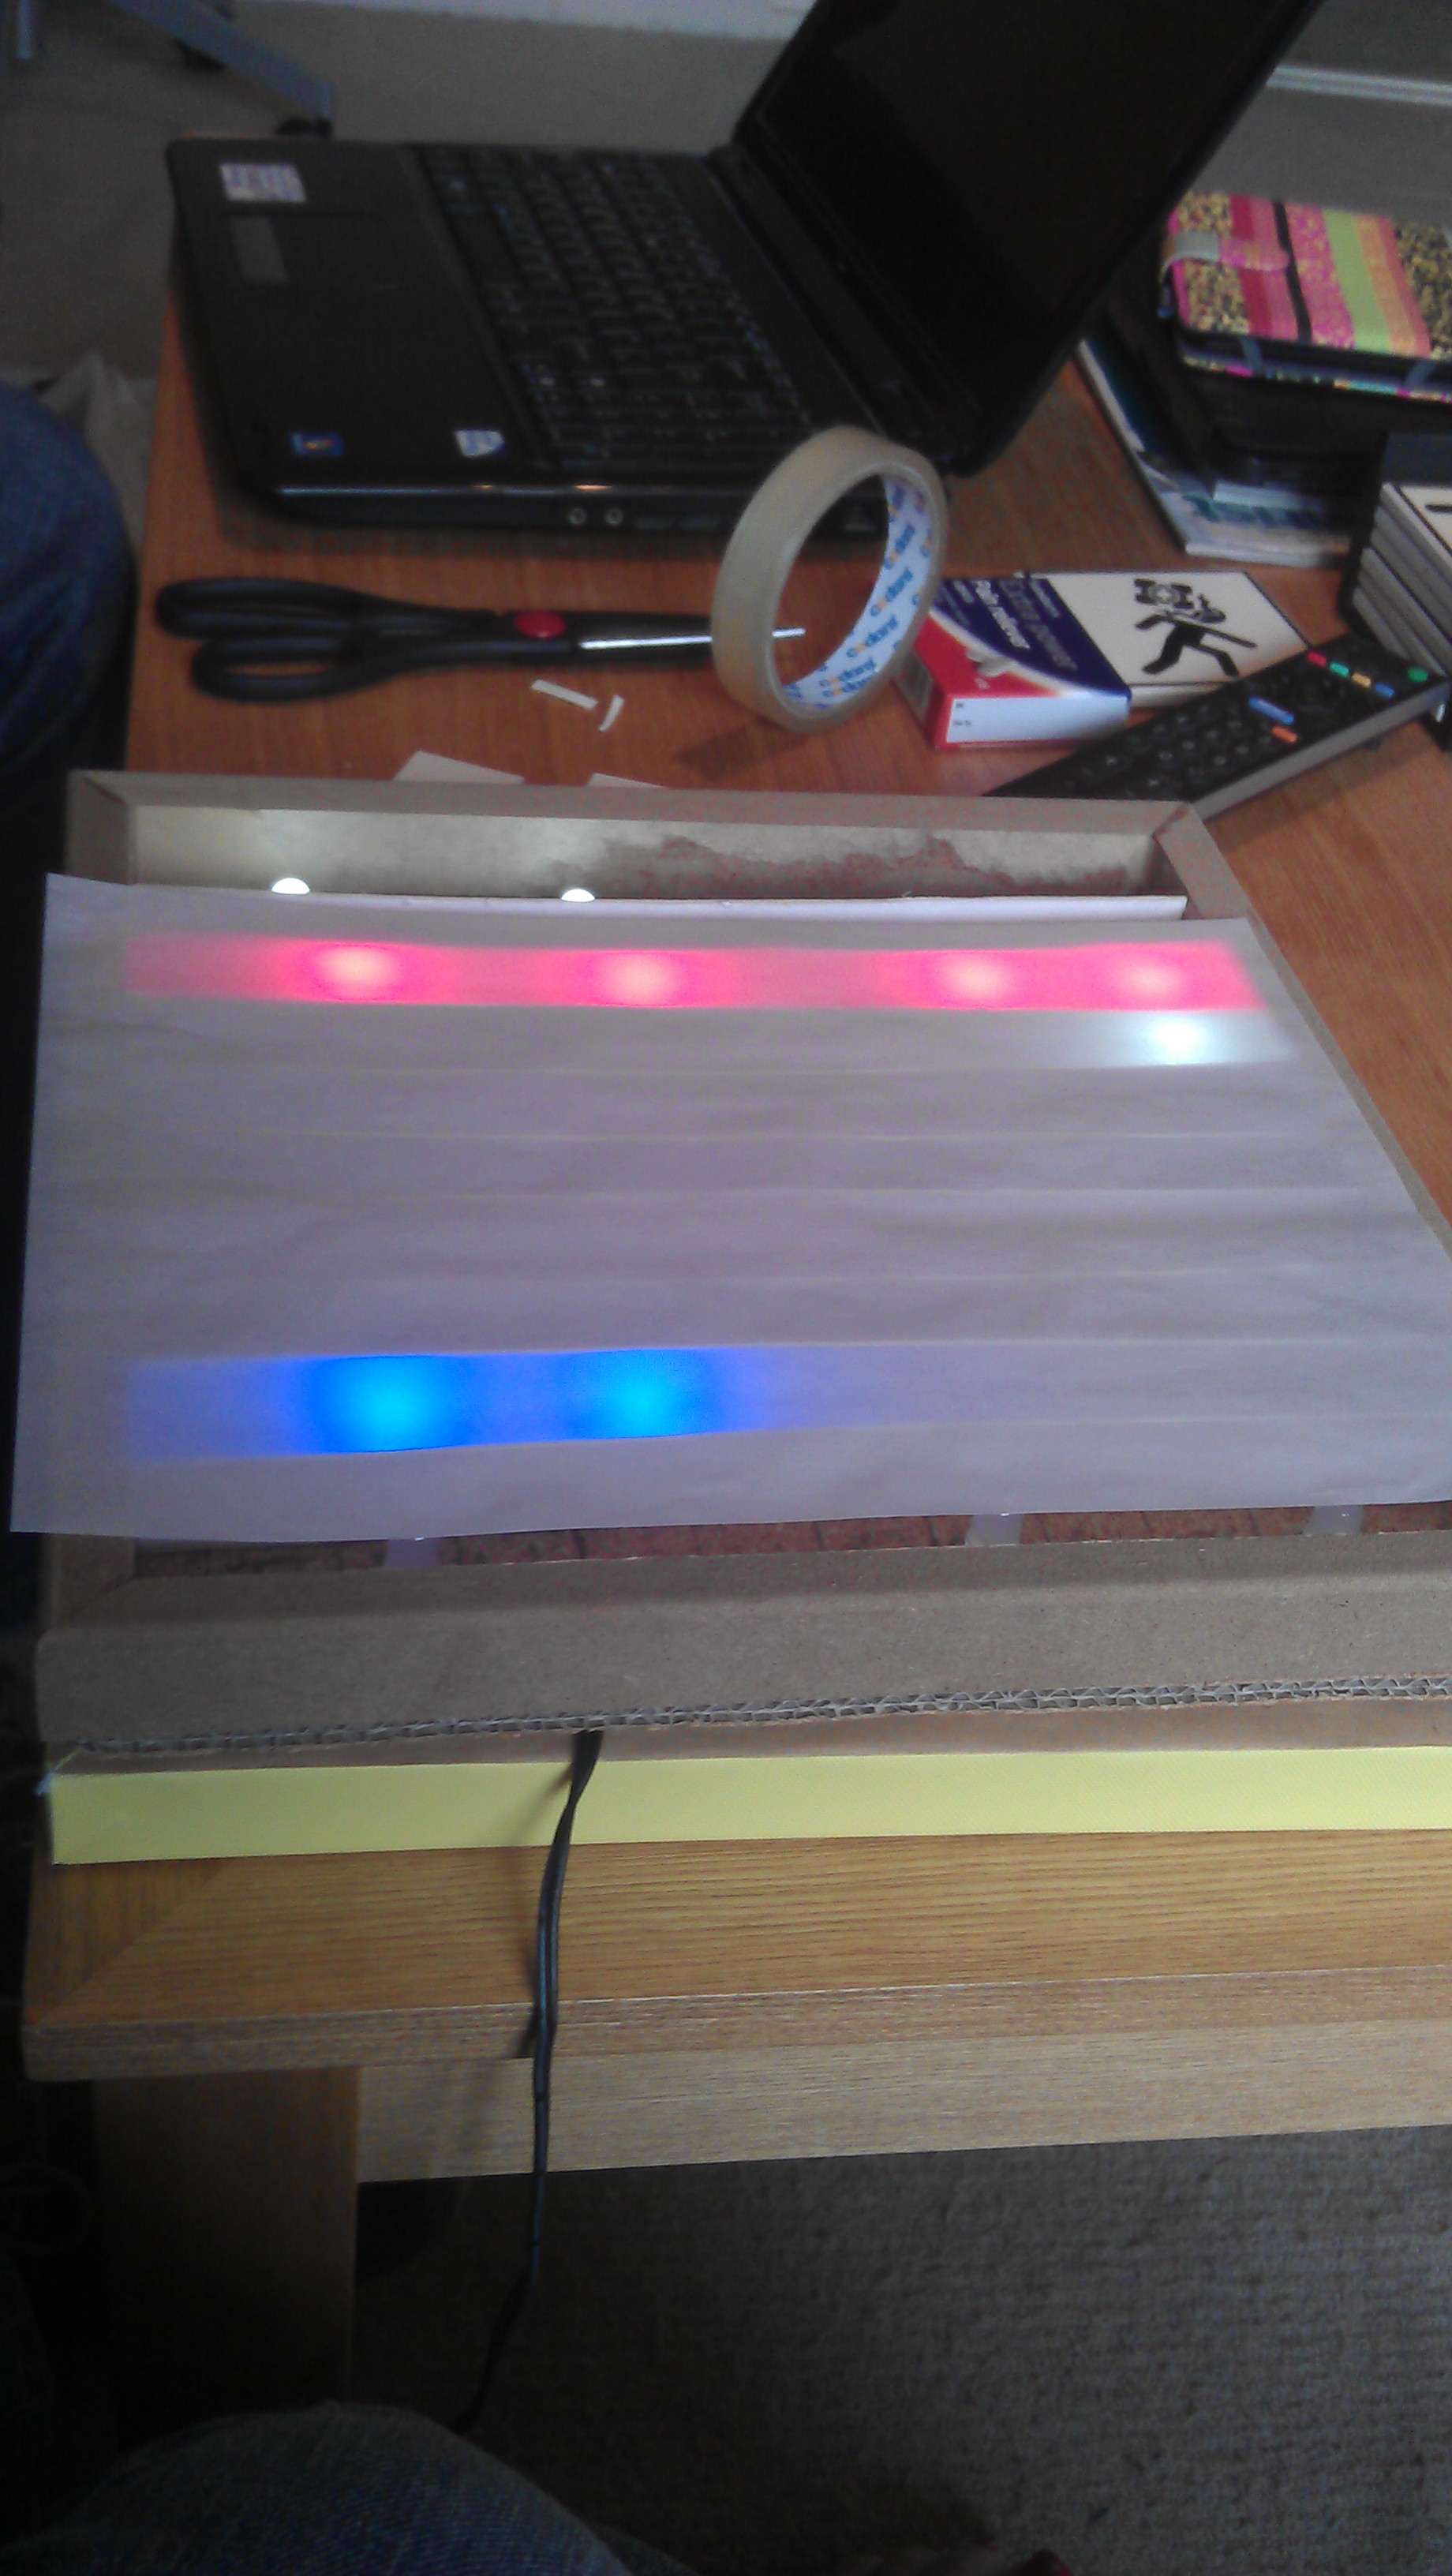
- Start by testing that you can turn on LEDs with your Arduino. The pintest.ino file is useful for this. You will need the Arduino Software. (pic)
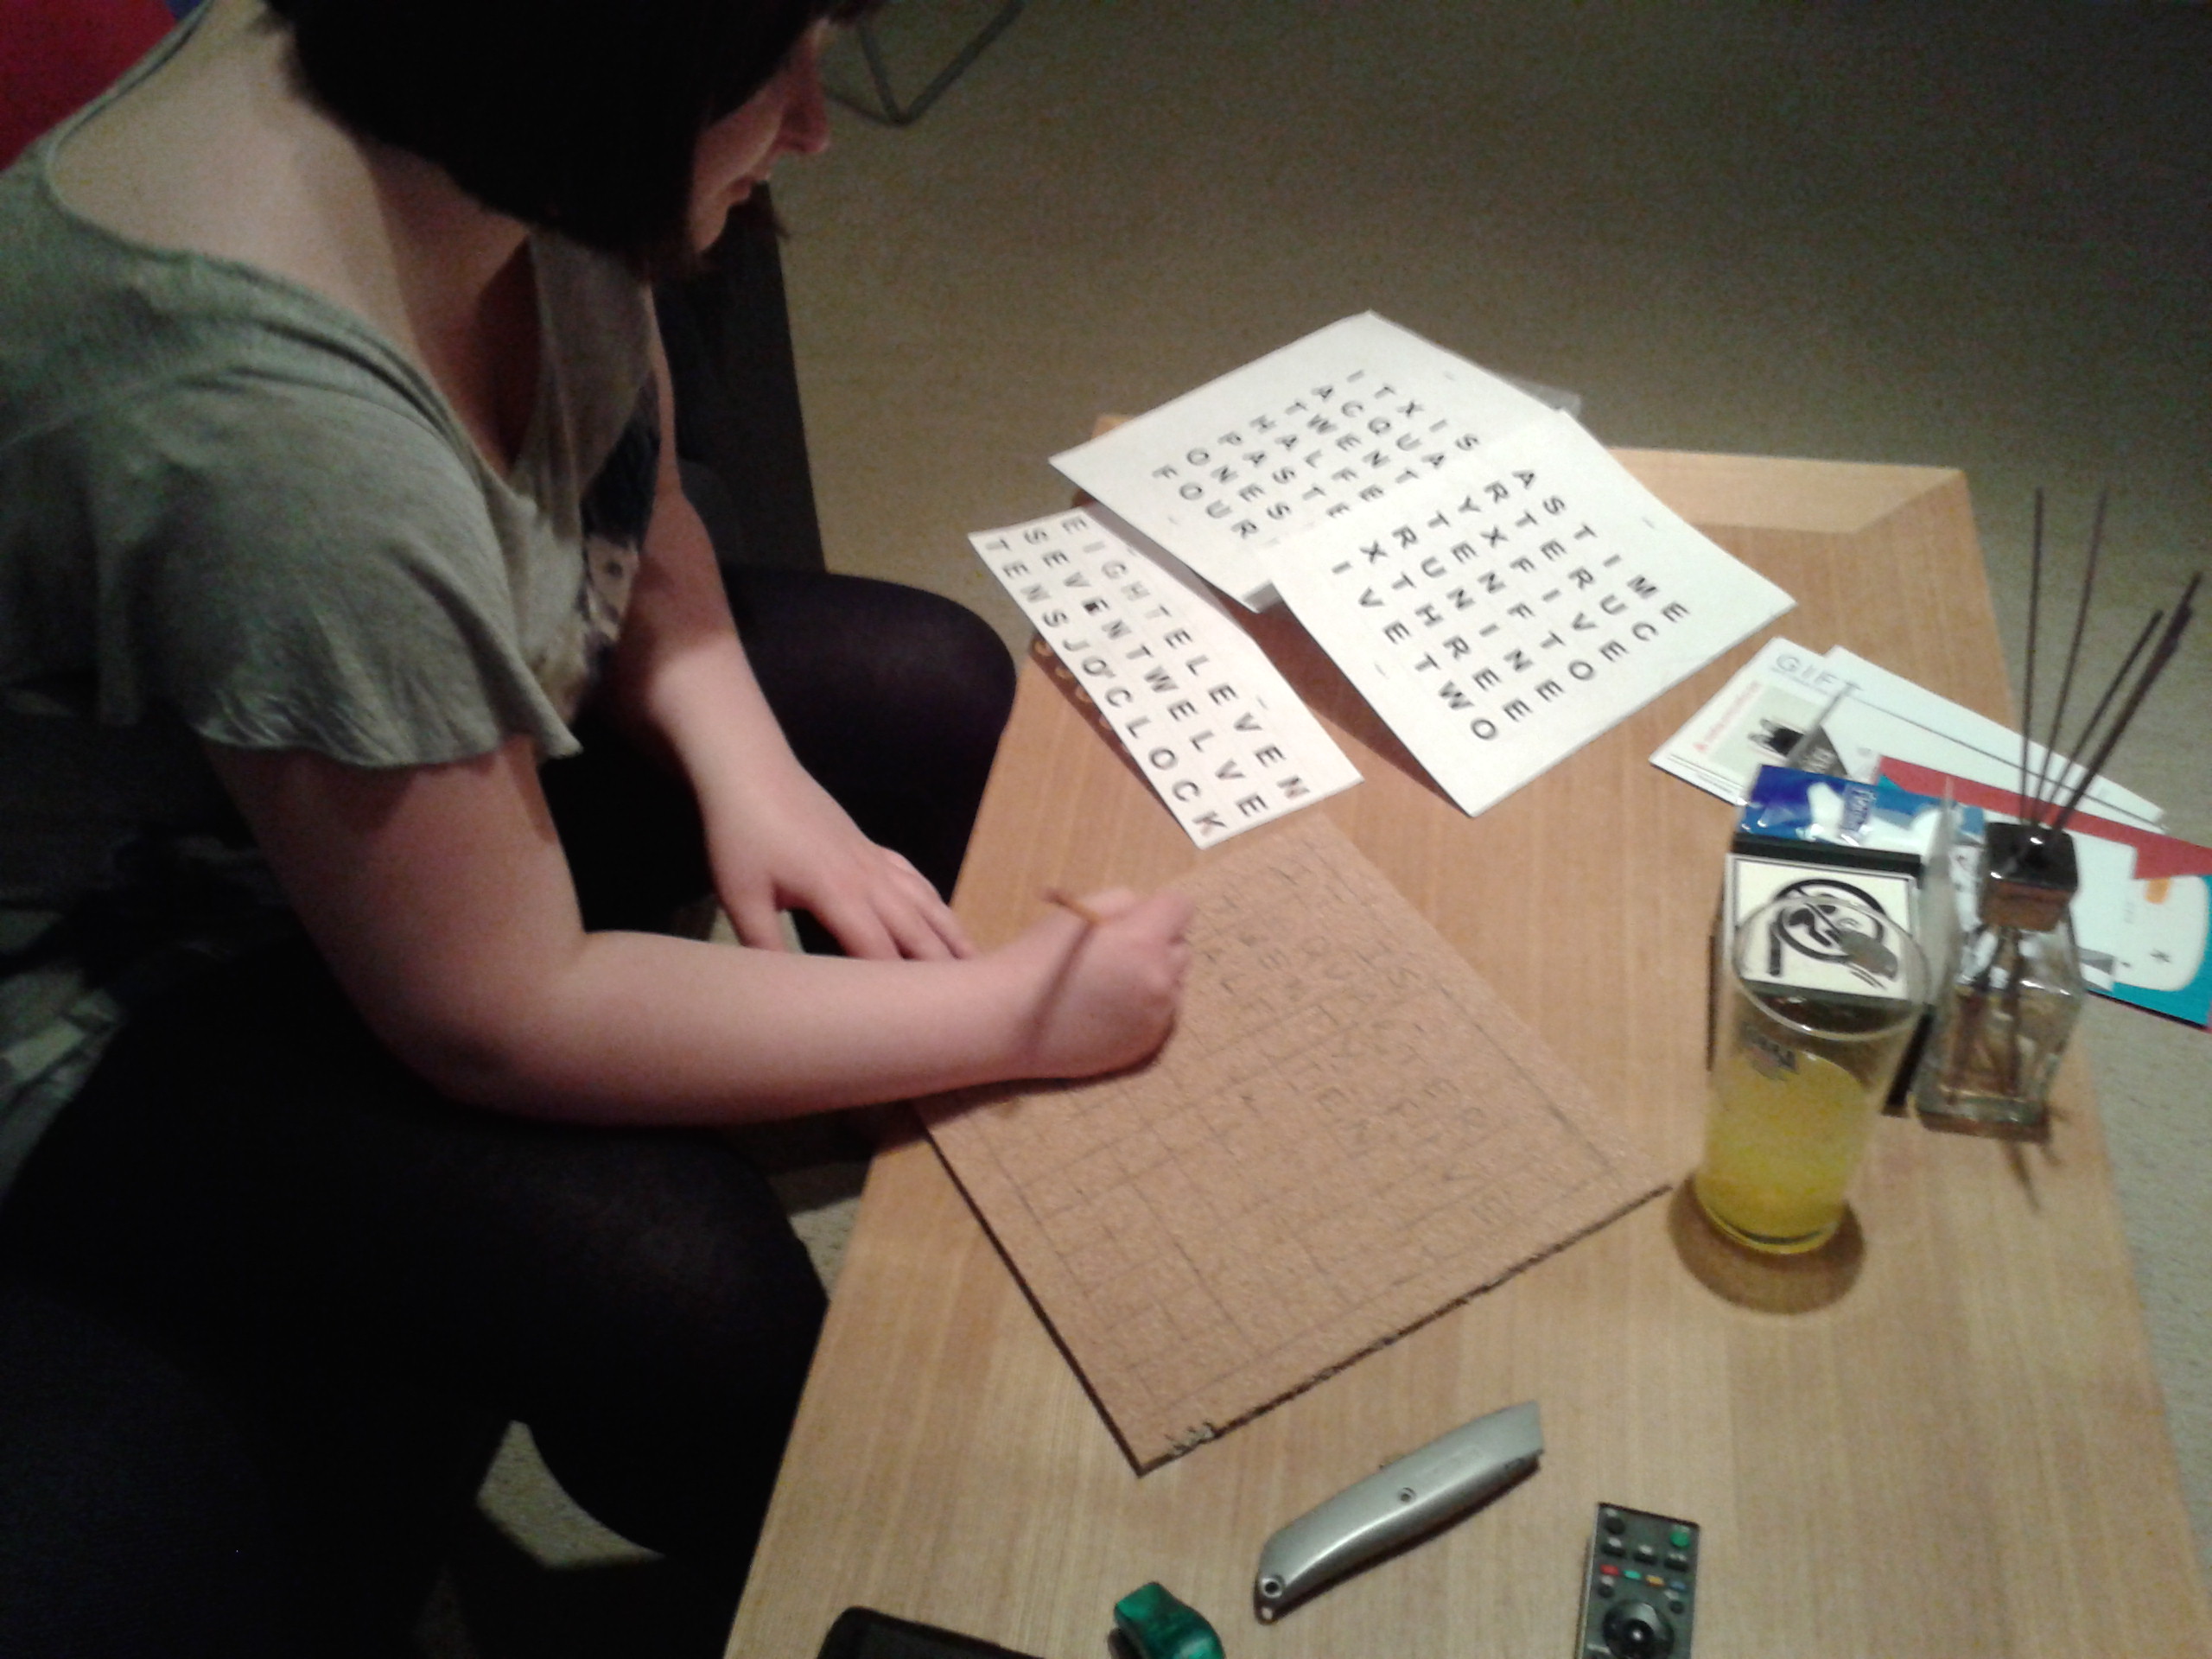
- Print off the stencil clockface.ods. It doesn't fit on one A4 sheet so you're likely to need to stick two sheets together.
- Cut out the stencil (this takes a while) and use it to sketch in where each letter will go onto one side of your corkboard. (pic)
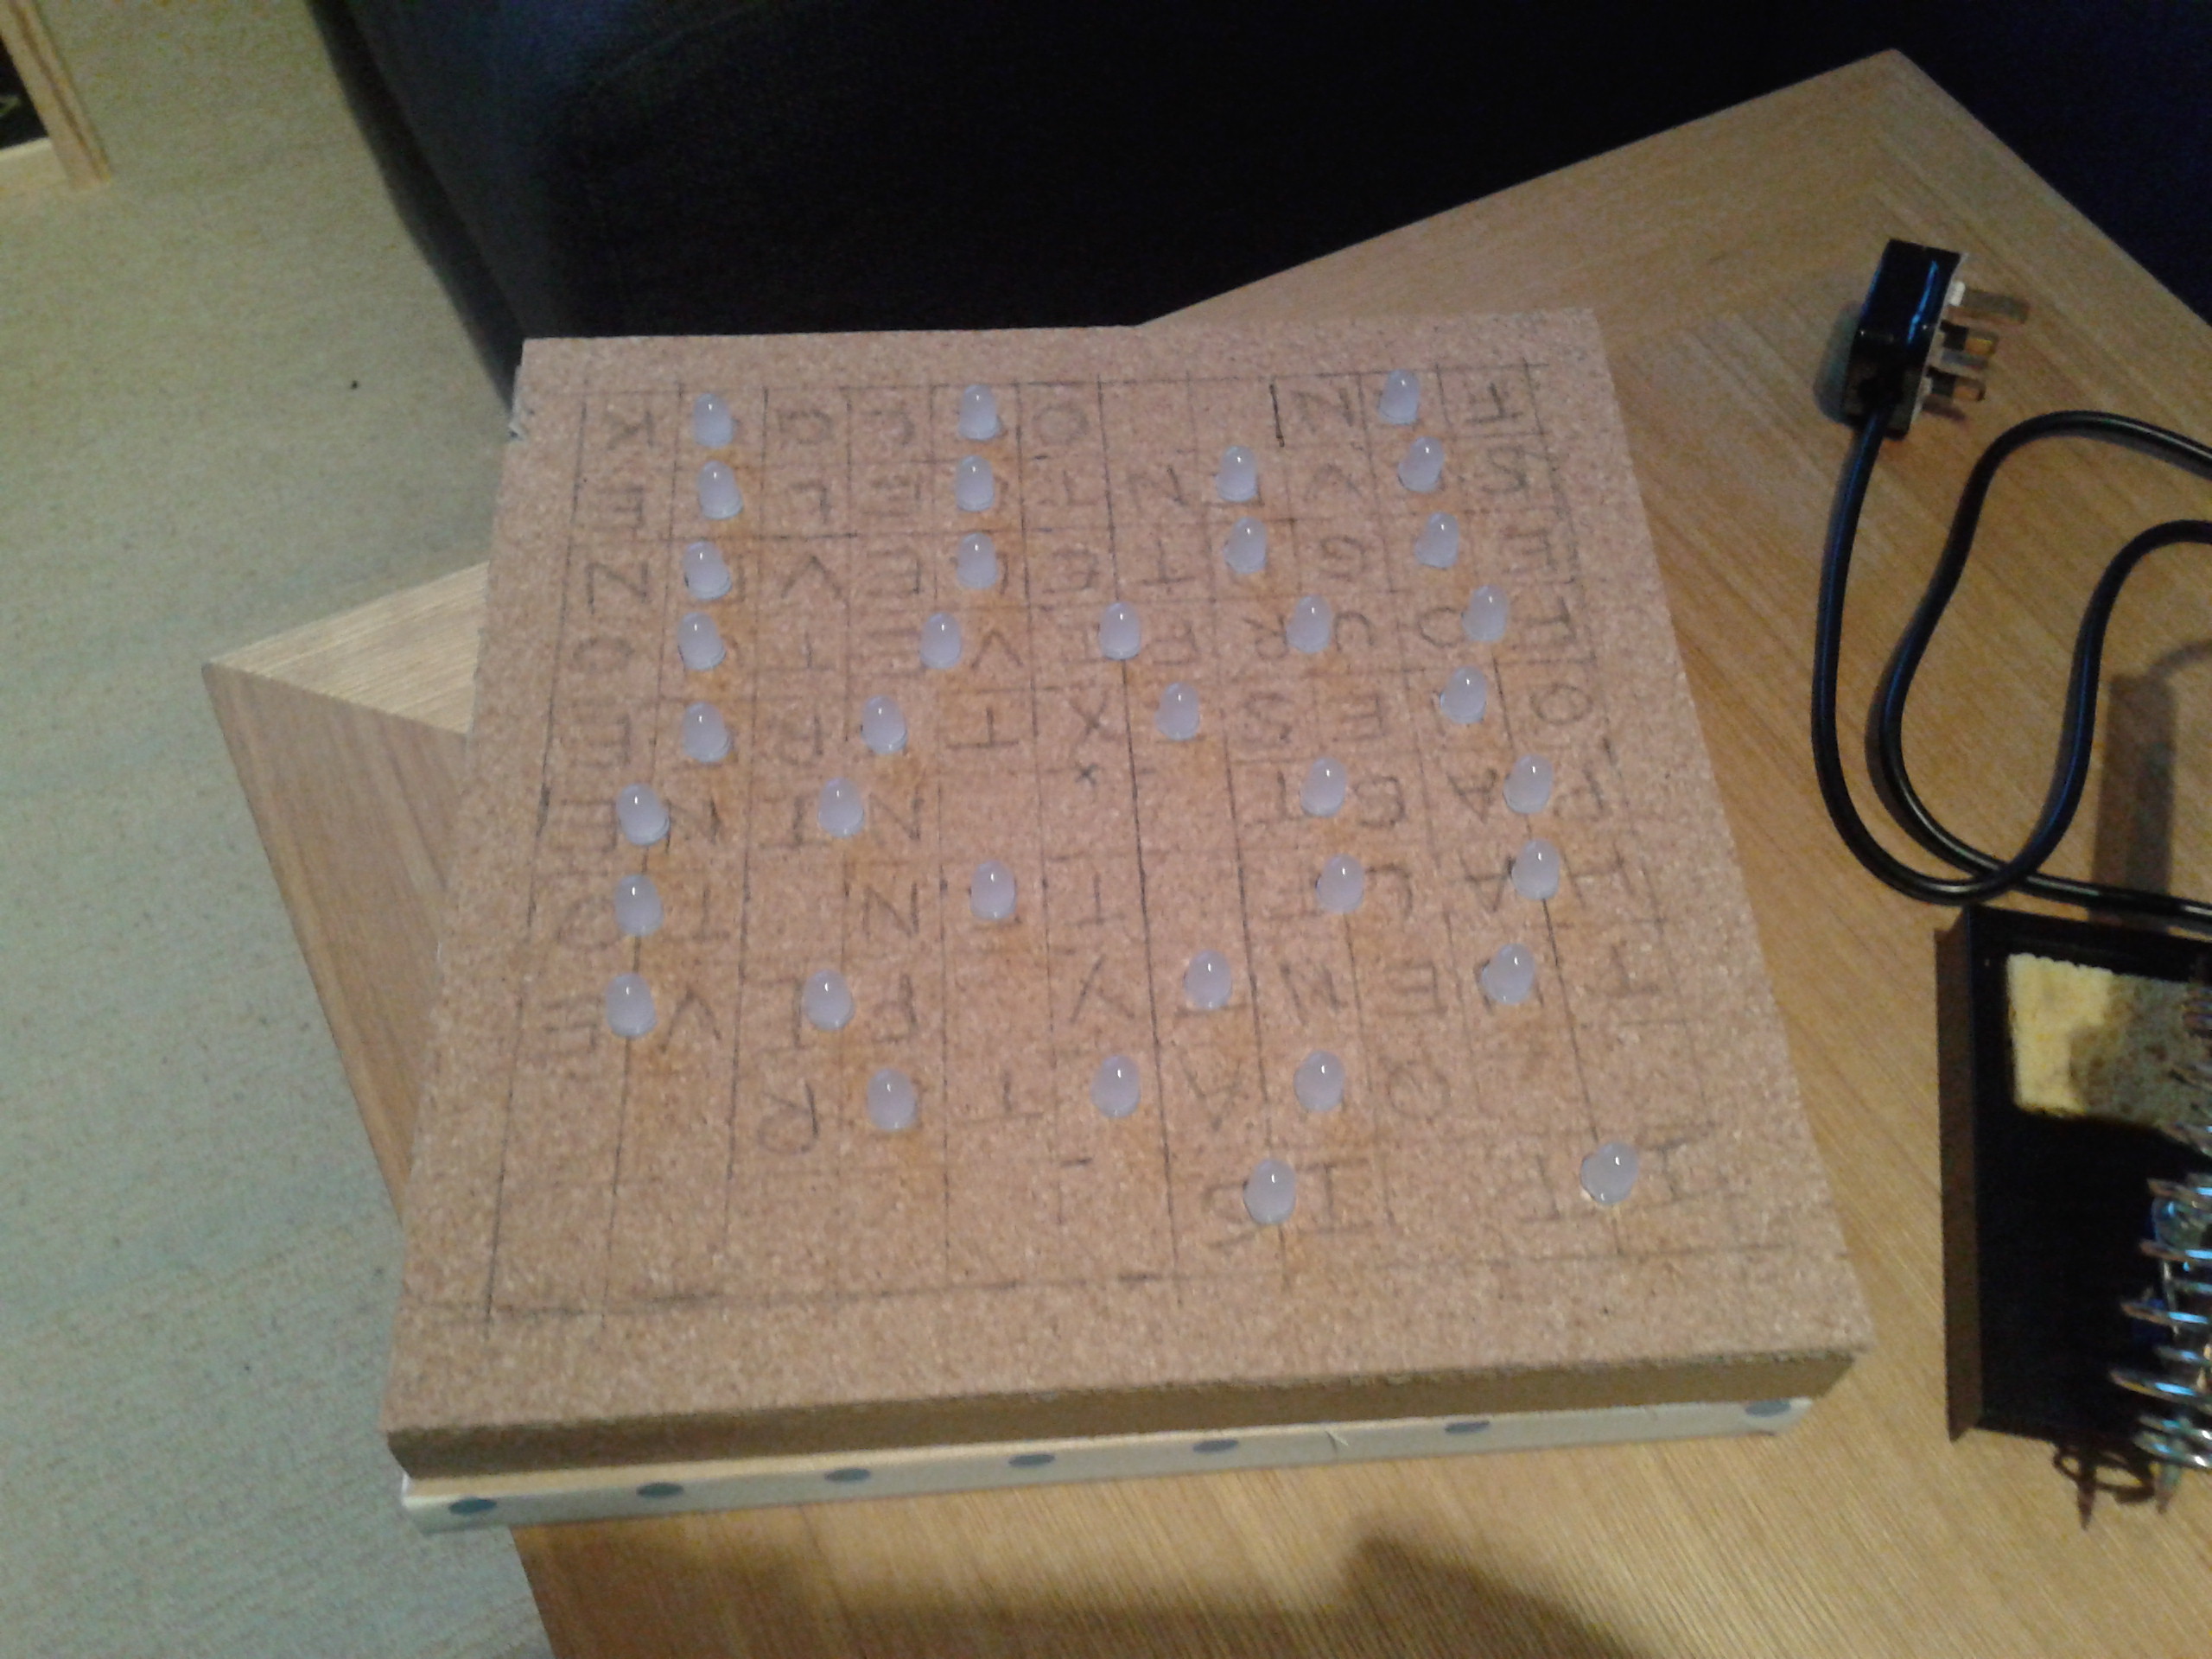
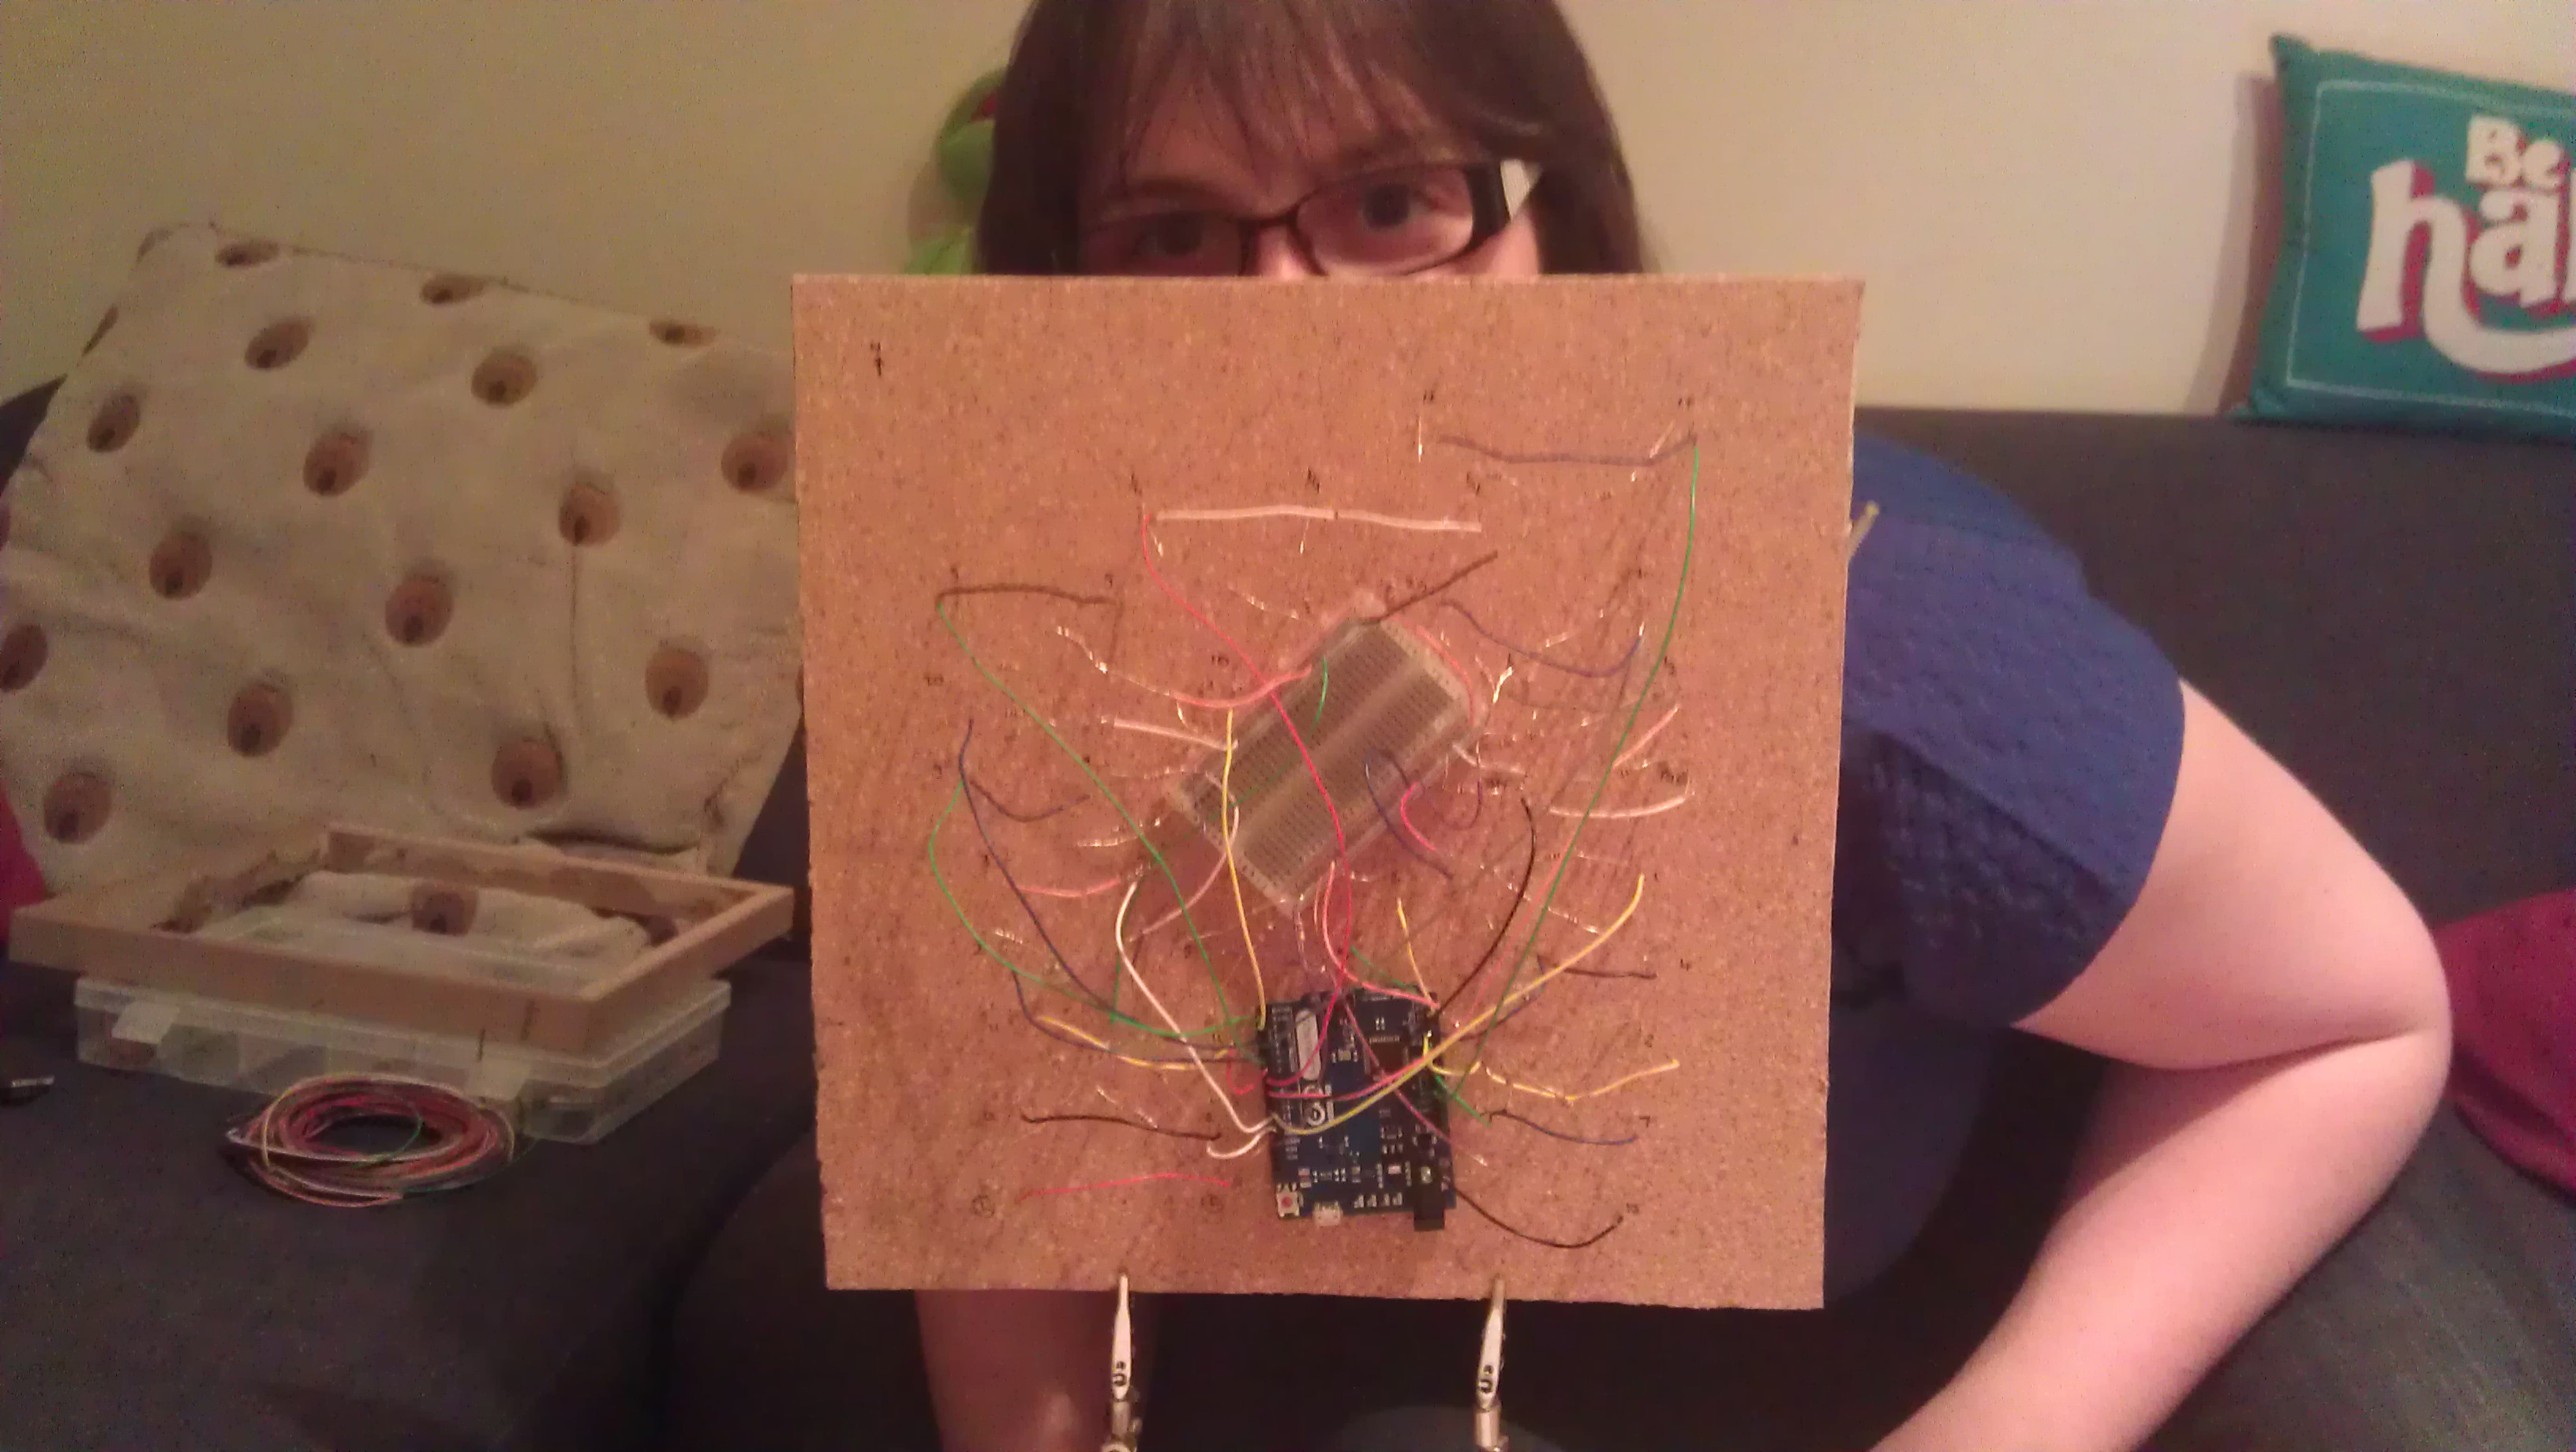
- Place LEDs into the corkboard, with the legs poking out the other side. Depending on how many you have you're likely to want to share LEDs between letters. I'd recommend having one for every 2-3 letters. (in progress) (done)
- Wire up the LEDs to the Arduino. Remember that you only have as many pins as there are distinct words on the clock, so you will need to attach LEDs for the same word in parallel to the I/O pins. (If the LEDs are attached in parallel they all have the same current, and hence brightness.)
- Fix the Arduino to the other side of the corkboard to the LEDs. Congratulations, this pretty much finishes the functional part of the clock! (pic)
- Apply the stencil to your mounting board and cut out the letters (this takes forever).
- Rip off the canvas from the frames and replace the front with your stencilled mounting board. Cover the rest of the frame with black mounting board. Make sure the bottom edge of your clock (the one closest to the floor when hanging) is a single piece, as the corkboard will rest on this when hung. Make sure the top edge is in two pieces (one on each frame) to allow for the hinge. Cut a hole in the back for hanging. Cut another hole in the back for the power supply.
- Attach the hinge to the two frames, ensuring the corkboard sits in place between them when closed.
- Make partitions from the corrugated cardboard to separate the words. Attach these to the frame. You want these to be just the right size (between the corkboard and the front stencil). If it is too thin then light from one word will flood into another when lit. If it is too thick then the clock won't close properly.
- Glue tracing paper to the front of the corrugated cardboard partitions. Try to get boundaries of the paper between the letters, rather than on them. (pic)
- Set the configuration at the top of the wordclock.ino file to the time you will power on the Arduino.
- Pop in the power supply and turn it on at the right time!
- Add a button that allows you to advance the time. Currently we have to pull the clock down in order to change the time. Power cuts make me cry.
- Get a good way of cutting out the stencil. Cutting out 110 letters with a Stanley knife is a good way to go nuts.
- Check the lifetime of your LEDs. In theory the "IT IS" LEDs will be on all of the time, so these will want to last the longest.
- Consider covering one side of your corkboard in foil to reflect more of the light out of the letters.
- Come up with a better way of partitioning the words that doesn't rely on perfect sizing.