![]()
This is a repo that builds an electron app for Mac. The purpose of the app is to make it as easy as possible to generate Instagram ready images out of source files (targeted at swipeable panoramas).
When you upload an image, the file will get analysed by the software which outputs it as a square image by taking in the longest dimension and providing a blurred instance of the image as a background. If the image is recognized as having an aspect ratio higher than 2:1, it calculates the optimal distribution of squares to split the image into.
As shown in this example:
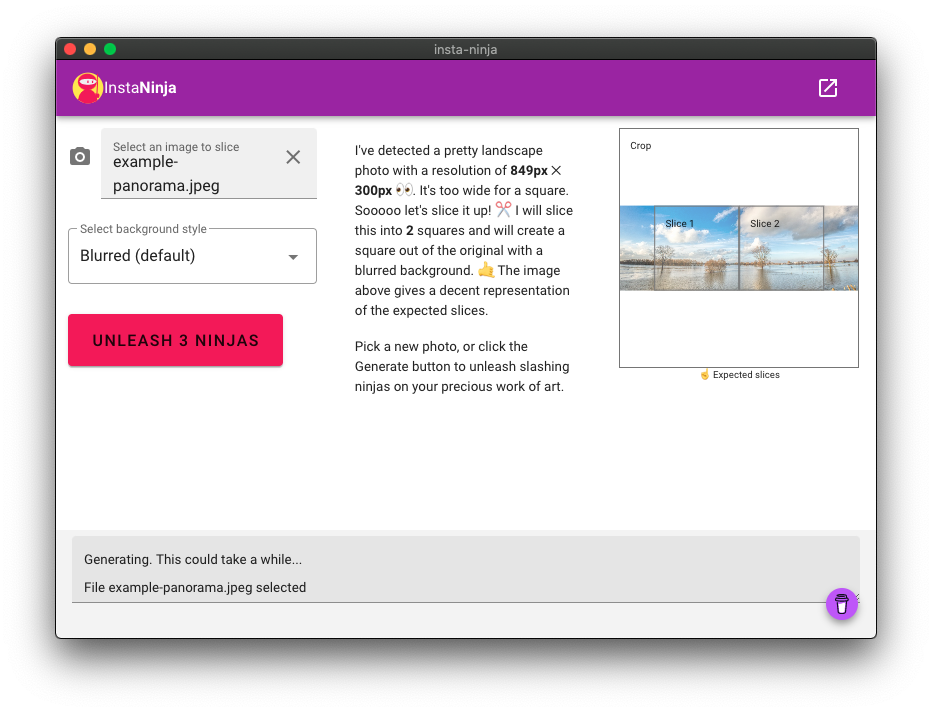
For the cover image, you can optionally select the type of backdrop (blurred by default, black or white).
If you are pleased with the projected output, simply click the Unleash n ninjas button and select and output base file:
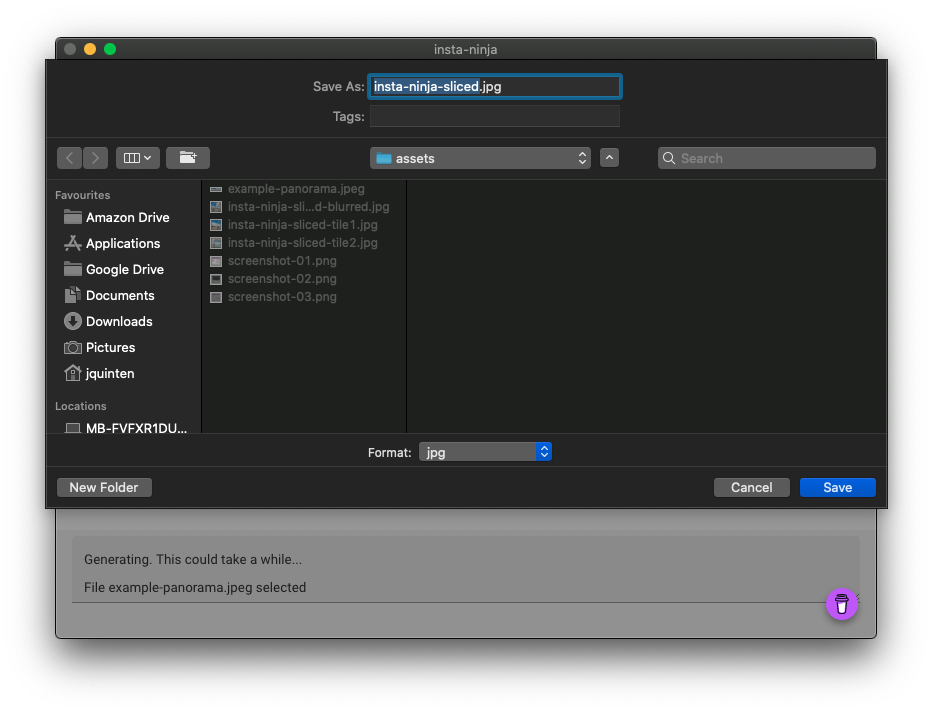
It wil start the generating process and automatically generate any required slices (as indicated by the preview) in the target location as well.
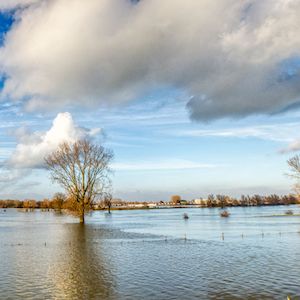
So you go from:
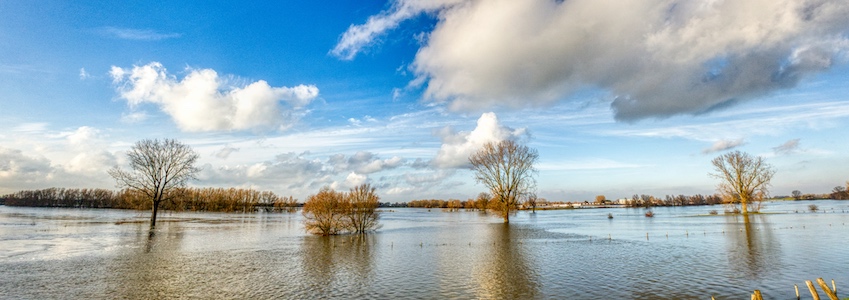
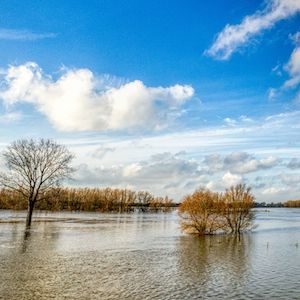
To this:

And also this:
You can then manually upload those to Instagram.
You can grab the latest version here. Mac users may need to ignore or manually enable the unsigned app warning before it'll work. If you have trust issues, you can check the code and build it yourself on (at least) any MacOS platform by following the "Running the project" steps.
If you love to shave some time of cropping and blurring, consider buying me a coffee!
The reason I've built this project is because when I wanted to upload panoramic images on Instagram, I found it annoying to either:
- Open PanoramaCrop on my phone, provide an image, select the squares: export. Upload the image, select a blurred square: export and hope the application doesn't crash 🤞 (for me it usually did)
- Manually go to the Online Blurred Frames Images Generator, upload my image, set the blur. Don't forget to scale down (otherwise it crashes) and export to a file. Then go to ImageSplitter and upload the same source image, provide the number of squares and ...ugh
Although both methods work (usually), I've found it very tedious since on my feed, I always want a blurred image to precede the squares. I always need to manually recreate them. Since I'm a developer I thought, what the heck, let's build something for me then. And I did.
It's not polished and it doesn't give me the options of aligning the generated squares, but it does offer sane default that work for me. If they do for you too, feel free to use this program yourself! 🖖
This project is built with Electron and VueJS and it's fairly easy to modify to you liking. It uses the sharp library for all of the image magic 🎩 and Vuetify for quickly scaffolding an interface.
Follow the steps below to get your own instance up and running. If you feel like contributing, please feel free to contact me.
I happen to use yarn, but I'm sure you can figure out the npm counter parts for the following commands.
To setup the project, clone the repository to your local machine and in the folder (from the terminal) execute:
yarn install
This will install all of the dependencies to the local folder.
In order to develop, it's just as easy to spin up an electron instance with the following command:
yarn electron:serve
It offers the same dev tools you'd use for web development and has hot reloading enabled, so development is just as easy as coding in VueJS is!
If you want to build an application out of the source code, kill the development command and enter the following:
yarn electron:build
For this, you may need a while and also, you might run into notifications about being an Apple developer and having some sort of development ID. If all succeeded, a .dmg file (among other things) has been generated in the dist_electron folder. That's it! 👌
