This guide outlines the process for creating and managing SPL Token-2022 on the Solana blockchain, focusing on the Devnet for testing purposes. Follow these steps to mint your custom SPL tokens, aptly named "Token-22", and connect your paper wallet to the Phantom Wallet for a seamless Solana blockchain experience.
Before starting, ensure you have installed the following tools:
- Solana CLI: Installation Guide 🛠️
- Node.js: Download Page 📥
- Mpl Token Metadata: Install via npm with
npm install @metaplex-foundation/mpl-token-metadata - SPL Token CLI: Follow the instructions in the Solana documentation or install it via npm with
npm install -g @solana/spl-token ts-node: Install via npm withnpm install -g ts-node
Generate a key pair that starts with a specific prefix (e.g., "KVN"). This command searches for a key pair that meets the criteria, which can take some time.
solana-keygen grind --starts-with KVN:1Rename your key pair file to KVN__________.json for easier reference.
Generate a key pair that starts with a specific prefix (e.g., "KV"). This command searches for a key pair that meets the criteria, which can take some time.
solana-keygen grind --starts-with KV:1Set the Solana CLI to use your newly generated key pair.
solana config set --keypair /path/to/KVN__________.jsonSet to Devnet
You Can Change it to devnet,testnet,mainnet-beta. (Devnet in our Case)
solana config set --url https://api.devnet.solana.comSelect Your Keypair For Airdrop
solana config set -ud -k .\KVN______________.jsonRequest an airdrop of 2 SOL to your account on the Devnet.
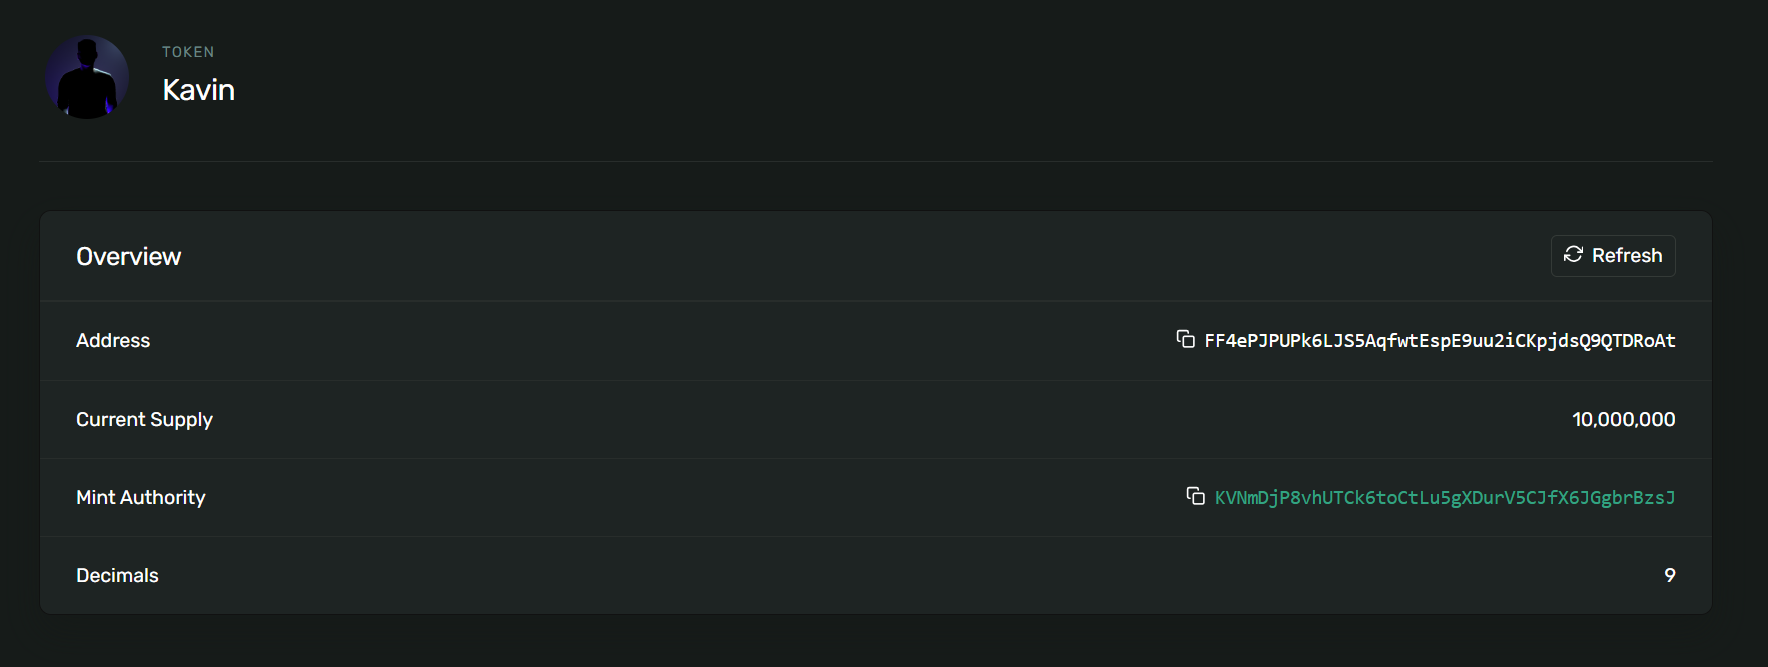
solana airdrop 2Create your SPL token using one of the two methods below:
Option 1: With Key Pair File
spl-token create-token -p TokenzQdBNbLqP5VEhdkAS6EPFLC1PHnBqCXEpPxuEb /path/to/KVNmDjP8vhUTCk6toCtLu5gXDurV5CJfX6JGgbrBzsJ.jsonOption 2: Recommended
spl-token create-token -p TokenzQdBNbLqP5VEhdkAS6EPFLC1PHnBqCXEpPxuEbAfter adjusting addresses and keys in spl_token22.ts, execute it:
ts-node ./spl_token22.tsCreate a token account and mint your desired amount of tokens you wish. Replace with your token's address:
spl-token create-account <token_address>
spl-token mint <token_address> 10000000Convert the private key from your JSON file for Phantom Wallet import:
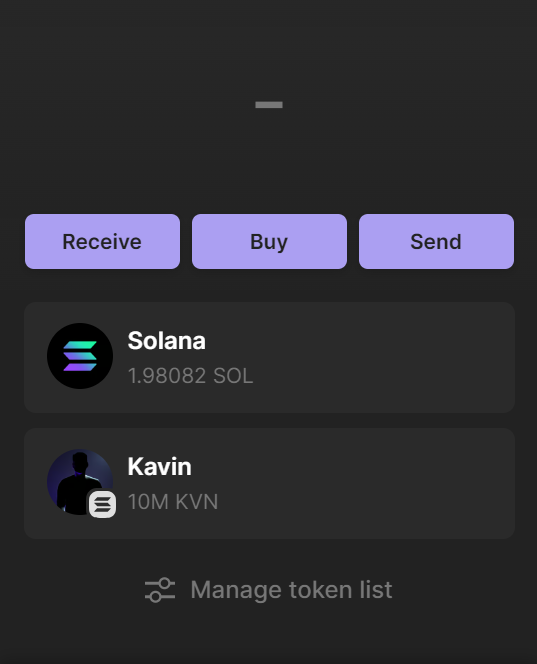
more /path/to/KVN__________.jsonCopy the output, which is an array of numbers, to import into Phantom Wallet:
- Open Phantom Wallet and switch to Testnet mode in Settings.
- Choose to Import Private Key.
- Paste the key array, name the account, and proceed, ignore any format warning.
My Wallet Address : KVNmDjP8vhUTCk6toCtLu5gXDurV5CJfX6JGgbrBzsJ
Send Me Your Token After Creating 😊🥳
- Caution: Be Careful Using Mainnet,It May Cost You Original Money
- Security: Be cautious with your key pair and private keys.
- Devnet: This guide is for the Devnet.
- Phantom Wallet: Ensure your Phantom Wallet is up to date.
Contributions, issues, and feature requests are welcome! Feel free to check issues page. For major changes, please open an issue first to discuss what you would like to change.
This project is MIT licensed.