This a shop to sell water weapons
- User can Sign In, Sign Up to the personal account
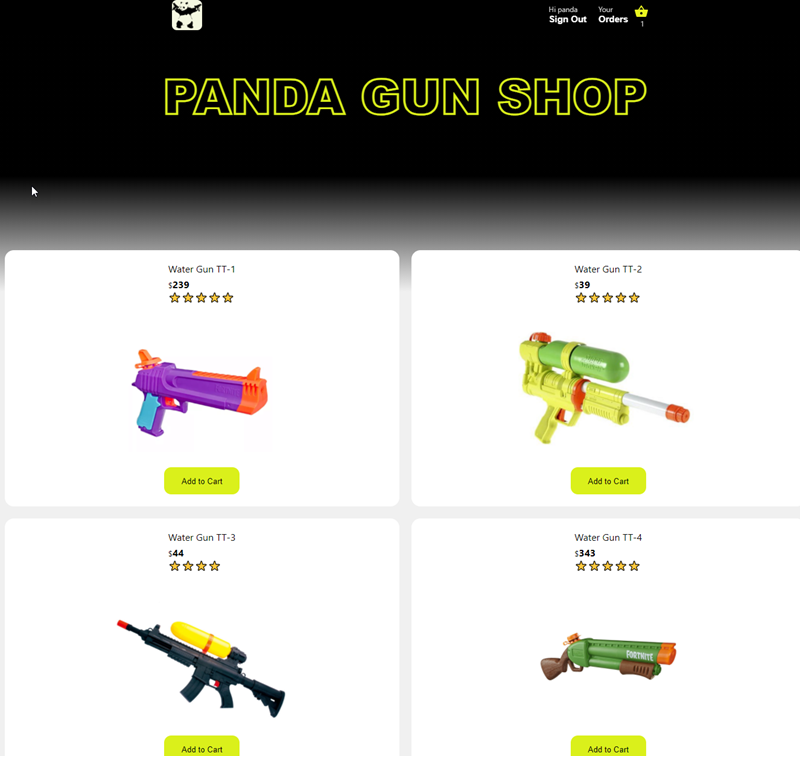
- List of Products is available on the Home page
- Customer can select multiple guns and add them to the Cart
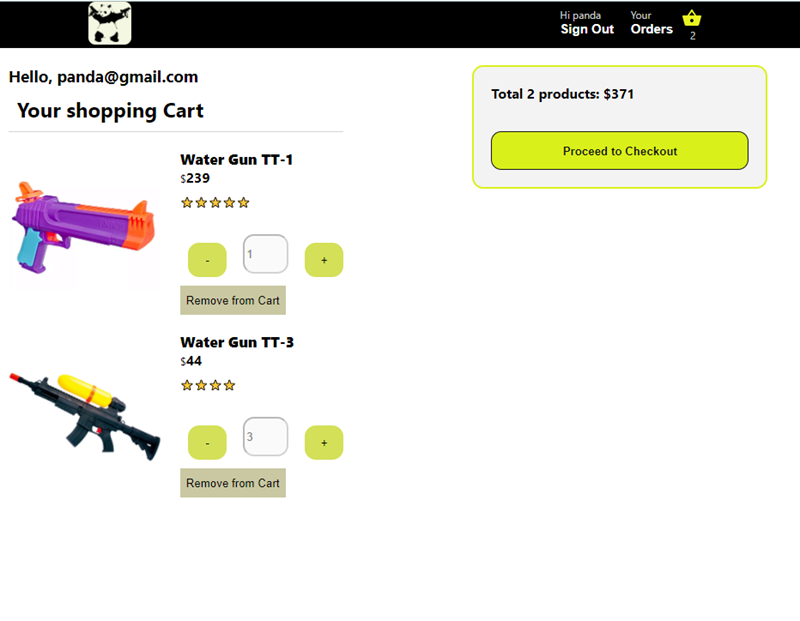
- By clicking on the Cart - user can proceed to the Shopping Cart - where it is possible to manage amount of each product or completely remove it from the basket
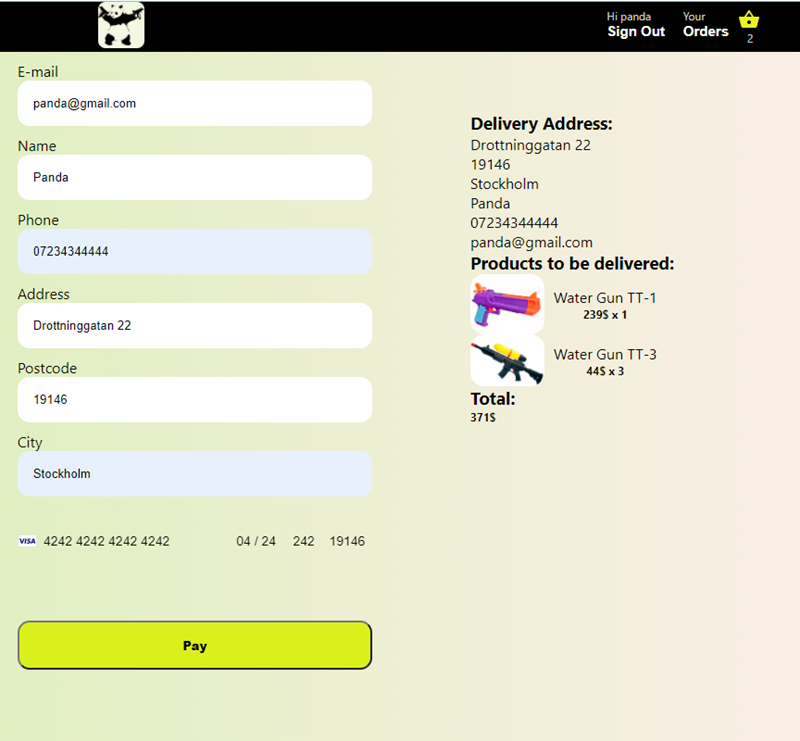
- Proceed to Checkout button will redirect customer to the Payment page to enter Deliver Information and Card details
- Unauthenticated user will be redirected to the login page before payment is available
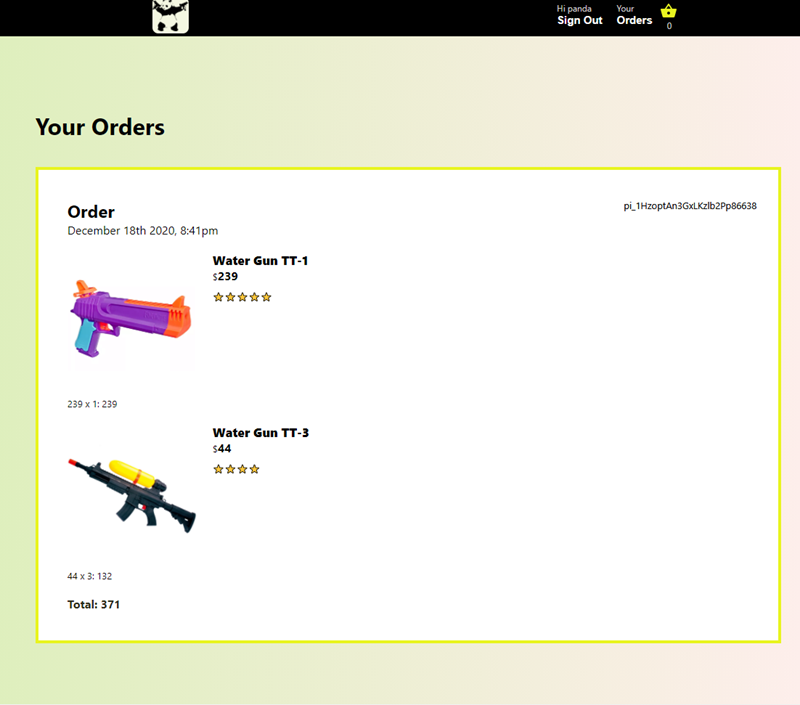
- Once order is paid - customer is redirected to the Orders page
- Authenticated users can observe history of purchases on the Orders page
For this project implementation it is decided that the server is developed with Express.js, Firebase functions, firestore, authentification
and the web client with React.js library, that is used for building user interfaces.
The database uses Firebase Cloud Firestore as a storage.
React Context API is used for state management.
Application is deployed on Firebase functions and hosting.
-
Clone repo
https://github.com/kosmolet/gun-shop.git.npm iin root of the project folder. -
Create Firebase account. Navigate to Firebase console and create Project there. Check "Also set up Firebase Hosting" checkbox.
-
npm i -g firebase-tools
firebase login
firebase init -
In the Project Settings select Config option and copy JSON Config.
-
Replace firebaseConfig in the config/firebase.js file with your config.
-
Turn on
Password and email Sign-in methodin Authentication in Firebase project. -
Create a database in Cloud Firestore in Firebase project.
-
Create Stripe account and copy Public and Secret keys.
-
Add Public Stripe key as
REACT_APP_PUBLIC_KEY_STRIPE='your_key'in .env.development.local file in root folder. -
Add Secret Stripe key as
STRIPE_SK='your_key'in .env in functions root directory. const stripe = require('stripe')(process.env.STRIPE_SK); should be in index.js file in functions folder in development mode. -
Run
npm startin root directory to start React project. -
Run
cd functionsto navigate to Functions folder.npm ito install dependencies for backend. -
Run
firebase emulators:startin functions directory to start the server. Follow to the links which will appear in the terminal: to see logs and server base url. -
Replace baseURL link in src/config/axios.js file with your baseURL. baseURL: 'http://localhost:5001/gunshop-7b627/us-central1/api' - example of axios.js base url in development mode
To deploy project to Firebase =>
Firebase billing plan should be in the Blaze mode.
.env variables should be set using firebase functions:config:set stripe.key='sk_test_youkey34' command
To deploy backend: Run firebase deploy --only functions in root directory of functions folder
To deploy frontend:
Copy url of deployed backend and Replace baseURL link in src/config/axios.js file with your baseURL.
baseURL: https://us-central1-gunshop-7b633.cloudfunctions.net/api - example of axios.js base url in production mode
Run npm run build in Root directory of the project
Run firebase deploy --only hosting in Root directory of the project
Home page
Login page

Shopping Cart page
Deliver Information and Card details page
Orders page