This a simple image viewer using OpenCV library and color tracking.
The main idea of this project is that any user having a folder with image files in it can run the script and watch the images one by one using hand+color movement and trackig in order to view the next or previous image each time.
There are two basic python files in this project.
This file contains the code required to rename all the images in the main folder. If we have a folder containing for example 5 image files, then by running rename.py all of the image files will be renamed to the form pic+number_of_image+.+extension (e.g. pic2.jpg)
Inside this file we are importing rename.py. Below there are some details about the program.
First of all we must define the directory to our folder with the image files.
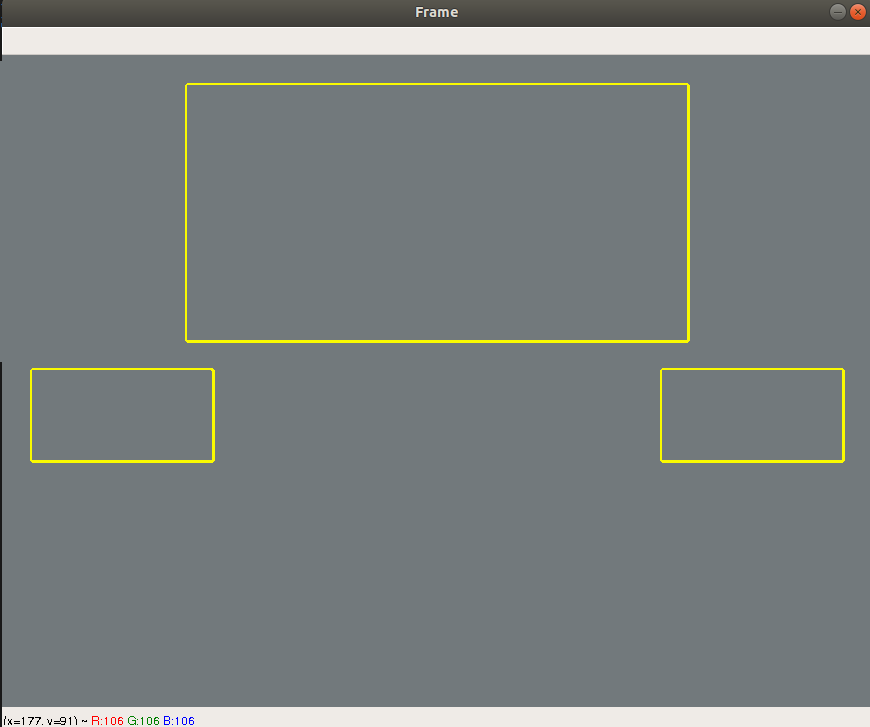
directory = "path_to_image_files/images"We define the dimensions of 3 basic windows inside the frame in which the images will be displayed. The left window is used for the past (already seen) image, the right window is used for the new (not seen yet) image and the middle window is for the current (watching now) image.
# Desired frame dimensions (width and height)
# Width and Height
w, h = 870, 652

# Middle winndow
img_top_left = (int((w-500)/2), 30)
img_bottom_right = (img_top_left[0]+500, img_top_left[1]+255)

# Left/past image window
img_past_top_left = (30, img_bottom_right[1]+30)
img_past_bottom_right = (img_past_top_left[0]+180, img_past_top_left[1]+90)

# Right/new image window
img_new_top_left = (w-30-180, img_bottom_right[1]+30)
img_new_bottom_right = (img_new_top_left[0]+180, img_new_top_left[1]+90)
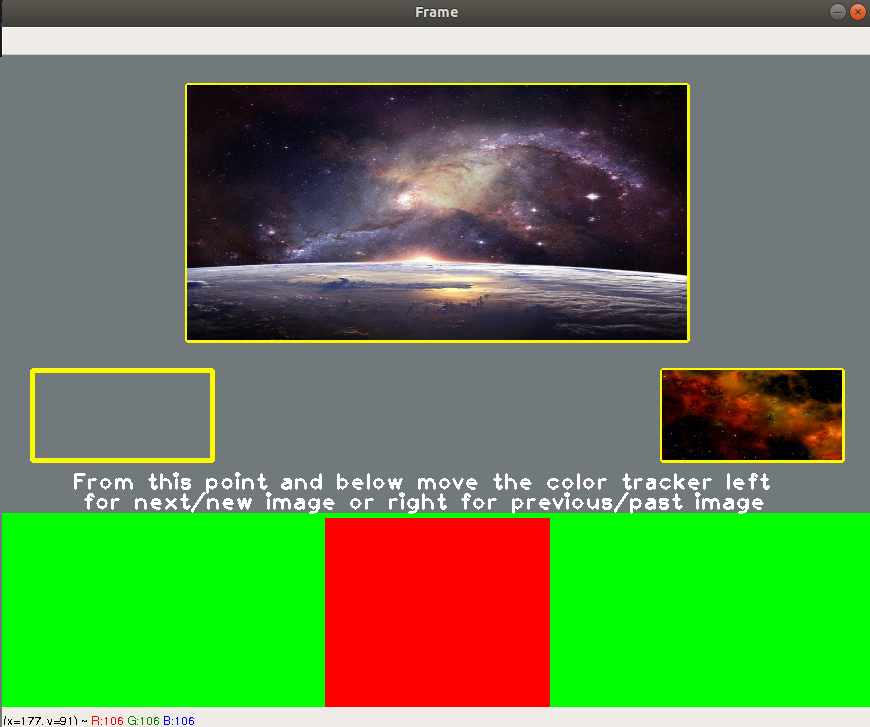
This will be the area (sub-frame) inside the main frame in which our color-finger tracking will be active.
# Set the color-finger tracking window frame
finger_window = np.array([[[0,460], [0,h], [320,h], [320,460], [w-320,460], [w-320,h], [w,h], [w,460]]], np.int32)
cv2.polylines(frame, [finger_window], True, (0,255,0), thickness=3)

# Left & Right window frame for the color tracking part
finger_left_window = np.array([[[0,460], [0,h], [320,h], [320,460]]], np.int32)  # Finger Left Window
finger_right_window = np.array([[[w-320,460], [w-320,h], [w,h], [w,460]]], np.int32) # Finger Right Window
The area in which the color-finger tracking is active is with the green color.

Now it's time for the coding part that we need to track the finger or any color. To do that we are following these steps.
- Apply hsv format on frame
- Define the range for our color with lower and upper color arrays
- Create a mask with the previous values
- Find the maximum contour area
Note ! : Check Hand-Detection-and-Finger-Counting repository for more details about contours and convex hull.
By tracking the center of the maximum contour area we can decide if it's in the left or the right window. So we can choose to move images left or right.
# Find each contour center
if int(M["m00"])!=0:
    cx = int(M["m10"] / M["m00"])
    cy = int(M["m01"] / M["m00"])
cv2.circle(frame, (cx, cy), 2, (0,0,255), 2)Let's say that we run the script. The first frame will be something like the following one.
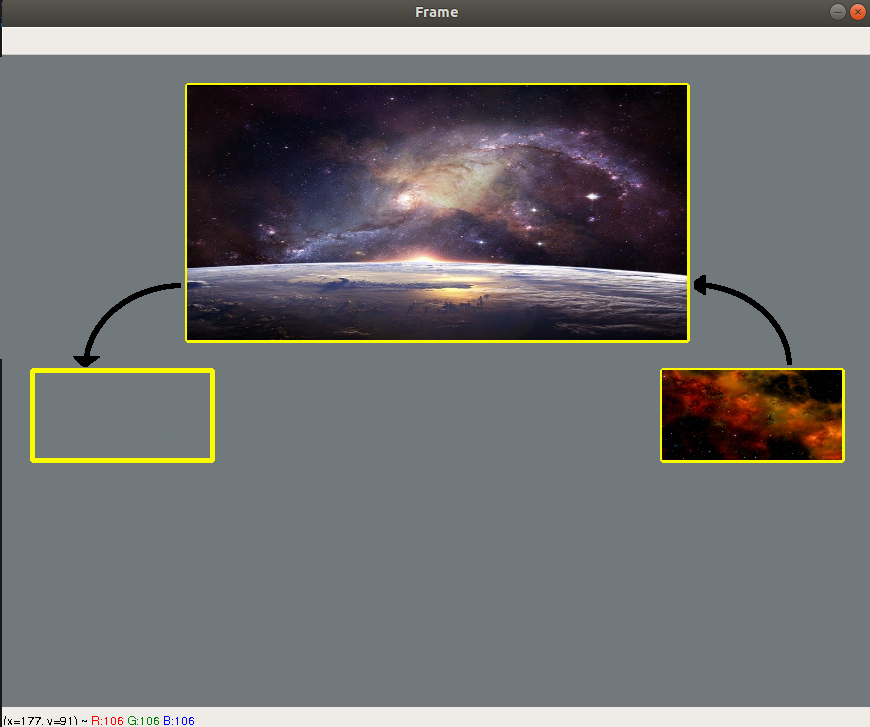
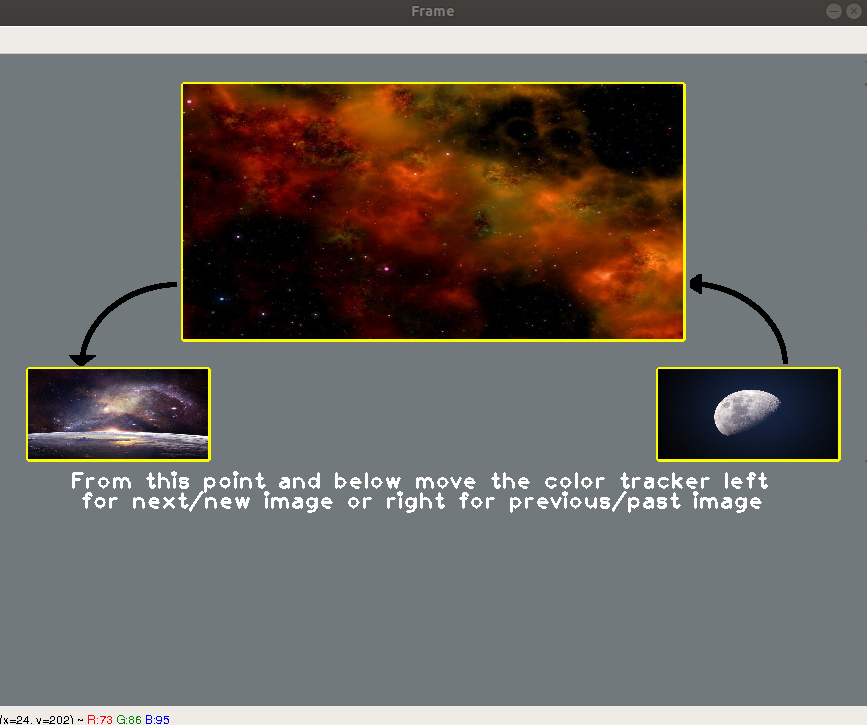
If we move our color tracker or finger towards the left window then our viewer will move one image forward. So the new frame will be like this :
- Konstantinos Thanos