It's time to practice making a well formatted HTML document! While you may normally prefer to work locally, you're encouraged to work on this lesson through the Learn platform, as it will be formatted nicely, with screenshots inline to guide you and a built-in development environment.
You will be able to:
- Explain what HTML is and why it's important in the context of web development
- Compare and contrast HTML tags
- Create an HTML document with appropriate tags
Like all lessons, you can complete this lesson locally on your hard drive. However, you're certain to notice that there is no jupyter/ipython notebook with the file extension .ipynb in this lesson's repository! While you'll use many of the same tools as you have been previously: the command line, a text editor, and a web browser, this lesson is a little bit different in that you'll be designing a minimalist web page!
If you're viewing this lesson on learn, towards the top of this page you'll see a button that says "Open IDE" (it's just to the left of the GitHub and Raise Issue icons). This will allow you to have a terminal and text editor emulated in your browser! With that, you won't even have to open up another program.
Once you click it, your browser should look something like this:
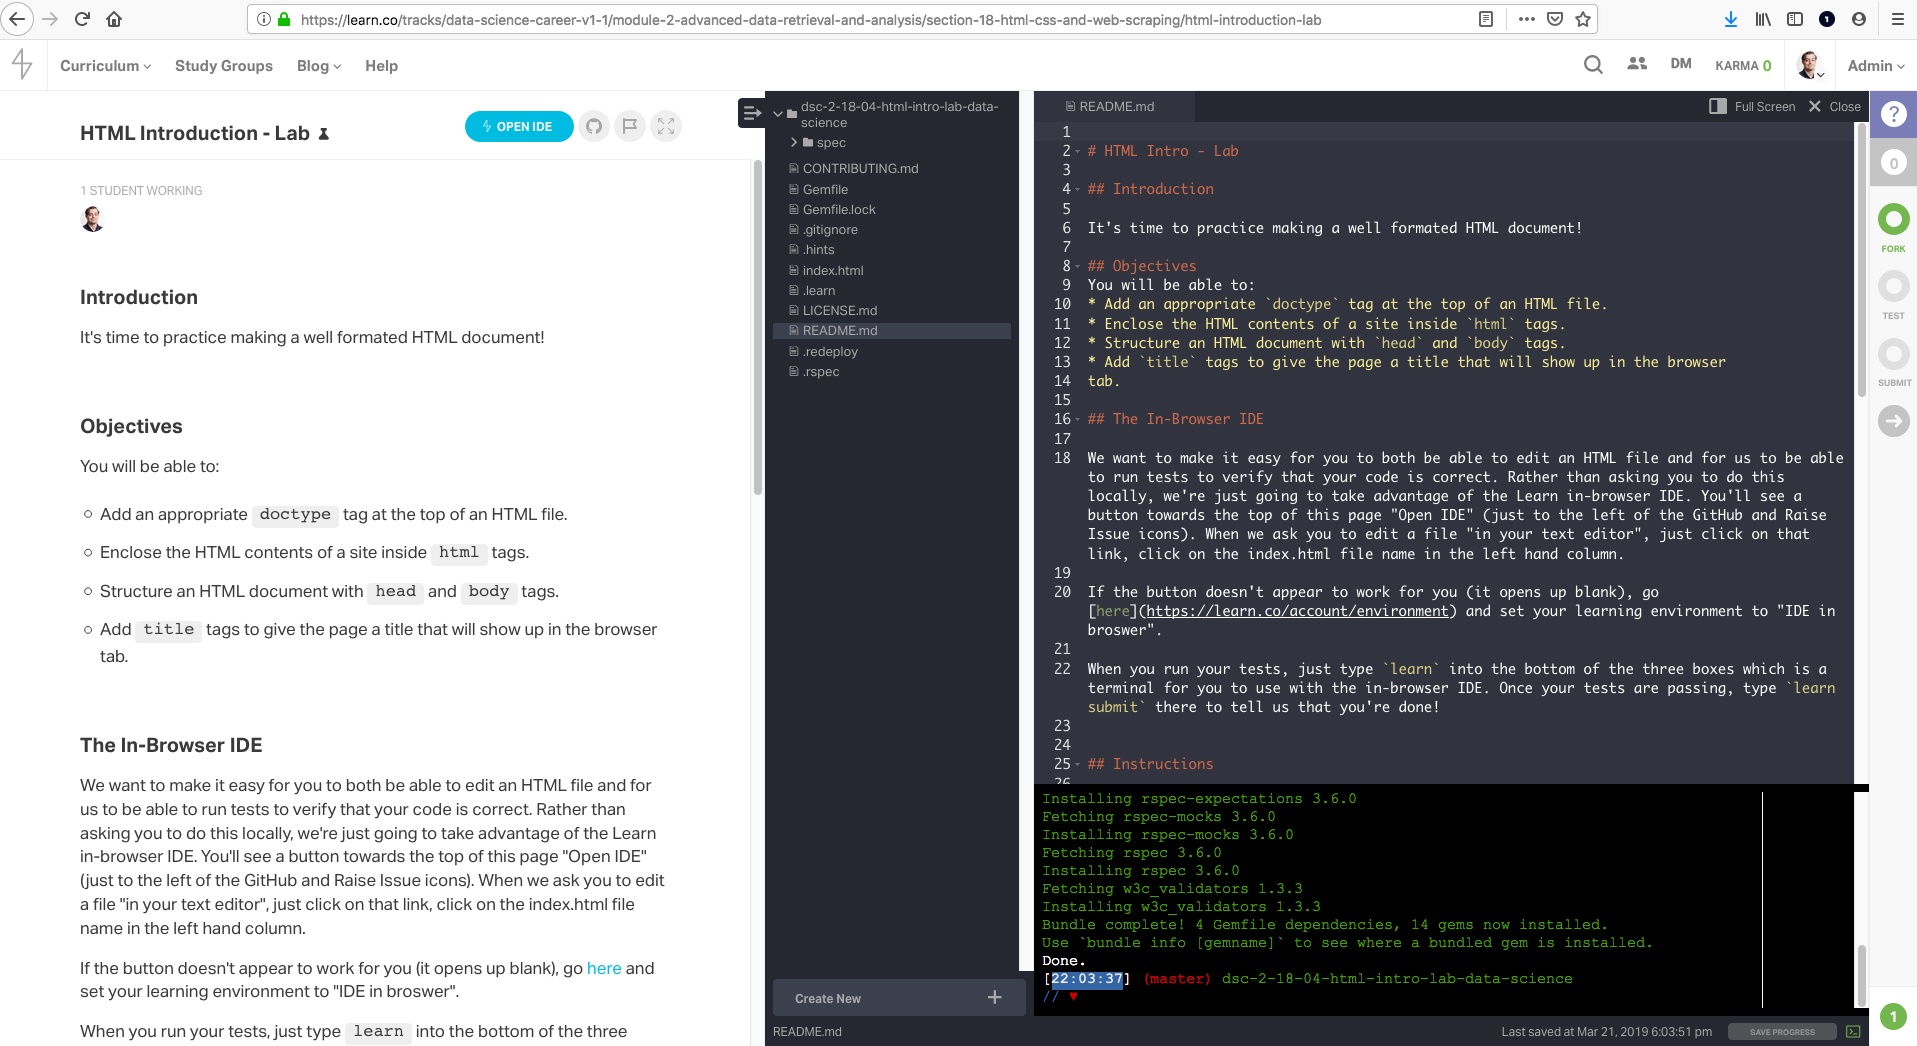
If the button doesn't appear to work for you (it opens up blank), go here and set your learning environment to "IDE in browser".
When you run your tests, just type learn into the bottom of the three boxes which is a terminal for you to use with the in-browser IDE. Once your tests are passing, type learn submit there to tell us that you're done!
Open index.html in your text editor (or the in-browser IDE). Add a doctype tag at the top of the
file indicating that the rest of the file will be HTML code. Then create the opening and closing HTML tags to enclose the remainder of your page's
content. Add opening and closing head and body tags within the outer
HTML tags to break your HTML document up into two sections. Remember, the
head section generally contains data intended for the web browser, and the
body section contains the content our users will see and interact with on the
page.
Finally, add a couple of sections so the web page isn't blank. Add a title such as "This is the title" within the head. Add a p (paragraph) with the head such as "This is a body paragraph".
While working through these assignments, your general workflow should center on writing code in the text editor and observing the subsequent impact on the displayed webpage in another tab of your browser.
If you're using a local development environment, you can open the HTML file directly in your browser. If you're coding in the
Learn IDE, you can simply type "httpserver" in the bottom terminal emulator of the Learn IDE.
For further details, check out this Help Center article that explains how to spin up and connect to a simple remote server.
Once you have the HTML document open in your browser, you can make changes to it in the text editor, save the file, refresh the page in the browser, and see the changes instantly.
Well done! You just practiced writing your own structured HTML document!