Author: Ignacio Heredia & Wout Decrop (CSIC & VLIZ)
Project: This work is part of the iMagine project that receives funding from the European Union’s Horizon 2020 research and innovation programme under grant agreement No. 101058625.
Project: This work is part of the DEEP Hybrid-DataCloud project that has received funding from the European Union’s Horizon 2020 research and innovation programme under grant agreement No 777435.
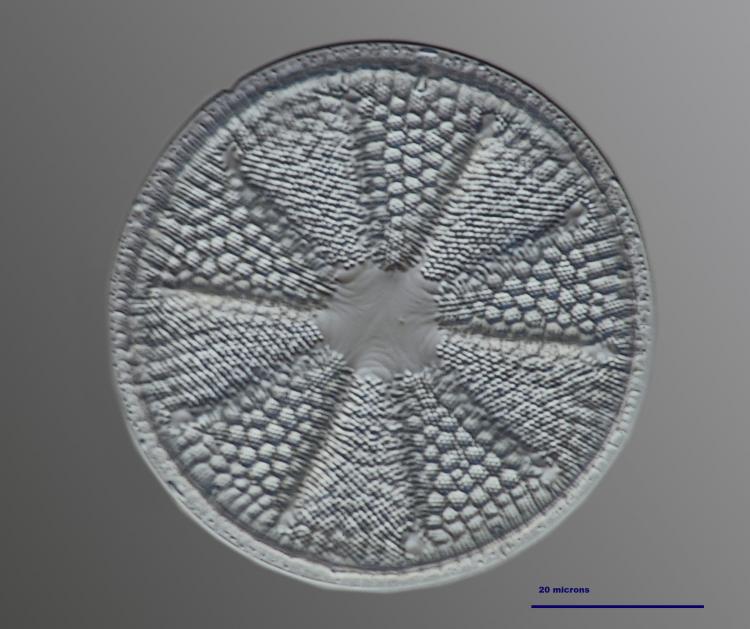
This is a plug-and-play tool to train and evaluate an phytoplankton classifier on a custom dataset using deep neural networks.
You can find more information about it in the iMagine Marketplace.
Table of contents
- Installing this module
- Activating the module
- Train the phyto-plankton-classifier
- Test an image classifier
- More info
- Acknowledgements
Requirements
This project has been tested in Ubuntu 18.04 with Python 3.6.9. Further package requirements are described in the
requirements.txtfile.
- It is a requirement to have Tensorflow>=2.3.3 installed (either in gpu or cpu mode). This is not listed in the
requirements.txtas it breaks GPU support.- Run
python -c 'import cv2'to check that you installed correctly theopencv-pythonpackage (sometimes dependencies are missed inpipinstallations).
To start using this framework clone the repo and download the default weights:
# First line installs OpenCV requirement
apt-get update && apt-get install -y libgl1
git clone https://github.com/lifewatch/phyto-plankton-classification
cd phyto-plankton-classification
pip install -e .
curl -o ./models/default_imagenet.tar.xz https://api.cloud.ifca.es:8080/swift/v1/imagenet-tf/default_imagenet.tar.xz #create share link from nextcloud
cd models && tar -xf default_imagenet.tar.xz && rm default_imagenet.tar.xz
Install Docker Desktop.
Ensure Docker is installed and running on your system before executing the DEEP-OC Phytoplankton Classification module using Docker containers. So open docker, if correct, you should see a small ship (docker desktop) symbol running on the bottom right of your windows screen
The directory is cloned so that the remote and the local directory are the same. This makes it easier to copy files inside the remote directory
git clone https://github.com/lifewatch/phyto-plankton-classification
cd phyto-plankton-classificationAfter docker is installed and running, you can run the ready-to-use Docker container to run this module. To run it:
Run container and activate acess to nextcloud server through rclone.
If you rclone the credentials (see Tutorial) from the NEXTCLOUD server, you can also create a direct link to these credentials through one line of code.
First, install it directly on your machine:
$ curl -O https://downloads.rclone.org/v1.62.2/rclone-v1.62.2-linux-amd64.deb
$ apt install ./rclone-v1.62.2-linux-amd64.deb
$ rm rclone-current-linux-amd64.deb
Secondly, run 'rclone config'
$ rclone config
choose "n"  for "New remote"
choose name for DEEP-Nextcloud --> rshare
choose "Type of Storage" --> Webdav
provide DEEP-Nextcloud URL for webdav access --> https://data-deep.a.incd.pt/remote.php/webdav/
choose Vendor --> Nextcloud
specify "user" --> (see `<user>` in "Configuring rclone" above).
password --> y (Yes type in my own password)
specify "password" --> (see `<password>` in "Configuring rclone" above).
bearer token --> ""
Edit advanced config? --> n (No)
Remote config --> y (Yes this is OK)
Current remotes --> q (Quit config)
After installing rclone and running 'rclone config'. The rclone.conf page should look like this:
[rshare]
type = webdav
url = https://data-deep.a.incd.pt/remote.php/webdav/
vendor = nextcloud
user = ***some-username***
pass = ***some-userpassword**  --> this is equivalent to `rclone obscure <password>`
Copy the location to the rclone.config location and apply the line of code
docker run -ti -p 8888:8888 -p 5000:5000 -v "LOCATION/rclone.conf:/root/.config/rclone/rclone.conf" -v "$(pwd):/srv/phyto-plankton-classification" deephdc/uc-lifewatch-deep-oc-phyto-plankton-classification:latest /bin/bashRun container and only have local access All files can be locally saved but rclone needs to be configured after activation to acces nextcloud server, follow Tutorial
docker run -ti -p 8888:8888 -p 5000:5000 -v "$(pwd):/srv/phyto-plankton-classification" deephdc/uc-lifewatch-deep-oc-phyto-plankton-classification:latest /bin/bashTip: Rclone can also be configured after activation to acces nextcloud server, follow Tutorial.
now run DEEPaaS:
deepaas-run --listen-ip 0.0.0.0
and open http://0.0.0.0:5000/ui and look for the methods belonging to the planktonclas module.
deep-start -j
This will automatically start the notebook. You get the following output
you get the following output:
[I 12:34:56.789 NotebookApp]  To access the notebook, open this file in a browser:
     file:///root/.local/share/jupyter/runtime/nbserver-1234-open.html
[I 12:34:56.789 NotebookApp]  Or copy and paste one of these URLs:
     http://127.0.0.1:8888/?token=your_token_here
You can this go to think link in your brower or copy this final link and use it as a kernel on your local vsc
You can train your own audio classifier with your custom dataset. For that you have to:
The first step to train you image classifier if to have the data correctly set up.
The model needs to be able to access the images. So you have to place your images in the./data/images folder. If you have your data somewhere else you can use that location by setting the image_dir parameter in the training args.
Please use a standard image format (like .png or .jpg).
You can copy the images to 'phyto-plankton-classification/data/images' folder on your pc. If the images are on nextcloud, you can one of the next steps depending if you have rclone or not.
If you followed option 1, you can rclone your data from nextcloud. This will be the fastest way.
rclone copy /storage/some/remote/path /storage/local/path
rclone copy /storage/Imagine_UC5/data/images /srv/phyto-plankton-classification/data/imagesIf you followed option 2 and don't have rclone credentials, you can change the images_directory in the config file. You can for example change so so it points to the nextcloud directory. By doing so, you don't need to copy the files but it will take a bit longer to compute.
You can change the config file directly as shown below, or you can change it when running the api.
  images_directory:
    value: "/storage/Imagine_UC5/data/images"
    type: "str"
    help: >
Base directory for images. If the path is relative, it will be appended to the package path.Next, you need add to the ./data/dataset_files directory the following files:
| Mandatory files | Optional files |
|---|---|
classes.txt, train.txt |
val.txt, test.txt, info.txt,aphia_ids.txt |
The train.txt, val.txt and test.txt files associate an image name (or relative path) to a label number (that has
to start at zero).
The classes.txt file translates those label numbers to label names.
The aphia_ids.txt file translates those the classes to their corresponding aphia_ids.
Finally the info.txt allows you to provide information (like number of images in the database) about each class.
You can find examples of these files at ./data/demo-dataset_files.
If you don't want to create your own datasplit, this will be done automatically for you with a 80% train, 10% validation, and 10% test split.
Tip: Training is usually depend on the training args you use. Although the default ones work reasonable well, you can explore how to modify them with the dataset exploration notebook.
There are two options two train:
Go to http://0.0.0.0:5000/ui and look for the TRAIN POST method. Click on 'Try it out', change whatever training args
you want and click 'Execute'. The training will be launched and you will be able to follow its status by executing the
TRAIN GET method which will also give a history of all trainings previously executed.
You can follow the training monitoring (Tensorboard) on http://0.0.0.0:6006.
Follow the notebook for Model training and train the train_runfile.py based on yaml file file.
python phyto-plankton-classification/planktonclas/train_runfile.py There are again two options to predict a plankton species:
Go to http://0.0.0.0:5000/ui and look for the PREDICT POST method. Click on 'Try it out', change whatever test args
you want and click 'Execute'. You can either supply a:
- a
dataargument with a path pointing to an image.
OR
- a
urlargument with an URL pointing to an image. Here is an example of such an url that you can use for testing purposes.
Follow the notebook for computing the predictions Make sure to select DEMO or not if you want to predict your own data of the demo data as an example.
You can have more info on how to interact directly with the module (not through the DEEPaaS API) by examining the
./notebooks folder:
- dataset exploration notebook: Visualize relevant statistics that will help you to modify the training args.
- Image transformation notebook: To conform a new dataset with the training set that was used
- Image transformation notebook: Notebook to perform image augmentation and expand the dataset. *Model training notebook: Notebook to perform image augmentation and expand the dataset.
- computing predictions notebook: Test the classifier on a number of tasks: predict a single local image (or url), predict multiple images (or urls), merge the predictions of a multi-image single observation, etc.
- predictions statistics notebook:
Make and store the predictions of the
test.txtfile (if you provided one). Once you have done that you can visualize the statistics of the predictions like popular metrics (accuracy, recall, precision, f1-score), the confusion matrix, etc.
If you consider this project to be useful, please consider citing the DEEP Hybrid DataCloud project:
García, Álvaro López, et al. A Cloud-Based Framework for Machine Learning Workloads and Applications. IEEE Access 8 (2020): 18681-18692.