Admin Guide: Onboarding
Here is a list of steps required to onboard each new user:
- Liquid Home Page Admin:
- Add new User
- Edit User details
- Add User to Groups, and set App permissions
- Generate Invitation Link
- Assign User to Groups in Individual Apps:
- Hoover Admin
- Wiki.JS Admin
- RocketChat Admin
- User Phone:
- Enable automatic time sync settings
- Install 2FA Authenticator
- Install Chat App: Rocket.Chat
- Install secure side-channel to receive invitation links (Signal)
- User Computer:
- Install Chat App: Rocket.Chat
- Install secure side-channel to receive invitation links (Signal)
- Send Login Info to User
- Send documentation links: "User Guide: Login" + "User Guide: Manage 2FA"
- Send Invitation Link to User using secure side-channel (Signal)
- Confirmation
- Ask User to log in to Rocket.Chat on all platforms: Web, Phone, Desktop
- Ask User to perform Hoover Search and confirm it works
- Ask User to access Wiki and create/edit test page in their namespace
Detailed explanations continue below.
Before installing an authenticator, please enable the automatic time sync on your mobile phone or other device.
Here is how you can do it on your Iphone: Go to Settings > General > Date & Time > Set Automatically

Here is how you do it on your MAC OS: Open the Date & Time Preferences and check the the 'set time zone automatically using current location' box

Additionally please check your time settings by opening https://time.is/ on the device that has the authenticator and see the text "Your time is exact!" and error under 5 seconds
Look at potential time differences here: http://browserspy.dk/date.php and look at "Difference between server and PC time".
Have one of the following apps installed: Google Authenticator, Authy, Duo Mobile Be ready to receive your on boarding code per pgp or per Signal.
In the Liquid Investigations home page, click the right top menu button and go to [admin].
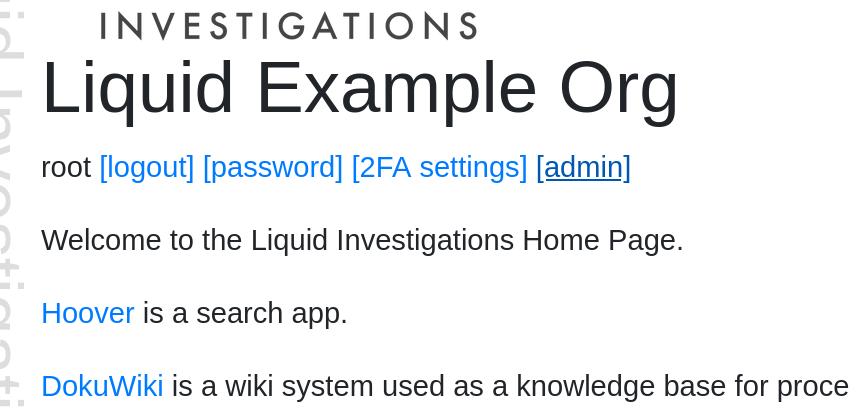
Reminder: Make sure to manage the user creation and invitations process from the "Liquid Investigations" home page [admin] interface, and not from the Hoover admin interface. Both have the same theme, so there might be some confusion.
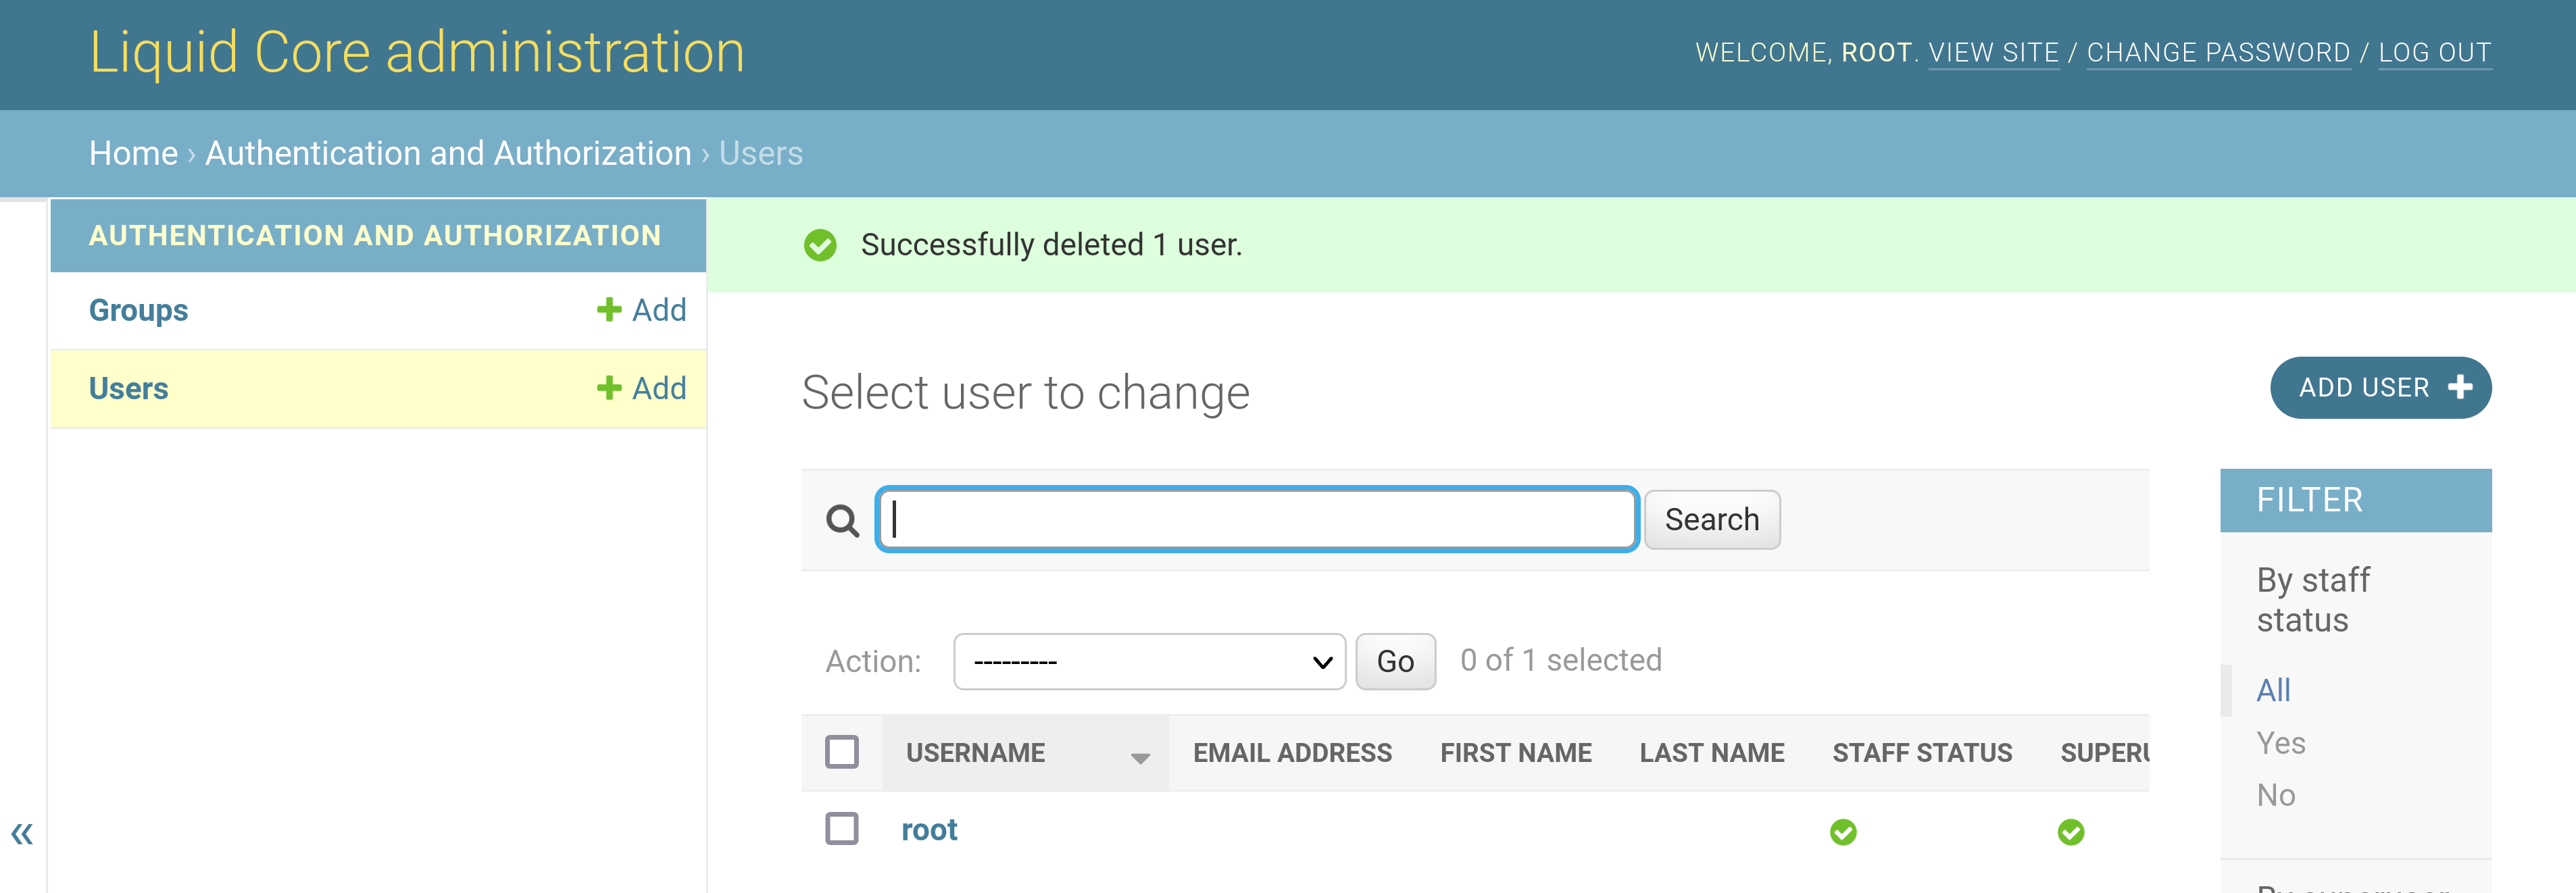
- Click on the green +Add, on the left side of Users; OR
- Click on ADD USER + button on the right;
- Add the username and password using the firstname.lastname convention;
- Make sure not to use use “-”;
- If the username is taken, you'll get an error (add surname or change order).
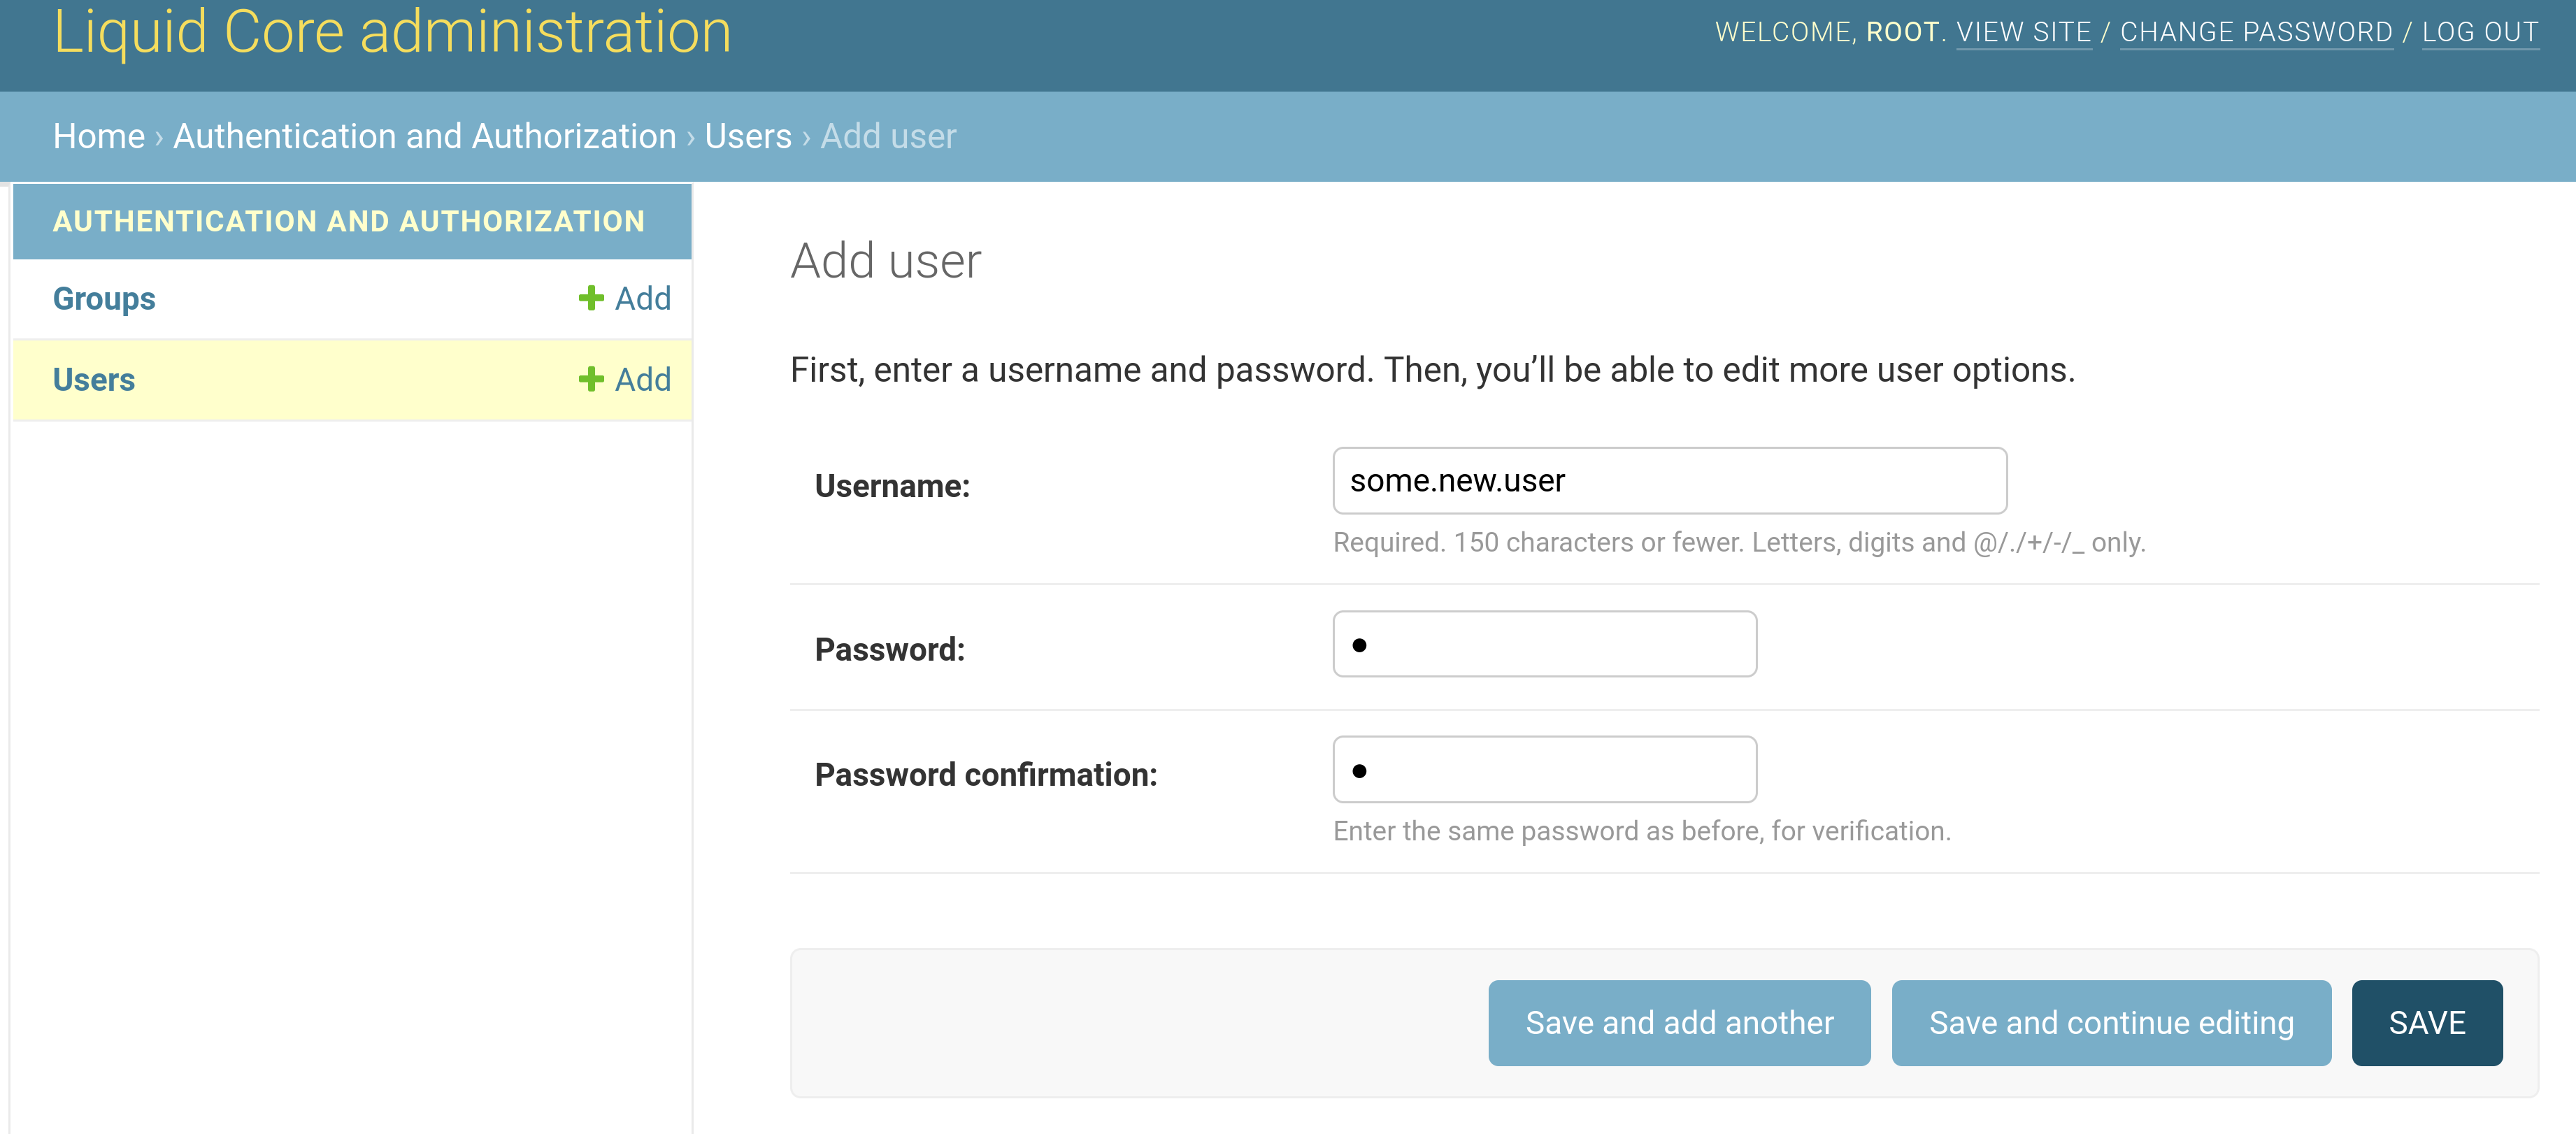
Note: When 2FA is enabled, the admin cannot use this initial password to enter into the account; Use some random text twice, and create the invitation link afterwards. The user will not need this initial password to use the link.
-
On the 'First name' field please enter the entire name (both first and last name);
-
On the 'Last name' field please enter the name of the media organization;
-
On the 'Email address' field please enter the user's email;
All the other fields are to be left to default.
- Click 'Save', bottom right.
If the intention is to anonymize everyone, the admin can use a couple of random dictionary words for the usernames. For example, on Linux or macOS, you can use this terminal command to sample the words file on your machine:
$ cat /usr/share/dict/words | grep -E '^[A-Za-z]+$' | sort | uniq | sort -R | head -n2 | xargs -n2 printf '%s.%s\n'

refulgence.blended
- The user should have executed all the Prerequisites (without admin privilege);
- Go to Users in the Liquid Investigations home page
[admin]interface (as shown in first screenshot above), type in the username and click Search; - Click the checkbox to select the user that you intend to onboard;
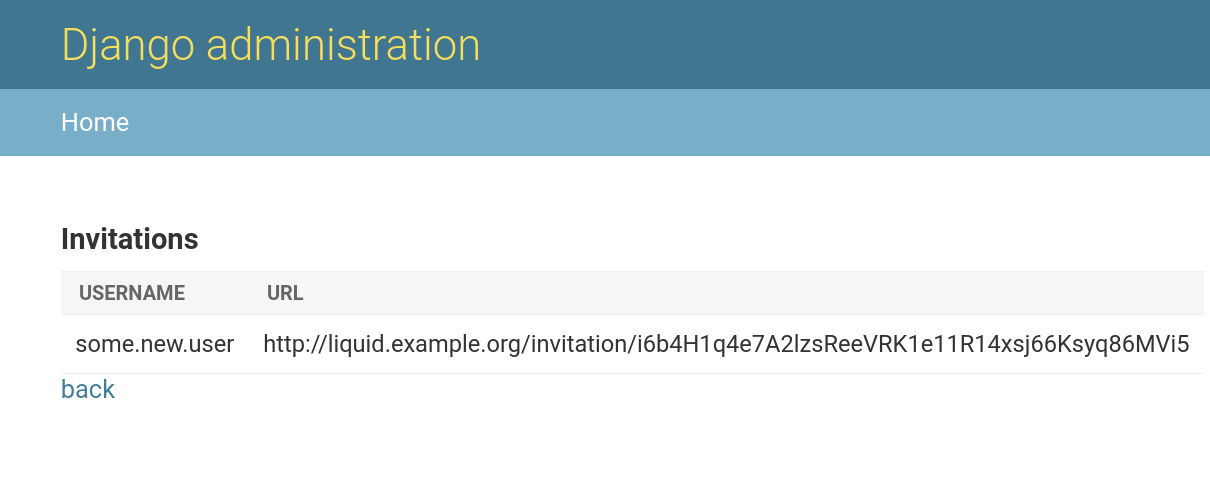
- On Action dropdown menu, select 'Create invitations' and click Go.
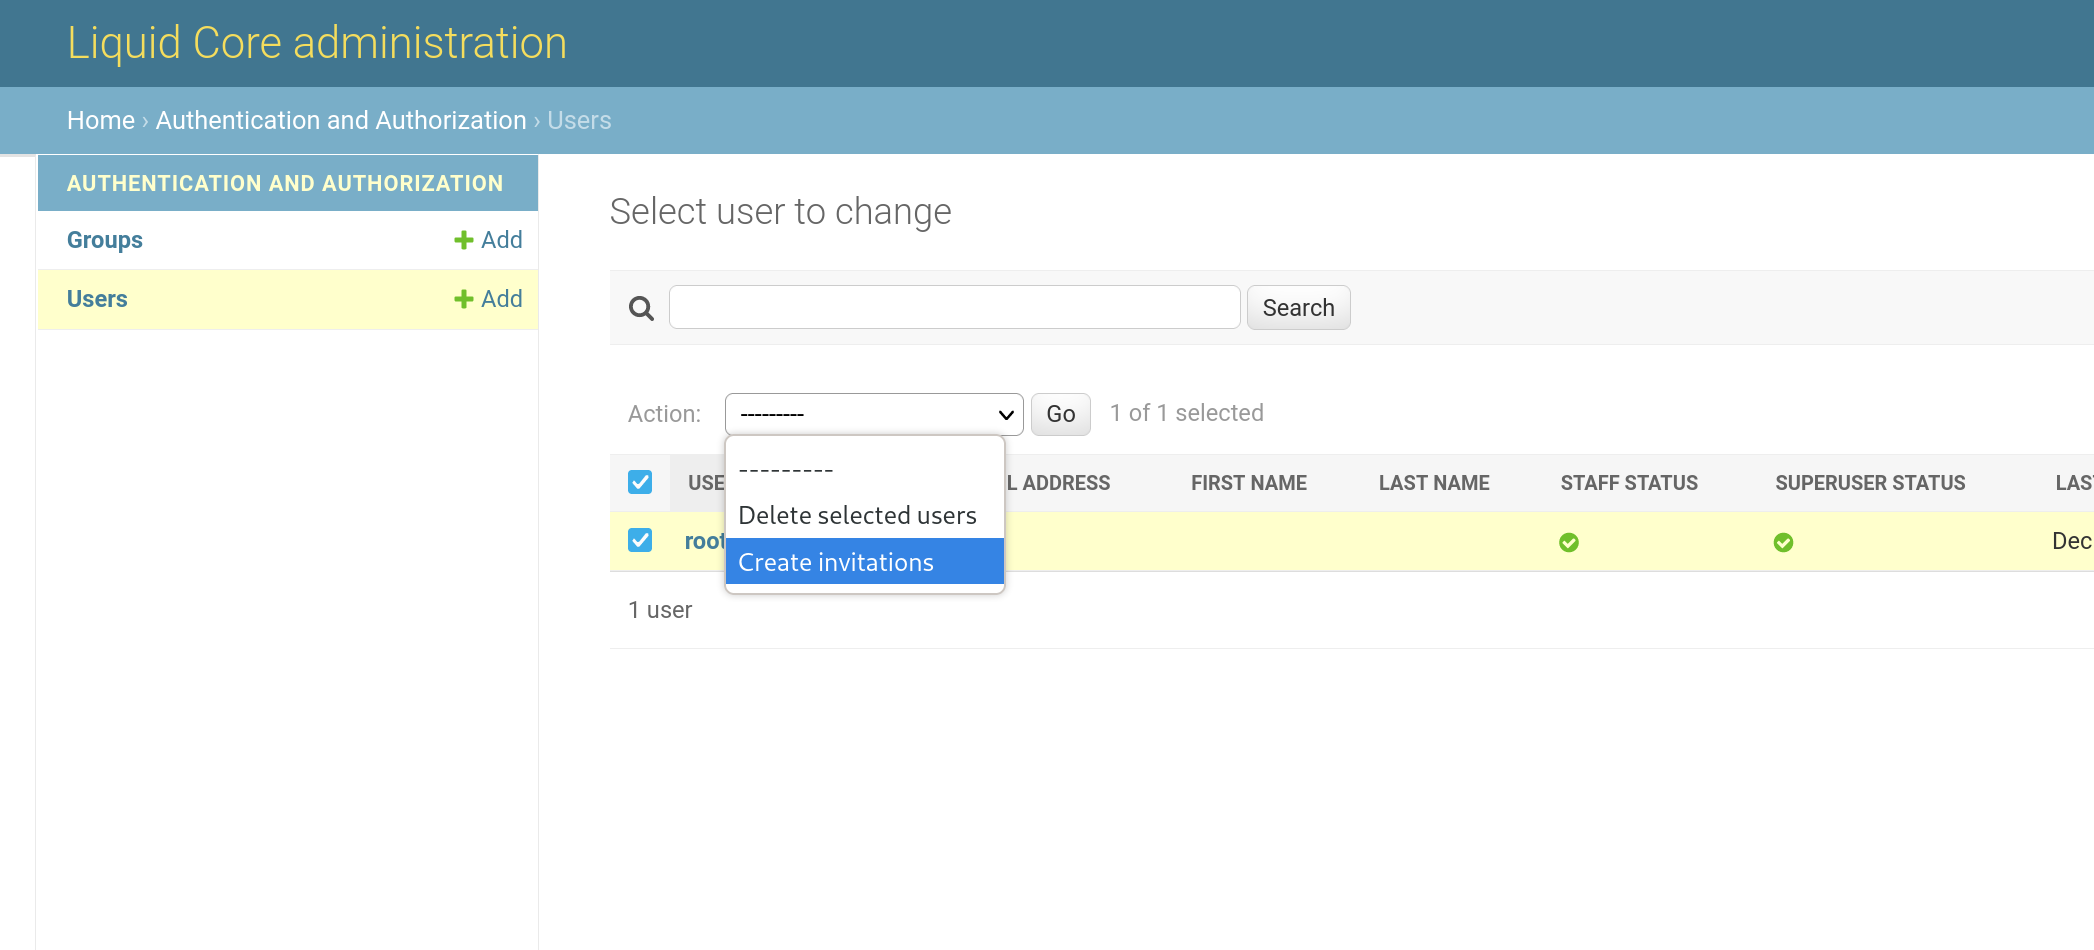
- Send the generated Url to the user via encrypted email only.
- Send these pages to the user along with the invite link:
- https://github.com/liquidinvestigations/docs/wiki/User-Guide%3A-Login
- https://github.com/liquidinvestigations/docs/wiki/User-Guide%3A-Manage-2FA-Devices
Warning: The link will be valid for 30 minutes and a single use, repeat this process if it expires. Do not open it yourself, else it will expire.
- Caution if using Web Services like Whatsapp, Facebook Messenger, Signal, Slack, Gmail, Sheets or Excel: they will visit the link to give you a "preview", and it will expire.
Instructions for disabling link previews in Signal are shown in the User Guide: Login page linked above.
Back to User Guide