This edi project configuration currently supports the Compulab iot-gate-imx8.
Note
The master branch is currently basing upon Debian bookworm. For Debian bullseye please check out the debian_bullseye branch.
The edi configuration contained in this repository can be used to generate the following artifacts:
- A minimal Debian bookworm arm64 (64bit) image suitable for the Compulab iot-gate-imx8.
- A matching Mender update artifact for the above configuration.
- An LXD container with a pre-installed cross development toolchain (arm64) for C and C++.
Please note that image generation operations require superuser privileges, and therefore you can easily break your host operating system. Therefore, make sure that you have a backup copy of your data.
Prior to using this edi project configuration you have to install edi according to this instructions. Please take a careful look at the "Setting up ssh Keys" section since you will need a proper ssh key setup in order to access the container or the target device using ssh.
The image post-processing commands require some additional tools. On Ubuntu 20.04 and newer those tools can be installed as follows:
sudo apt install e2fsprogs bmap-tools mtools parted rsync zerofree python3-sphinx mender-artifactA target image can be created using the following command:
sudo edi -v image create iot-gate-imx8.ymlThe resulting image can be copied to a USB stick (here /dev/sda) using the following command (Please note that everything on the USB stick will be erased!):
sudo bmaptool copy artifacts/iot-gate-imx8.img /dev/sdaIf the command fails, unmount the USB stick (sudo umount /dev/sda?) and repeat the above command.
Warning: The image requires u-boot version 2.0 or above! Please follow the Compulab instructions in case you need to upgrade the bootloader of your device.
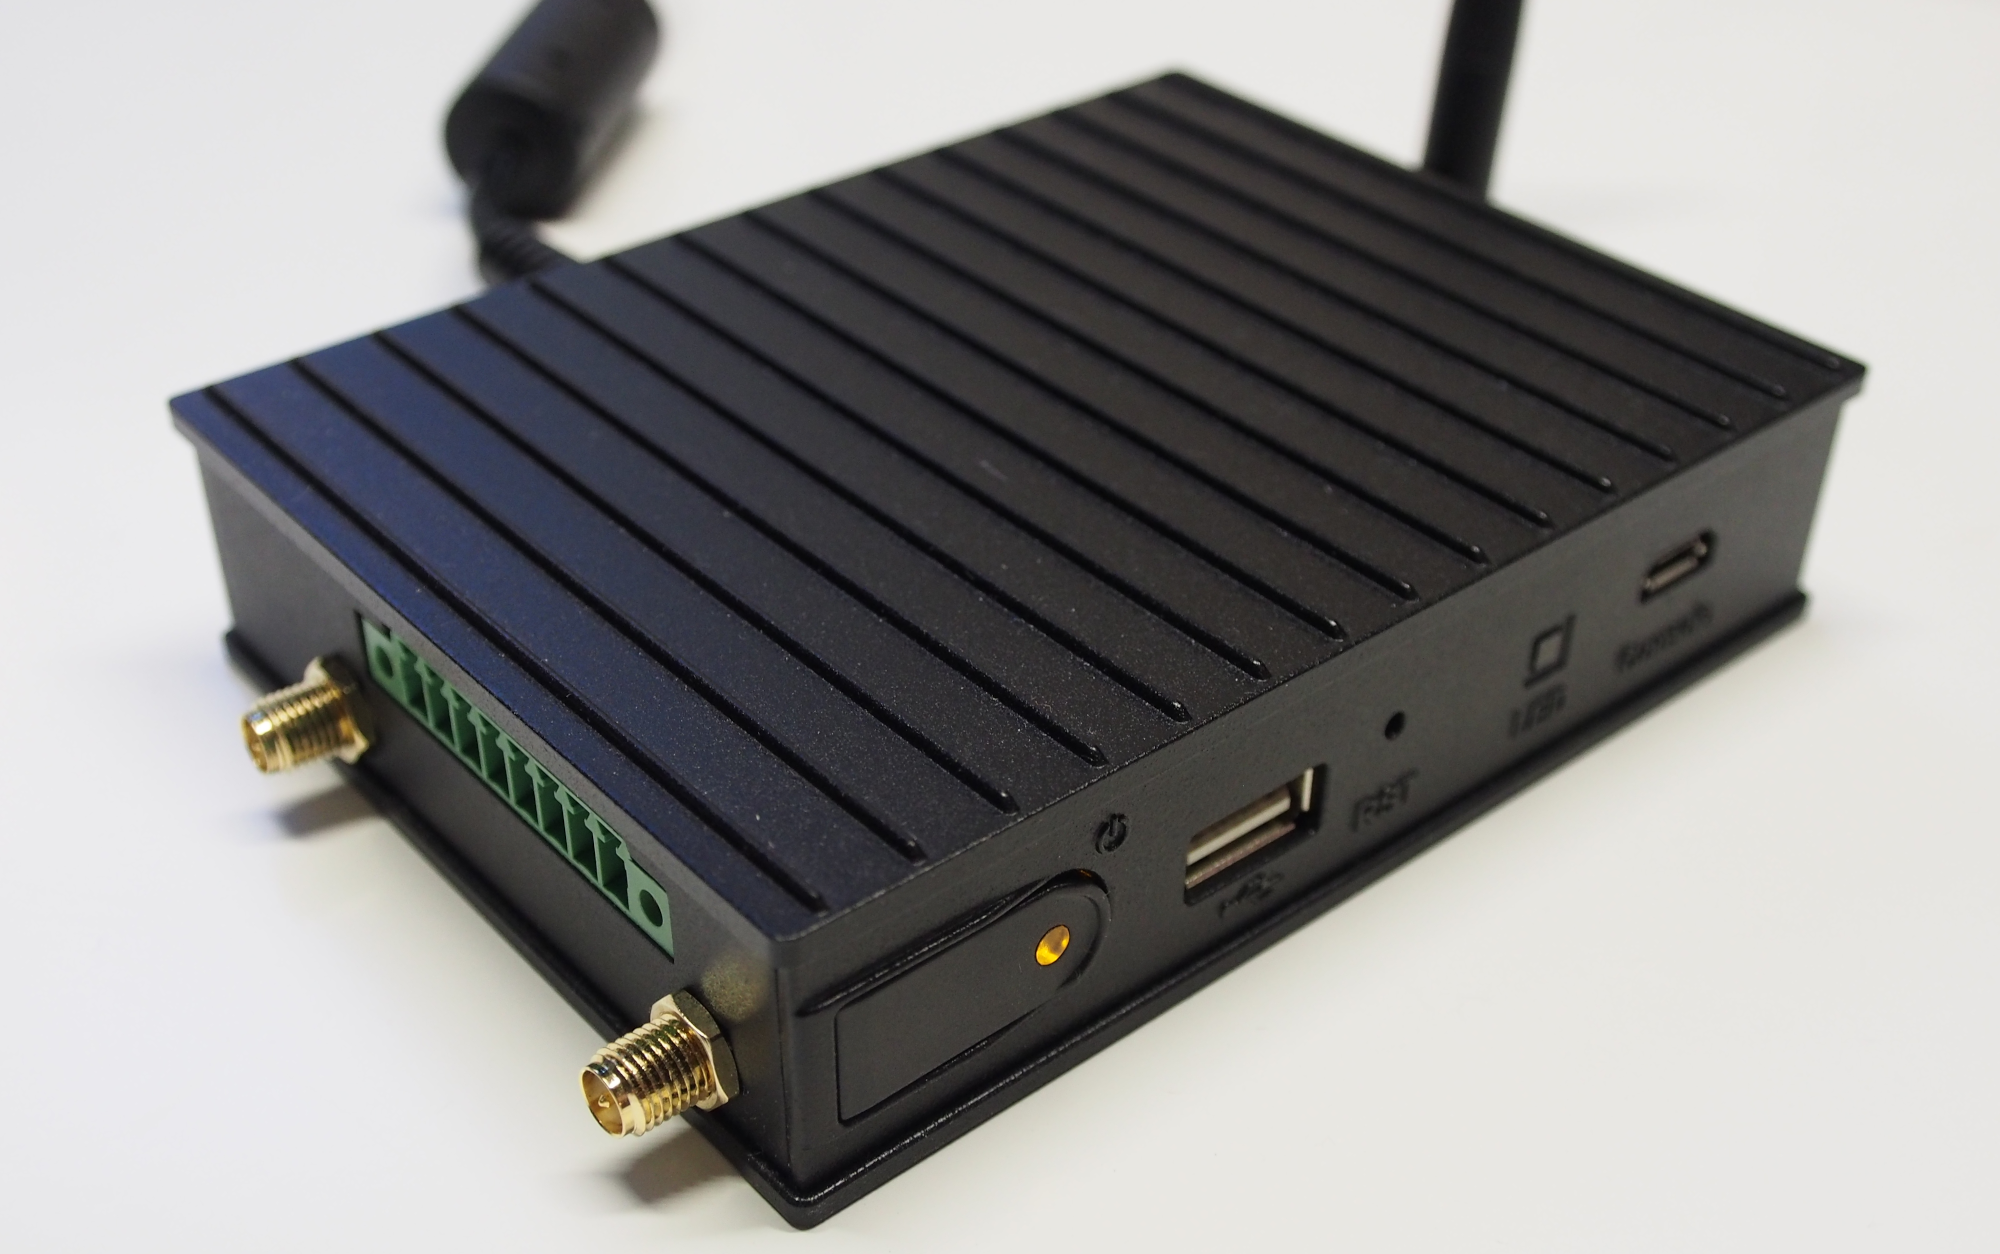
Once you have booted the device using the above USB stick (plugged into the USB port next to the power button) you can access it using ssh (the access should be granted thanks to to your ssh keys):
ssh compulab@IP_ADDRESSThe password for the user compulab is compulab (just in case you want to
execute a command using sudo or login via a local terminal).
The same image that has been used for the USB stick can also be flashed to the builtin eMMC as follows:
Copy the image to the device that has been booted from the USB stick:
scp artifacts/iot-gate-imx8.img compulab@IP_ADDRESS:Access the device:
ssh compulab@IP_ADDRESSFlash the image to the eMMC (Everything on mmcblk2 will be erased!):
sudo dd if=iot-gate-imx8.img of=/dev/mmcblk2 bs=1MNow you can remove the power supply and the USB stick from the device. When powering up the device again, it should boot the new image from the eMMC storage device.
To enable over the air (OTA) updates, the generated images are configured
to connect to https://hosted.mender.io/.
In order to connect to your Mender tenant you have to provide your tenant token prior to building the images.
The tenant token can be added to configuration/mender/mender.yml. If you do not want to
add the tenant token to the version control system you can also copy configuration/mender/mender.yml to
configuration/mender/mender_custom.yml and add the tenant token there.
A cross development container can be created using the following command:
sudo edi -v lxc configure iot-gate-imx8-cross-dev-bookworm iot-gate-imx8-cross-dev.ymlThe container can be accessed as follows (the password is ChangeMe!):
lxc exec iot-gate-imx8-cross-dev-bookworm -- login ${USER}Or with ssh (Hint: retrieve IP_OF_CONTAINER with lxc list):
ssh IP_OF_CONTAINERYou can directly start to cross compile applications:
aarch64-linux-gnu-g++ ...For your convenience, the LXD container shares the folder edi-workspace with the host operating system.
During the image build the documentation gets rendered to artifacts/CONFIGNAME_documentation as reStructuredText. The text files can be transformed into a nice pdf file with some additional tools that need to be installed first:
sudo apt install texlive-latex-recommended texlive-pictures texlive-latex-extra texlive-xetex latexmkThen the pdf can be generated using the following commands:
cd artifacts/CONFIGNAME_documentation
make PDFLATEX=xelatex latexpdf
make PDFLATEX=xelatex latexpdfFor more information about the Compulab device please take a look at the official documentation.
For more information about this setup please read the edi documentation and this blog post.
For details about the Mender based robust update integration please refer to this blog post.
If you are curious about the U-Boot bootloader setup please take a look at this blog post.
For the kernel build instructions please check the docs folder of this project.
The WiFi setup is documented here.
The backport of the mender-client package is documented here.