- With Unity open, create a new project and then search for Tanks Tutorial in the Asset Store (ctrl+9) then search, download, and import the entire package.

- Double click Complete-Game.unity at the bottom then view with the scene tab. Next, click Assets at the top and Import Package -> Custom Package and import all from the latest JanusVRExporter.

- Open Window -> JanusVR Exporter and drag the tab over to the right side of Unity where Inspector is. Here’s what it should look like now.


-
Go to Edit -> Project Settings -> Player (1) then rename Product Name (2) to something, like TanksJanus
-
Now go to back to the Janus tab and click Reset Parameters at the bottom and your export path should update. You can choose a different export path if you wish but saving to a workspaces folder allows for a faster iterative workflow with Janus.
-
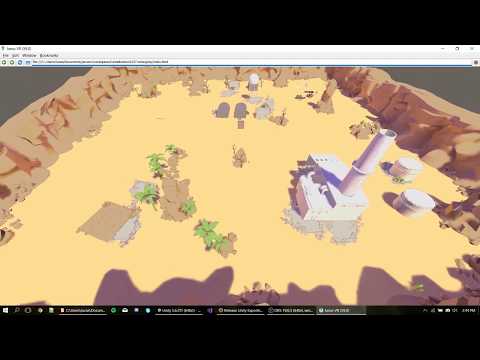
To quickly see a preview, do a Full Export now and open JanusVR to see the HTML now in your bookmarks tab at the top right (scroll all the way to the bottom).

Window -> Code Editor or Ctrl+U will open the code editor if you wish to inspect the markup. By default we have pretty good results but we should add proper lighting.
- On the left side of the screen below Hierarchy search for light and click Directional light. In the inspector underneath Light change the Mode from Realtime -> Mixed.

- Now we need to change all the meshes to static. Back underneath Hierarchy search for meshrenderer (1) and ctrl+a to select all and view the Inspector to make sure the static checkboxes (2) are filled.

- To make sure we can Generate Lightmaps for all the objects you first open the Project tab on the bottom and open Assets -> Models. Next, drag and highlight or Ctrl-A to select all the models (1). Now underneath Inspector you click Game Objects then check the box for Generate Lightmap and apply. If the box is already checked then you're good to go.

- In Lighting tab, Disable Realtime Global Illumination and enable Baked Global Illumination with Lighting Mode as Subtractive(1).

A. Change Indirect Resolution to 1 B. Change Lightmap Resolution to 5 C. Compress Lightmaps D. Change to Non-Directional Mode
Now press Generate Lighting!
There's a few important settings in the JanusExporter tab to know about before you press the button. The first is called Exported Textures Format located underneath Textures which you can set to png for higher quality. You can also choose to Export Skybox which can make it easier to change later.
When everything looks good, hit the Full Export button and preview your site with the lightmaps in now in Janus. Grats, hope you found this tutorial useful!
