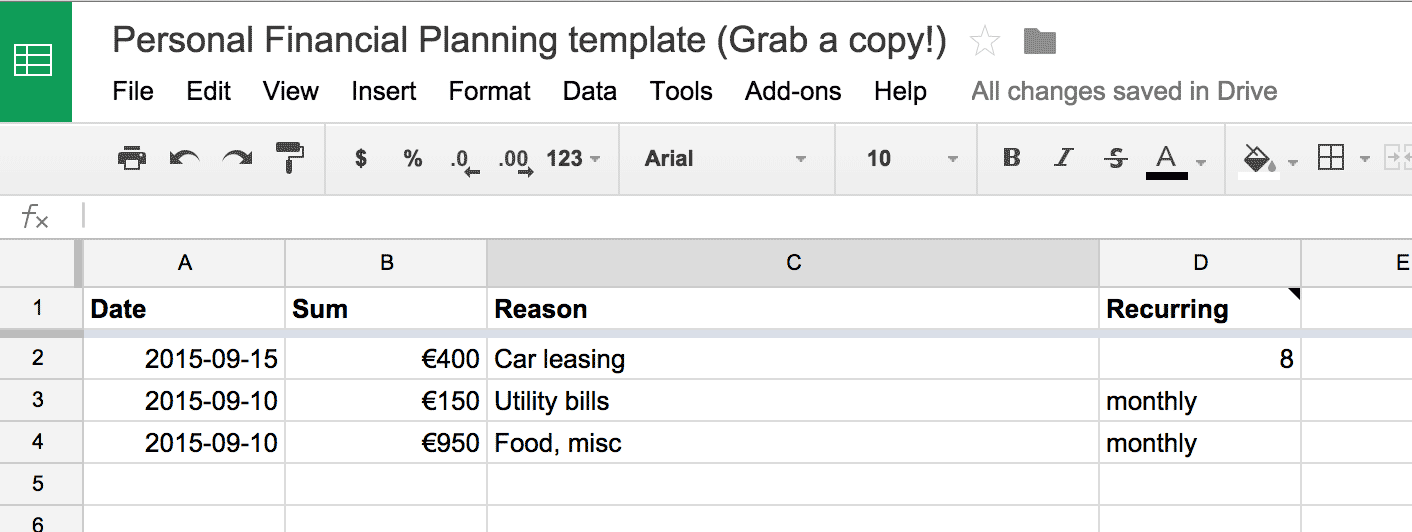
By using a Google Spreadsheet, you can list your recurring or one-time expenses and incomes, and get a detailed forecast of your projected cash balance after every transaction.
The setup might look scary but in reality it should not take more than 7 minutes of your time.
Download it to your computer into some folder.
Grab a copy of the Google Spreadsheet template and fill it in with your data. Be sure to check the sharing settings so that it is not shared with the public internet (unless you're fine with that.)
In order to access the spreadsheet you must create a new project for authentication purposes on the Google Developer Console.
In Google Developer Console, under "APIs and auth › APIs", enable Drive API for your newly created project.
In Google Developer Console, under "APIs and auth › Credentials", create new Client ID. Choose the Service account for the application type, and download the JSON file with credentials. Copy this file to the repository folder and rename it to credentials.json.
Create a config.json file in the repository folder with the following contents. Be sure to replace the long hash with the hash of your copy of the financial planning spreadsheet — you can grab the correct hash from the URL while editing the sheet):
{
	"spreadsheetId": "19MK19rjmadjnqqqlmmcnv039qk324343lmvvvxpzzs2",
	"minimumCashReserve": 1000
}Open Sharing from the spreadsheet on Google Spreadsheets, and add a collaborator to your sheet, taking the email address from the credentials.json that is listed as the "client_email" in the file. It is usually something like 932744480205-263o7dkmddd9dmqmkc9333@developer.gserviceaccount.com
Execute npm install in the repository folder.
The script will execute using the npm start command.
MIT.

