EDIT --- Nutanix has depreciated the Karbon Platform and instead Nutanix Kubernetes Management . Some of this may no longer be usable, but I will check that out soon enough with a trial. Until then, take this with a grain of salt. Oh, and go earn your CKA.
Playing around with Karbon shouldn't be hard. Anyone can do this. In fact, that's the point behind Karbon, it's so easy, anyone can use it.
Assuming you're new to Kubernetes, your first question is no doubt, "What is Kubernetes?". Followed with "Why should I use Kubernetes?"
If this is you, pleasure check out this 5 min video from Google
Some key pointers in understanding why Karbon is great to run Kubernetes on Nutanix:
- Users get the same redundancy built into the Nutanix platform
- All data is written and read locally
- We handle the install and provisioning of Kubernetes and networking on CentOS virtual machines
- Pre-built into the framework is ELK monitoring which you can access after provisioning is complete
Things to keep in mind:
- After provisioning, you need to download a Kubeconfig file from the Karbon dashboard to access your cluster. Also keep in mind that these files are only active for 24 hours.
- Ingress networking is supported, but users will need to install it on the VMs themselves
- We do NOT support GPU with Karbon
- We use only CentOS images for the underlying VM infrastructure
If you're new to Github, good chance you're not aware of HomeBrew for your terminal (Mac/Linux). So, I recommend taking a few moments to read about Homebrew as a great package manager for your workstation.
Step 1 – Install Homebrew
Homebrew […] simplifies the installation of software on the Mac OS X operating system.
Copy & paste the following into the terminal window and hit Return.
/bin/bash -c "$(curl -fsSL https://raw.githubusercontent.com/Homebrew/install/master/install.sh)"
brew doctor
You will be offered to install the Command Line Developer Tools from Apple. Confirm by clicking Install. After the installation finished, continue installing Homebrew by hitting Return again.
Copy & paste the following into the terminal window and hit Return.
brew install gitYou can use Git now.
- Download Git from Git for Windows and install it.
When you've downloaded and installed Git, you're going to need to clone this repo to your working directory in terminal.
$ git clone https://github.com/mathurin186/NutanixKarbon.git
Navigate to the new directory to continue...
Log into Prism Central and navigate to Karbon. Go through the motions of creating a cluster:
- Select Development Cluster.
- Ensure that you select the cluster you want to deploy to (Version and Host OS don't matter for a basic cluster).
- Select the Node Network that has internet access.
- As of 2021, Flannel is the default network provider for Karbon's internal communication. So no changing that for now.
- Very important to put in your Prism Central cluster login information as Karbon does the deployment through PC.
- Select a previously created Storage Container from Prism Element as your primary storage.
- Leave everything else as default.
After creation, download a new Kubeconfig file. Understand that this is only live for 24 hours and will need to be redownloaded.
The three items you can deploy are showing common use cases. Nothing too 'deep divy'
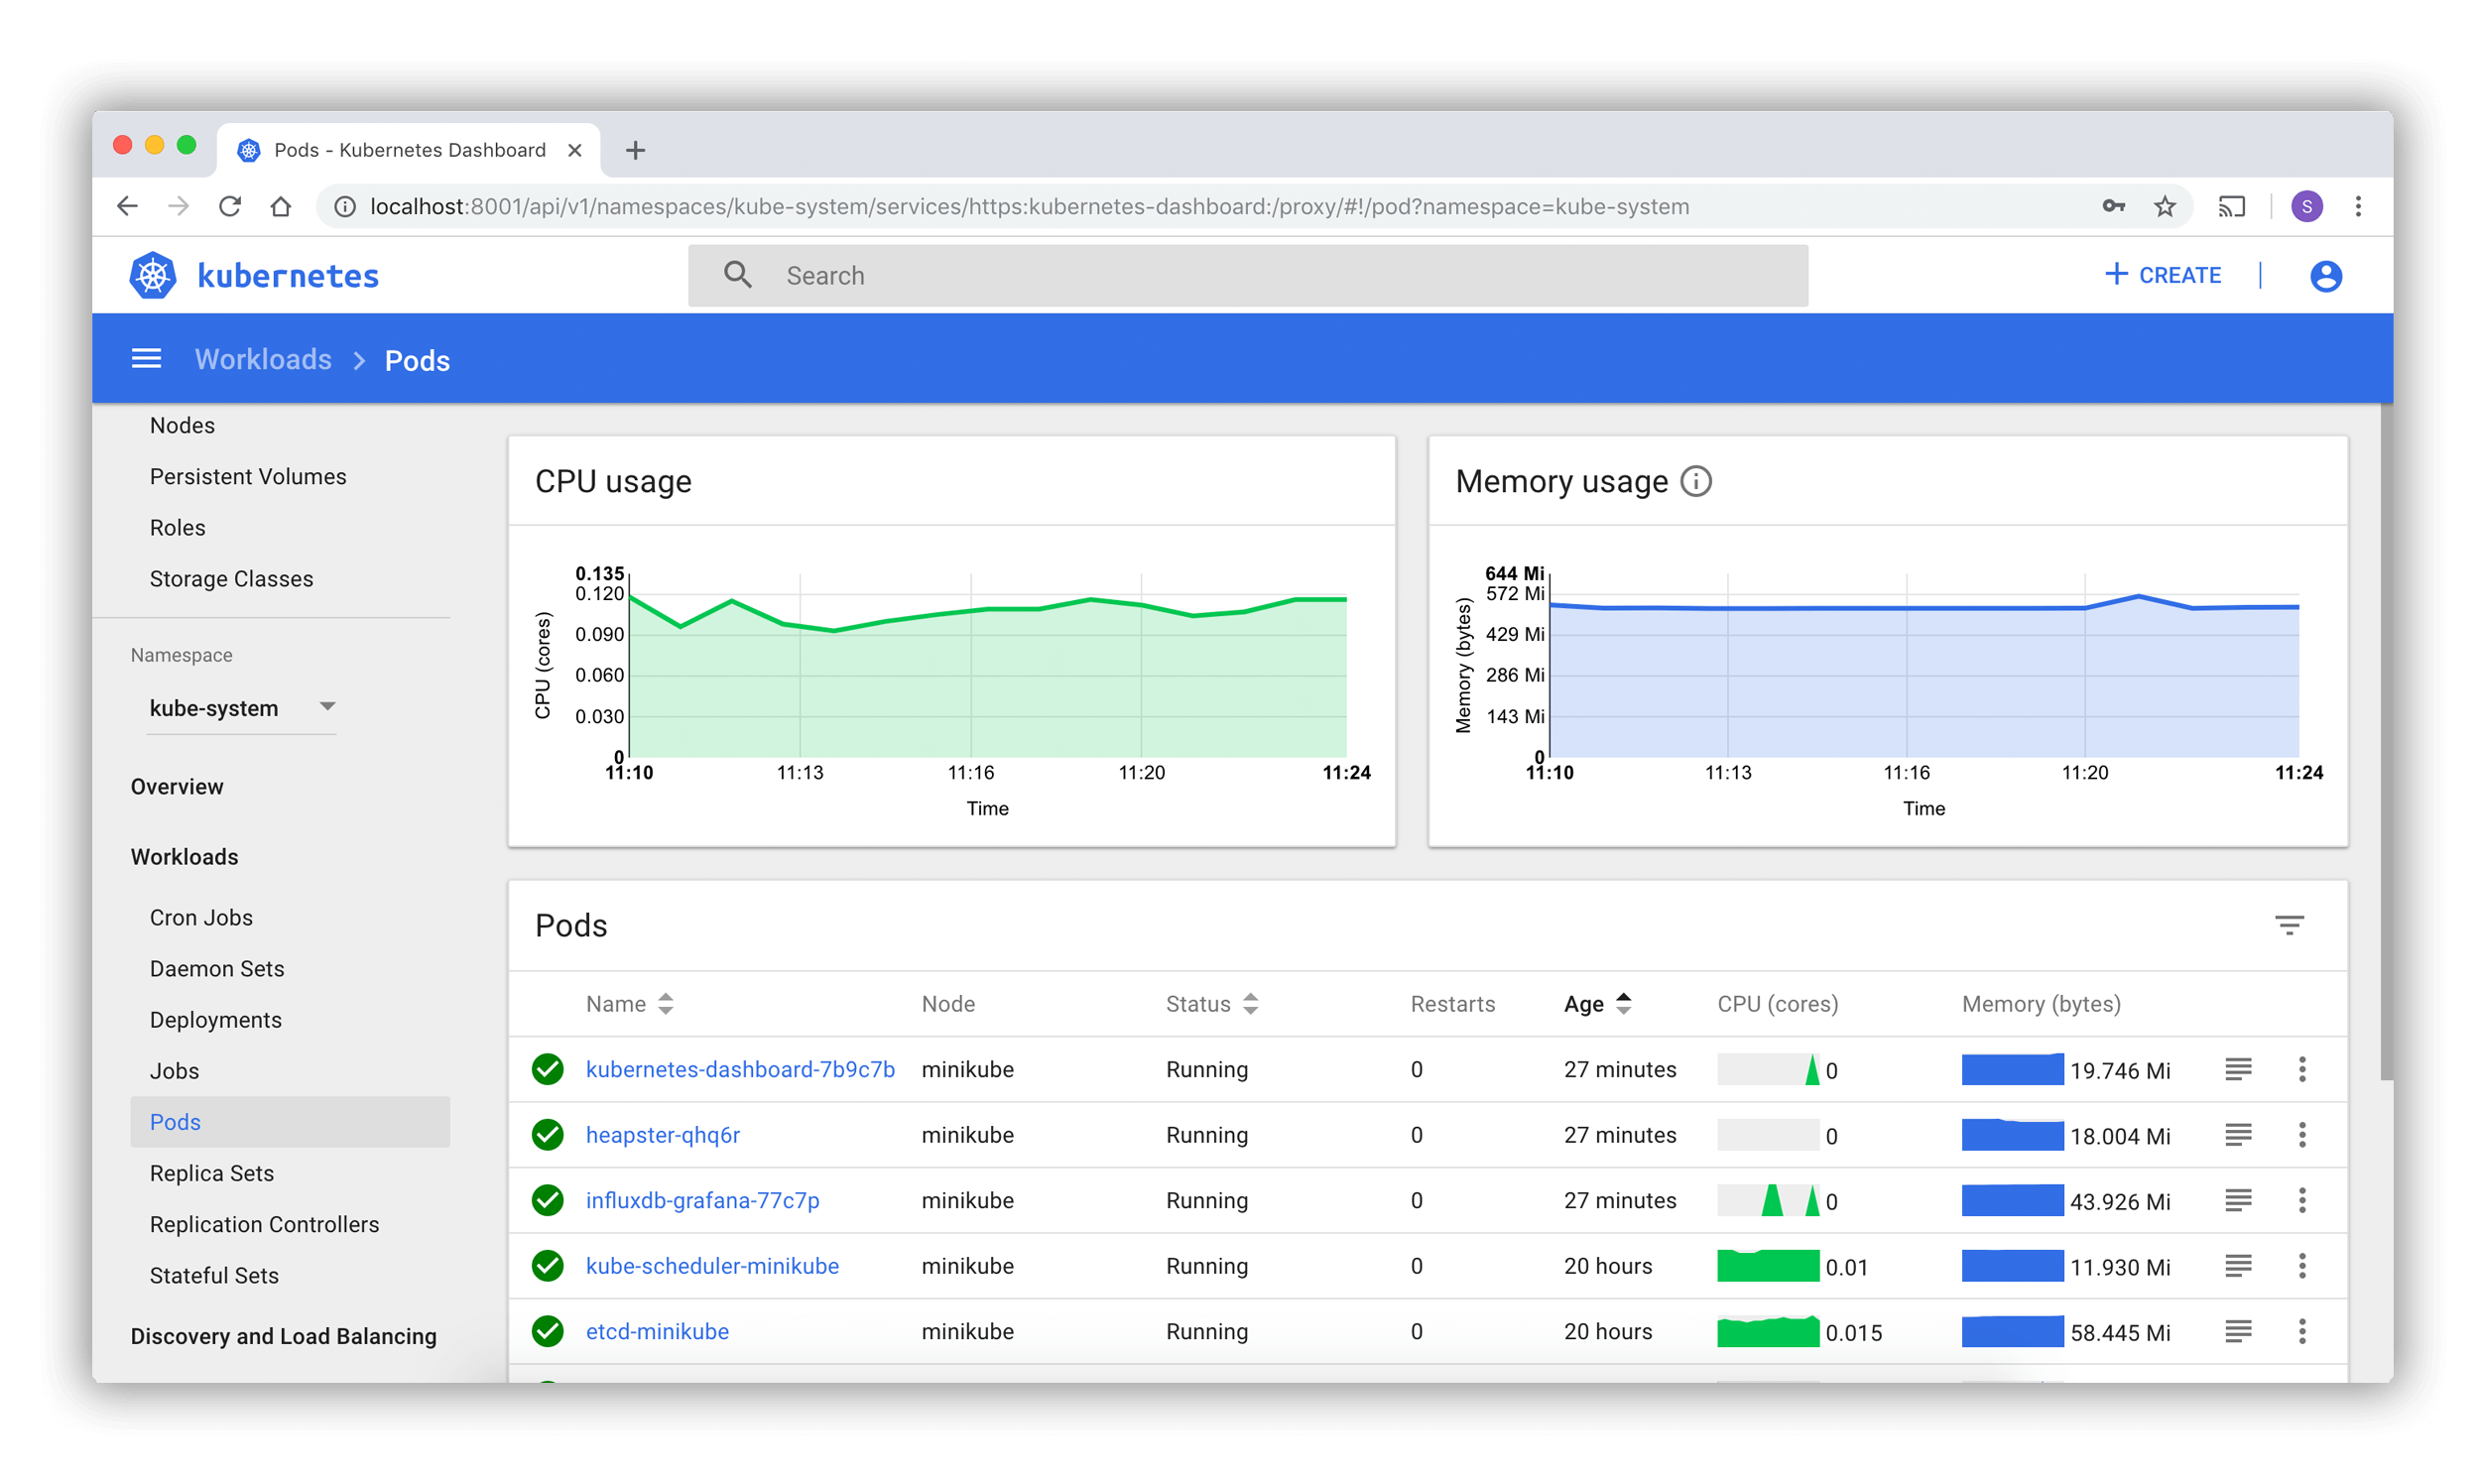
- Deploy Kubernetes Dashboard
"Dashboard is a web-based Kubernetes user interface. You can use Dashboard to deploy containerized applications to a Kubernetes cluster, troubleshoot your containerized application, and manage the cluster resources. You can use Dashboard to get an overview of applications running on your cluster, as well as for creating or modifying individual Kubernetes resources (such as Deployments, Jobs, DaemonSets, etc)." Web UI Website
Run the command below from your terminal with the newly downloaded kubeconfig file applied to your environment:
$ kubectl apply -f https://raw.githubusercontent.com/kubernetes/dashboard/v2.0.0/aio/deploy/recommended.yaml
...after that's done
$ kubectl proxy
(This will start the proxy server for you to open in a window browers.) Don't go to 127.0.0.1, but rather go here: http://localhost:8001/api/v1/namespaces/kubernetes-dashboard/services/https:kubernetes-dashboard:/proxy/
- Deploy and Scale Nginx container You can perform some manual processes with creating, scaling, and deleting clusters. Note: Take a few moments before running each command. Containers take time to build.
$ kubectl create deployment --image nginx my-nginx
$ kubectl get pods
$ kubectl get deployment
$ kubectl scale deployment --replicas 2 my-nginx
$ kubectl get pods
$ kubectl expose deployment my-nginx --port=80  type=NodePort
$ kubectl get services
When you're done and want to delete the my-nginx cluster you can just delete the deployment. That will remove everything associated with that cluster.
$ kubectl delete deployment my-nginx
- Deploy Cluster WITH yaml files.
Clone files to desired directory, then execute said command in that same directory. Incase you haven't done this before, run this:
$ git clone https://github.com/mathurin186/NutanixKarbon.git
Note: After cloning this repo, you have to execute the command from INSIDE the directory. Anything else will result in frustration and DevOps engineers laughing at you.
$ kubectl apply -k .
...after a few seconds
$ kubectl get pods
Here you will see that your pods have been created successfully in your new Karbon environment.
When you're done with your test deployment my-nginx, clean up your environment:
$ kubectl delete deploy my-nginx
