First steps
Please look at https://mercedes-benz.github.io/sechub/ here you find links to latest SecHub documentation readable online.

It shows how to setup SecHub from scratch and bring an integration test server instance alive with mocked product adapters.
This is a nice way to test SecHub, write integration tests, etc., or just to play around …
Please refer to
Online documentation or direct
Asciidoc file
SecHub is able to use a mocked security infrastructure environment - so much easier to develop and test.
In integration test server mode the server is able to handle some things in a convenient style for developers: - fixed password - easy to fill with test data - remembers emails - … more
|
|
Never use integration test server in production!!!!! |
Simplest way to start an integration test server with mocked product executors, is to call
./gradlew startIntegrationTestServer
from root folder.
|
💡
|
Of course you can do this from your IDE as well, or even with real products. Please refer to online technical documentation for more details. |
|
ℹ️
|
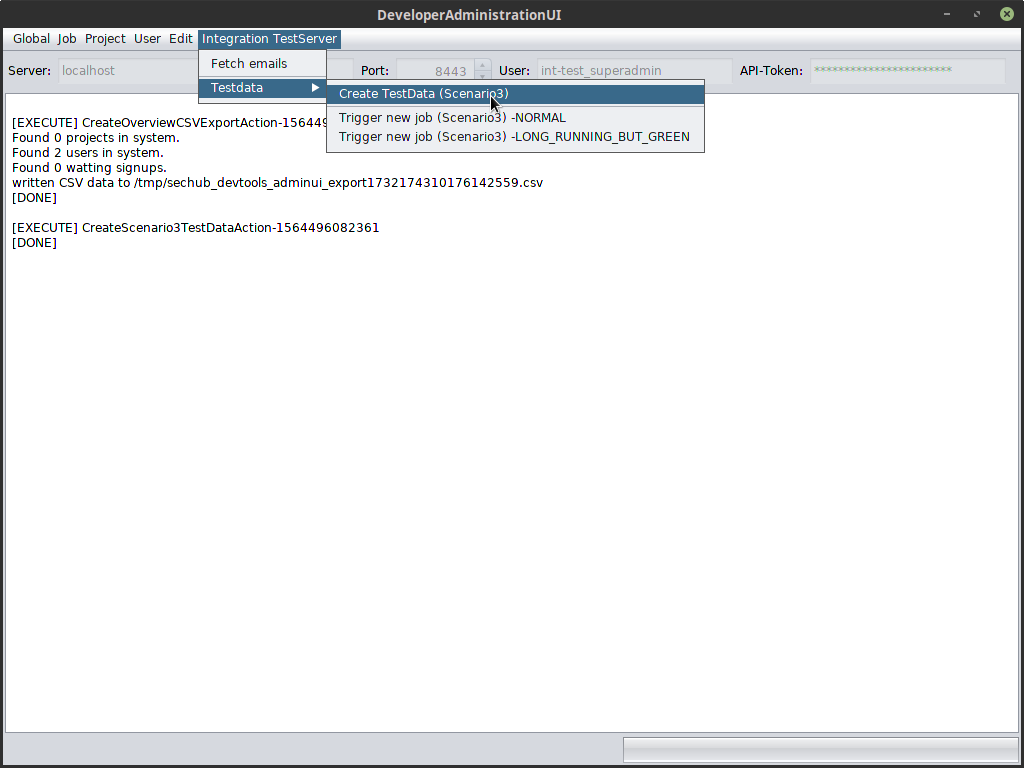
This is a very spartanic admin UI, only for developers - but it works. |
Launch com.mercedesbenz.sechub.developertools.admin.ui.DeveloperAdministrationUI with
-Dsechub.developertools.admin.integrationtestserver=true
-Dsechub.developertools.admin.server=localhost
-Dsechub.developertools.admin.serverport=8443
-Dsechub.developertools.admin.userid=int-test_superadmin
-Dsechub.developertools.admin.apitoken=int-test_superadmin-pwd
Just execute Create TestData action from main menu as shown in next picture:
After this action has been executed, you will have
user scenario3_user1 assigned to scenario3_project