SBOLExplorer is a service that simplifies the process of analyzing and searching for parts within genetic design repositories.
- These installation steps assume you have the latest version of SynBioHub up and running on http://localhost:7777. For instructions, see https://github.com/SynBioHub/synbiohub.
- Clone this repository with
git clone https://github.com/michael13162/SBOLExplorer.git. - Install and run ElasticSearch 6.3 (https://www.elastic.co/guide/en/elasticsearch/reference/current/install-elasticsearch.html).
- The exact steps will depend on your environment, so read the manual (aka RTFM).
- Set up the package repo to install ElasticSearch from.
- Install ElasticSearch.
- Start ElasticSearch (will be different depending on init vs systemd).
- Optionally, configure ElasticSearch to start on boot.
- Important: If you are running ElasticSearch in Docker, make sure to run
sysctl -w vm.max_map_count=262144on Linux, ordocker-machine sshthensysctl -w vm.max_map_count=262144if you are on Windows or MacOS.
- Install the latest version of Python 3 (https://www.python.org/downloads/).
- Go to the SBOLExplorer/flask directory and run
pip install -r requirements.txtto install all the dependencies. Trypip3instead ofpipif that doesn't work. - Run SBOLExplorer using
./start.shin the SBOLExplorer/flask directory. - To update the index for the first time, run
curl -X GET "localhost:13162/update". Depending on repository size, this can take a couple of minutes.- Note: If you want to manually rename your index name in Elasticsearch after the initial creation, make sure to change the "elasticsearch_index_name" field in the config file.
- Optionally, edit the "autoUpdateIndex" and "updateTimeInDays" fields in the config file to update your index automatically.
- In SynBioHub, go to the Admin->General page and specify
http://localhost:13162/as the SBOLExplorer endpoint, check theSearching Using SBOLExplorercheckbox, and clickSave. Searches will now go through SBOLExplorer.
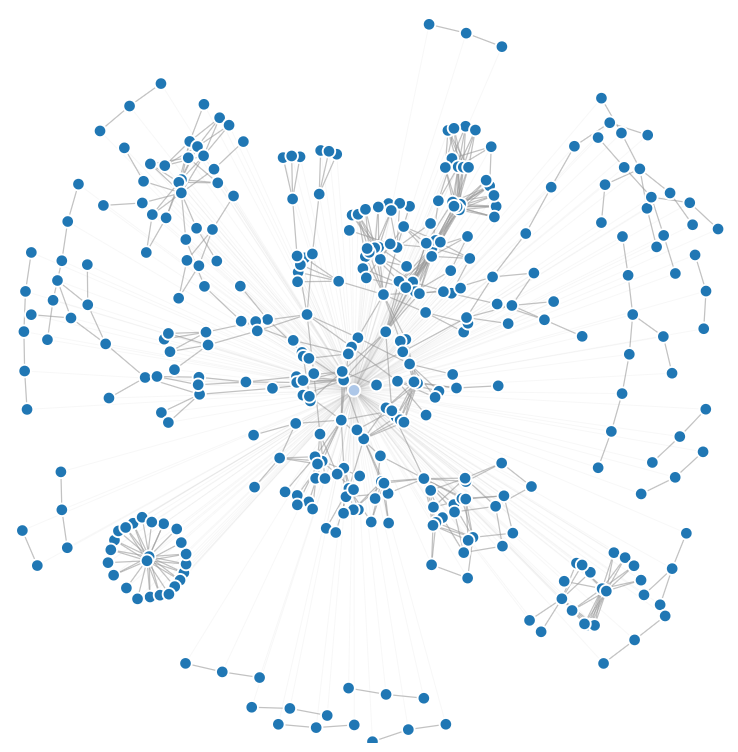
To run a neat visualization, go to the force_directed_graph folder and run "http-server" in the command line. Then, open the browser to the hosted page. Shown is a network visualization of part usage in SynBioHub.
Create a virtual environment in the parent directory. You can use the example commands below to create a virtualenv called sbol-explorer-venv.
| OS | Command |
|---|---|
| Ubuntu | virtualenv sbol-explorer-venv |
| Mac | pyvenv sbol-explorer-venv |
Activate this virtualenv using the command source sbol-explorer-venv/bin/activate (note: for the remainder of this guide, it will be assumed that your virtualenv is named sbol-explorer-venv) You should see (sbol-explorer-venv) before your command prompt if you've correctly activated the virtualenv.
Navigate into the flask directory. Run the command pip install -r requirements.txt to install all of the necessary Python packages for SBOLExplorer. You should now be able to start SBOLExplorer by running the start.sh script using the ./start.sh command.
On each commit to master, a new Docker image is built and pushed to Docker Hub. This is done by TravisCI. The credentials used to push the image are stored in Travis.