Configure SharePoint Storage
- Configure SharePoint Storage Guide
The VaxApp has the ability to offload images stored in Teams Dataverse table to SharePoint online. The setting to toggle the ability to use SharePoint Online vs Teams Dataverse storage is within the admin screen Configure Solution Settings. To enable the feature set value to Yes.

Download the 2 Flows located in the GitHub repo under solutions Flows
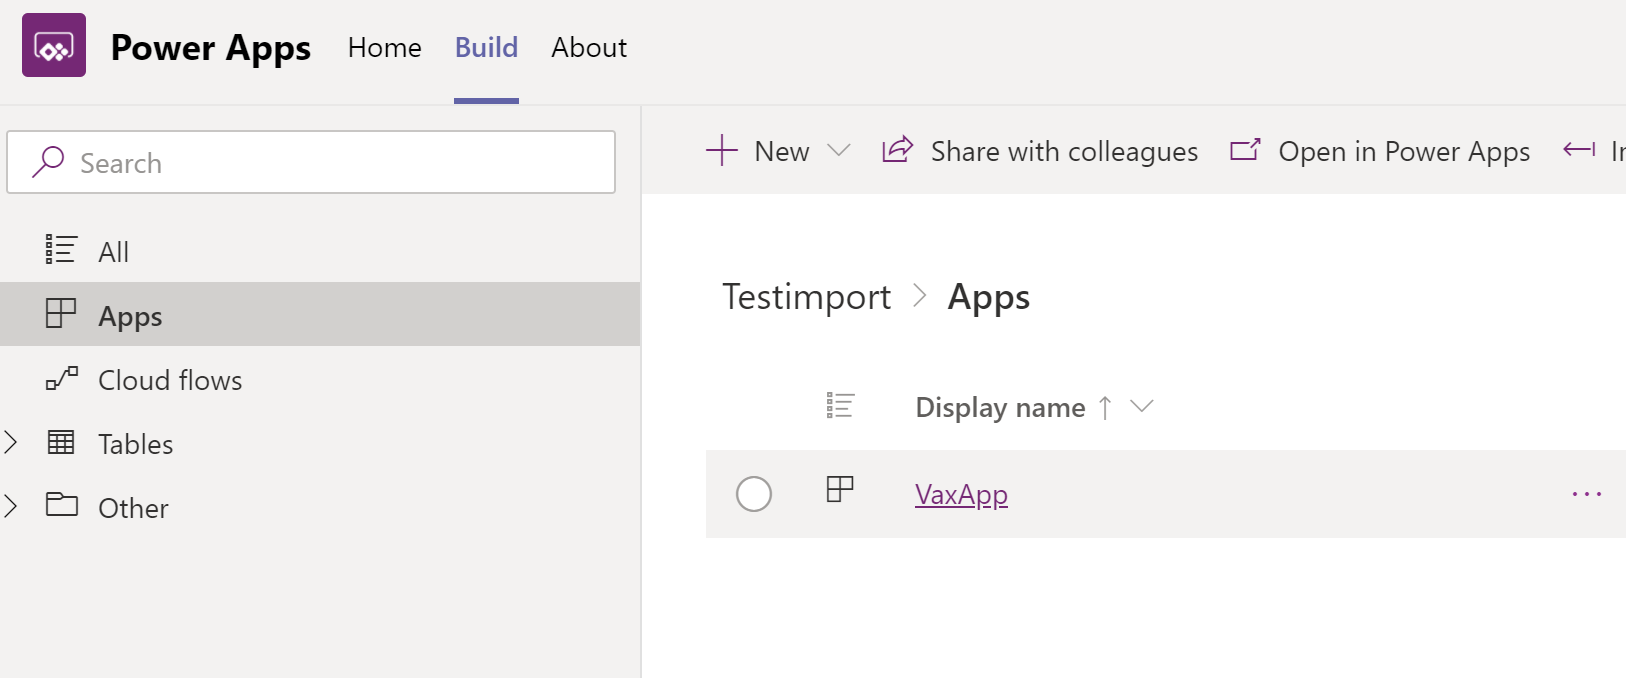
- Open Teams Dataverse to team where VaxApp was deployed and click on Build > See All
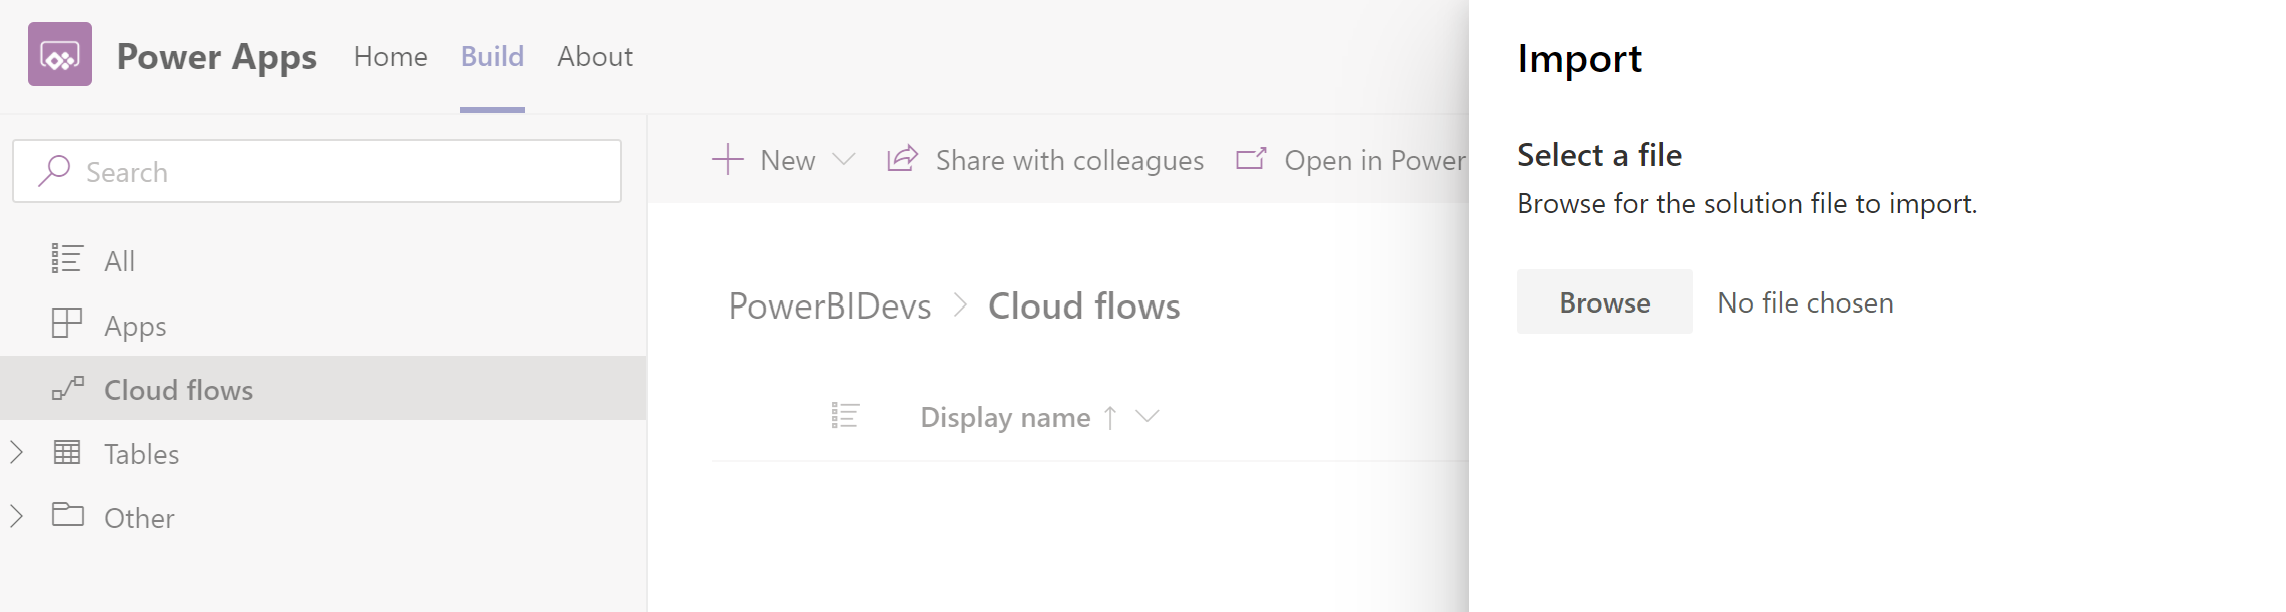
- Select Cloud Flows
- Click on import and browse to zip file
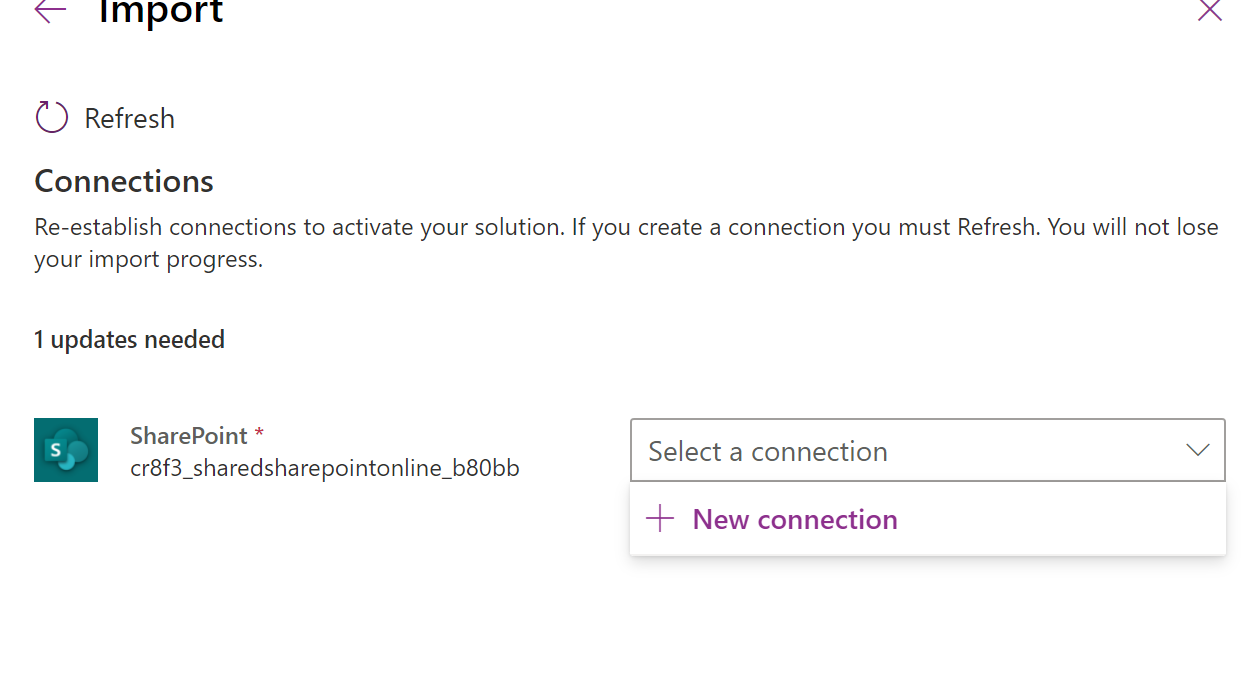
If you don't have existing SharePoint connection click on new connections create connection to SharePoint. Once connection is created return to screen and select refresh and select newly created connection.
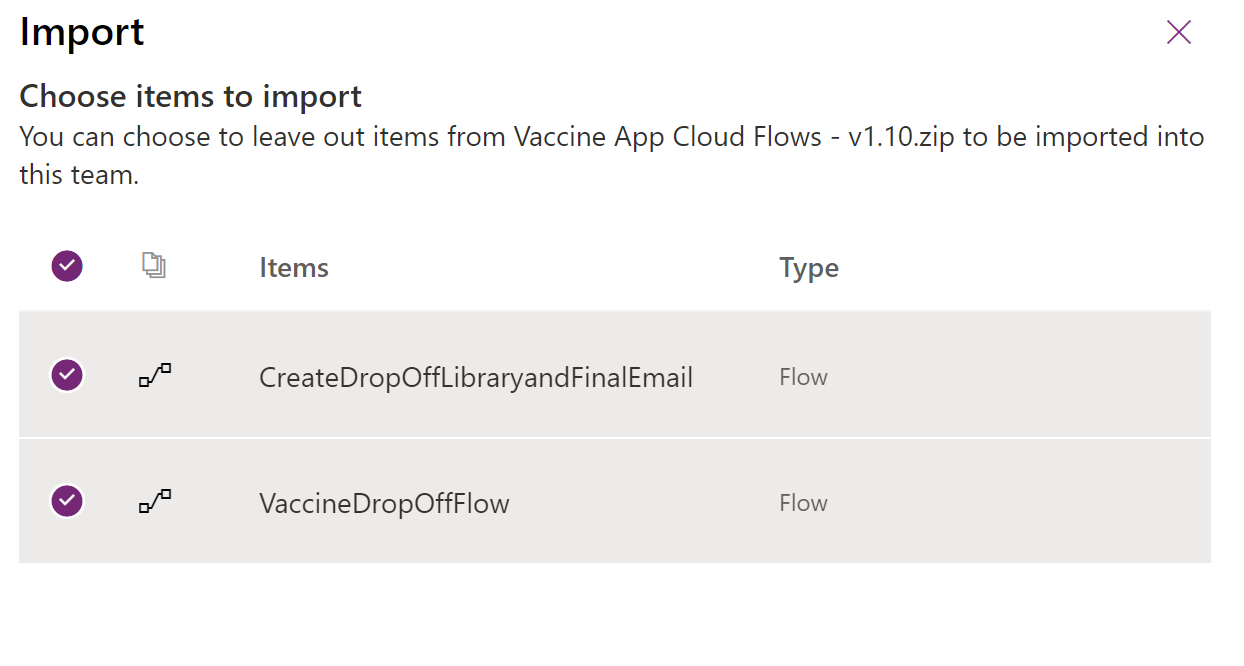
- Import the solution
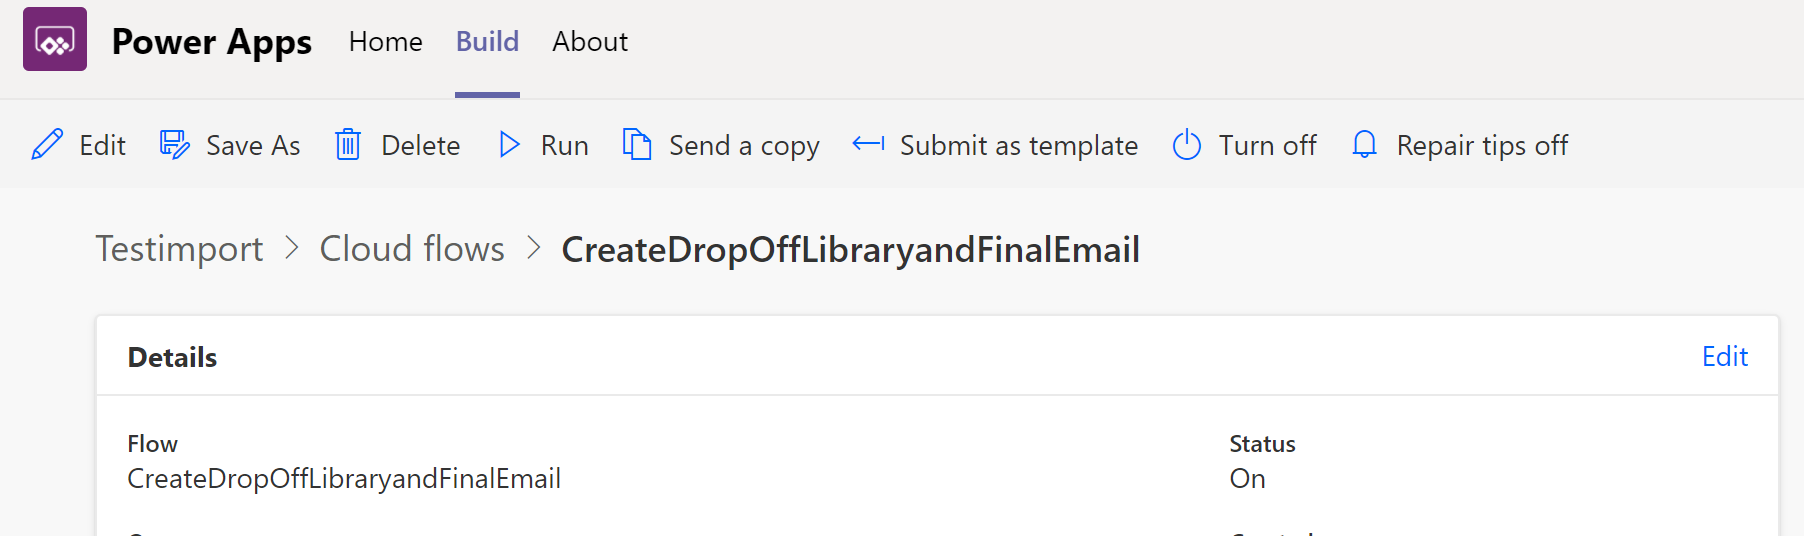
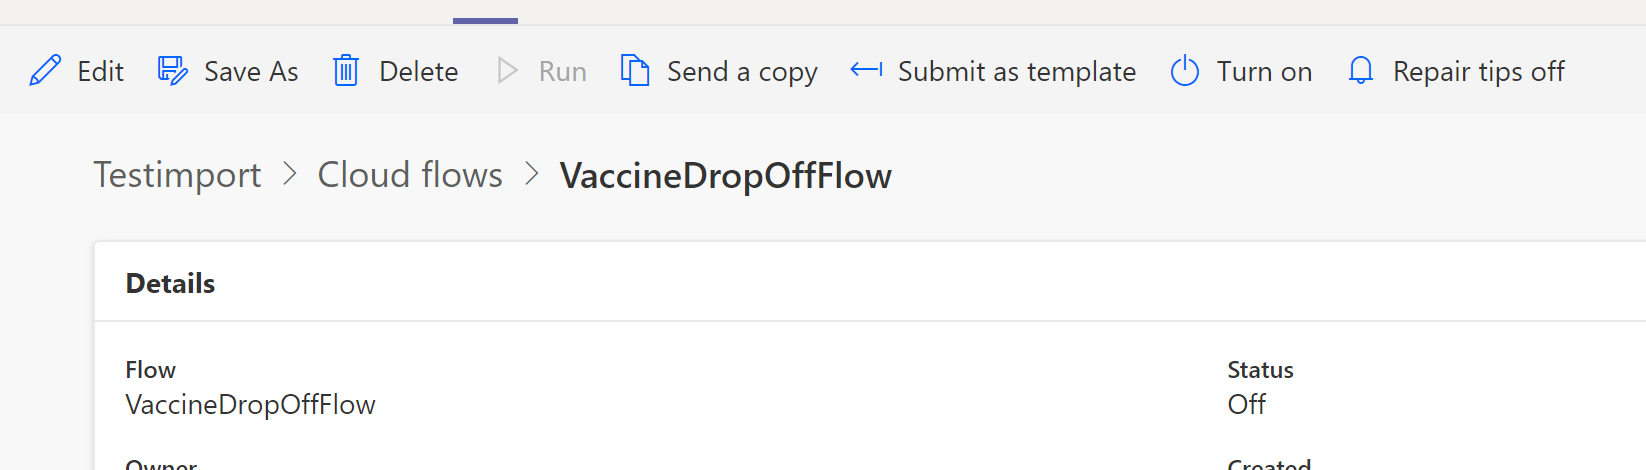
The solution contains 2 Flow. The CreateDropOffLibraryandFinalEmail is used to create lists within a SharePoint site to host the images. The second Flow VaccineDropOffFlow is used to move Flows and apply metadata.
-
Create SharePoint Connection
-
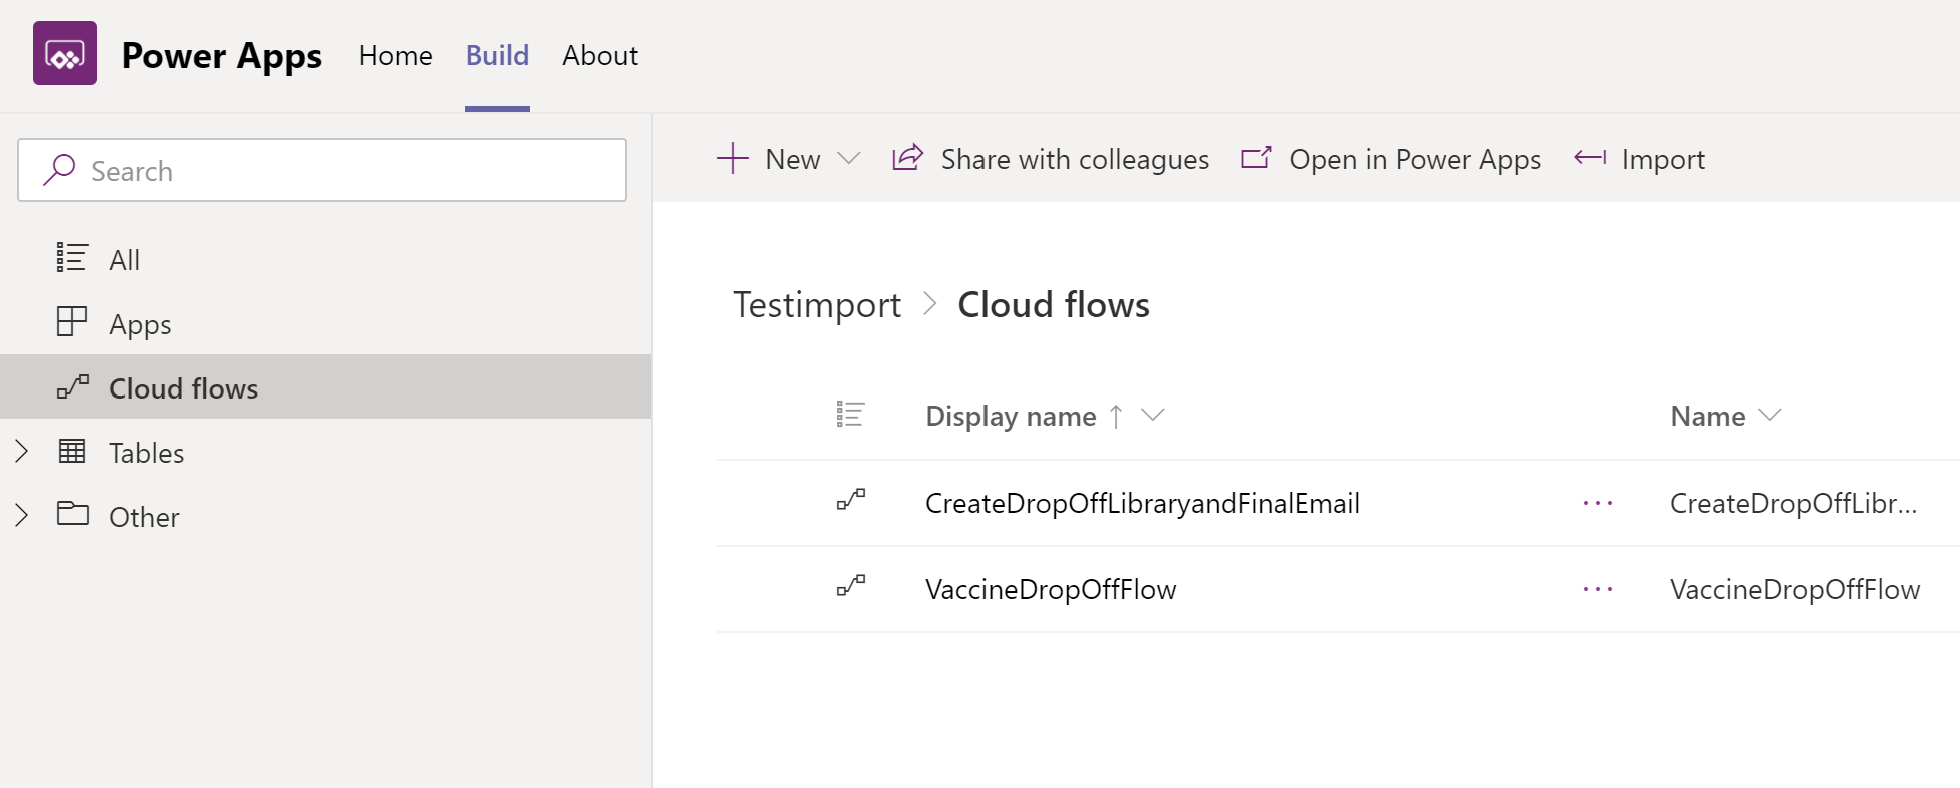
Select CreateDropOffLibraryandFinalEmail flow from the cloud Flows within Teams Dataverse
- Click on the run button
- Enter in SharePoint URL for hosting the images for VaxApp
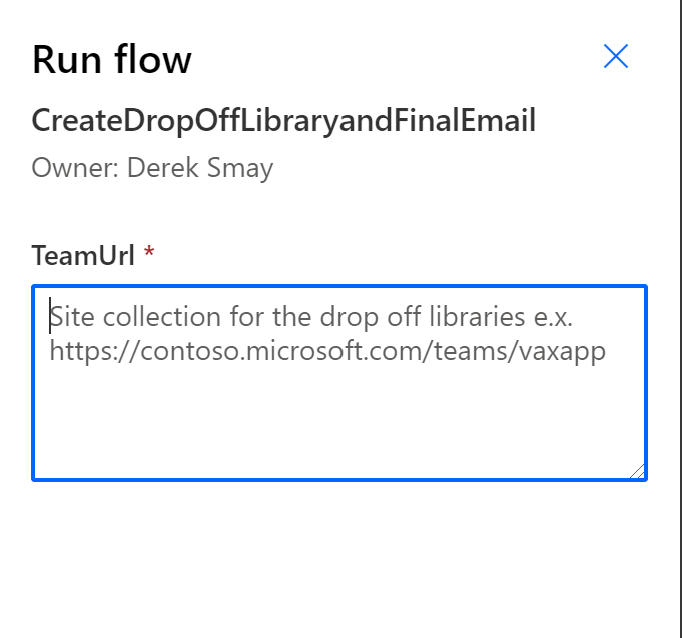
- Click on run button
-
Create SharePoint Connection
-
Select VaccineDropOffFlow from the cloud Flows within Teams Dataverse
- Click on edit button
-
Edit SharePoint Url and list on each of the SharePoint actions within the Flow
-
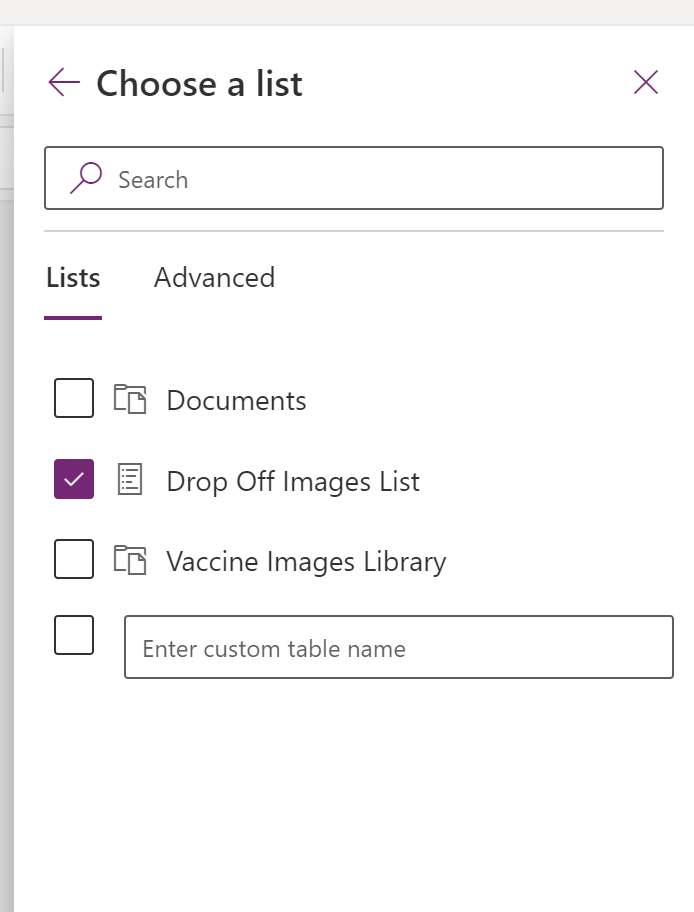
Use Drop Off Images List for list value in the following actions:
- Get Items
- Get Attachments
- Get attachments content
- Delete item
-
Use VaccineImagesLibrary for Folder Path in Create File actions
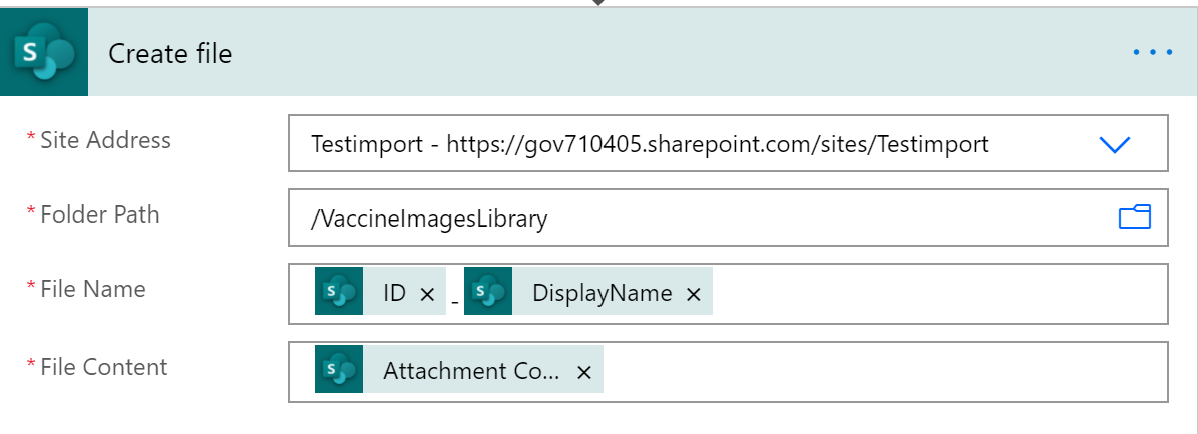
- Use Vaccine Images Library for library name in Update File properties actions
- Save Flow
- Select VaxApp from with apps in Teams Dataverse
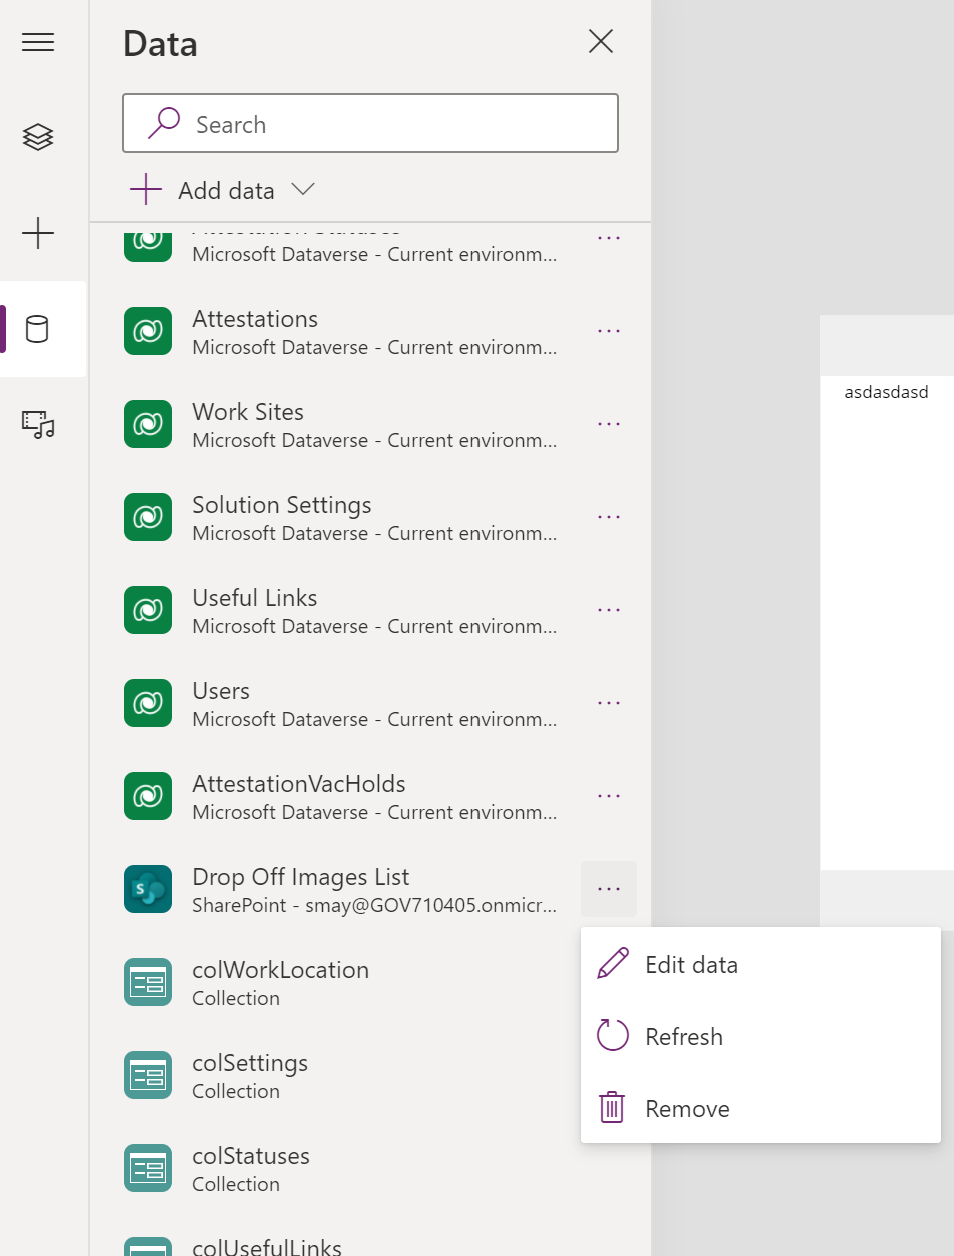
- Remove the SharePoint connection from the connections list within app
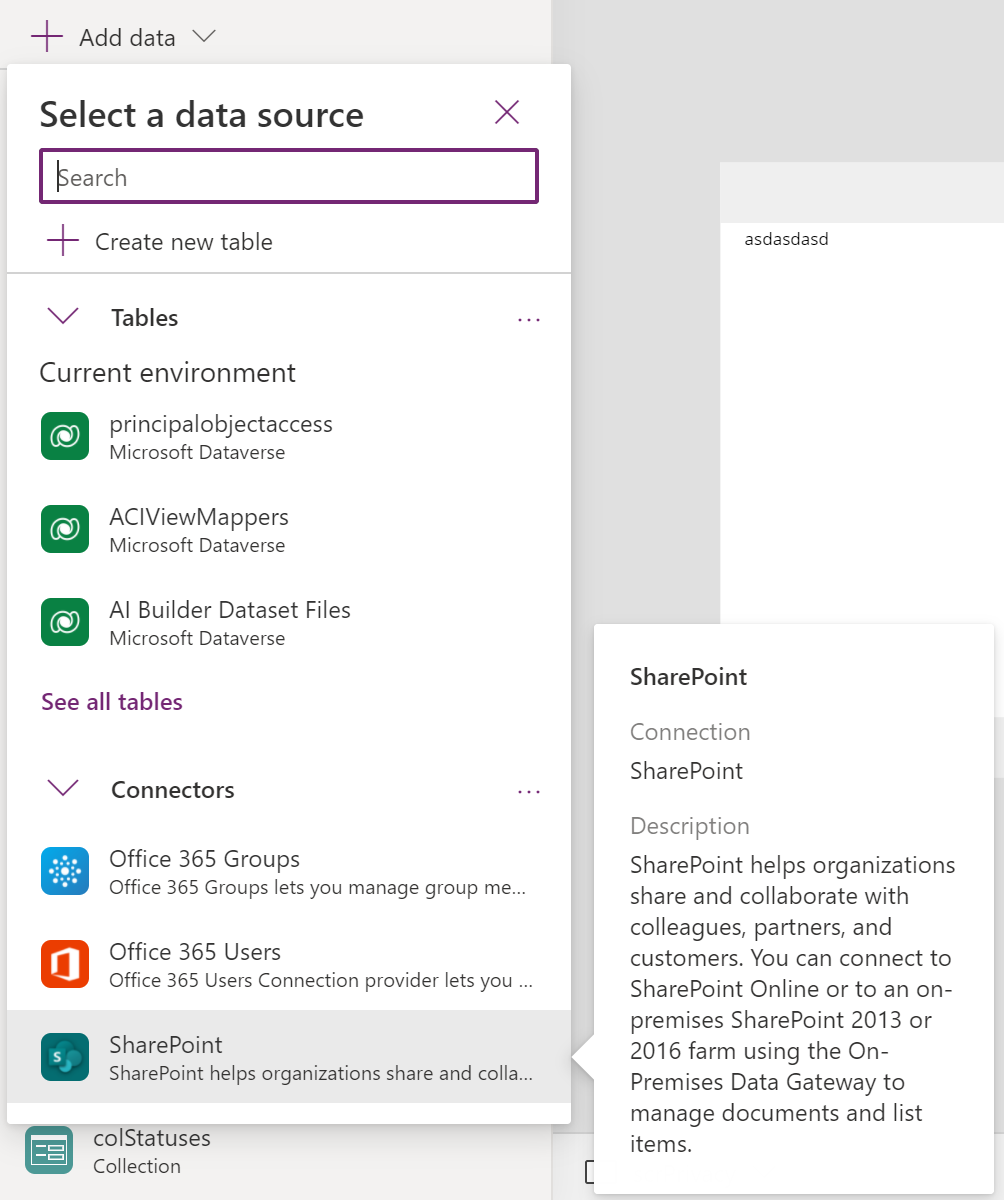
- Click on add data and select SharePoint connector
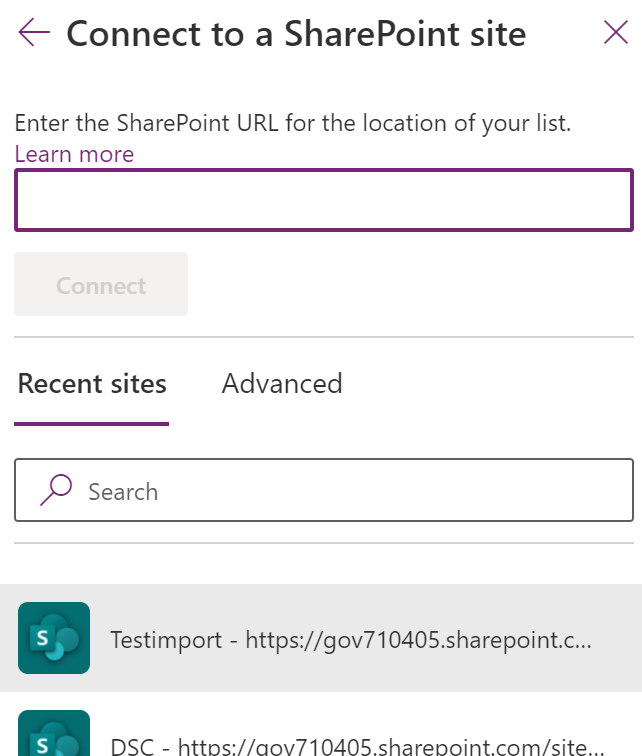
- Select SharePoint Url where you configured lists for hosting
- Select the Drop Off List library for the list of lists
- Confirm there are no errors under the app checker, save and publish to Teams.
