Releasing Vulcan
- Ensure you have the necessary permissions to publish a release on the Vulcan repository.
- Familiarize yourself with the project's automated workflows.
A draft release is automatically created every 14 days by the create-draft-release.yml workflow. The workflow also create a new tag by increasing the patch number of the previous release tag. The source code (zip & tar.gz) are also provided in the assets.
We will need to edit and review the draft release to add the release notes and adjust the version tag as needed.
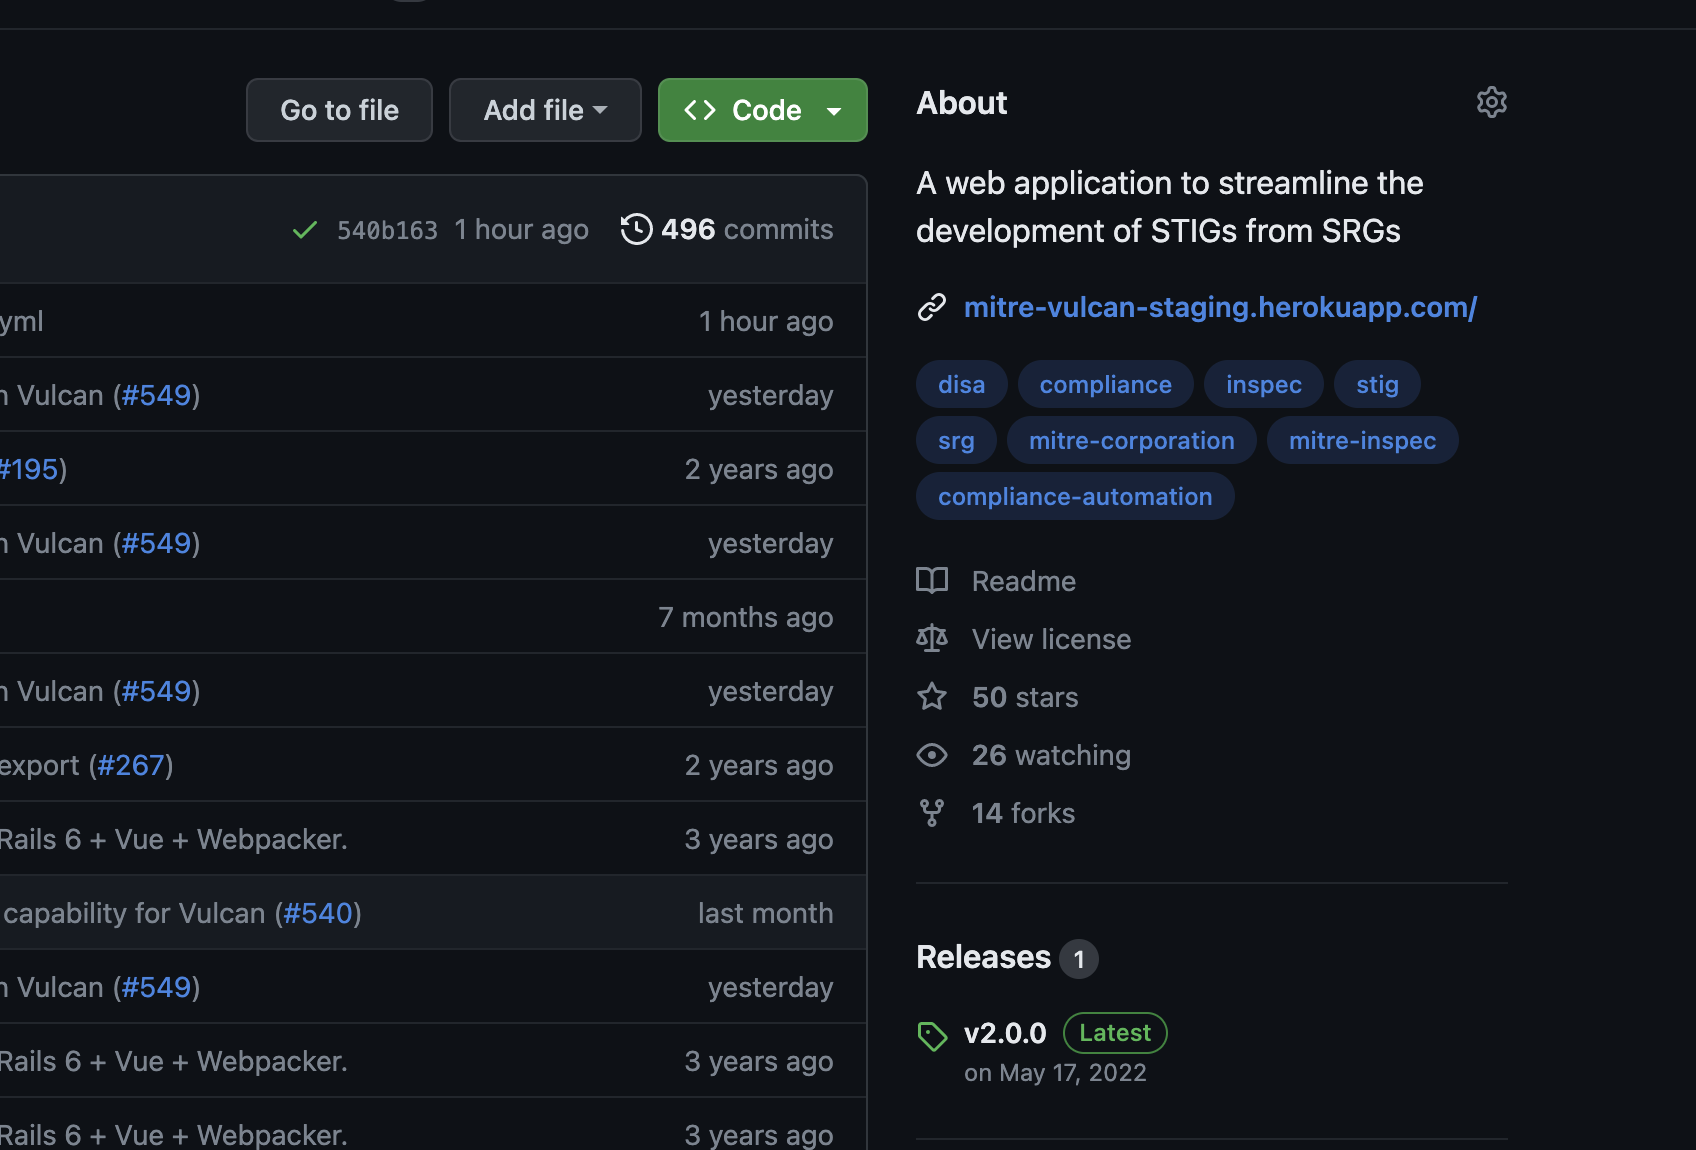
- Navigate to the main page of the Vulcan repository.
- To the right of the list of files, click Releases.
- At the top of the page, click on the edit button on the latest draft release. If there's no draft release, create one by clicking on
Draft a new release
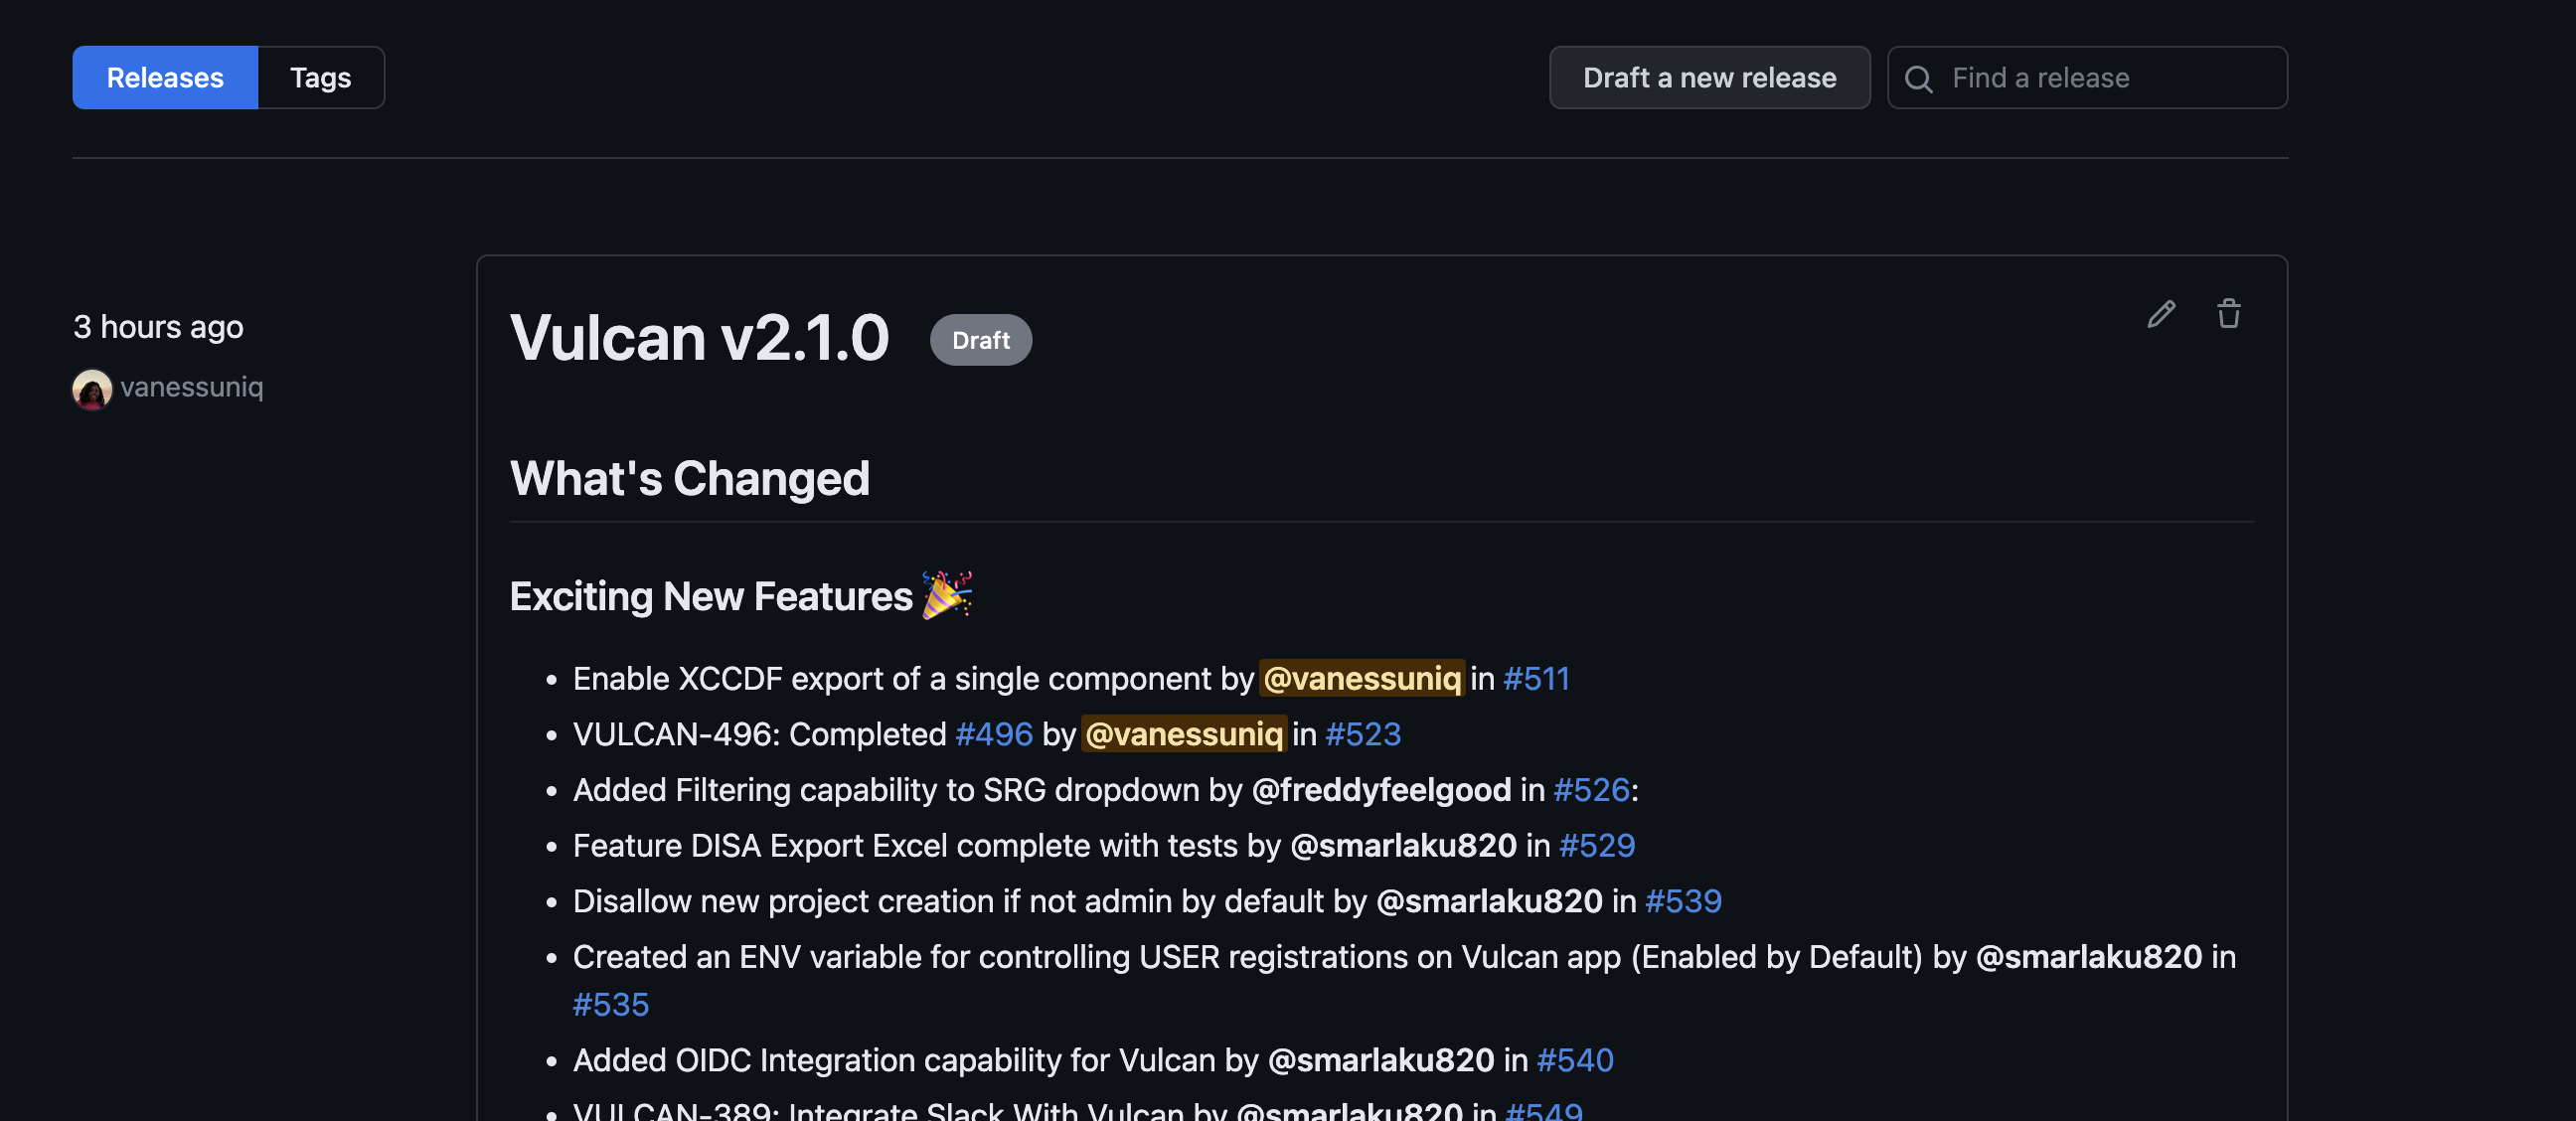
- Click on "Generate release notes" above the description field on the right to automatically generate release notes. The notes are generated based on the pull requests since the last release.
- Manually review the release notes, making sure the changes are well-categorized and accurate.
- Update the release version tag as needed, following the Semantic Versioning principle (major, minor, or patch). This should be based on the changes included in the release. In general, we will bump the patch number if changes only include dependencies update and bugs fixes. Bump the minor number if changes include new features, and the major number if changes include breaking changes that may break existing functionalities.
You are encouraged to discuss major changes with the team before proceeding.
-
On your vulcan local environment:
a. Checkout to the master branch
git checkout masterif not already on master.b. Ensure that your local master branch is up to date with
origin/masterby runninggit pull -
Update the necessary files:
a. Update
VERSIONfile with the new version number.b. Update
package.jsonfile: update theversionfield in this file with the new version numberc. Update
README.mdfile: update theLatest Releasesection by updating the version number to the new one
d. Update the
CHANGELOG.mdfile: This is done using thegithub_changelog_generatorgem.-
Install the gem locally:
gem install github_changelog_generator -
Edit the generator param file
.github_changelog_generator: change thefuture-releaseparam to the new release number. -
Because GitHub only allows 50 unauthenticated requests per hour, it's better to run the generator script with authentication by using a token. If you do not already have a valid GitHub token, follow these instructions to generate one.
-
Run the following command to generate the new changelog:
github_changelog_generator --token <your-40-digit-token>
-
-
Commit and Push the Changes:
  git add .
  git commit -s -m "<The New Release Version Number (e.g. v2.1.4)>"
  git push
The draft release creation also trigger the test to run and the build and push of the docker image (run-tests.yml and push-to-docker.yml workflows).
However, additional verification needs to be done before publishing the release.
- Go to the GitHub Actions tab in the Vulcan repository.
- Check that the test suite and Docker image build workflows have run successfully after the draft release was created.
- If the workflows have failed, review the logs, resolve the issues, and push the fixes to the repository.
- If any fixes are pushed to the repository, make sure to regenerate the release notes and the assets to capture the update.
- Pull the latest vulcan docker image
mitre/vulcan:latestand run it withdocker compose.
Ensure you have setup your docker secrets with ./setup-docker-secrets.sh. Also replace
build: .withimage: mitre/vulcan:latestin thedocker-compose.yml. You can also build the image locally and test it. Just make sure to pull the most up to date code from the master branch.
- If any issues, address them and repeat the testing process.
- The master branch is automatically deployed to the staging environment on heroku. Go to https://github.com/mitre/vulcan/deployments/activity_log?environment=mitre-vulcan-staging, and ensure that the deployment completed successfully.
- Test the app thoroughly, ensuring that all features work as expected and there are no bugs.
- Address any issues found in the staging deployment and repeat the testing process.
- Once all checks have been completed and are successful, go back to the draft release, click on the edit button, then click on "Publish release" to publish the new Vulcan release.
With these steps completed, you have successfully published a new Vulcan release.
