Quick start guide
This guide will help you get started with mockapi.io by building APIs for a simple Todo app. It will also go over some of the key concepts:
Let's add our first project and call it Todo app.

Each project gets its own unique base URL that all endpoints under it will share.

Next, you'll need to add endpoints to your project. In mockapi.io, this is achieved by creating a Resource.
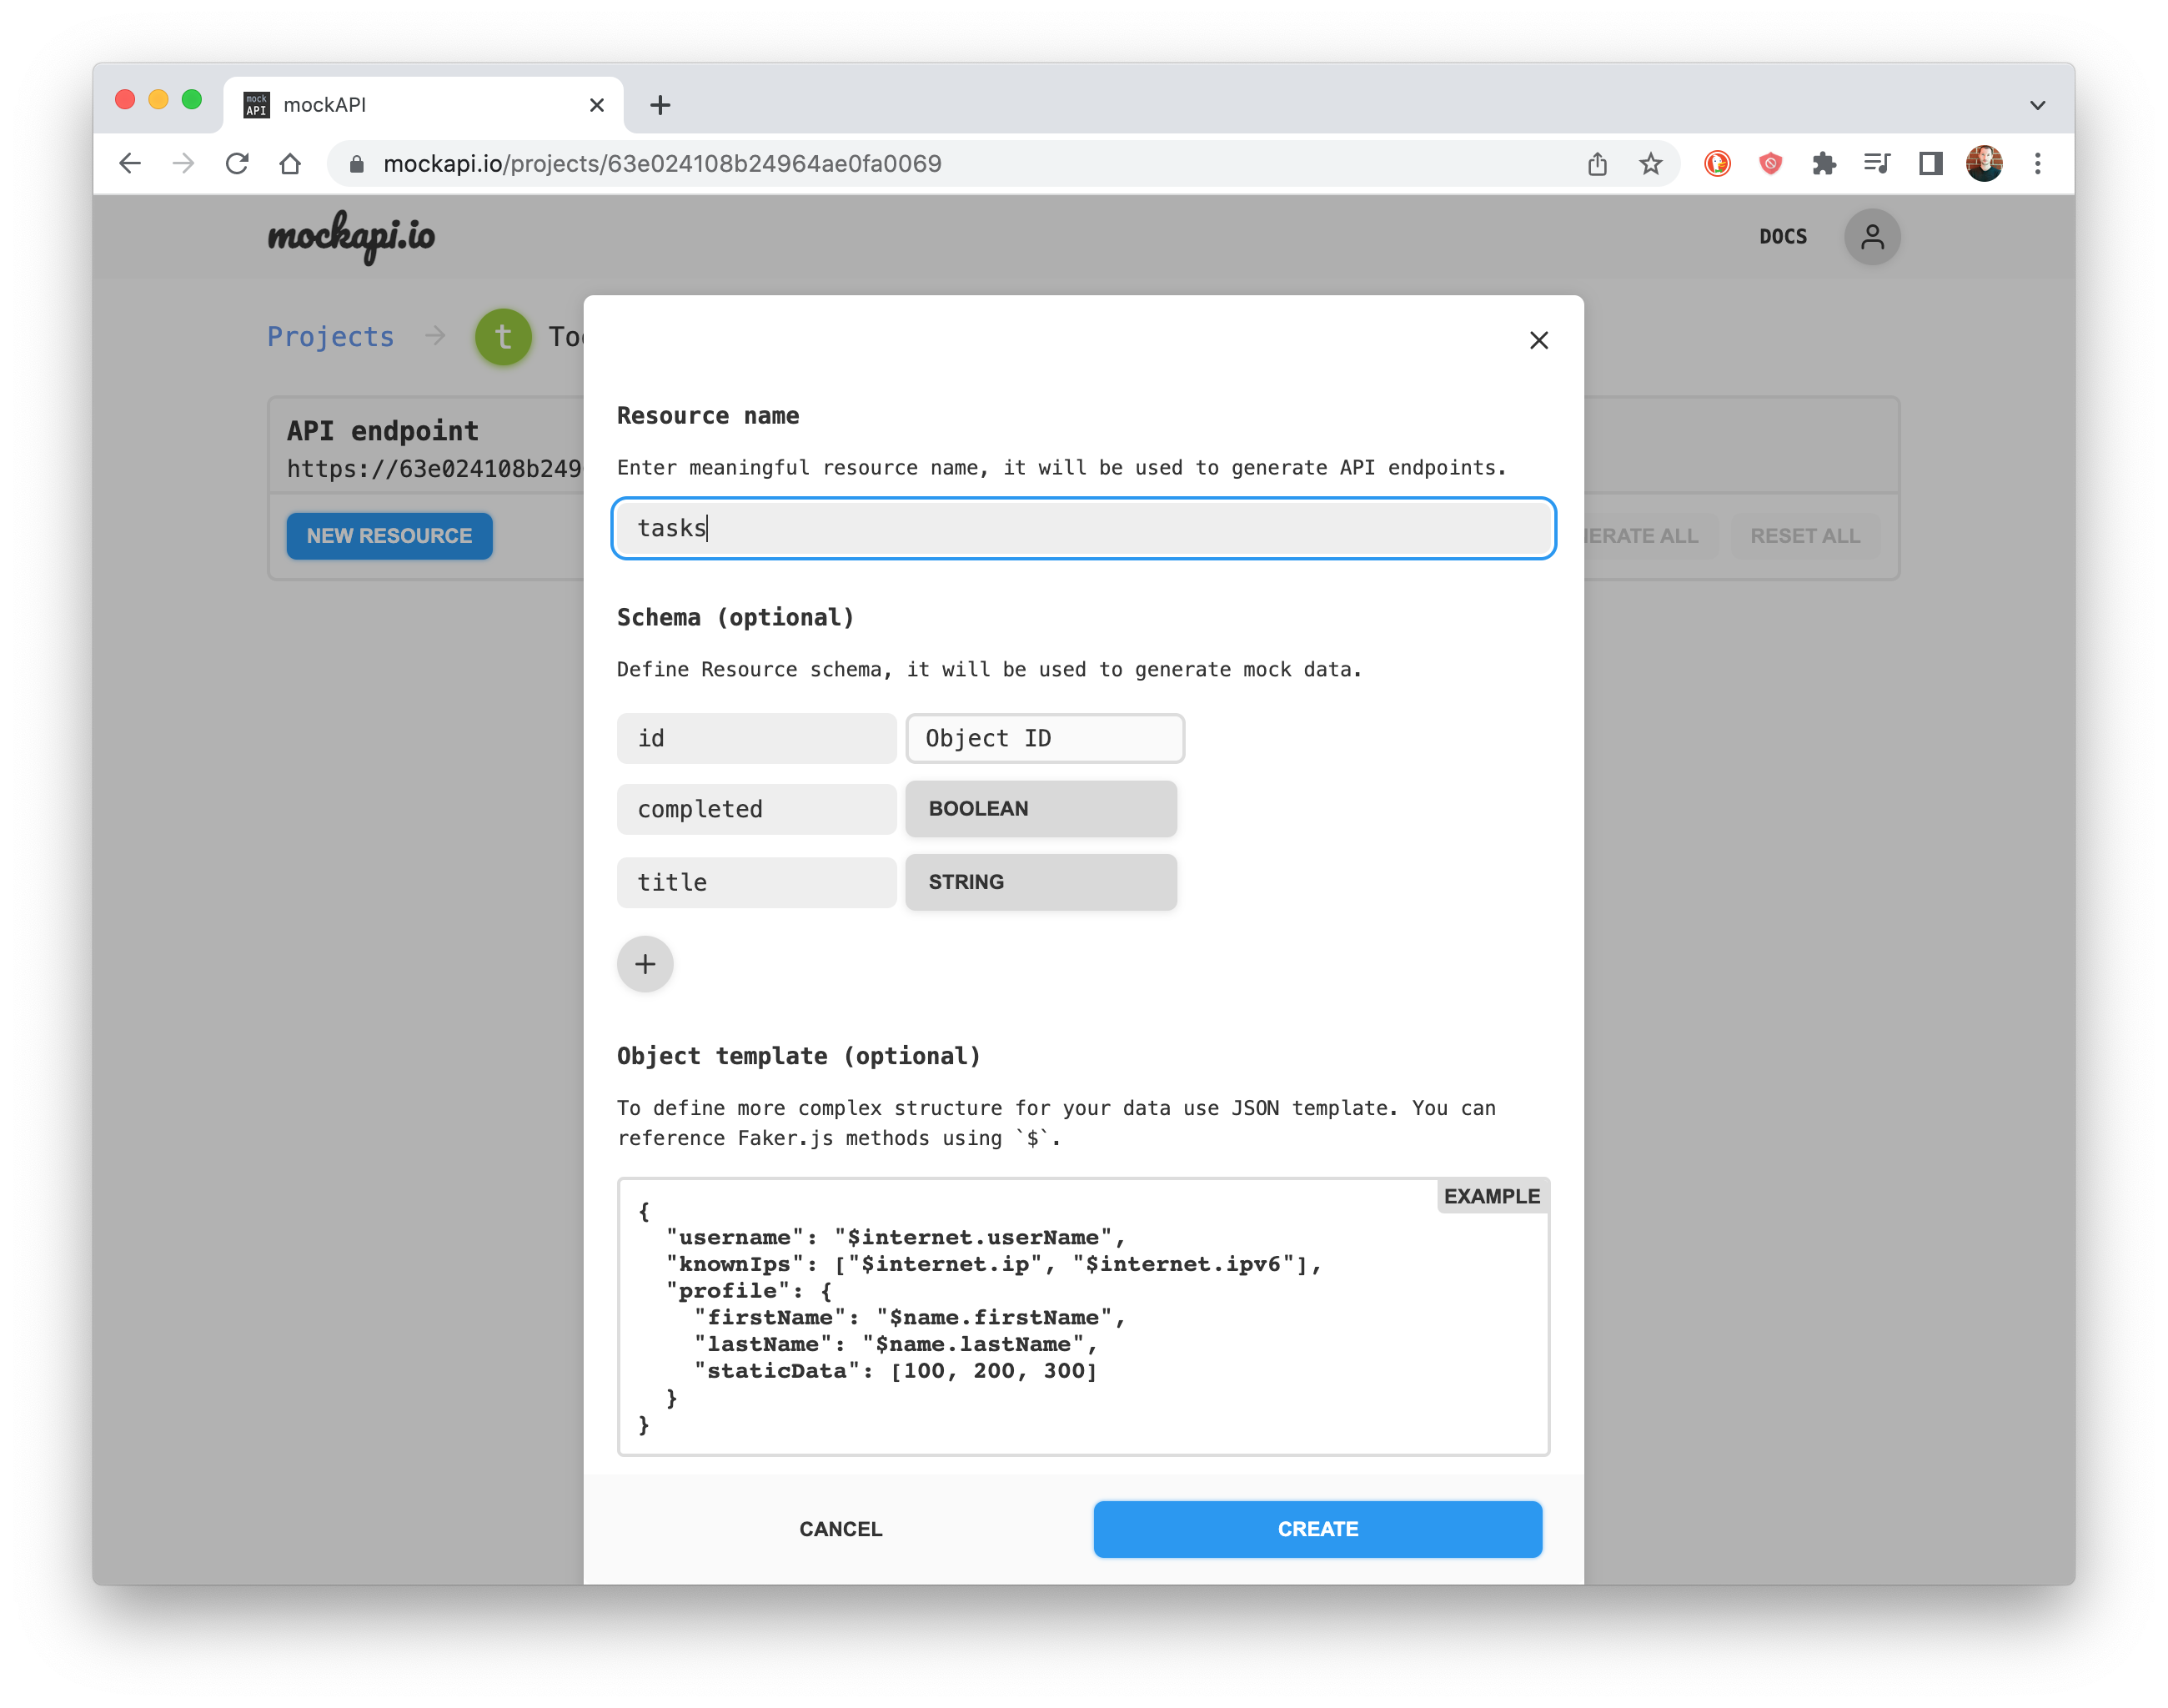
A resource refers to a specific data entity that can be accessed and manipulated through the API.
For our Todo app, let's call it tasks. Add title, and completed fields under Resource schema. The following endpoints will be generated:
| Method | URL | Payload | Response | Description |
|---|---|---|---|---|
| GET | /tasks |
Task[] | Get a list of tasks | |
| GET | /tasks/{taskId} |
Task | Get a task by ID | |
| POST | /tasks |
Task | Task | Create a new task |
| PUT | /tasks/{taskId} |
Task | Task | Update a task |
| Patch | /tasks/{taskId} |
Task | Task | Update a task |
| Delete | /tasks/{taskId} |
Task | Delete a task |
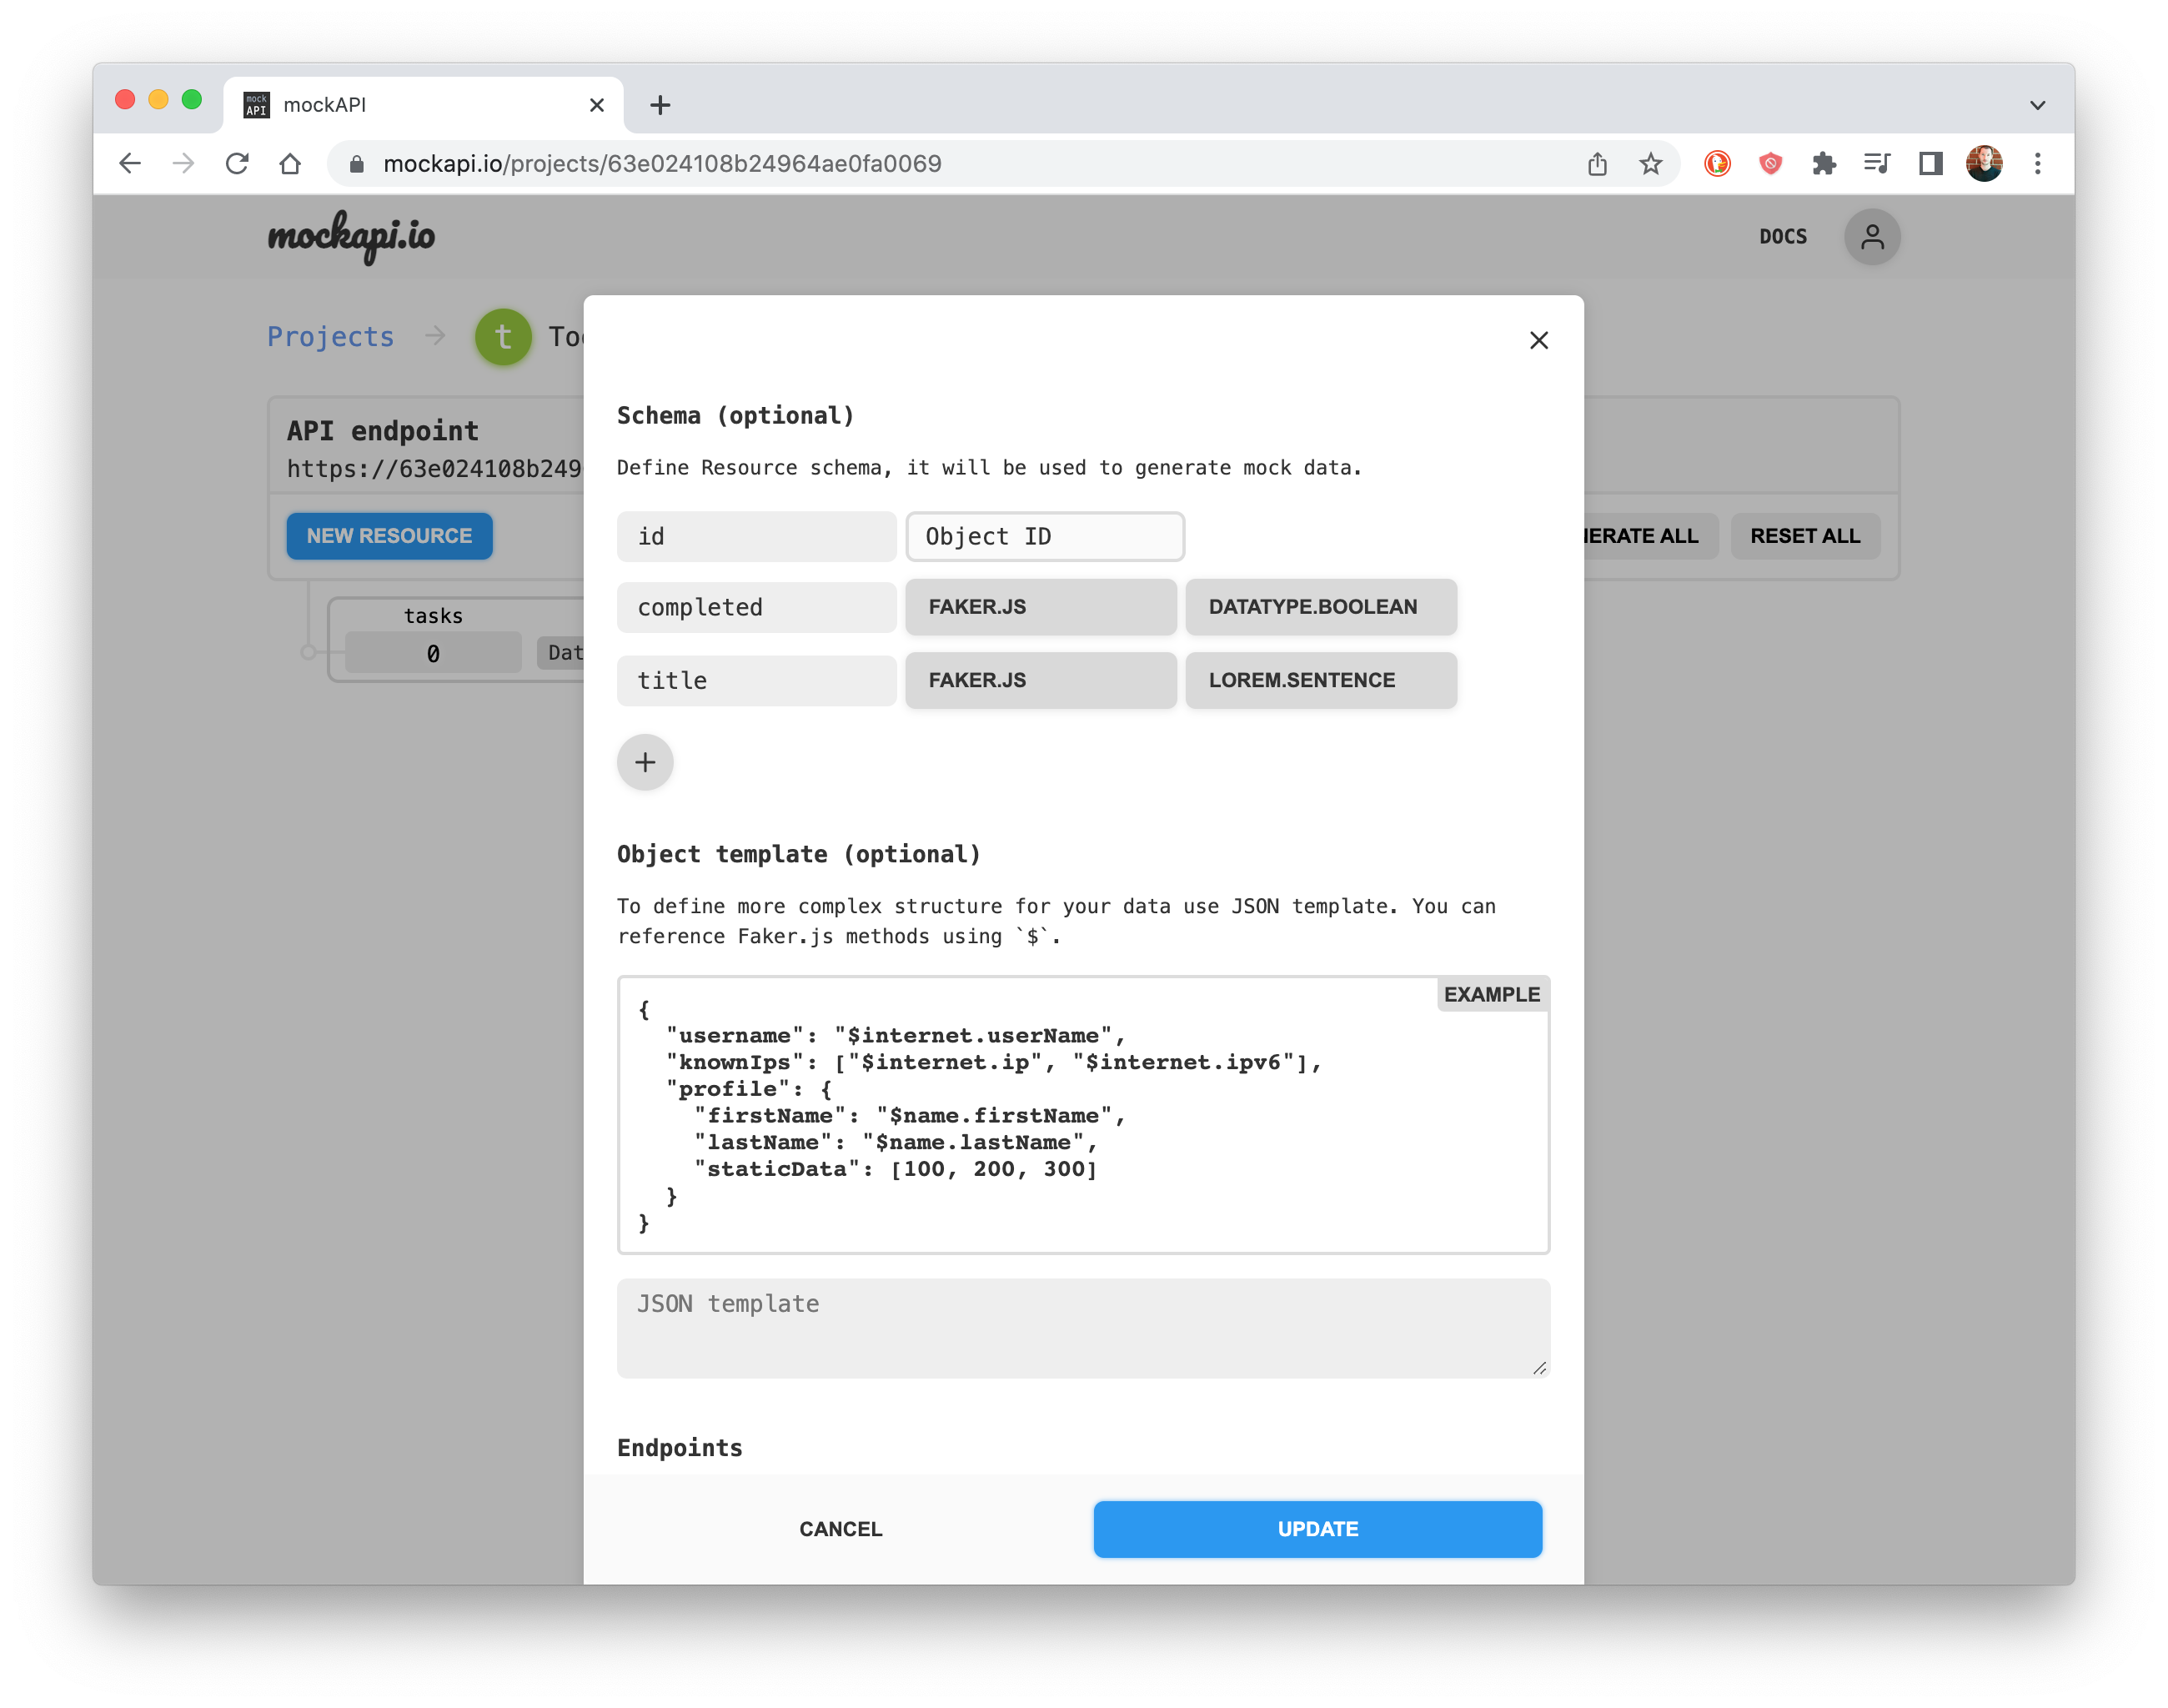
For each field in the Resource schema, you can specify a Faker.js generator function. Let's update tasks resource with the following generators:
-
title->lorem.sentences -
completed->datatype.boolean
Now, the only thing left is to let mockapi.io generate the data for you. On the main project view, hover over the gray rectangle under tasks label (you should see a tooltip with a number of records to be generated) and click on it!
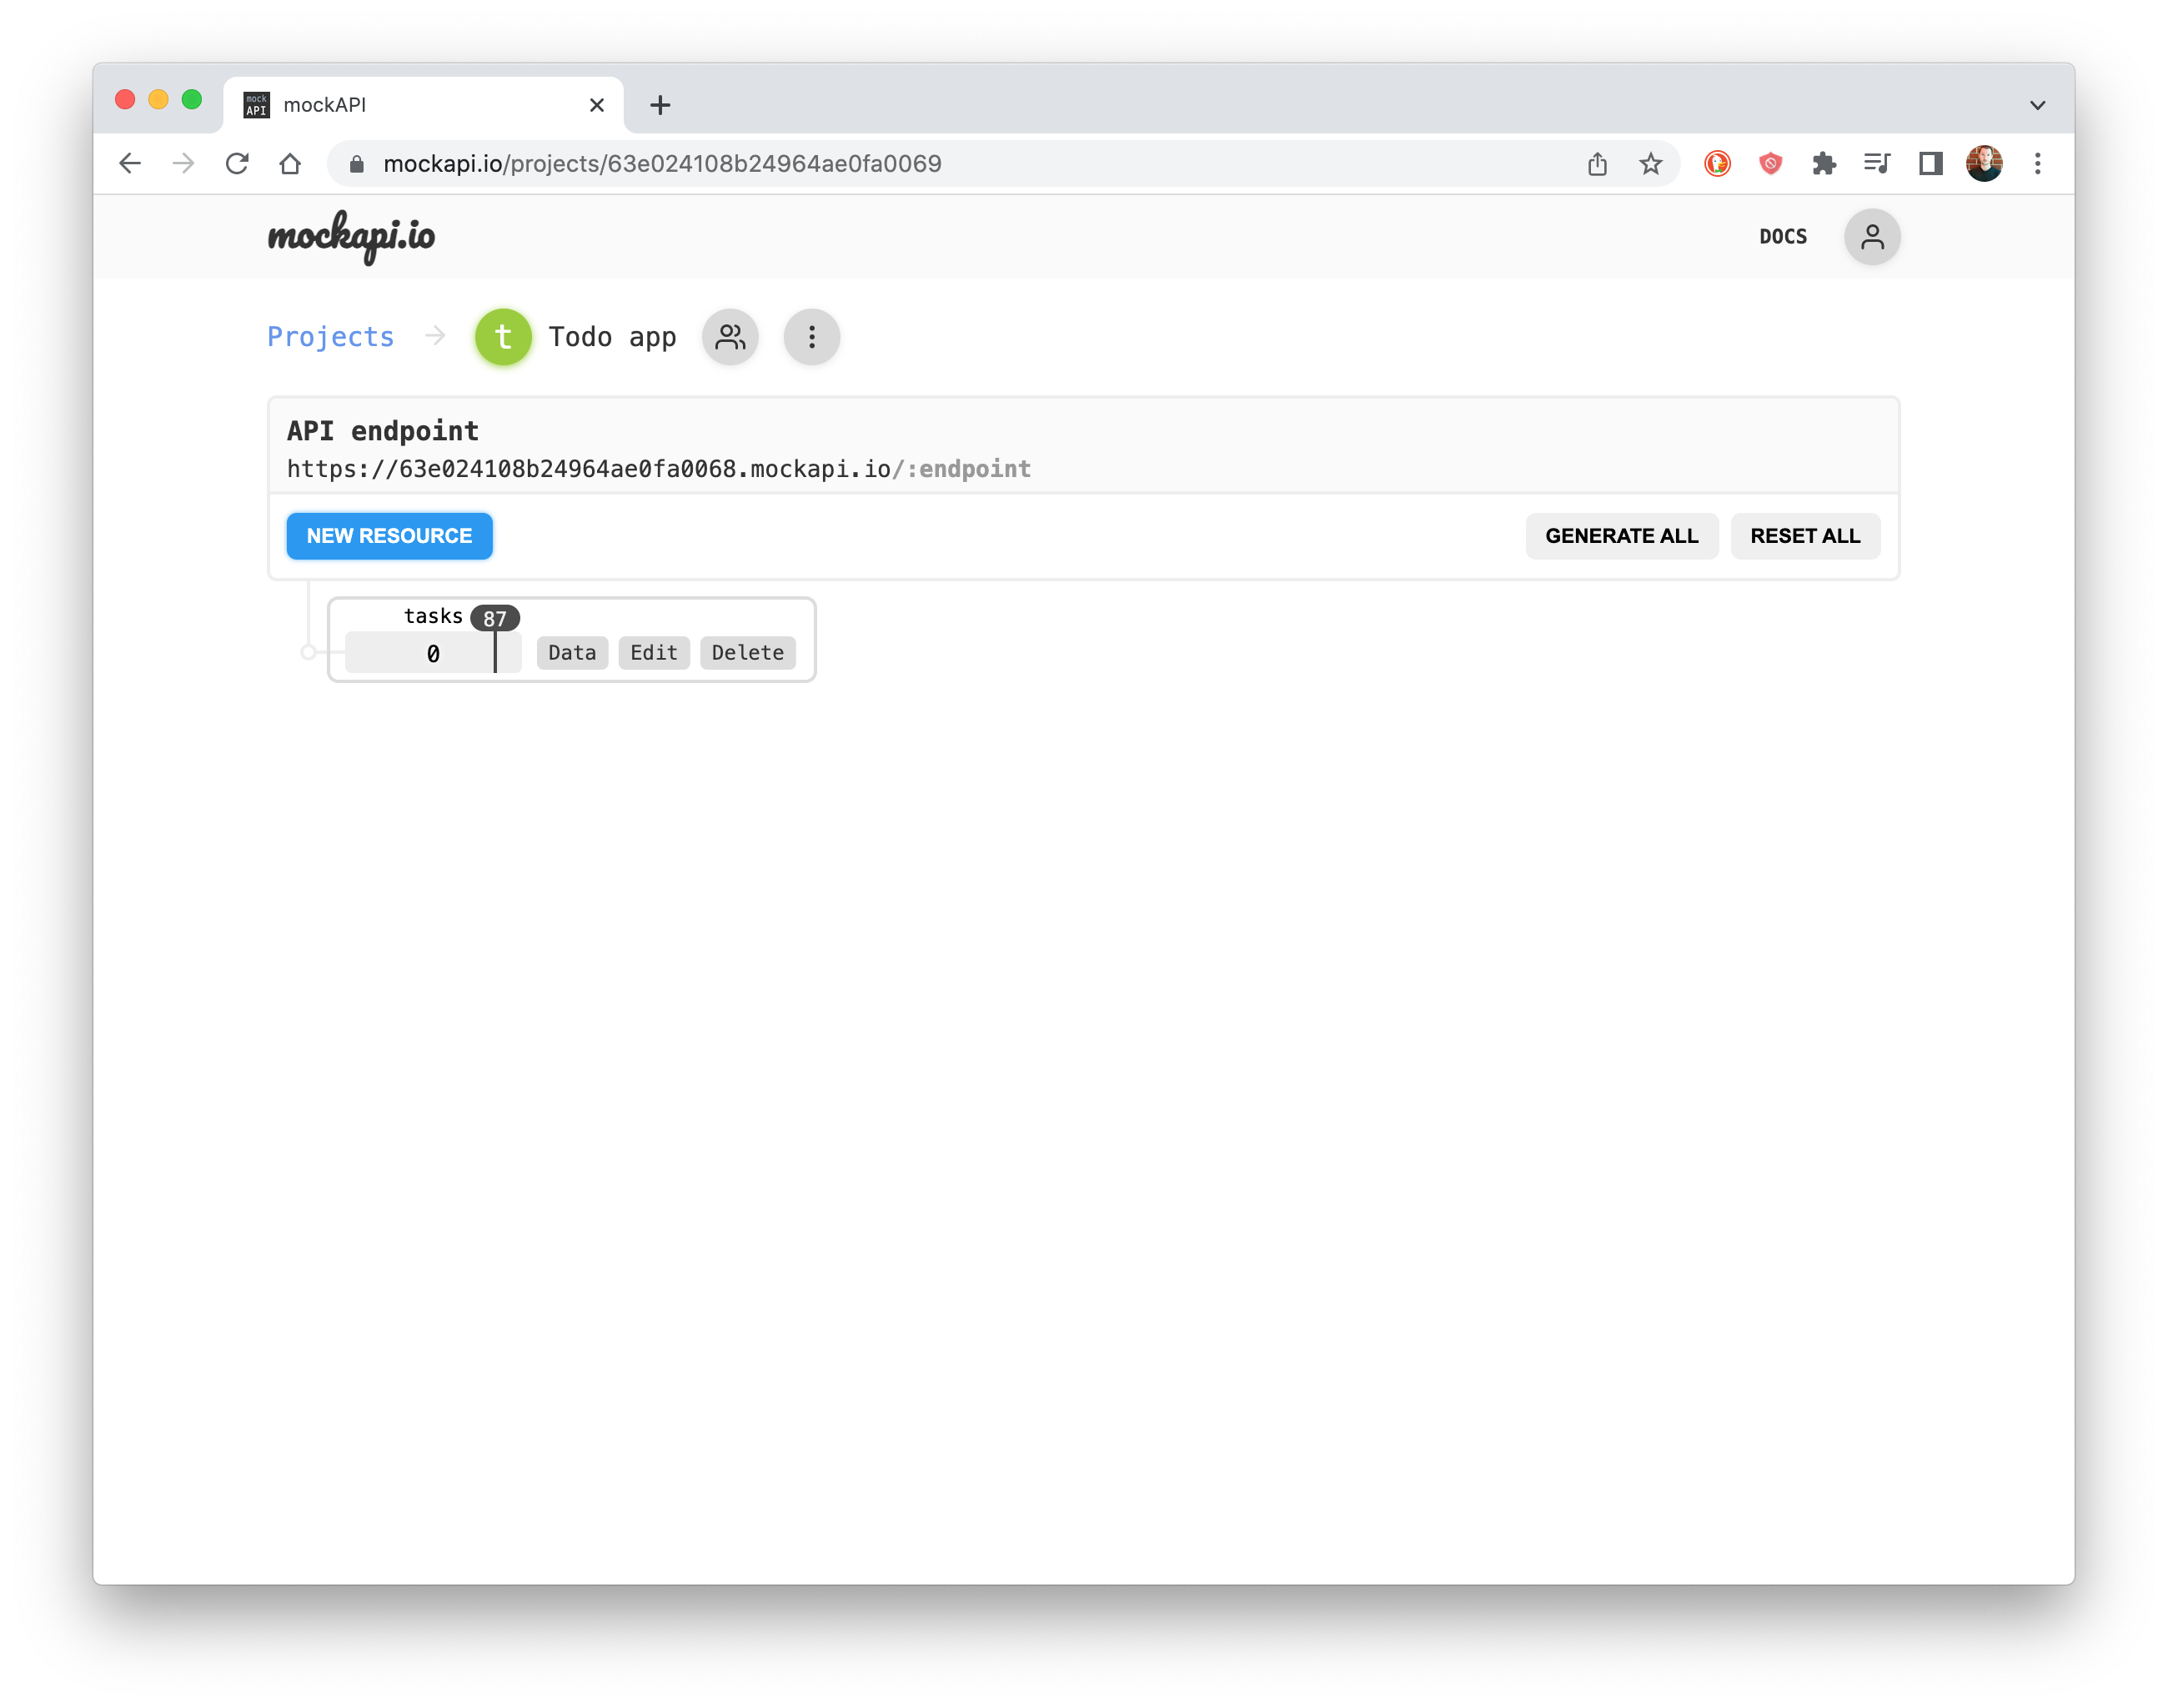
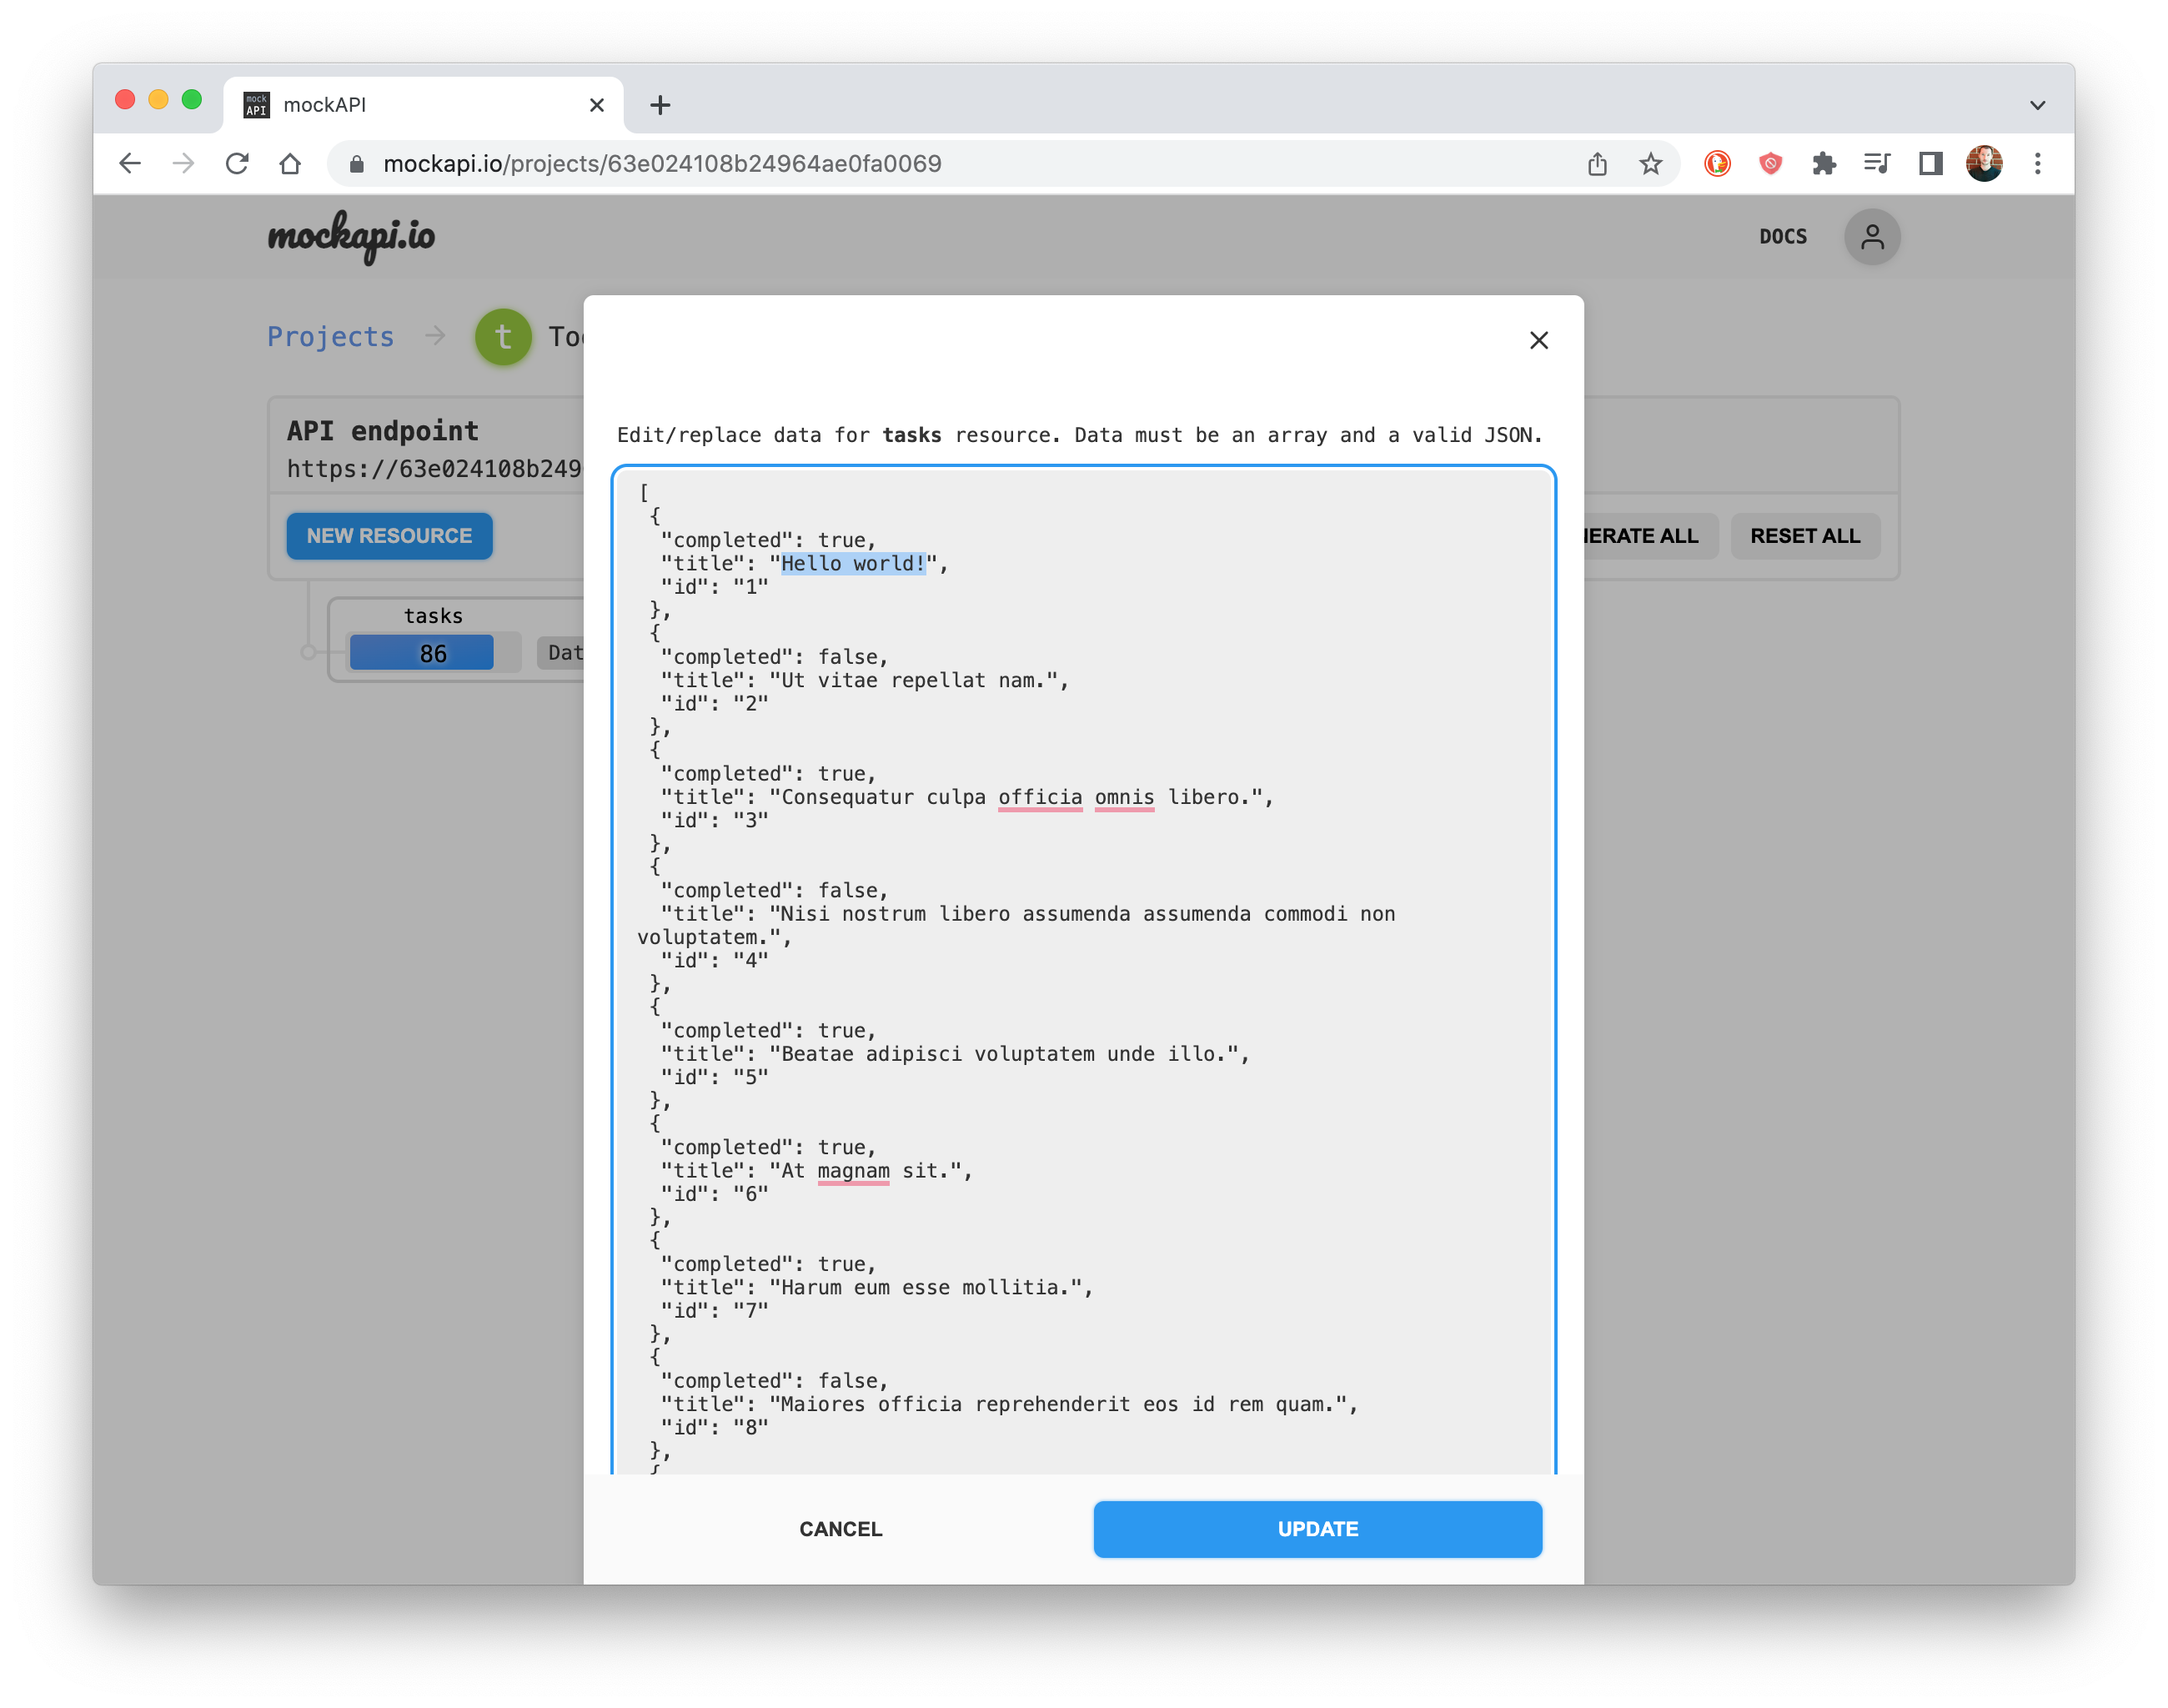
You should now have mock data to work with! To check what was generated, click on the Data button next to the resource name. This will bring up a modal where you can inspect and manually update records.
The following examples are written in Javascript. A couple of things to note here are (1) mockapi.io expects content-type:application/json header, (2) data should be sent as a JSON inside the request body.
1. Get tasks
fetch('https://PROJECT_TOKEN.mockapi.io/tasks', {
  method: 'GET',
  headers: {'content-type':'application/json'},
}).then(res => {
  if (res.ok) {
      return res.json();
  }
  // handle error
}).then(tasks => {
  // Do something with the list of tasks
}).catch(error => {
  // handle error
})
2. Create a new task
const newTask = {
  content: 'Check out mockapi.io',
  completed: false,
};

fetch('https://PROJECT_TOKEN.mockapi.io/tasks', {
  method: 'POST',
  headers: {'content-type':'application/json'},
  // Send your data in the request body as JSON
  body: JSON.stringify(newTask)
}).then(res => {
  if (res.ok) {
      return res.json();
  }
  // handle error
}).then(task => {
  // do something with the new task
}).catch(error => {
  // handle error
})
3. Mark tasks completed
fetch('https://PROJECT_TOKEN.mockapi.io/tasks/1', {
  method: 'PUT', // or PATCH
  headers: {'content-type':'application/json'},
  body: JSON.stringify({completed: true})
}).then(res => {
  if (res.ok) {
      return res.json();
  }
  // handle error
}).then(task => {
  // Do something with updated task
}).catch(error => {
  // handle error
})
4. Delete tasks
fetch('https://<PROJECT_TOKEN.mockapi.io/tasks/1', {
  method: 'DELETE',
}).then(res => {
  if (res.ok) {
      return res.json();
  }
  // handle error
}).then(task => {
  // Do something with deleted task
}).catch(error => {
  // handle error
})Suppose we want to only get tasks that are not completed. Fortunately, mockapi.io supports filtering out of the box via search parameters.
const url = new URL('https://PROJECT_TOKEN.mockapi.io/tasks');
url.searchParams.append('completed', false); //https://PROJECT_TOKEN.mockapi.io/tasks?completed=false

fetch(url, {
  method: 'GET',
  headers: {'content-type':'application/json'},
}).then(res => {
  if (res.ok) {
      return res.json();
  }
  // handle error
}).then(tasks => {
  // mockapi returns only incomplete tasks
}).catch(error => {
  // handle error
})We almost never want to fetch all tasks from the database, instead, let's get the first 10 and paginate the rest. Again mockapi.io utilizes search parameters for this. Here is a code example to get the first 10 tasks:
const url = new URL('https://PROJECT_TOKEN.mockapi.io/tasks');
url.searchParams.append('completed', false); //https://PROJECT_TOKEN.mockapi.io/tasks?completed=false
url.searchParams.append('page', 1); //https://PROJECT_TOKEN.mockapi.io/tasks?completed=false&page=1
url.searchParams.append('limit', 10); //https://PROJECT_TOKEN.mockapi.io/tasks?completed=false&page=1&limit=10

fetch(url, {
  method: 'GET',
  headers: {'content-type':'application/json'},
}).then(res => {
  if (res.ok) {
      return res.json();
  }
  // handle error
}).then(tasks => {
  // mockapi returns first 10 tasks that are not completed
}).catch(error => {
  // handle error
})mockapi.io allows to define relations between resources. These relations in turn are used to handle nested URLs. For example, if we have resources for users and tasks, we can define a relationship between them such that a user has many tasks. This will result in the following endpoints being generated:
| Method | URL | Payload | Response | Description |
|---|---|---|---|---|
| GET | /users |
User[] | Get a list of users | |
| GET | /users/{userId} |
User | Get a user by ID | |
| POST | /users |
User | User | Create a new user |
| PUT (or PATCH) | /users/{userId} |
User | User | Update a user |
| Delete | /users/{userId} |
User | Delete a user | |
| GET | /users/{userId}/tasks |
Task[] | Get a list of tasks for a user | |
| GET | /users/{userId}/tasks/{taskId} |
Task | Get a task by ID | |
| POST | /users/{userId}/tasks |
Task | Task | Create a new task for a user |
| PUT (or PATCH) | /users/{userId}/tasks/{taskId} |
Task | Task | Update a task for a user |
| Delete | /users/{userId}/tasks/{taskId} |
Task | Delete a task |