This article describes deployment of Windows Service ( Topshelf ) using Azure DevOps pipleline to azure virtual machine.
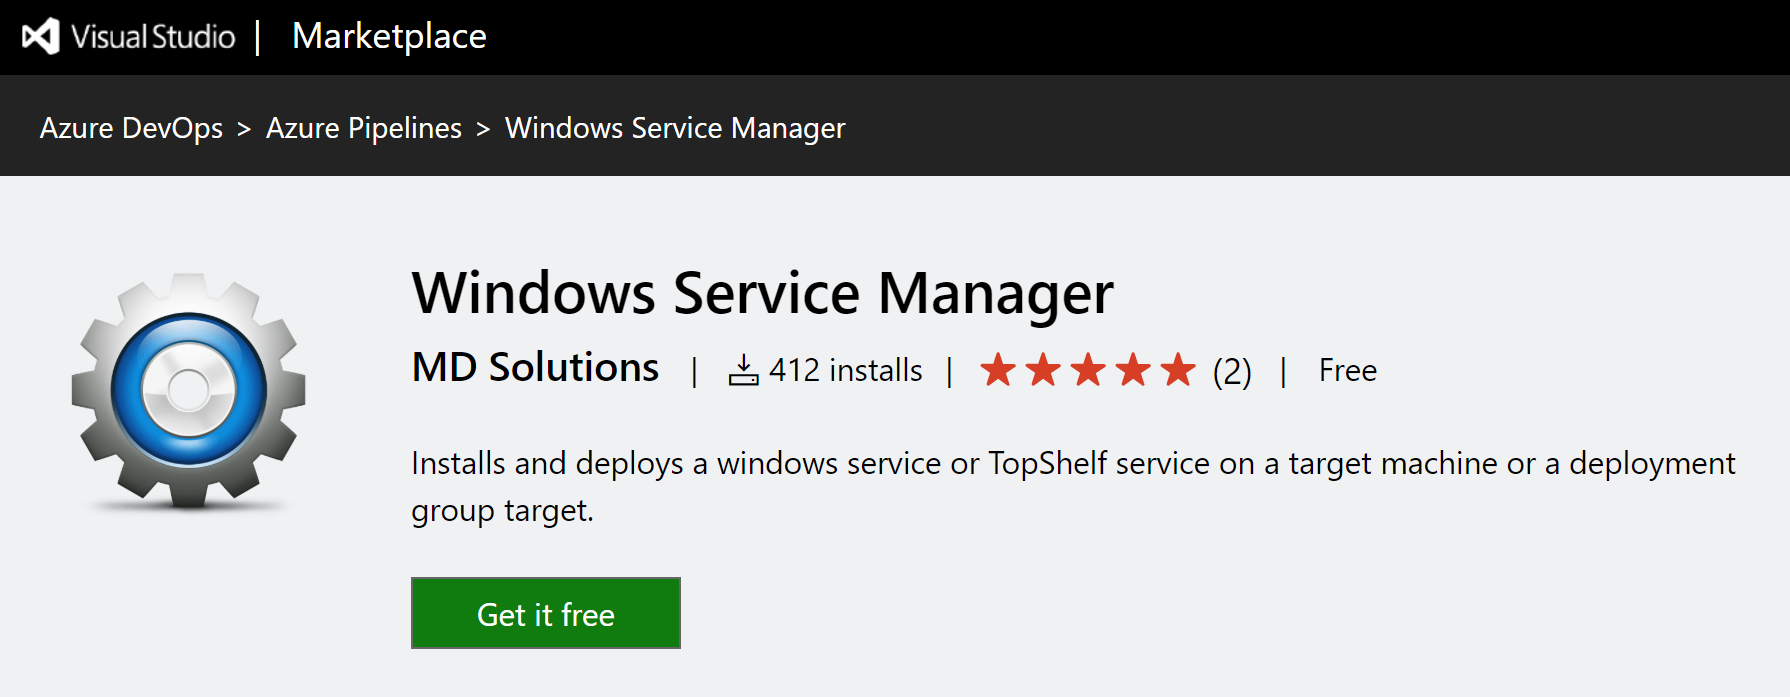
At It's core we will be using Windows Service Manager azure marketplace plug in for service deployment task inside the pipeline.
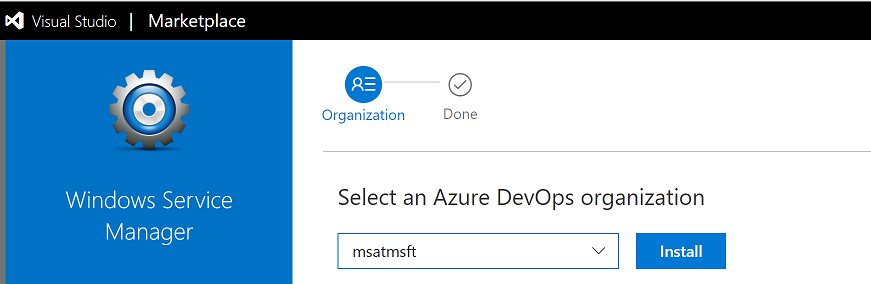
Go to visual studio marketplace and Install WSM Plugin.
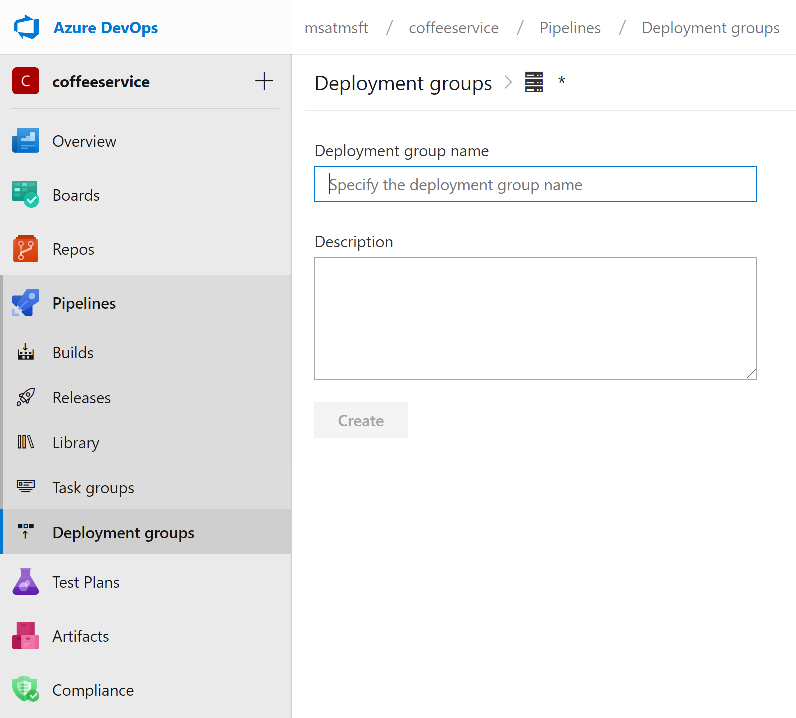
Once plugin is install let's create Deployment Group in Azure DevOps.
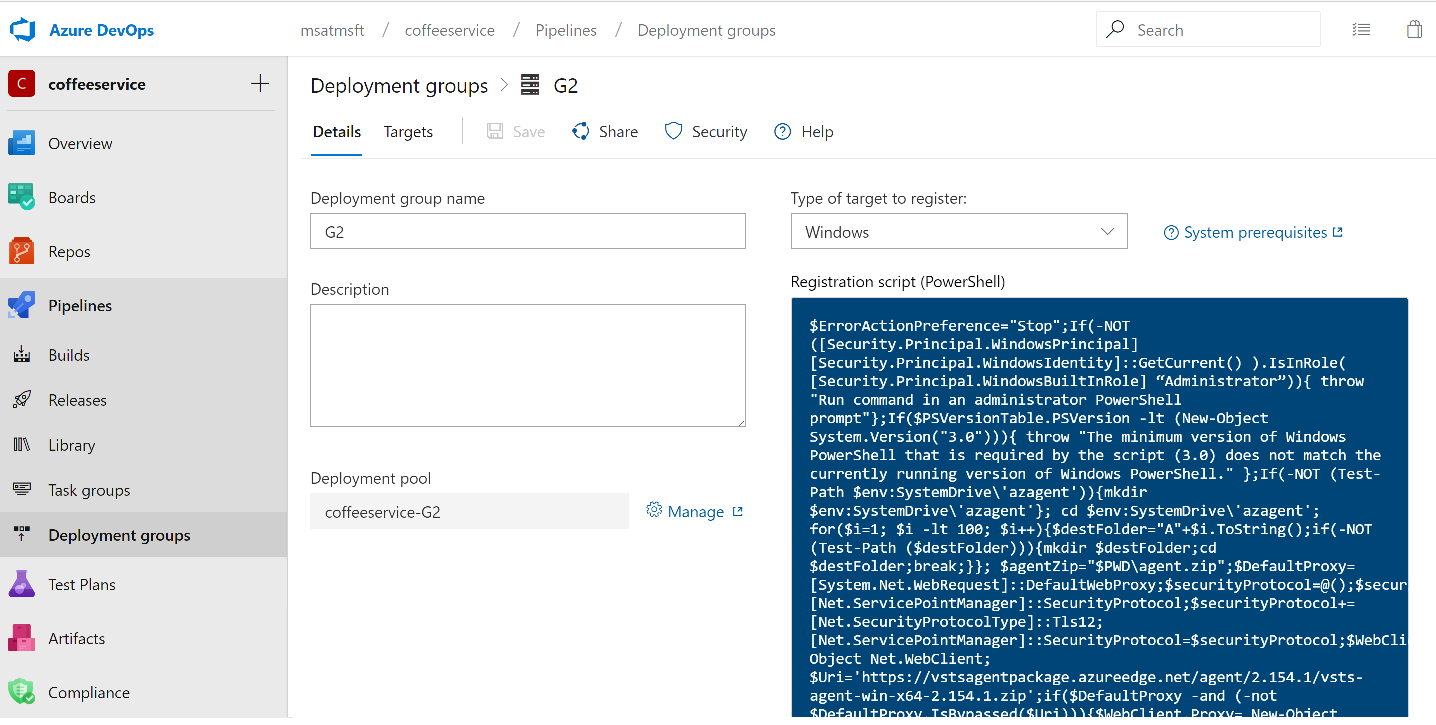
Make sure to check the box "Use a personal access token in the script for authentication" and click Copy Script to the Clipboard button.
You'll need to register the agent using powershell script provided in previous step. The advantage of deployment group machine registration is you no longer need to provide crednetails for virtual machine in the DevOps pipeline.
Log in to your deployment VM and open Powershell ( Not Powershell ISE) and run the script
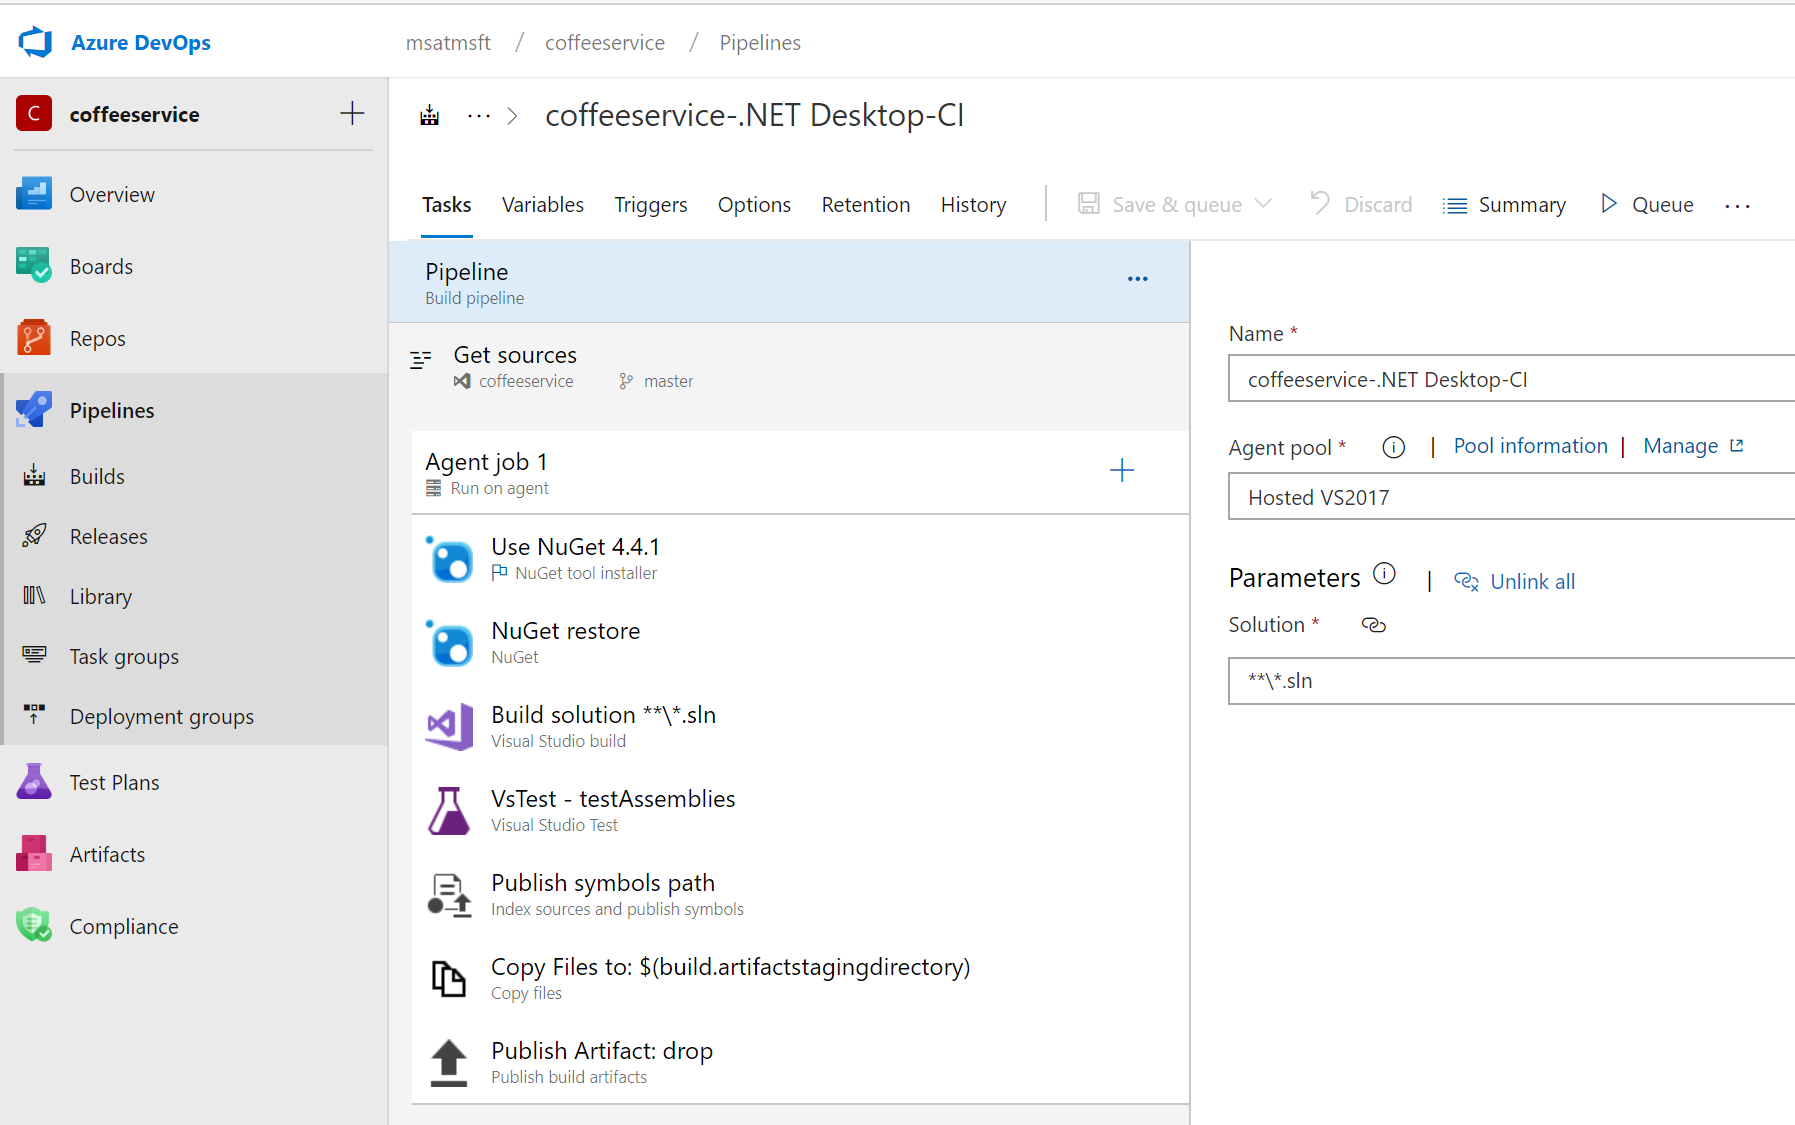
I am using .NET Desktop template to create build pipeline. See Below.
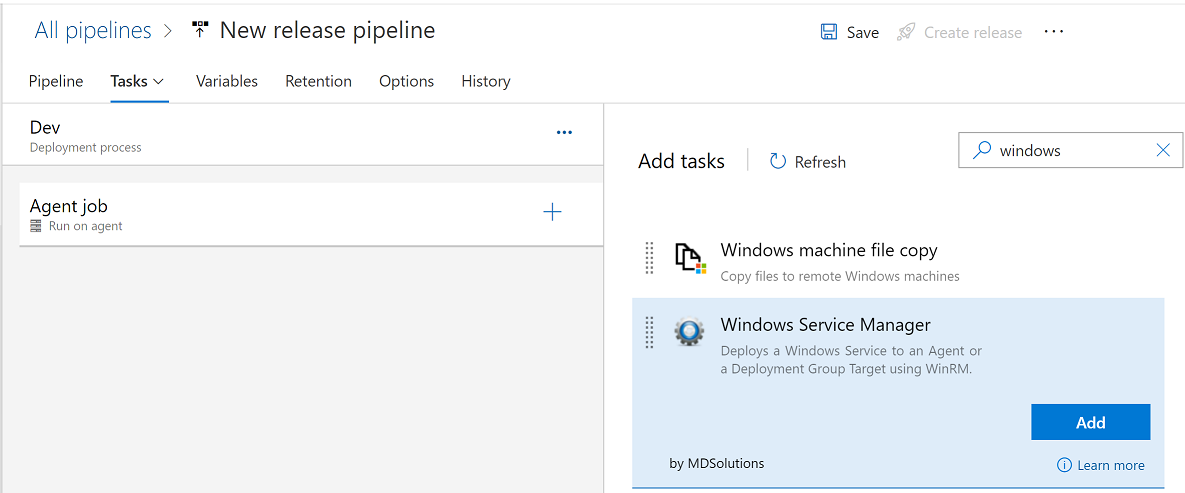
Click on Releases tab and create new release pipeline. Select Empty Job.
Add a Deployment Group Job and select a Deployment group we configured earlier.
Add a task and search for "Windows Service Manager"
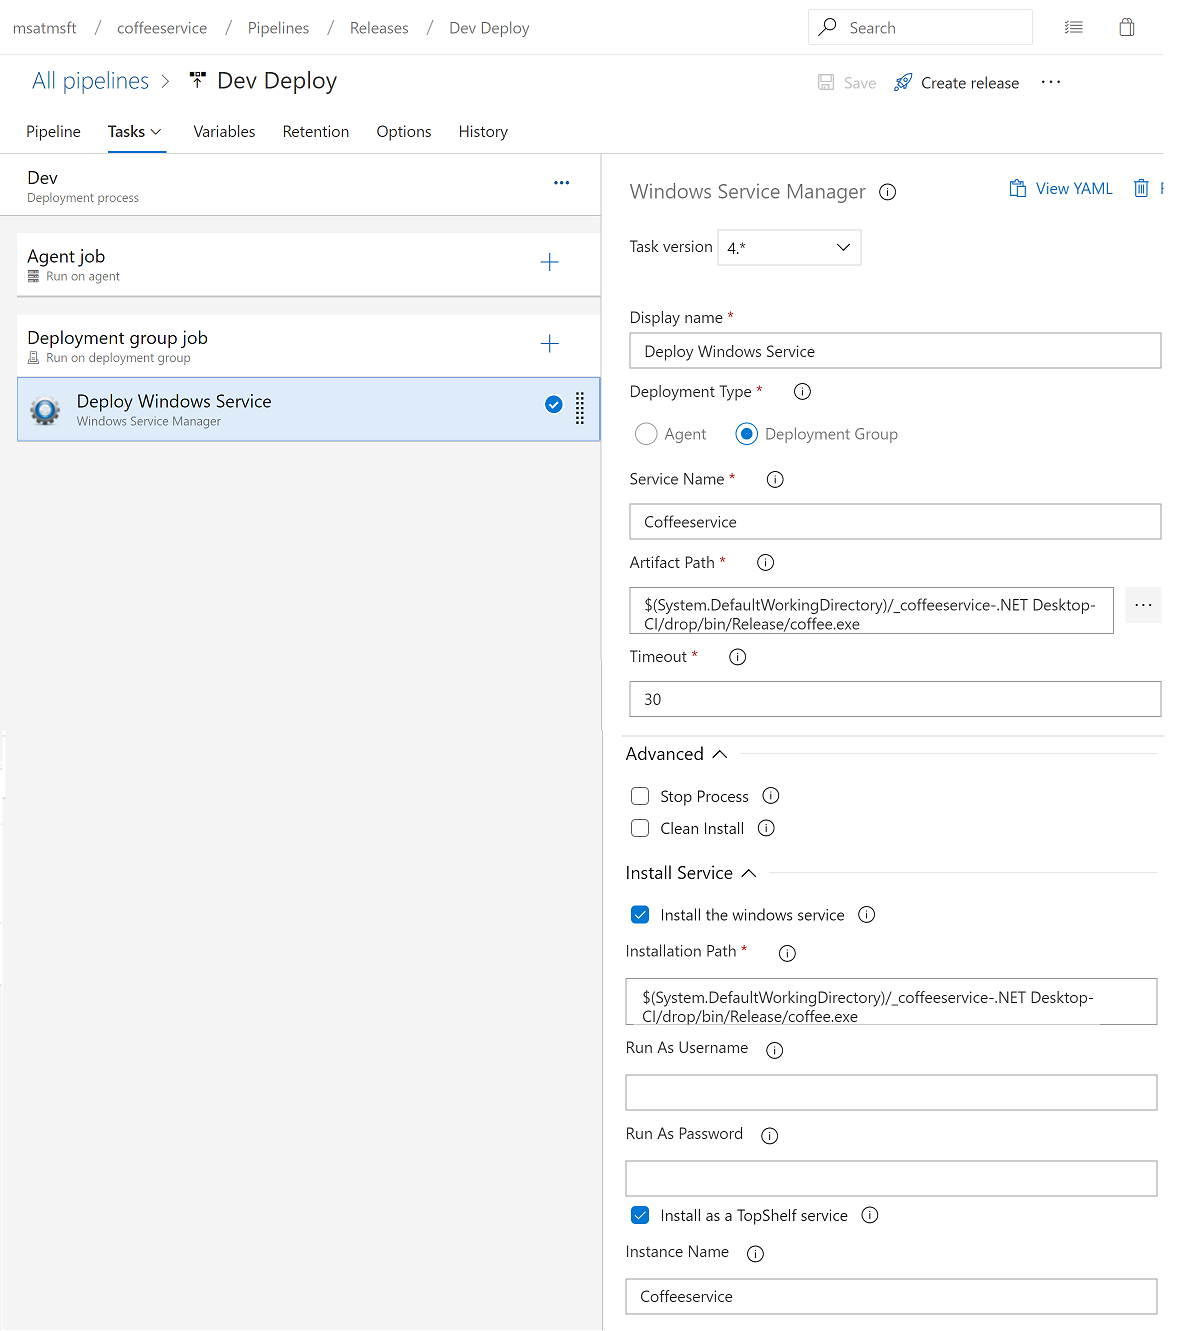
Once everything in place, trigger the build and release and verify the topshelf service deployed to your deployment group registered vm.