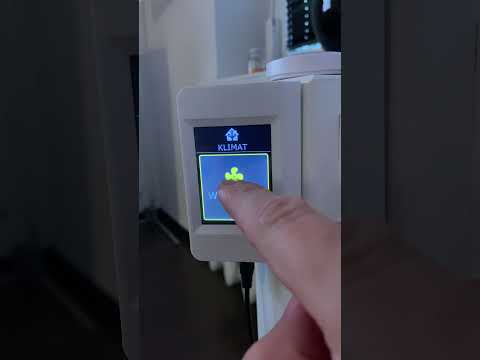
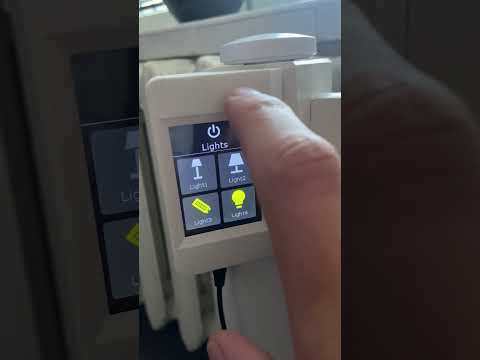
The goal of the project is to create a wireless touchscreen display that can be programmed using NodeRed and used to control HomeAssistant powered SmartHome.
| HomeAssistant control | Demo application |
|---|---|
 |
 |
| 1 | 2 | 3 |
|---|---|---|
 |
 |
 |
- Nextion HMI Display, model NX3224T024 or other Nextion display with resolution 320x240px
- Wemos D1 mini lite or other ESP MCU with 5v power pin
- MQTT broker (see mosquitto)
- Node-Red (see getting started with node-red)
To upload TFT project using SDCard use TNDisplay.tft file and follow this instructions
- Download and install NextionEditor
- Download TNDisplay.hmi
- Connect display and upload project (see instructions)
- Flash ESP module with Tasmota (see instructions)
- Configure Tasmota (set WiFi connection, MQTT connection) and import following template:
{"NAME":"TNDisplay","GPIO":[0,0,320,0,0,0,0,0,0,0,0,0,0,0],"FLAG":0,"BASE":18}| MQTT Settings | Template Settings |
|---|---|
 |
 |
- Change serial baudrate to 9600. Open tasmota console and execute following command:
baudrate 9600- Set Tasmota rule to initialize communication and show informations when connecting/disconnecting wifi and mqtt:
Rule1 ON System#Init DO serialsend5 64696d3d313030ffffff ENDON ON Wifi#Connected DO serialsend5 706167652036ffffff54312e7478743d2257494649204f4b22ffffff50312e7069633d3237ffffff ENDON ON Wifi#Disconnected DO serialsend5 706167652036ffffff54312e7478743d2257494649204f46464c494e4522ffffff50312e7069633d3531ffffff ENDON ON Mqtt#Connected DO serialsend5 706167652036ffffff54312e7478743d224d515454204f4b22ffffff50312e7069633d3236ffffff ENDON ON Mqtt#Disconnected DO serialsend5 706167652036ffffff54312e7478743d224d515454204f46464c494e4522ffffff50312e7069633d3434ffffff ENDON- Enable Rule1:
Rule1 1- Connect ESP module with Nextion display:
Caution
Disconnect power supply when making connections!
| Nextion PIN | ESP Pin |
|---|---|
| +5V (black) | 5V |
| TX (red) | RX |
| RX (white) | TX |
| GND (yellow) | G |
Important
Note the crossover RX TX pins
- At this stage if you have done everything correctly after restarting tasmota the screen should sequentially show the information "WiFi OK", "MQTT OK".
Tip
If the display shows only "TNDisplay" screen with logo and nothing changes check this issue discussion
- Import node red flow file (see instructions)
- Check the settings, mainly that the topics in the MQTT nodes match those you set in Tasmota, and that the MQTT configuration node is configured correctly.
- At this stage, if you have done everything correctly, after deploy flow in NodeRed the display should show the demo application.
If you want to print the casing, use the project files included in the Casing folder.
| 1 | 2 |
|---|---|
 |
 |
| 0 | 1 | 2 | 3 | 4 |
|---|---|---|---|---|
 |
 |
 |
 |
 |
| 5 | 6 | 7 | 8 | 9 |
|---|---|---|---|---|
 |
 |
 |
 |
 |
| 11 | 12 | 13 | 14 | 15 | 16 | 17 | 66 | 67 | 68 | 69 |
|---|---|---|---|---|---|---|---|---|---|---|
| 18 | 19 | 20 | 21 | 22 | 23 | 24 | 25 | 26 | 27 |
|---|---|---|---|---|---|---|---|---|---|
| 28 | 29 | 30 | 31 | 32 | 33 | 34 | 35 | 36 | 37 |
|---|---|---|---|---|---|---|---|---|---|
| 38 | 39 | 40 | 41 | 42 | 43 | 44 | 45 | 46 | 47 |
|---|---|---|---|---|---|---|---|---|---|
| 48 | 49 | 50 | 51 | 52 | 53 | 54 | 55 | 56 | 57 |
|---|---|---|---|---|---|---|---|---|---|
| 58 | 59 | 60 | 61 | 62 | 63 | 64 | 65 | 70 | 71 |
|---|---|---|---|---|---|---|---|---|---|
| 72 | 73 | 85 |
|---|---|---|
Important
If you have successfully completed your project using this repository, please share photos in the discussion so that I can show others what can be accomplished.