I have moved this tutorial, simplified it and added other tutorials Here.
Before you begin this is a slow process. This does not use any Jellyfin plugins. Hopefully in the future Jellyfin can manage this itself but for now I will show you the way for manual input, organisation of the files as well as setup of your Music Video library. When Jellyfin can update the library automatically you will be ready with the file structure. For now you will need this software to help you organise:
- Musicbee (or any other music sorting program that can edit MP4 meta)
- ffmpeg
- Powertoys (optional, it makes changing many filenames really easy)
You will only need to do this step once. I will mention the settings that need to change for this to work, all other settings are at your discretion. Open Jellyfin and add a new media library;
- Change the content type to Music Videos
- Select Prefer embedded titles over filenames
- Unselect all Metadata downloaders (Music Videos)
- Select Never from Automatically refresh metadata from the internet
- Unselect Metadata Savers (you wont need it unless you want to input more data afterwards)
- Select Save artwork into media folders (If you want to have sidecar files)
Thats it for setting Jellyfin.
This follows normal Jellyfin music folder hierarchy without the nested album folders. You can use folder images to make Jellyfin look better and I've shown the best images to use below. Root folder is your music videos folder.
- root\Artist 1
- root\Artist 1\logo.png
- root\Artist 1\folder.jpg
- root\Artist 1\banner.jpg
- root\Artist 1\backdrop1.jpg
You can name this folder whatever you like ie; Various Artists, Japanese Music, 1980s Music etc.
- root\Random Music
- root\Random Music\logo.png
- root\Random Music\folder.jpg
- root\Random Music\banner.jpg
- root\Random Music\backdrop1.jpg
Make sure your video files are mp4 only. If the format is not mp4 convert them quickly by following my converting guide below. If you have multiple versions of a song follow Jellyfin naming conventions.
- root\Artist 1\song 1.mp4
- root\Artist 1\song 1 - Live.mp4
- root\Artist 1\song 2.mp4
- root\Random Music\Artist - Song 1.mp4
- root\Random Music\Artist - Song 1 - Live.mp4
- root\Random Music\Artist - Song 2.mp4
Add the mp4's into Musicbee and edit the song titles if required.
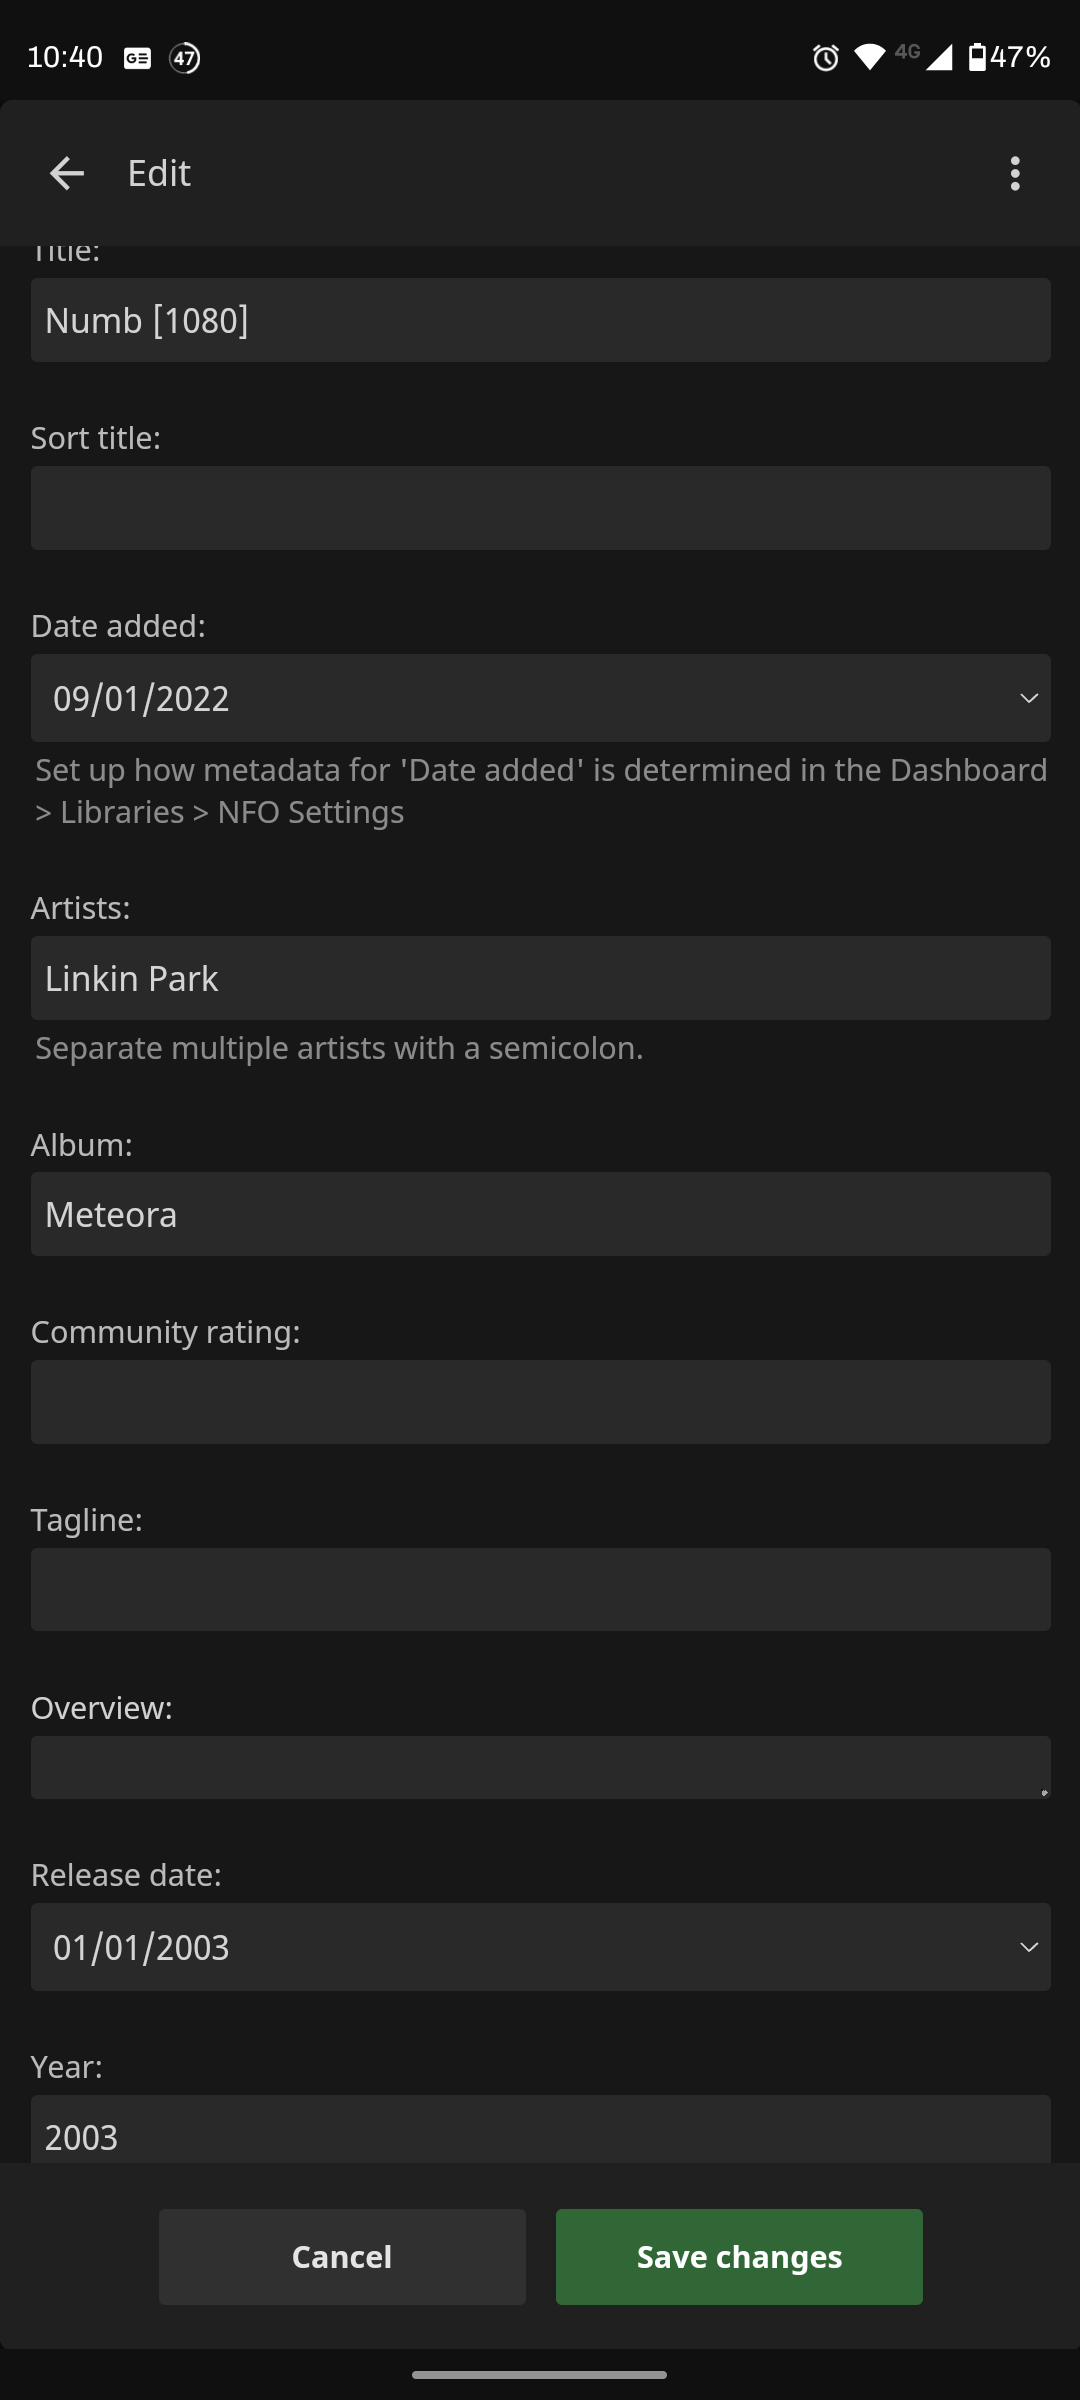
Select all and edit the metadata (Musicbee or editor of your choice). Most of the metadata fields do not show in Jellyfin although the following fields will work;
- Artist
- Album (copy the album name exactly from your music collection)
- Year
- Genre
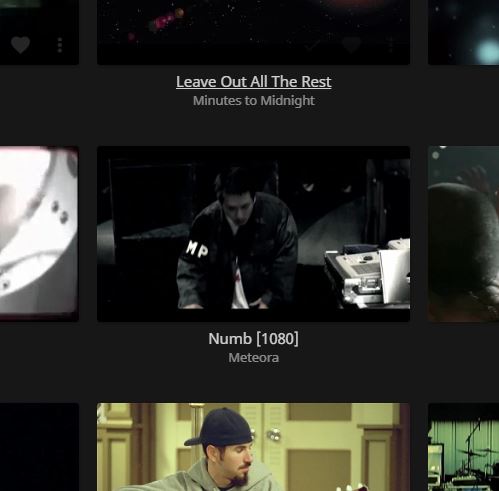
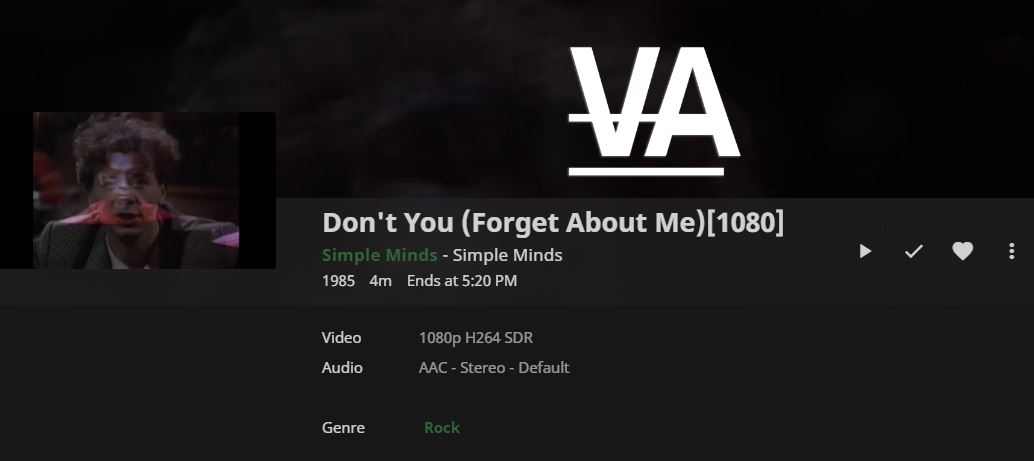
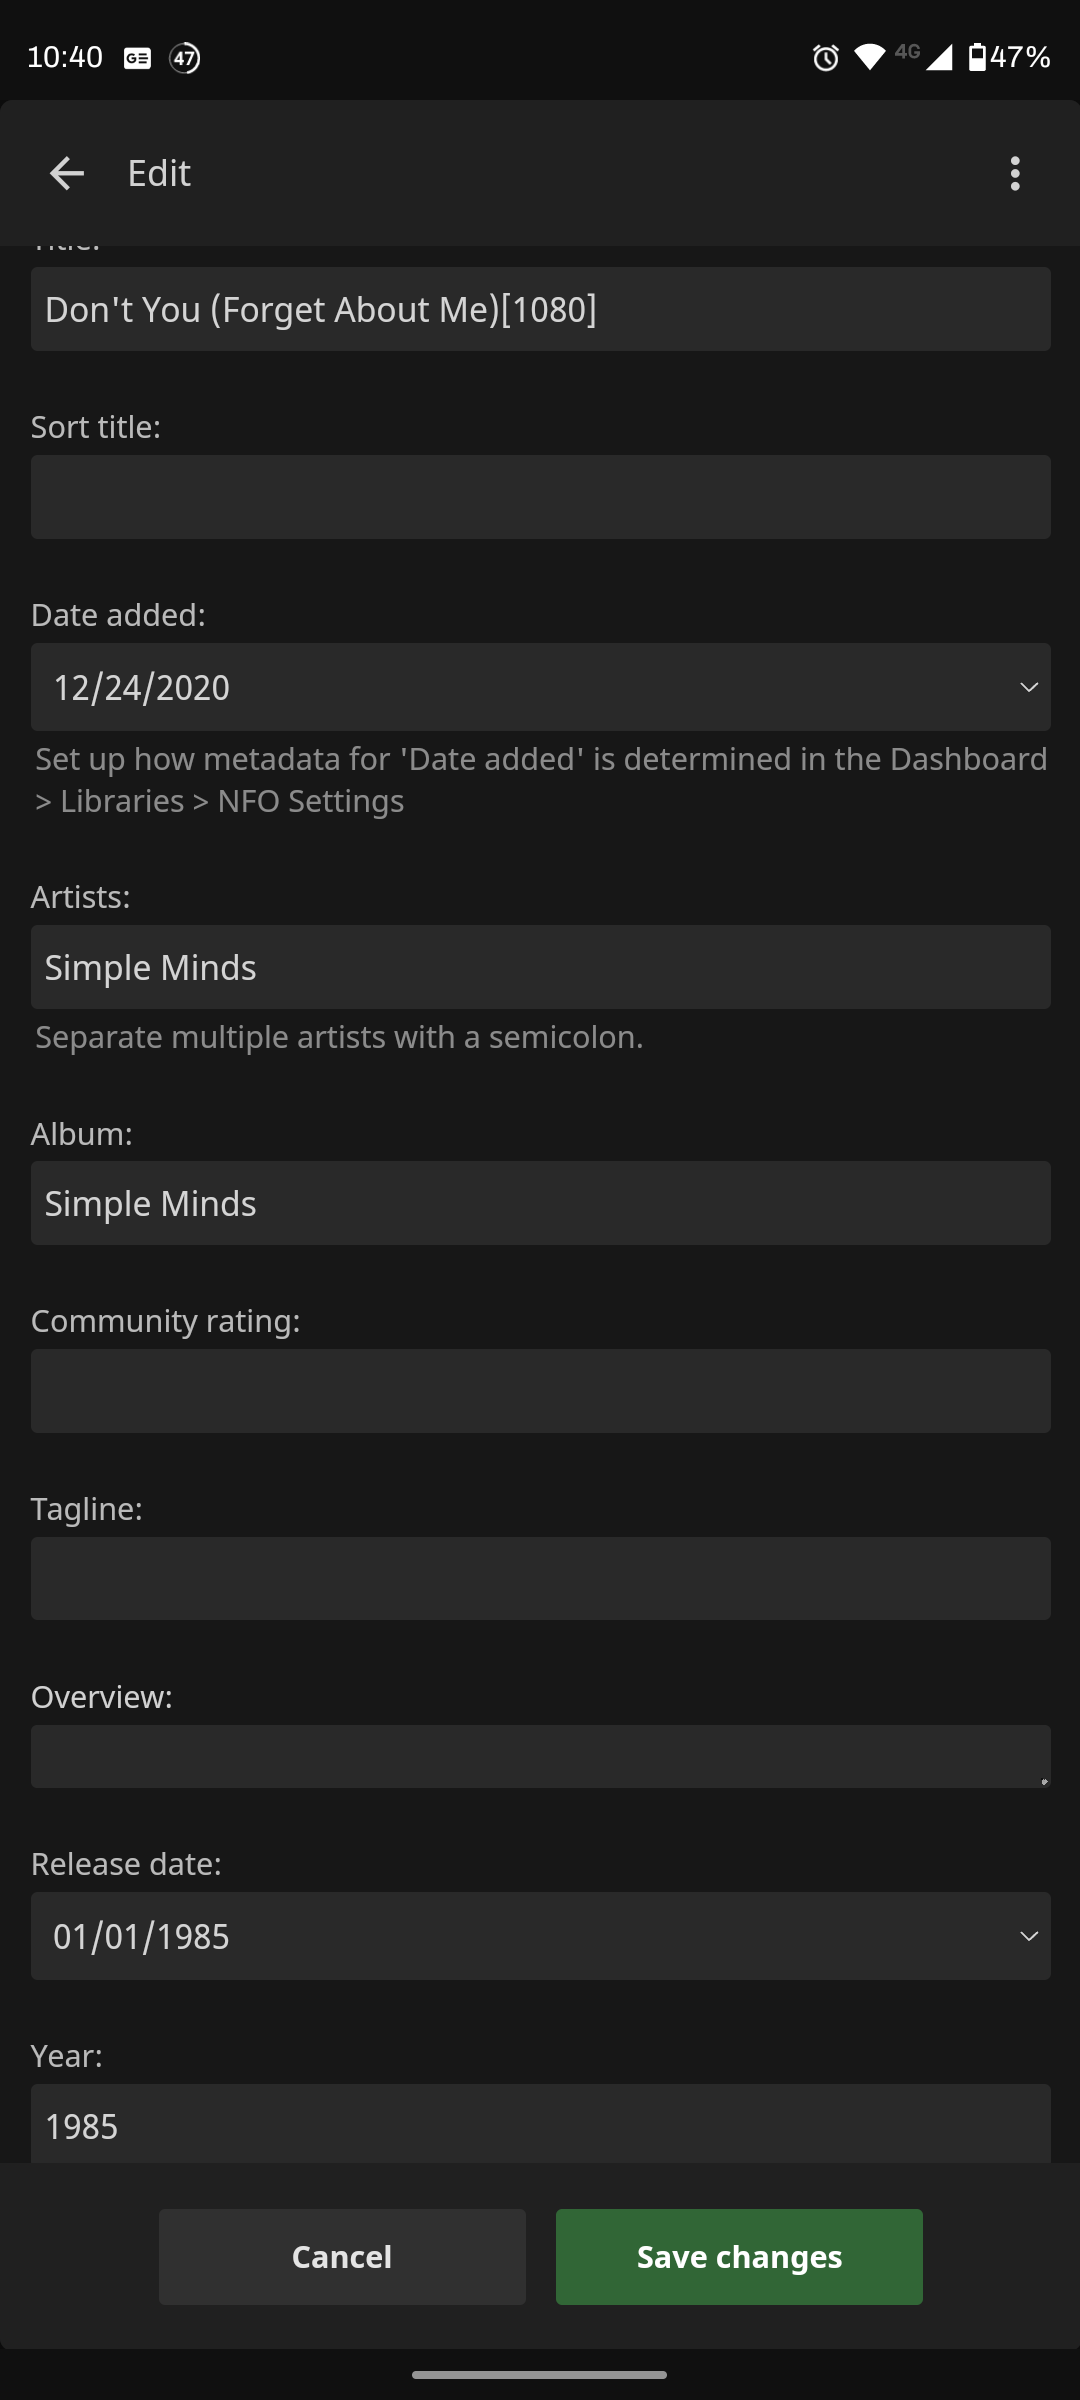
You will have to edit each video individually because they will be all different artists. Type the Artist in the album field as well as the Artist field, this ensures the artist text will show under the video thumbnail in Jellyfin.
- Artist
- Album (Type the Artist here unless you have a corresponding CD in your collection)
- Year
- Genre
Open Jellyfin and refresh the library to show your new changes.
If you have video files that are not mp4's you will need to convert them. You will need ffmpeg and command line for this next part. I don't have a comprehensive list of commands but I will show the commands I use. Have all the files you need to convert in one folder. Click in the address bar and type cmd to bring up command prompt.
Convert MKV with no conversion of video or audio
for /R %f IN (*.mkv) DO ffmpeg -i "%f" -c copy "%~nf.mp4"
Convert M4V with no conversion of video or audio
for /R %f IN (*.m4v) DO ffmpeg -i "%f" -c copy "%~nf.mp4"
A common problem I encountered was the audio track could not be contained in mp4, use the following to convert to 320kb audio.
for /R %f IN (*.mkv) DO ffmpeg -i "%f" -acodec mp2 -b:a 320k -vcodec copy "%~nf.mp4"
I do all my work on a Windows 10 machine. You will need to find another way to convert if you are using Linux or Mac. I hope this guide helps you maintain your library and if you have any tips please let me know.