All docker are for CI/CD with robotframework and github workflow in workflow, if you work locally do not touch them! (unless you know dockers well)
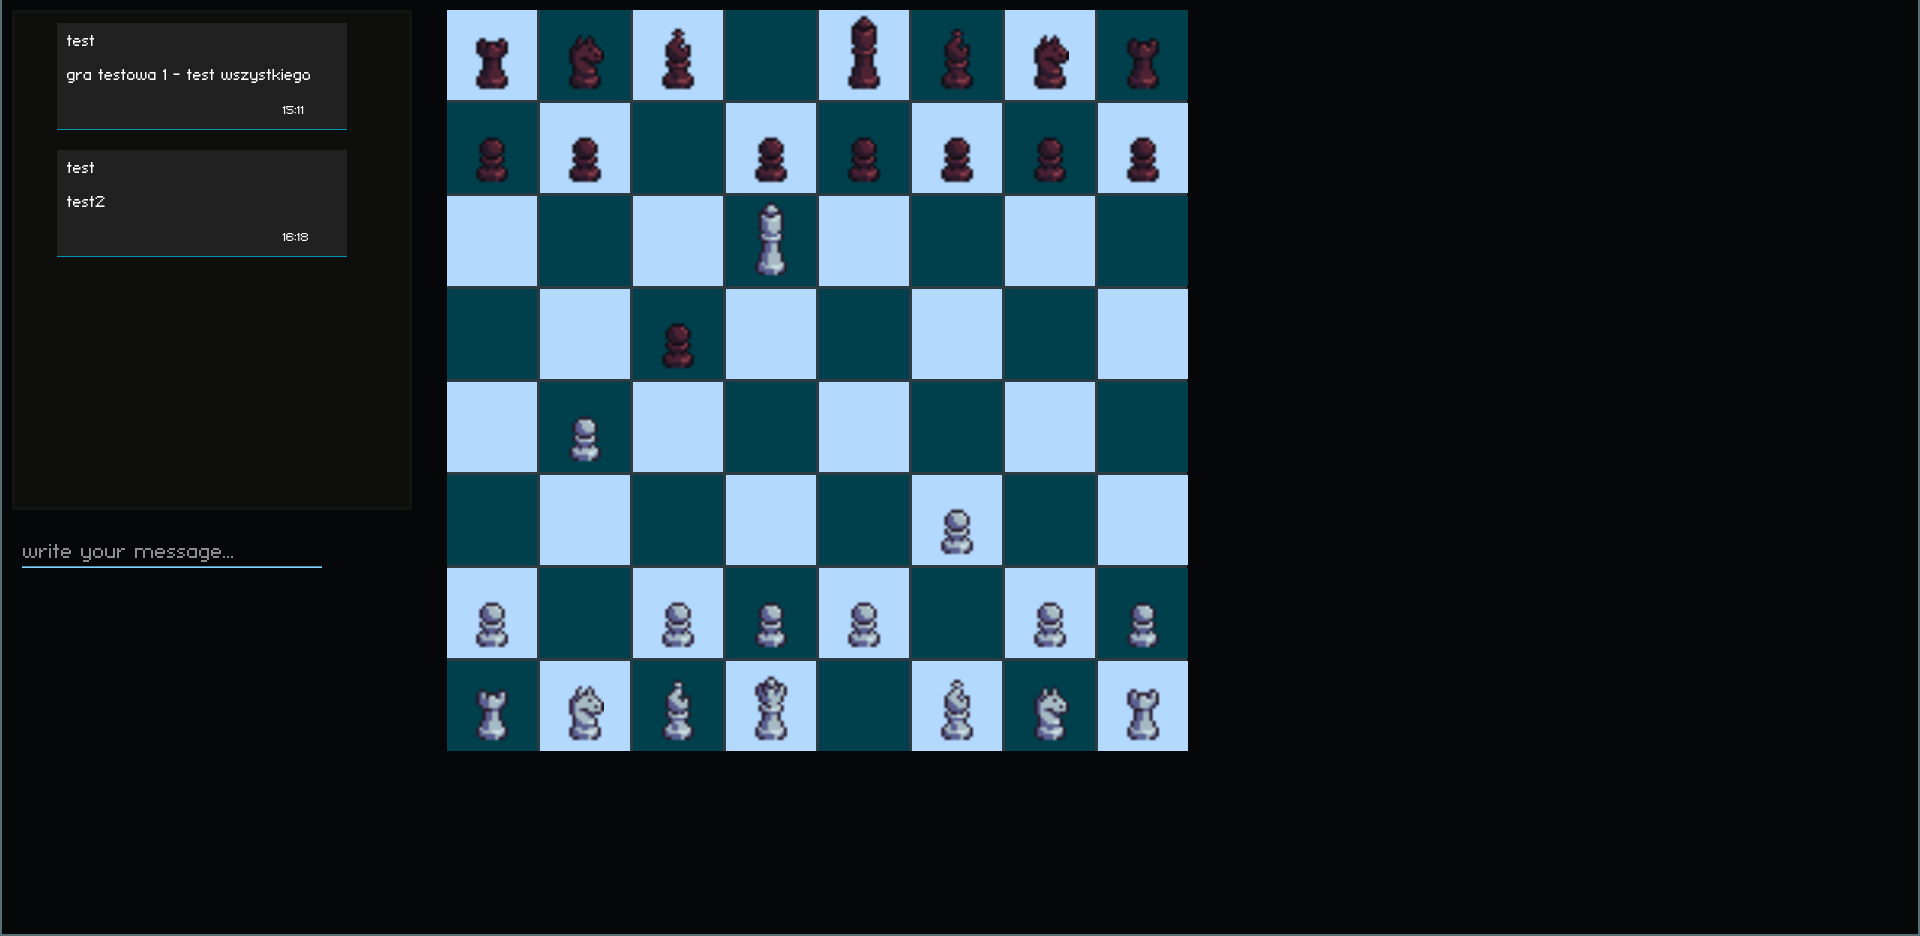
The project itself is mainly for playing in chess with different people as anonymous user or user with account. Project use React, Django and WebSockets to create real-time web game.
| backend | frontend |
|---|---|
| postgres | react |
| redis | react-icons |
| celery | axios |
| Django 4.0 | react-router-dom |
| djangorestframework 3.12 | |
| django channels |
Installation assumes that you already have the postgreSQL installed on computer. While launching, website have to connect to local database with special parametrs like below:
 POSTGRES_HOST = 'localhost',
 POSTGRES_DB = 'chessbase',
 POSTGRES_USER = 'owner',
 POSTGRES_PASSWORD = 'harnas',
Open 'SQL Shell' in Windows Start
Server [localhost]: >Press Enter!!

< Database [postgres]: >Press Enter!!

< Port [5432]: >Press Enter!!

< Username [postgres]: >Press Enter!!

< Hasło użytkownika postgres: >Type password configured on installation<
Example of setting database for website:
In program psql create database with name chessbase:
user=# CREATE DATABASE chessbase;
Next create user owner:
user=# CREATE USER owner WITH ENCRYPTED PASSWORD 'harnas';
Grant privileges to created user.
user=# GRANT ALL PRIVILEGES ON DATABASE chessbase TO owner;
After performing this actions website can connect with postgres, before starting program it need special environment listed in file requirements.txt which can be installed by python 3.8:
First create virtual env:
$ python3 -m venv chessgame
Install in this environment all libraries by file in /backend/:
$ pip install -r requirements.txt
Now program need any mail to sending account activation requests, create in /backend/base/ file .env with content like below
 EMAIL_HOST_USER = 'mail for sending account activation request',
 EMAIL_HOST_PASSWORD = 'mail password'
Next step is installing redis server on local host to manage WebSockets in django channels
-
After installation in the case of linux just type in the terminal
$ redis-server -
For windows, the server probably can be launched similarly, here is some tutorial but i don't know if it still work https://riptutorial.com/redis/example/29962/installing-and-running-redis-server-on-windows
if everything was done successfully, you can run backend separately.
$ python manage.py runserver
If you need launch it with deployment environment you need type:
$ python manage.py runserver --settings=base.production
This command need all parameters accessible by os.environ
Last step is installing celery for performing actions like sending activation mails in background, just type in terminal in di /backend/ command like below:
$ celery -A base worker -l INFO
btw. Celery should be installed already by 'pip install -r requirements.txt'
To start frontend you have to install node and npm, next type command in /frontend/:
$ npm install -g npm
$ npm install react-scripts --save
$ npm i history@4.10.1
$ npm install axios --save
$ npm install react-router-dom
$ npm install react-icons --save
$ npm start
- registration/login
- token JWT management (sliding session technique)
- production on the herok cloud
- automation tests
- base chat
- advanced chat
- chess game
- user profile