The NativeScript extension for Visual Studio Code aids your NativeScript project development within Visual Studio Code.
To install NativeScript and all its dependencies, follow the instructions in our getting started guide.
Note: The VS Code extension requires nativescript node module to be globally installed. If you are using nvm to manage your node versions, make sure that
nativescriptis installed in your default nodeJS version. To check which is your default node version execute 'nvm ls' on the command prompt and you should see something like 'default -> 5.5.0 (-> v5.5.0)' in the output.
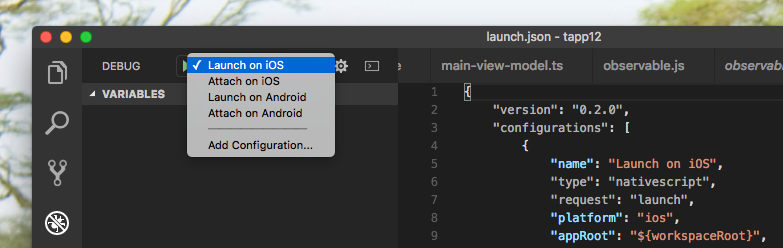
Create NativeScript application by running tns create MyApp and open MyApp folder in Visual Studio Code. Open the Debug Panel, click the gear icon
![]()
and choose NativeScript debug environment.

To start the application with attached debugger, choose one of the launch configurations from the drop-down list and then click the start button.
Your application will be launched and the VSCode debugger will attach. If you want to attach to already running NativeScript application, use one of the attach configurations. More information on what you can do with the Visual Studio Code Debugger you can find here.
Type NativeScript in the Command Palette and you will see all available commands.
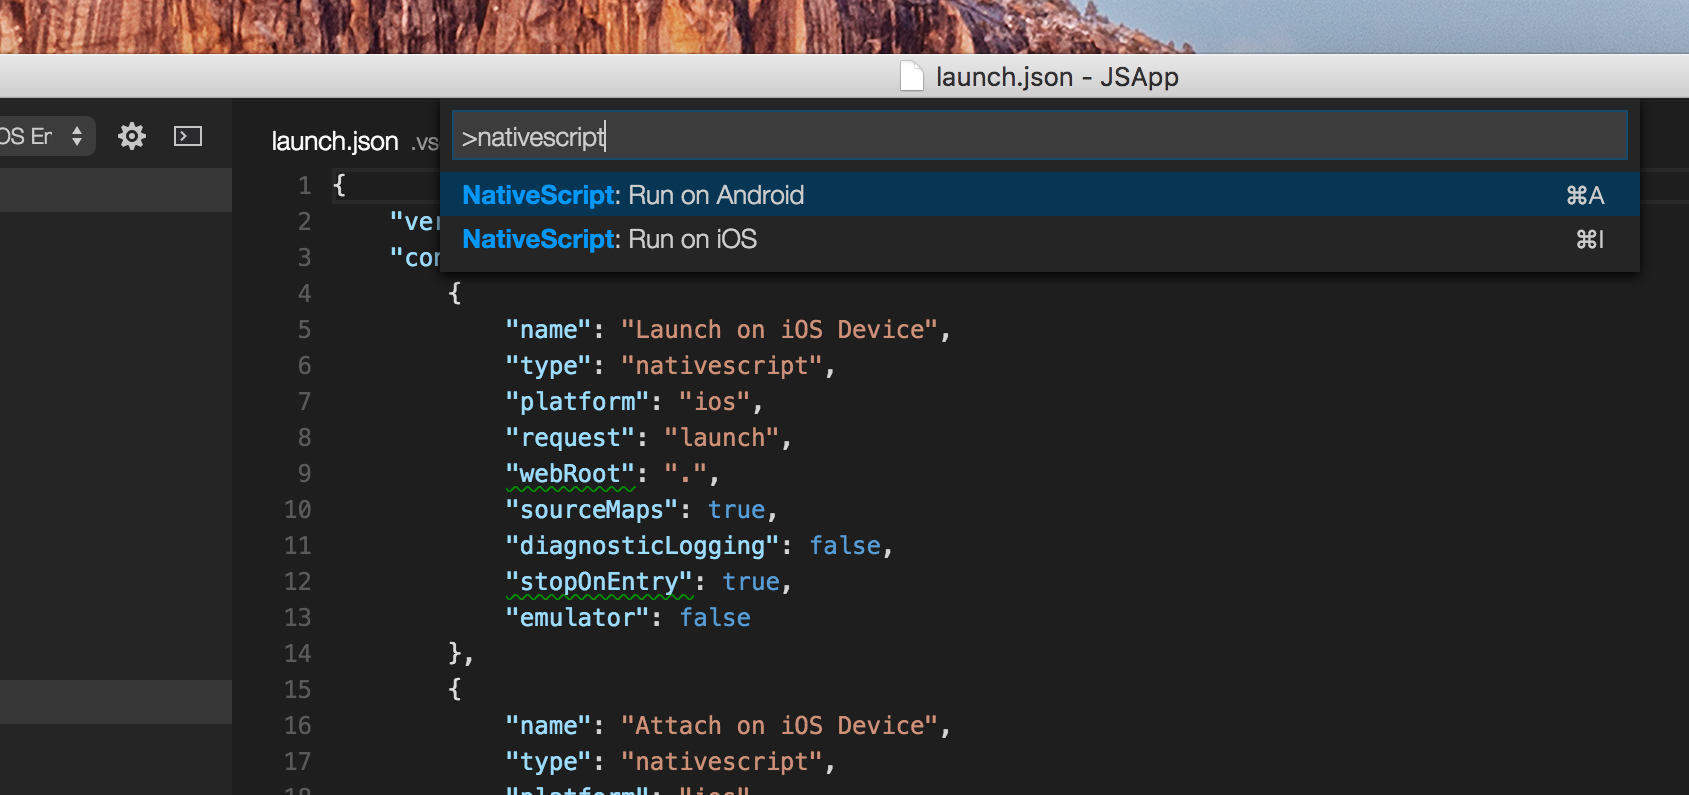
There's only a couple of them but the list will grow in the future.
The Run command triggers tns run on emulator or device. You can run your app both on iOS and Android.
If your version of NativeScript is incompatible with the extension you will see a warning the first time you run a command.
-
Clone the extension repository:
git clone git@github.com:NativeScript/nativescript-vscode-extension.git -
To build the extension run the following commands in the root repository folder:
npm install npm run build # compiles TypeScript source files to JavaScript npm run package # produces nativescript-*.*.*.vsix in the root folder -
To test the extension run the following commands in the root repository folder:
npm install npm run build # compiles TypeScript source files to JavaScript npm run launch-as-server # launches the debug adapter in server mode # execute this in a separate terminal npm run test-mac # run tests on ios device -
To install the extension drag and drop the
nativescript-*.*.*.vsixpackage in the VS Code.
The anonymous usage data collected by Progress from the NativeScript extension for Visual Studio Code is used strictly to improve the product and its services, and enhance the overall user experience.
If you have previously enabled the analytics option, you can disable it by following the steps outlined below:
- Open the Visual Studio Code Settings
- on Windows, select File > Preferences > Settings
- on macOS, select Code > Preferences > Settings
- Add the following option (or update the existing one) to disable the analytics:
"nativescript.analytics.enabled": false
Note: This option will disable only the analytics for the Visual Studio Code extension. To disable the analytics for the NativeScript CLI, open a command prompt or terminal and run the following commands:
tns usage-reporting disable
tns error-reporting disable