Starter Kit :: Next.js and Bulma with connection to Contentful CMS and AWS SES contact form
Demo link: https://net-partner-011-ab.github.io/code-crafter/

This example showcases Next.js's Static Generation feature using Contentful as the data source.
Requirements:
Clone a project repository to your local computer and go to project folder
  git clone https://github.com/net-partner-011-ab/code-crafter.git your-project-name
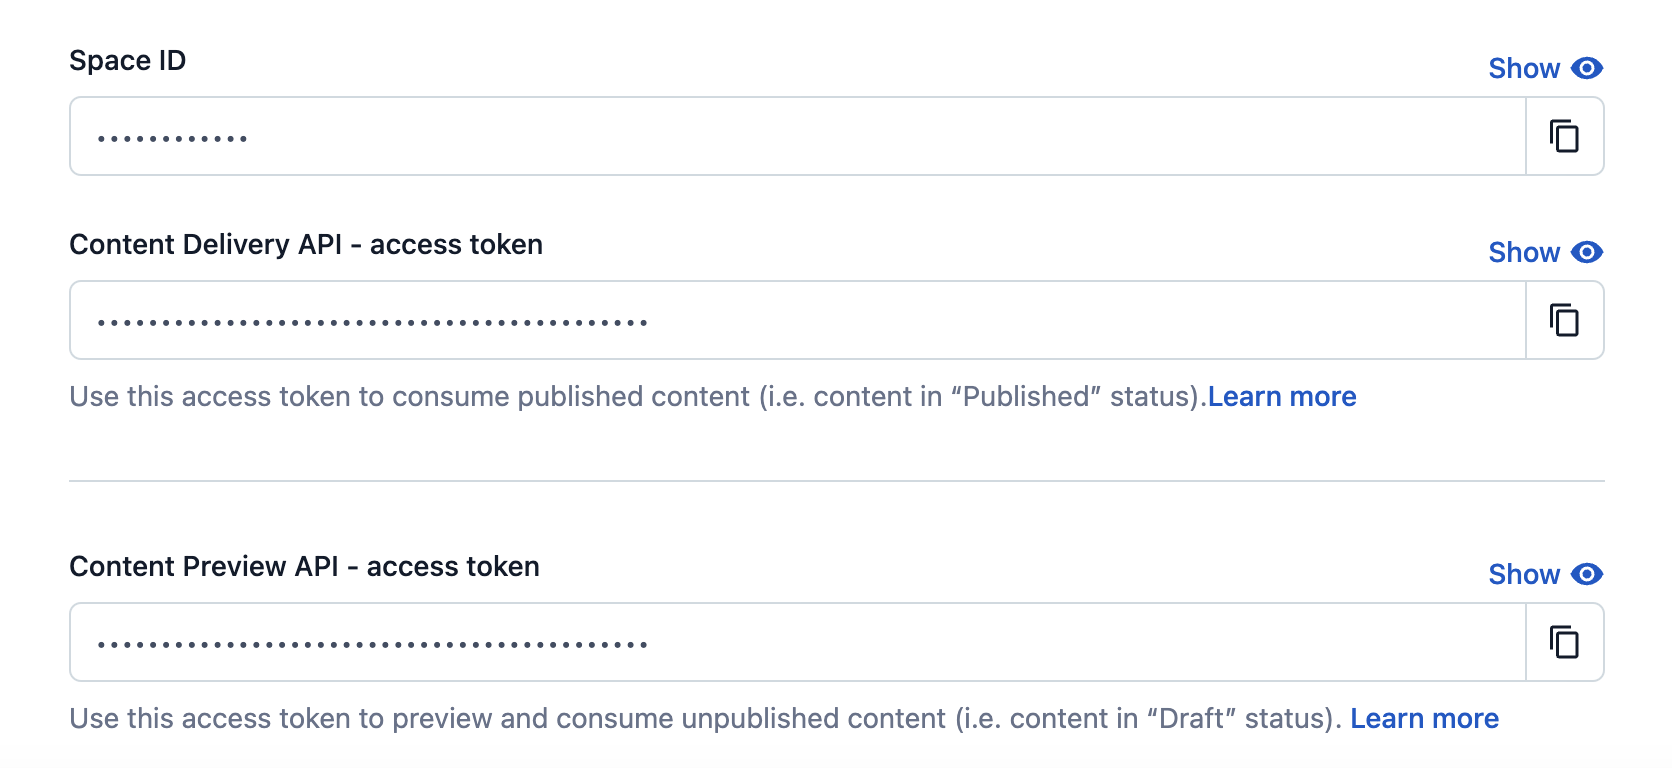
cd your-project-nameCopy .env.local.example in the project root to .env.local and edit your preferences. It is necessary to create access keys and tokens in AWS and Contentful, they can't be left blank as shown in the example below, otherwise the application won't work. Links for AWS and Contentful can be found below in the documentation section.
Example:
CONTENTFUL_SPACE_ID=...
CONTENTFUL_ACCESS_TOKEN=...
CONTENTFUL_PREVIEW_ACCESS_TOKEN=...
CONTENTFUL_PREVIEW_SECRET=...
CONTENTFUL_MANAGEMENT_TOKEN=...

NEXT_PUBLIC_SITE_URL=...

NEXT_PUBLIC_AWS_ACCESS_KEY_ID=...
NEXT_PUBLIC_AWS_SECRET_ACCESS_KEY=...
NEXT_PUBLIC_AWS_REGION=...
NEXT_PUBLIC_EMAIL=...
#### 2. Local installation of dependencies

```shell
npm install
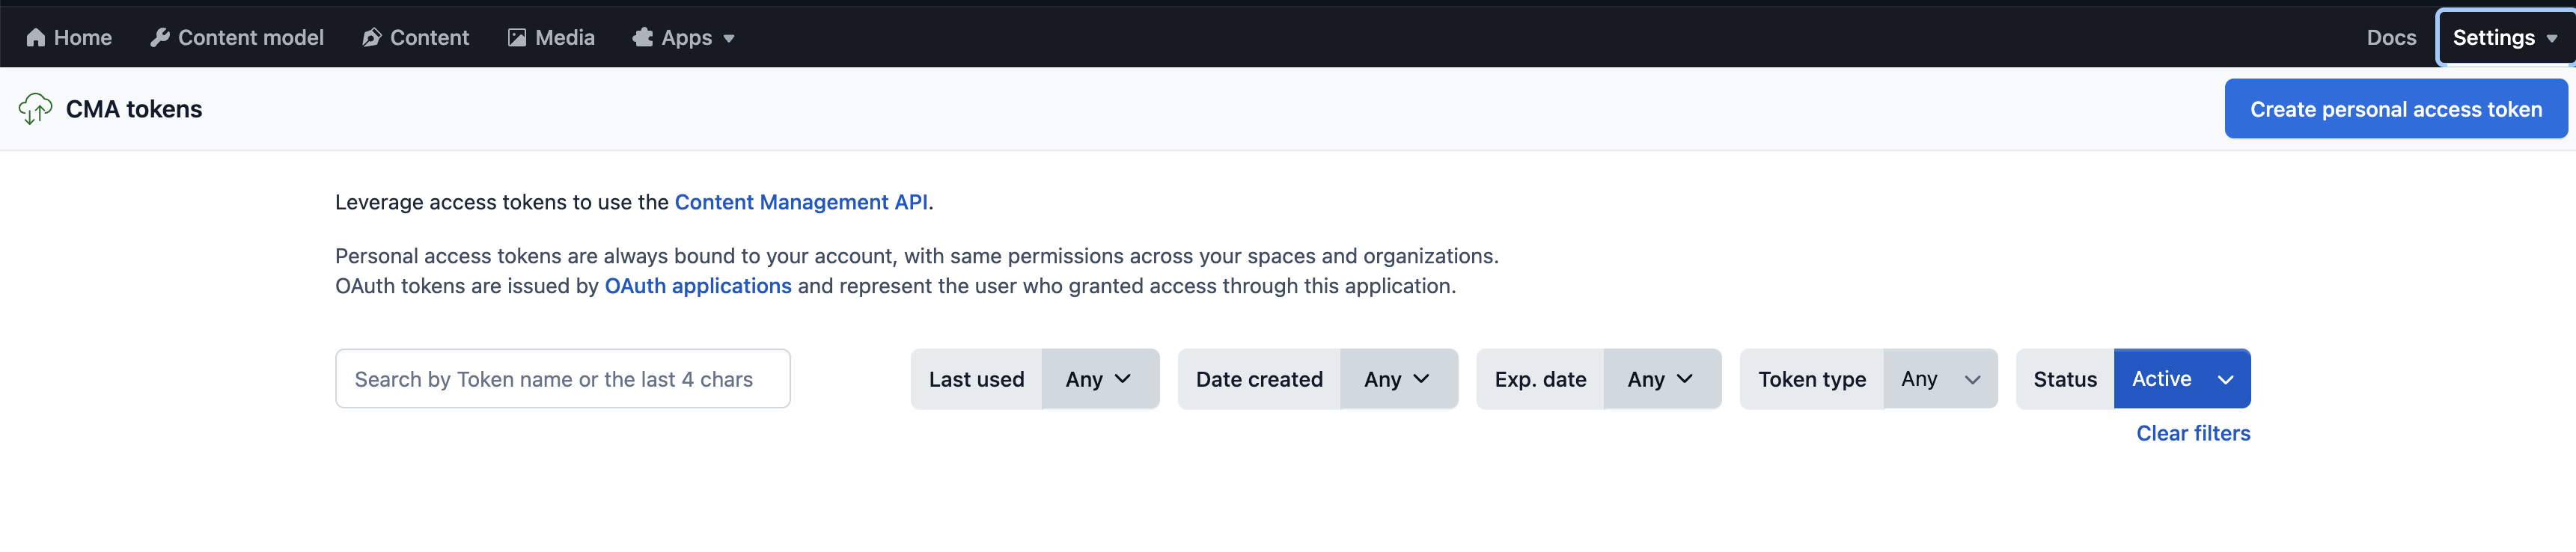
npm run buildnpm run devhttp://localhost:3000In the documentation related to Contentful, you can find all the necessary information about creating accounts, creating keys and content models with fields.
Below are examples of how they can be connected to the application. In the code itself you can find all the examples shown.
It is optionally, but If you want to import our Contentful space through Contentful CLI, follow the next steps:
Using Homebrew:
brew install contentful-cliUsing npm:
npm install -g contentful-cliUsing yarn:
yarn global add contentful-clicontentful login --management-token <management-token>contentful space useThen choose your space.
Run following command:
contentful space import --content-file lib/config.jsoncontentful space export --space-idIf new content models are added, it is necessary to perform an export and replace the old config.json with the new one.
After that, our content and content models will be imported to yours. You can find all the mentioned steps on the following link.
Importing and exporting content with the Contentful CLI
A query is written in lib/api.js along with a functions that connects the Contact page to the Contentful content model.
const CONTACT_PAGE_FIELDS = `
title
subtitle
iconsListCollection {
  items {
    link
    text
    image {
      title
      url
      width
      height
    }
  }
}
`;

async function fetchGraphQL(query, preview = false) {
  return fetch(
    `https://graphql.contentful.com/content/v1/spaces/${process.env.NEXT_PUBLIC_CONTENTFUL_SPACE_ID}`,
    {
      method: 'POST',
      headers: {
        'Content-Type': 'application/json',
        Authorization: `Bearer ${
          preview
            ? process.env.NEXT_PUBLIC_CONTENTFUL_PREVIEW_ACCESS_TOKEN
            : process.env.NEXT_PUBLIC_CONTENTFUL_ACCESS_TOKEN
        }`,
      },
      body: JSON.stringify({ query }),
    }
  ).then((response) => response.json());
}

function extractContactPageEntries(fetchResponse) {
  return fetchResponse?.data?.contactPageCollection?.items;
}

export async function getContactPage(preview) {
  const entries = await fetchGraphQL(
    `query {
      contactPageCollection(limit: 50, preview: ${preview ? 'true' : 'false'}) {
          items {
            ${CONTACT_PAGE_FIELDS}
          }
        }
      }`,
    preview
  );
  return extractContactPageEntries(entries);
}
Then the function is imported on the Contact page and the data is accessed using the getStaticProps asynchronous function. An example is below.
import { getContactPage } from '../lib/api';

import Hero from '../components/Hero';
import ContactForm from '../components/ContactForm';

export default function Contact({ preview, allData }) {
  const contactPage = allData[0];

  return (
    <>
      <Hero title={contactPage.title} subtitle={contactPage.subtitle} />
      <ContactForm items={contactPage.iconsListCollection.items} />
    </>
  );
}

export const getStaticProps = async ({ preview = false }) => {
  const allData = (await getContactPage(preview)) ?? [];
  return {
    props: { preview, allData },
  };
};In order for the form to be connected, valid credentials must be entered in the .env.local file from the beginning, and the functionality is divided into two files.
import AWS from 'aws-sdk';
// Add credentials to .env
AWS.config.update({
  accessKeyId: process.env.NEXT_PUBLIC_AWS_ACCESS_KEY_ID,
  secretAccessKey: process.env.NEXT_PUBLIC_AWS_SECRET_ACCESS_KEY,
  region: process.env.NEXT_PUBLIC_AWS_REGION,
});

const ses = new AWS.SES({ apiVersion: '2010-12-01' });

export { ses };import { ses } from '../awsConfig';
export default async function sendEmail(req, res) {
const { firstName, lastName, email, message } = req;
const params = {
Destination: {
ToAddresses: [process.env.NEXT_PUBLIC_EMAIL],
},
Message: {
Body: {
Text: {
Data: `Name: ${firstName} ${lastName}\nEmail: ${email}\nMessage: ${message}`,
},
},
Subject: { Data: 'New Contact Form Submission' },
},
Source: process.env.NEXT_PUBLIC_EMAIL,
};
try {
await ses.sendEmail(params).promise();
} catch (error) {
console.error('Error sending email:', error);
}
}Import sendEmail and create handleSubmit function.
In the ContactForm component, you can see how the handleSubmit function was performed.
Global components such as Navbar and Footer have been inserted into the layout.js component and are visible on every new page we create.