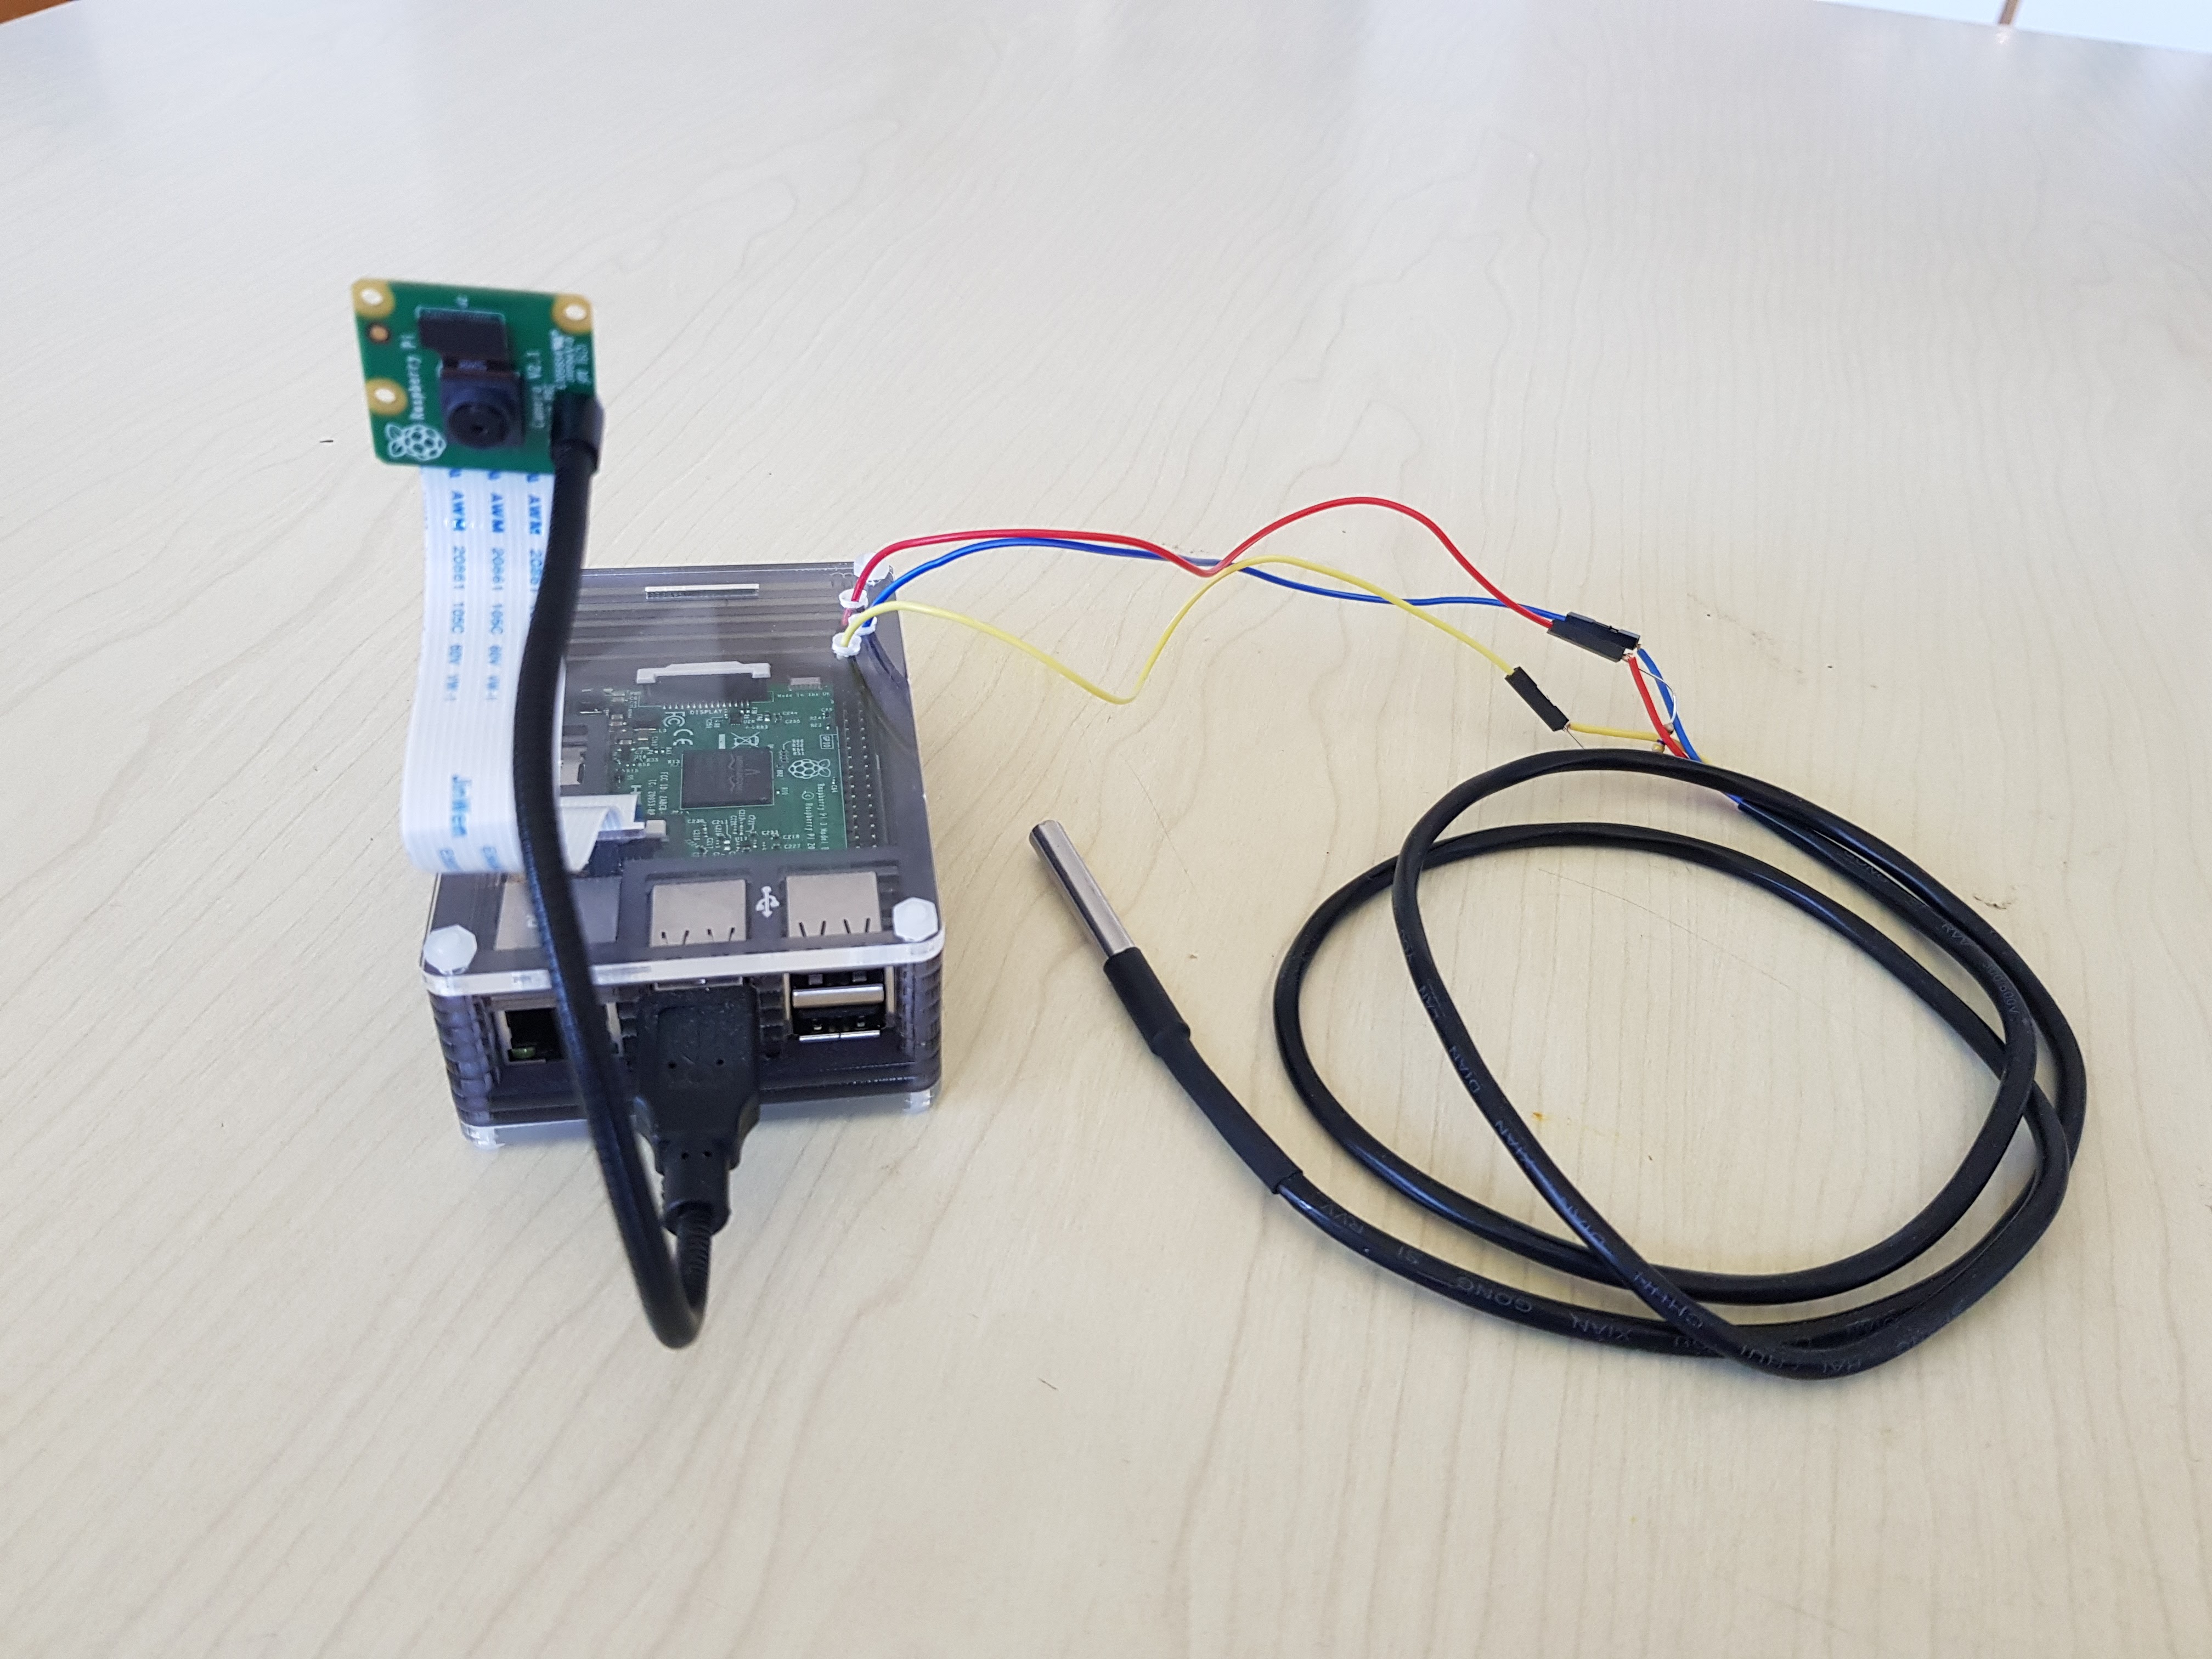
Connecting the temperature sensor
- You will need the DS18B20 Waterproof Digital Temperature Sensor for monitoring the temperatures.
- In addition, you will need Female to Female jumper wires
-
Unpack the temperature sensor and resistor
-
Strip of three F2F Jumper Wires; one blue, one red, one yellow (you can take any color you'd like, but choosing these three makes things easier
-
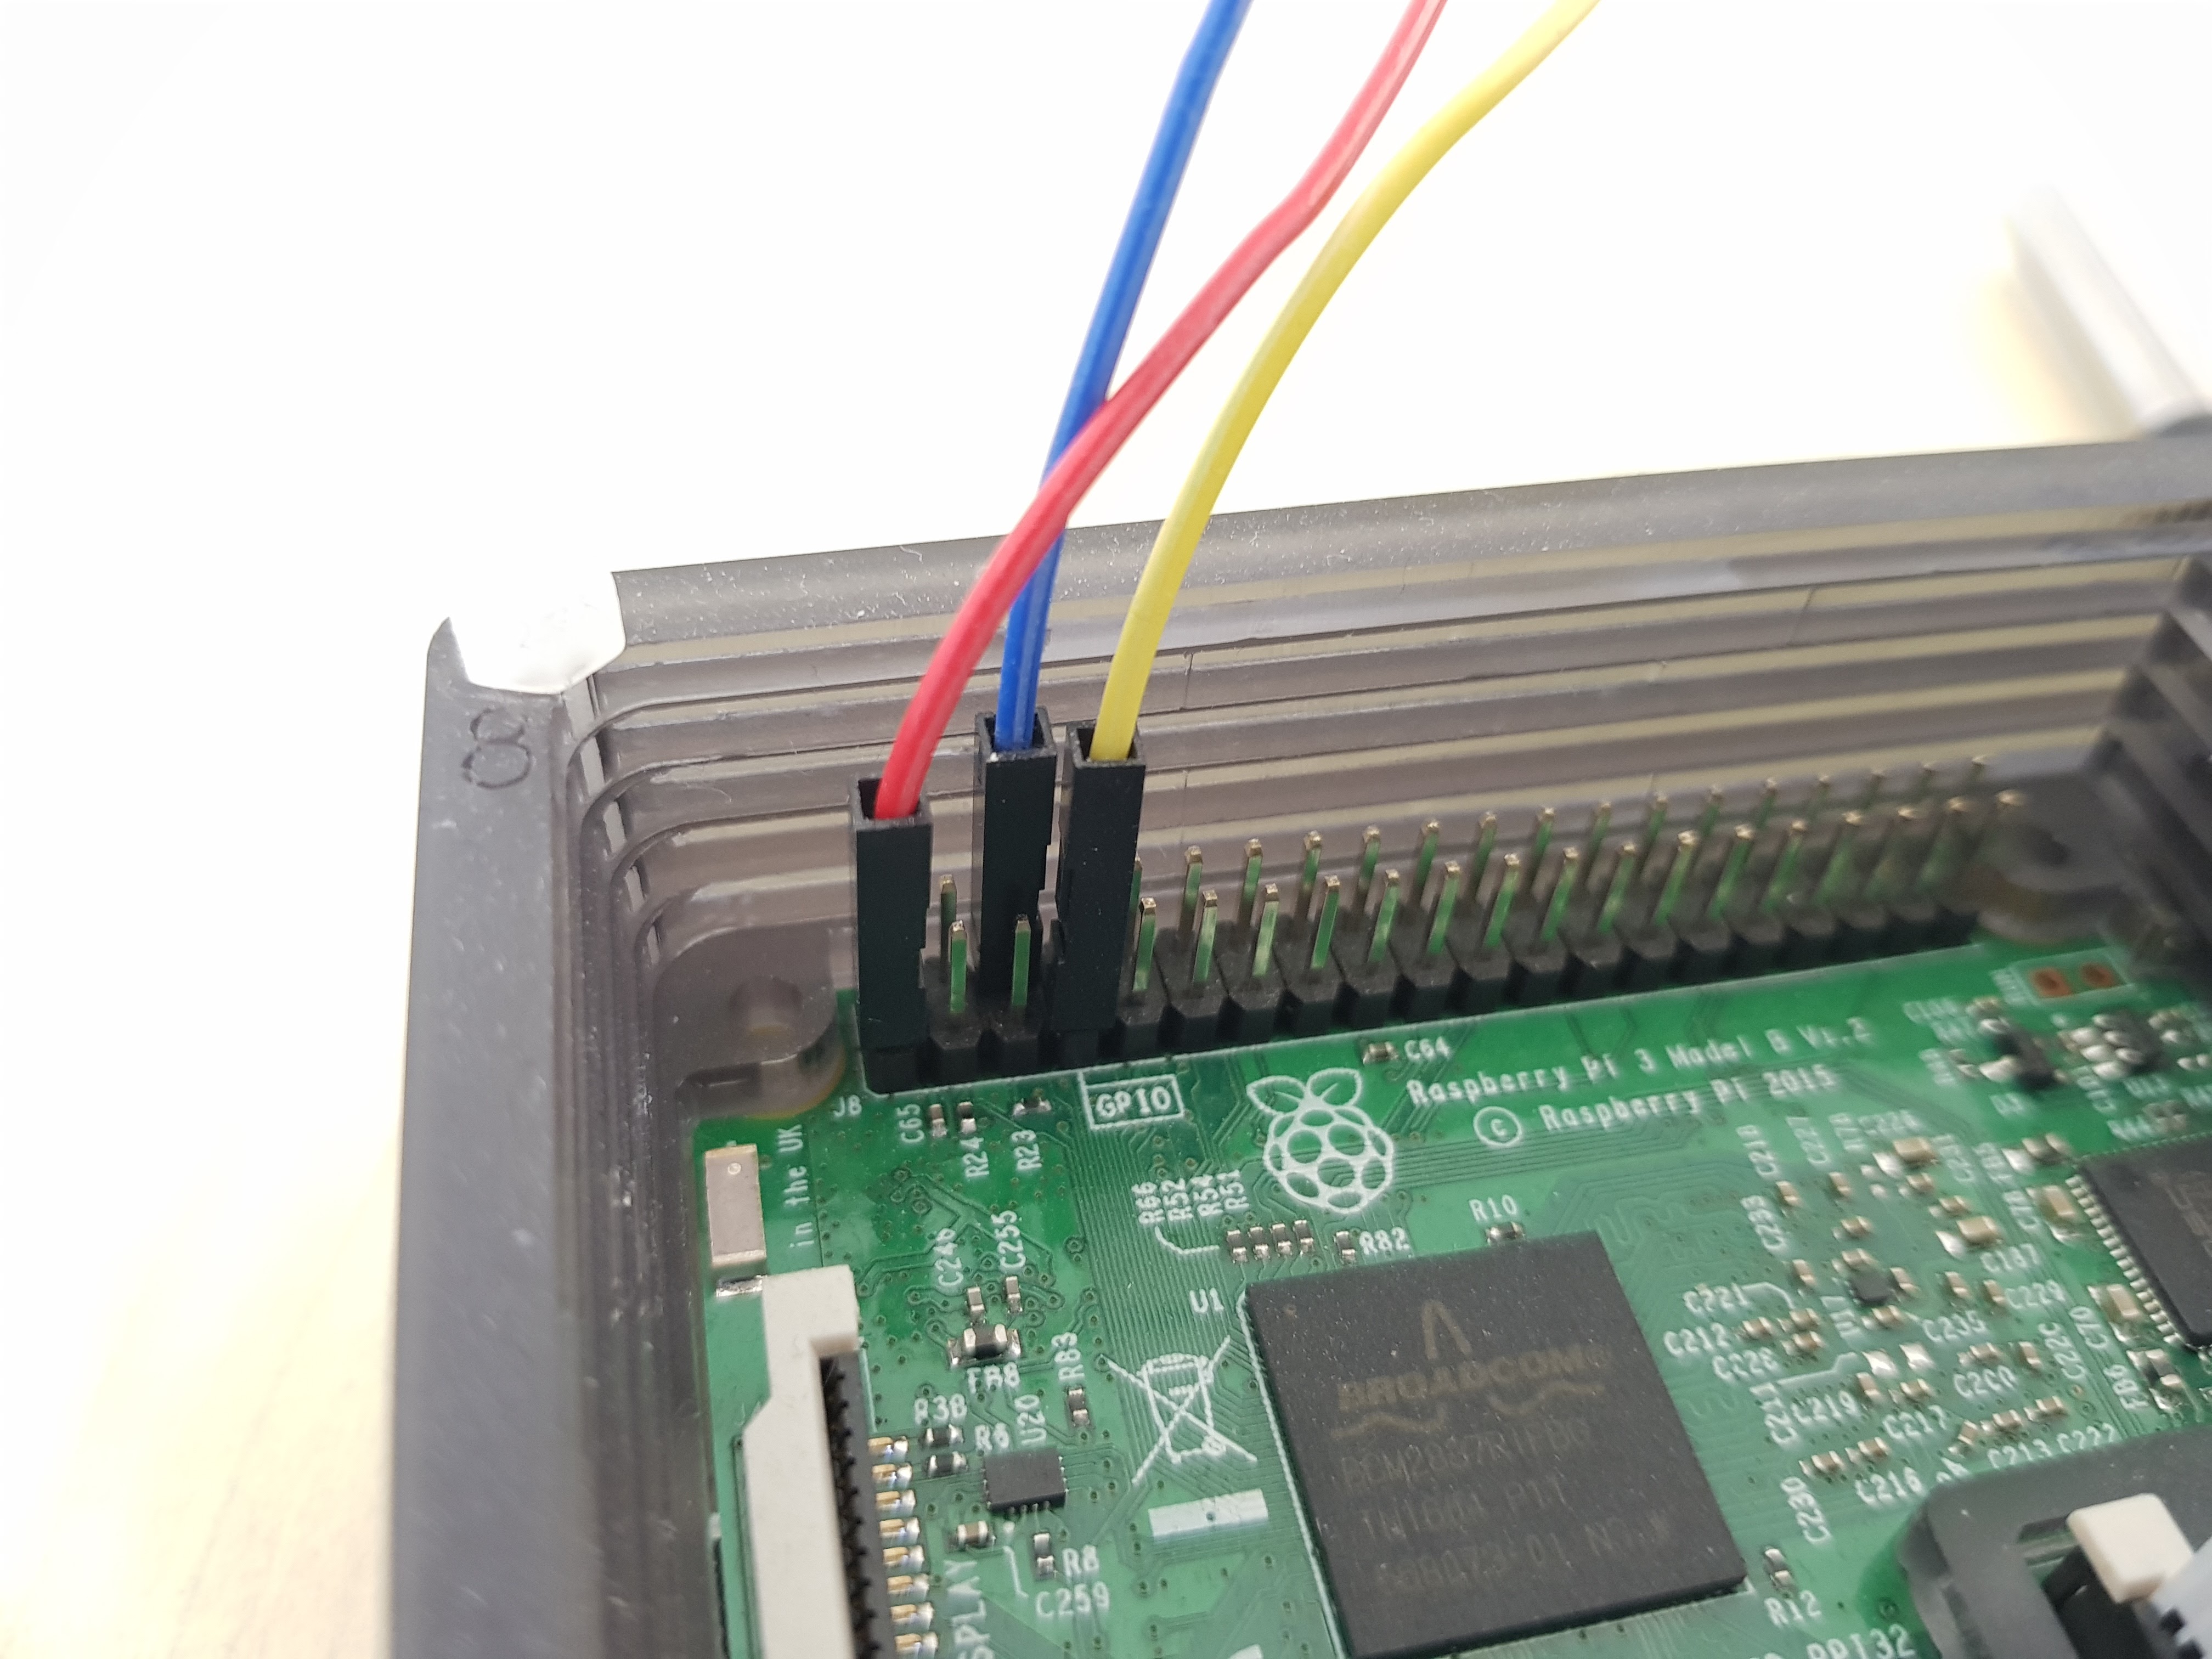
Connect the jumper wires to the RPi's GPIO, exactly like in the picture below:
-
After connecting the jumpers to the GPIO-pins, you'll need to connect the temperature sensor (DS18B20) to the jumper wires:
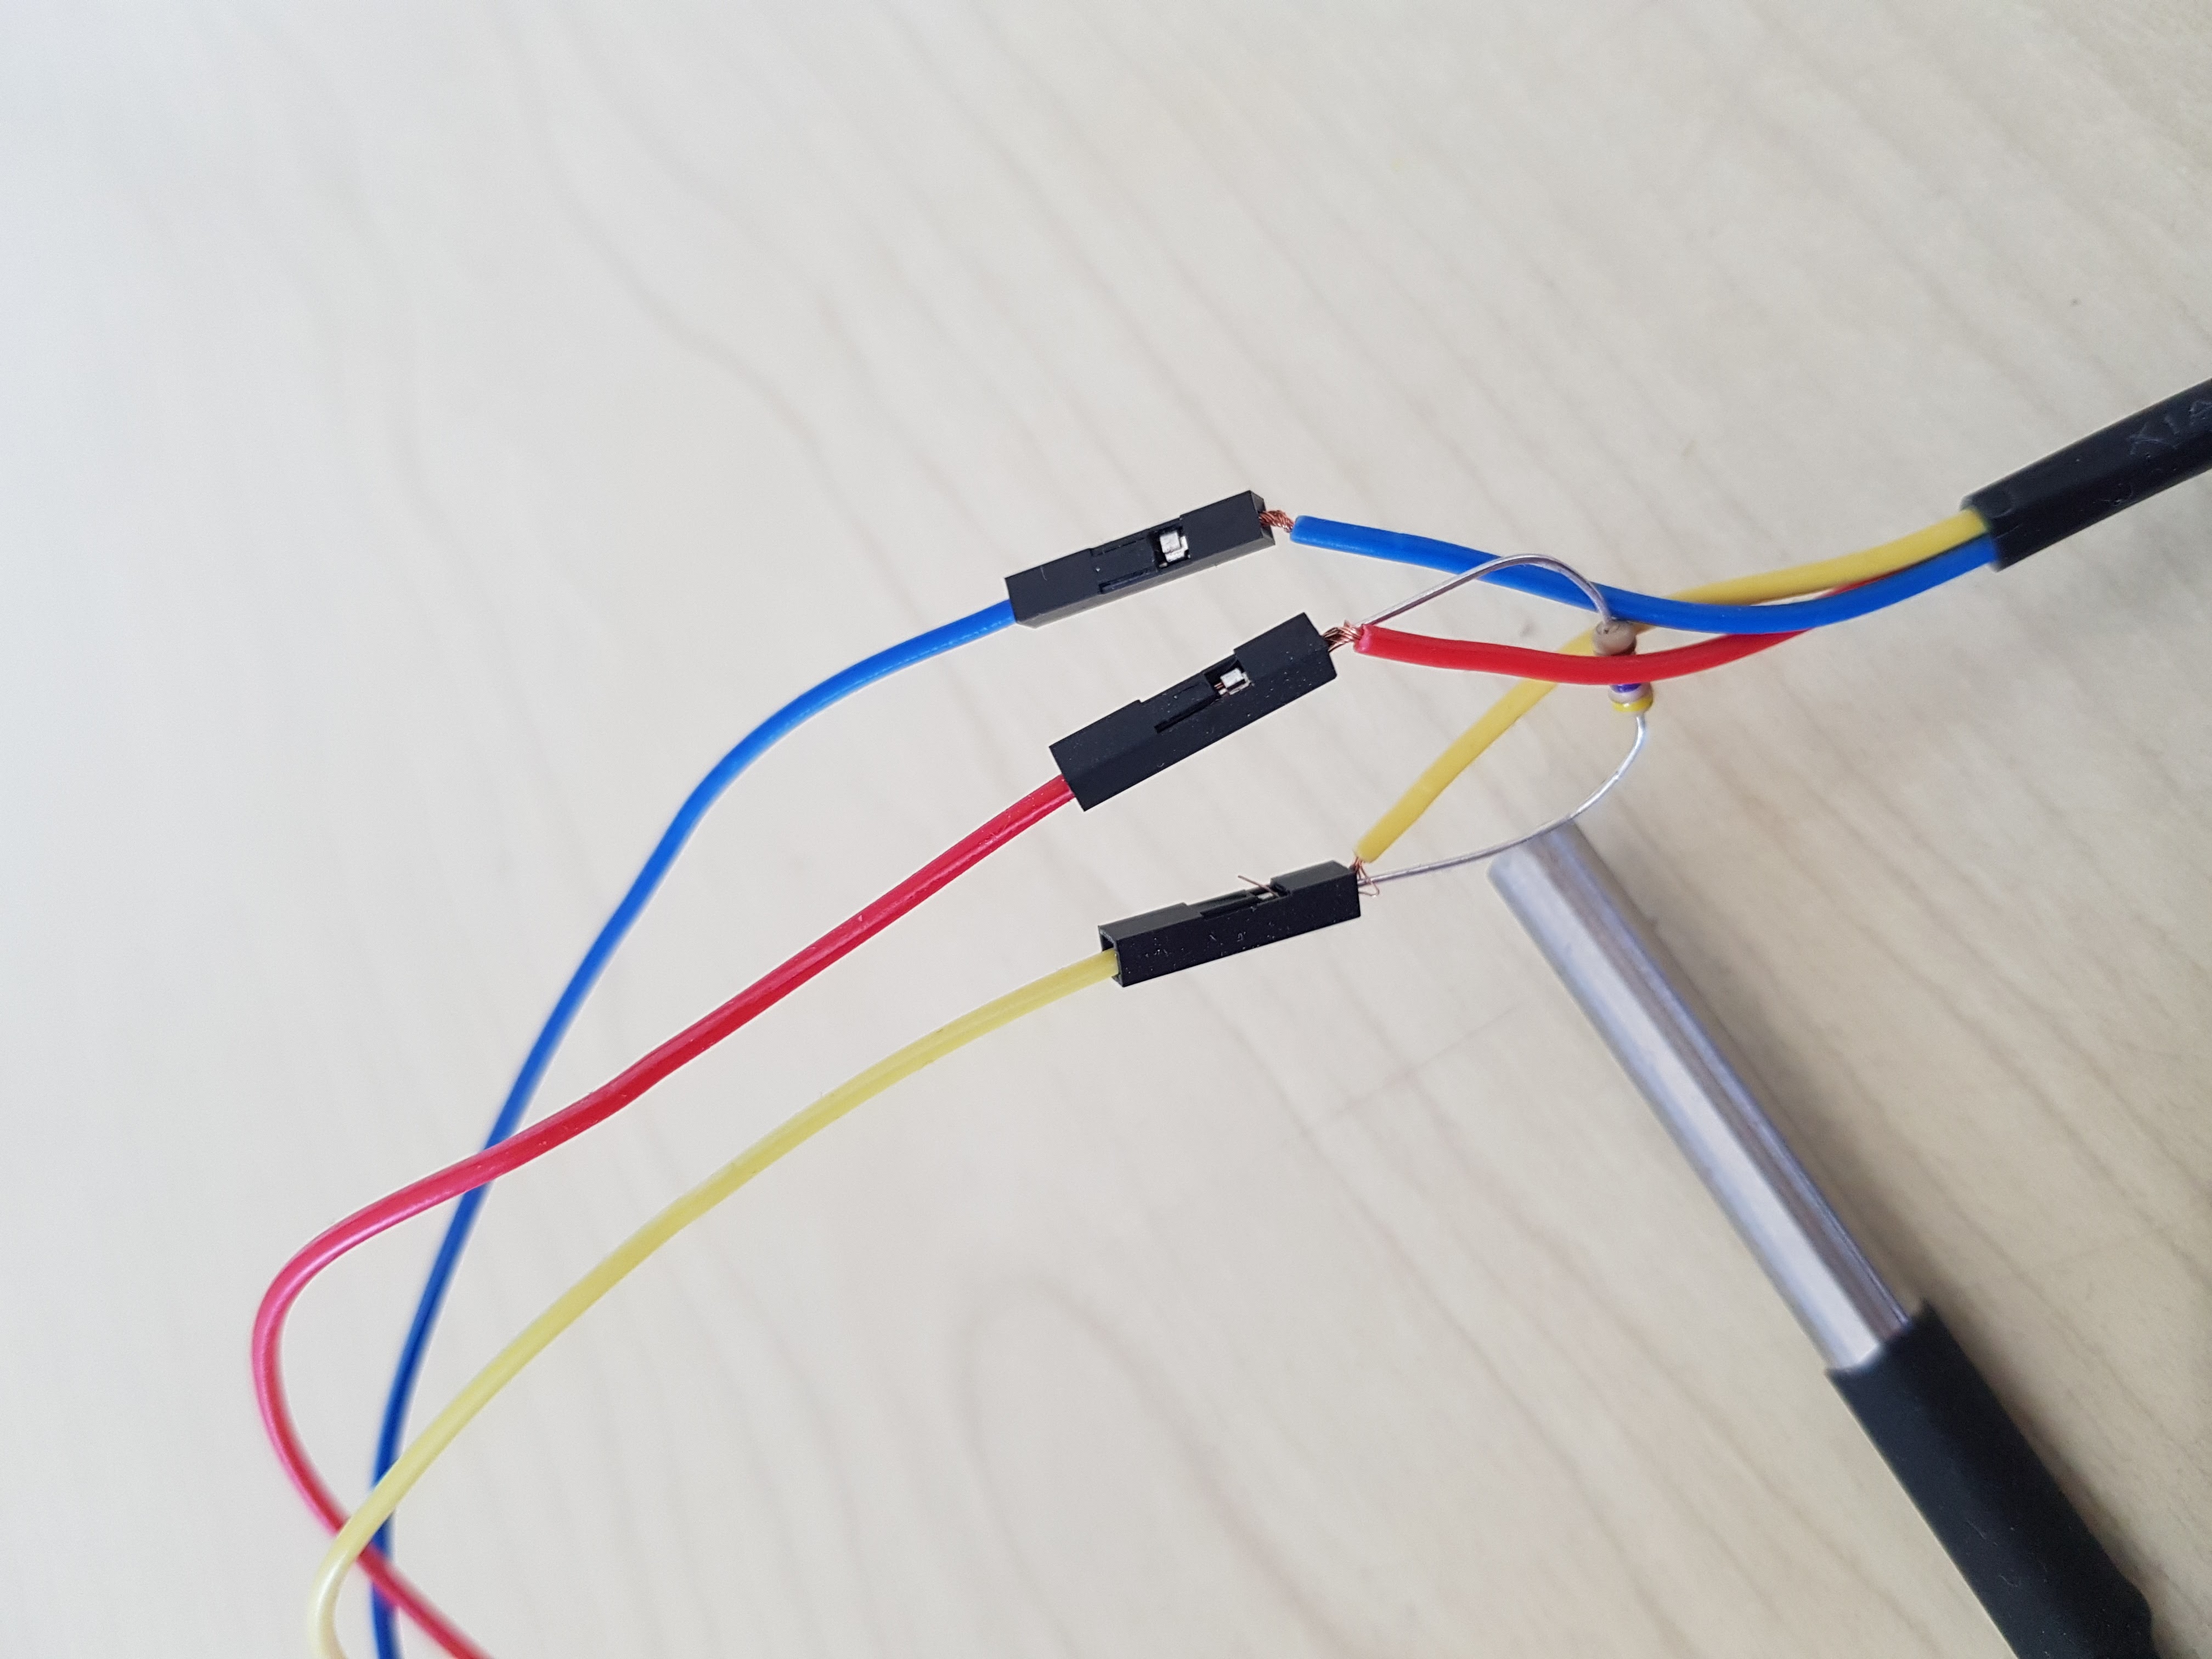 Place the wires exiting the tube of the DS18B20's yellow wire into the end of the yellow jumper.
Repeat the process for the blue and red as well. After connecting the cables with the jumpers, insert the resistors feet into the end of the red and the yellow jumper, like in the picture.
Place the wires exiting the tube of the DS18B20's yellow wire into the end of the yellow jumper.
Repeat the process for the blue and red as well. After connecting the cables with the jumpers, insert the resistors feet into the end of the red and the yellow jumper, like in the picture.
And you're done connecting the temperature sensor!
After connecting the DS18B20, follow the next guide to start monitoring!