-
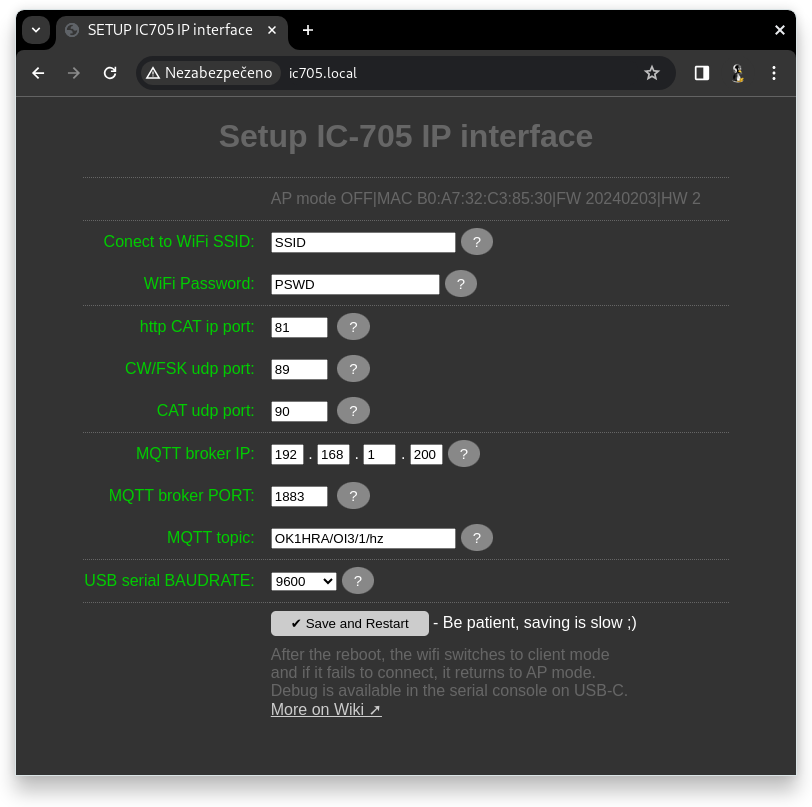
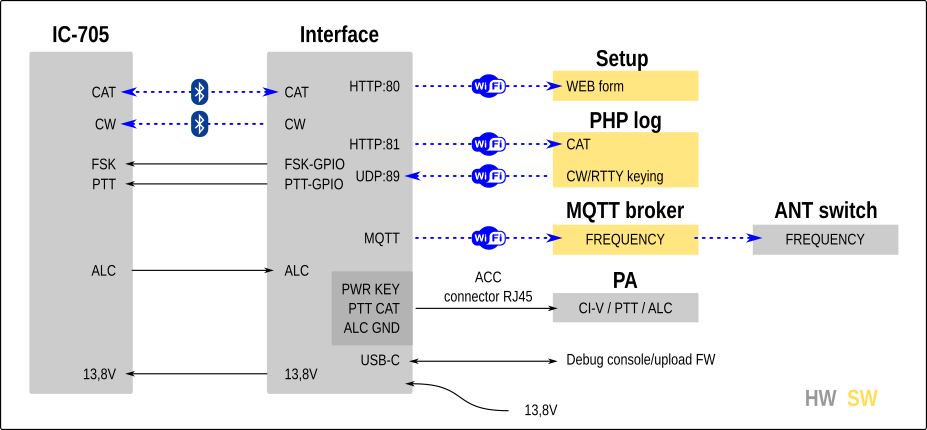
WiFi AP mode with Setup html form available on address http://ic705.local
-
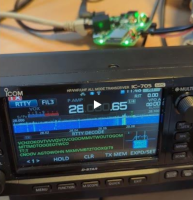
Connecting the IC-705 via Bluetooth and sending the frequency to MQTT
-
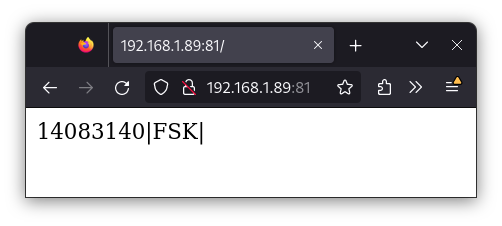
Frequency and mode for Óm - simple contest PHP log available on http port 81 (address http://ic705.local:81)
-
UDP port 89 receives ascii characters, which it sends via Bluetooth to the IC-705, and transmit them as a CW message*
-
UDP port 89 receives ascii characters, which it sends in RTTY mode by keying FSK and PTT TRX inputs
-
Status LED
- ON after start
- OFF if cononnect Wifi
- FLASH send MQTT freq
- DOUBLE FLASH receive CW via UDP
- FLASH+PTT receive RTTY via UDP
-
mDNS - to easily find IP devices in the network, using the command "ping ic705.local"
-
Watchdog - resets the device after more than 73 seconds of inactivity
-
Output signal POWER-OUT (13.8V/0.5A) with LED activates after connecting BT (can turn on your hamshack)
-
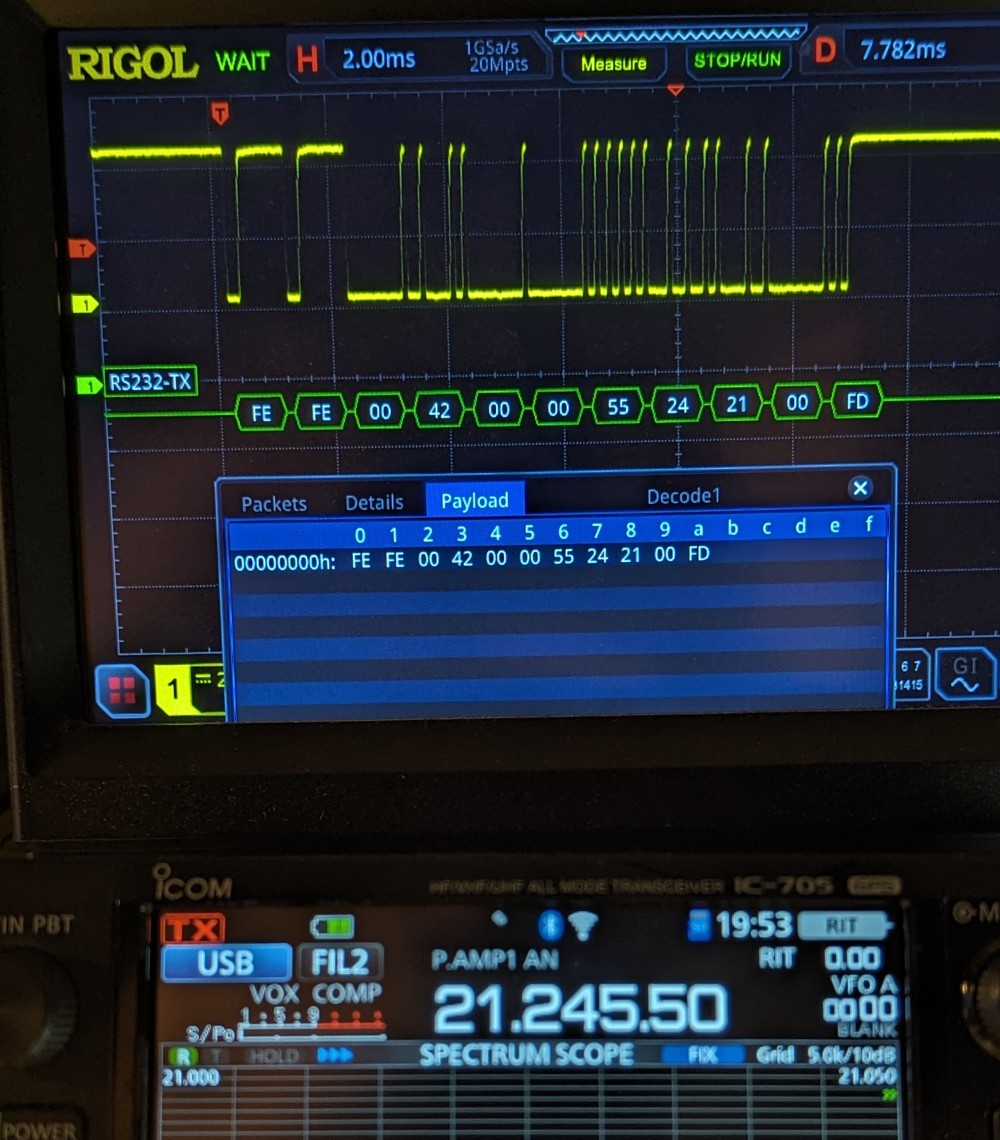
Galvanically isolated CI-V output for connecting PA or other devices
-
CIV-MUTE on gpio16 allow send to CI-V output only commands with frequency (not debug messages)
-
UDP port for CAT command (clear RIT) from log
-
After BT connect, set TRX to enable: CI-V transceive + enable RIT + enable BK-IN
-
Support external shift register control switch by frequency (not tested)
-
Detect PCB hardware ID
- In head of .ino file
- Variables
- You can disable non use functionality with add // before #define ..
- Install Arduino IDE rev 1.8.19
- Install support for ESP32
- Install these libraries in the versions listed
- BluetoothSerial rev 2.0.0
- WiFi rev 2.0.0
- PubSubClient rev 2.8
- Select board 'ESP32 Dev Module'
- Select Partition Scheme: 'No OTA (2MB APP/2MB SPIFFS)'
- Connect the ESP32 with a USB-C cable and select the corresponding port in the arduino IDE
- Now you can compile and upload code using USB
- Open terminal in Arduino IDE
- Set Baudrate to 9600
- Reset ESP32
- Read IP address from terminal debug
- Turn on the interface
- Wait for the Status LED to turn off, which signals the Wifi connection
- In the terminal window, use the command
ping ic705.local- the output will show the IP address that the interface received from the DHCP server