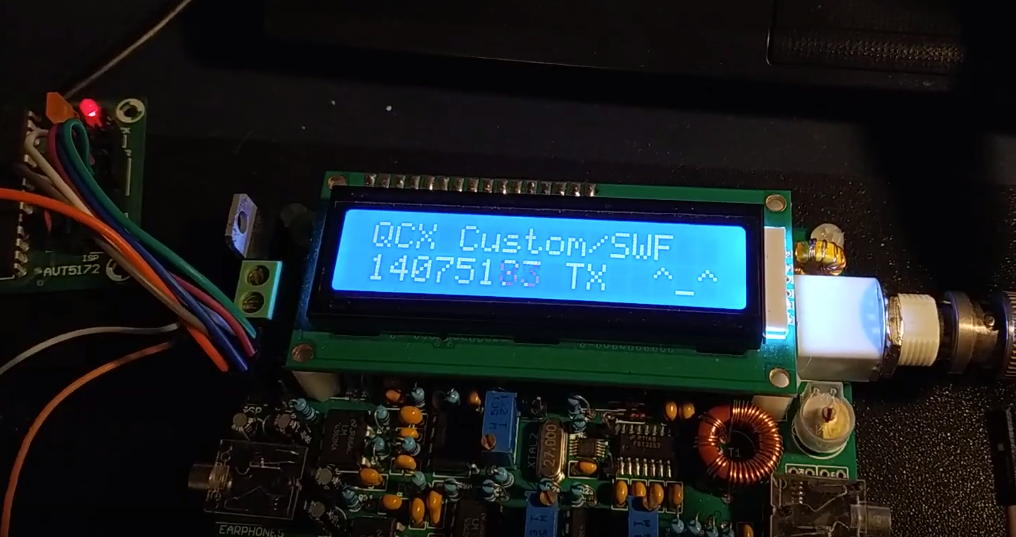
QCX is an affordable, low power amateur radio transceiver kit designed and sold by QRP Labs. It provides up to 5 watts of RF output power on a single HF band, features a built-in CW keyer and offers a narrow RX filter.
FT8 is a digital weak signal communication mode developed by Joe K1JT in 2017. It has since become a favourite digital mode for many radio amateurs, as it can be decoded with a very low signal-to-noise ratio - in practice, it's possible to perform a very long distance contacts using low TX power and modest antennas, even when propagation conditions are far from ideal.
QCX is a CW transceiver by design, but looking at the schematic, it's capable of transmitting many other digital (CW is digital!) modes involving frequency keying with no amplitude modulation. That's a yes for FT8, JT65, RTTY, Hell, but a no for PSK or SSTV. This project brings FT8 (and possibly other modes too - to be tested) support to QCX.
Code presented here consists of two parts: transceiver firmware and PC software. FT8 message encoding/decoding algorithms are quite complex (well, and all in Fortran), that's why I found it easier to let the "official" WSJTX application do the hard work, and only capture the output audio frequency and drive the transmitter accordingly.
Source code for the firmware was created using Arduino IDE.
-
Get Si5351 library - navigate to
Sketch → Include Library → Manage Libraries...in Arduino IDE to add it. -
QCX is using 20 MHz clock for ATmega instead of 16 MHz as Arduinos do, so you need to update
mini.build.f_cpu=16000000Lline inhardware/arduino/avr/boards.txtfile tomini.build.f_cpu=20000000L- just remember to change it back whenever you need to program an original Arduino Mini with 16M clock!
WARNING - the next step will remove the original firmware from your QCX. I don't see why you shouldn't be able to flash it back, but I conducted all of my tests on a spare ATmega328P.
- Choose Arduino Mini board and the programmer you have - I used USBASP and ISP connector to the left of LCD. Press CTRL-U and hopefully you should see welcome message on LCD.
Use the encoder for tuning. Connect TTL serial port to the GPS connector in the right-bottom of the board. TX from PC into RX of QCX & GNDs.
- LCD works
- Upper sideband (USB) reception with encoder tuning (100 Hz step)
- Software serial
A123X- sets frequency 123 Hz above local oscillator and enables TXZ- disable TXw- tune 100 Hz downe- tune 100 Hz up
cd Linux; make. The app is based on pulseaudio, it may be necessary to get some pulseaudio libraries to build it.
In order to run:
./qcx_f- Run
pavucontrol, in Recording tab, set QCX_F input to Monitor of (your sound output) - Run WSJTX and start transmitting, you should see some console output.
- In order to actually drive the QCX's transmitter, run
udpclient.py. Modify the source code, set the serial port to point to your device (/dev/ttyUSB0by default).
Python version has been created as well.
Few additional libraries are required to run it. On Ubuntu/Debian, run apt-get install python-pyaudio python-numpy python-serial to install them.
TODO
There is GUI-based user friendly software, which uses Qt library. The compilation and running was tested on Windows 8 and Ubuntu Linux 16.04 LTS, authors not guarantees compile posibility on other operating systems.
After first program running you have to set audio device parameters:
- Device - Phisical or virtual recording audio device.
- Sample rate - Recording sample rate, the list of available sample rates may vary depending on audio device.
- Refresh period - Timer interval in milliseconds, its event will occur. The longer refresh period will increase fluenty of audio recording and processing, but can cause timing jitter in controlling transmitter.
- Buffer size - Audio device buffer size in milliseconds, it is recommended to be between slighty above than refresh period and below a few refresh period times. The value can be limited by audio device.
- Audio file - File name, where recorded audio will be saved. The purpose of this is to test, if audio is recorded correctly.
Program can send transmitter control data through serial port. You can set the port name and baudrate:
- Name - Name of serial port like COM1, COM2.
- Baud rate - Number of bits per second.
- Send text - Test port transmitting, the text must be received by device connected to the port.
The other serial port parameters are fixed to following:
- Data bits: 8
- Stop bits: 1
- Parity: none
- Data flow contol: none
In Info box, you can choose from three kinds of messages to display. Error messages will be always displayed.
The Start button starts audio processing and the Stop button stops audio processing. None of settings will affect during audio processing. All parameters will be saved after program exit.
At this description, there will be used following wilcards:
- %MinGW% - Directory, where MinGW is installed (for example "C:\Qt\Qt5.6\5.6\mingw49_32").
- %Binary% - Directory, where binary is placed after building (contains "QCX_QT.exe").
To compile QCX_QT for Windows, you have to do following:
- Install Qt Creator with Qt library and MinGW compiler.
- Open QCX_QT.pro in Qt Creator, click Configure Project in project configuration screen if appears.
- Build project as release.
- Run following command:
%MinGW%\bin\windeployqt.exe --release %Binary%. - Copy following files from %MinGW%\bin\ to %Binary%: libgcc_s_dw2-1.dll, libstdc*6.dll, libwinpthread-1.dll.
- Remove all *.cpp and *.o files.
At this description, there will be used following wilcards:
- %Linuxdeployqt% - Directory, where Linuxdeployqt tool is placed.
- %Binary% - Directory, where binary is placed after building (contains "QCX_QT" executable file).
To compile QCX_QT for Linux equipped with apt-get tool, you have to do following:
- Upgrade installed packet using following:
sudo apt-get update and sudo apt-get upgrade. - Install Qt library and Qt Creator using:
sudo apt-get install build-essential qtcreator qt5-default. - Install multimedia extension for Qt using:
sudo apt-get install libqt5multimedia5 libqt5multimedia5-plugins libqt5multimediawidgets5. - install serial port extension for Qt using:
sudo apt-get install libqt5serialport5 libqt5serialport5-dev. - Download "linuxdeployqt-continuous-x86_64.AppImage" from https://github.com/probonopd/linuxdeployqt/releases and place it into %Linuxdeployqt%.
- Open QCX_QT.pro in Qt Creator, click Configure Project in project configuration screen if appears.
- Build project as release.
- Run following command to build stanlone application:
'%Linuxdeployqt%/linuxdeployqt-continuous-x86_64.AppImage' '%Binary%/QCX\_QT'-appimage. - Remove all *.h, *.cpp, *.o, .DirIcon, AppRun, default.desktop, default.png and Makefile files.
This is an experimental, unofficial piece of software with no support other than authors' best effort, whatever you do with it is at your own risk. No QCXes were destroyed or damaged during development. Perform tests using dummy load. Transmitting RF in amateur bands requires an appropriate licence.