

- How to install Wget
- Running Wget
- Downloading a single file
- Changing the User-Agent
- Downloading multiple files
- Extracting links from a webpage
- Using proxies with Wget
Wget is a popular command-line utility that can download files from the web. It’s part of the GNU Project and, as a result, commonly bundled with numerous Linux distributions.
This article will provide you with an overview of this utility.
For a detailed explanation, see our blog post.
Wget can be downloaded from the official GNU channel and installed manually.
To install Wget on Ubuntu/Debian, open the terminal and run the following command:
sudo apt-get install wgetTo install Wget on CentOS/RHEL, open the terminal and run the following command:
yum install wgetIf you’re using macOS, we highly recommend using the Homebrew package manager. Open the terminal and run the following command:
brew install wgetIf you’re using Windows, Chocolatey package manager is a good choice. When using Chocolatey, run the following command from the command line or PowerShell:
choco install wgetLastly, to verify the installation of Wget, run the following command:
wget --versionOpen the terminal and enter the following:
wget -h
This will list all the options used with the Wget command grouped in categories, such as Startup, Logging, Download, etc.
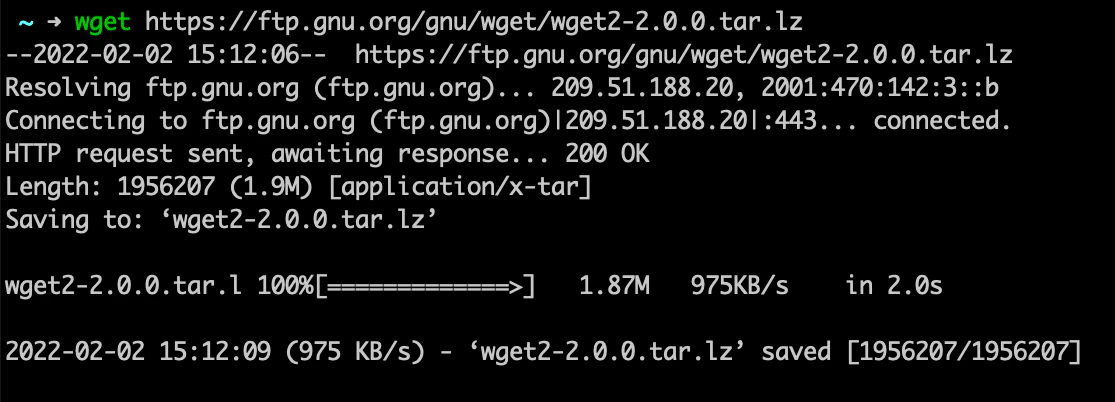
To download a single file, run Wget and type in the complete URL of the file:
wget https://ftp.gnu.org/gnu/wget/wget2-2.0.0.tar.lz
To identify the User-Agent used by Wget, request this URL:
wget https://httpbin.org/user-agentThis command will download a file named user-agent without any extension. To view the contents of this file, use the cat command:
~$ cat user-agent
{
  "user-agent": "wget/1.21.2"
}
The default User-Agent can be modified using the --header option:
wget --header "user-agent: DESIRED USER AGENT" URL-OF-FILEThe following example should clarify it further:
~$ wget  --header "user-agent: Mozilla/5.0 (Macintosh)" https://httpbin.org/user-agent
~$ cat user-agent
{
  "user-agent": "Mozilla/5.0 (Macintosh)"
}The following command will download files from all three URLs:
~$ wget http://example.com/file1.zip http://example.com/file2.zip http://example.com/file3.zip
The second method is to write all the URLs in a file and use the -i or --input-file option:
~$ wget --input-file=urls.txt
~$ wget -i urls.txt
You can supply a URL that contains the links to the files:
~$ wget --input-file=https://ftp.gnu.org/gnu/wgetTo download all files with a .sig extension, use the following command:
~$ wget --recursive --no-parent --no-directories --no-clobber --accept=sig --input-file=https://ftp.gnu.org/gnu/wgetThe first method uses command line switches to specify the proxy server and authentication details.
First, check your current IP address. Run Wget in quiet mode and redirect the output to the terminal instead of downloading the file:
~$ wget --quiet --output-document=- https://ip.oxylabs.io/location
# OR
~$ wget -q -O - https://ip.oxylabs.io/location
To use a proxy that doesn’t require authentication, use two -e or two --execute switches:
~$ wget -q -O- -e use_proxy=yes -e http_proxy=12.13.14.15:1234 https://ip.oxylabs.io/locationOutput:
{"ip":"104.200.141.20","providers":{"dbip":{"country":"US","asn":"AS46562","org_name":"Performive LLC","city":"New York","zip_code":"","time_zone":"","meta":"\u003ca href='https://db-ip.com'\u003eIP Geolocation by DB-IP\u003c/a\u003e"},"ip2location":{"country":"US","asn":"","org_name":"","city":"New York City","zip_code":"10011","time_zone":"-05:00","meta":"This site or product includes IP2Location LITE data available from \u003ca href=\"https://lite.ip2location.com\"\u003ehttps://lite.ip2location.com\u003c/a\u003e."},"ipinfo":{"country":"US","asn":"AS46562","org_name":"Performive LLC","city":"","zip_code":"","time_zone":"","meta":"\u003cp\u003eIP address data powered by \u003ca href=\"https://ipinfo.io\" \u003eIPinfo\u003c/a\u003e\u003c/p\u003e"},"maxmind":{"country":"US","asn":"AS46562","org_name":"PERFORMIVE","city":"","zip_code":"","time_zone":"-06:00","meta":"This product includes GeoLite2 Data created by MaxMind, available from https://www.maxmind.com."}}}If the proxy server requires user authentication, set the proxy username by using the --proxy-user switch. Similarly, set the proxy password using the --proxy-password switch:
~$ wget -q -O- -e use_proxy=yes -e http_proxy=12.13.14.15:1234 --proxy-user=your_username --proxy-password=your_password https://ip.oxylabs.io/locationThe second method is to use the .wgetrc configuration file.
In the ~/.wgetrc file, enter the following lines:
use_proxy = on
http_proxy = http://12.13.14.15:1234
If you also need to set user authentication for the proxy, modify the file as follows:
use_proxy = on
http_proxy = http://your_username:your_password@12.13.14.15:1234
As of now, every time Wget runs, it’ll use the specified proxy.
$ wget -q -O- https://ip.oxylabs.io
# Prints IP of the proxy server
If you wish to learn more about wget, see our blog post.