firmware
- There are two ways of getting the firmware onto your module:
- either way, you'll need:
- a micro usb cable.
- NB: the following steps assume that you have cut the usb trace. see here.
- the Teensy Loader is available at https://www.pjrc.com/teensy/loader.html
- download the latest released version of the Ornaments and Crimes firmware image file from https://github.com/patrickdowling/O_C/releases
- open the HEX file in the Teensy Loader application
- make sure a USB cable is connected to the Teensy, and that the O+C module is powered up
- press the program push switch on the Teensy board (on the back of the O+C module)
- click the Program icon, or choose Program from the Operation menu in Teensy Loader
- you should briefly see a progress bar as the firmware is uploaded
- click the reboot icon or chose Operation | Reboot
- your O+C should come to life
- proceed to Calibration
- if you don’t have it already, you need to install the arduino IDE as well as the teensyduino add-on. Make sure you install the latest versions. (at the time of writing, that's arduino 1.6.8 and teensyduino 1.28, respectively).
-
you then may have to install two additional libraries (if you don't have them already): spi4teensy (here) and ADC (here).
-
clone them (with git) or download the zip, put them in your libraries folder, and restart the arduino IDE.
-
now, prepare to overclock. (overclocking is required to increase the SPI clock to 30MHz / make the firmware run properly).
-
to do so, find the file called boards.txt. on OSX, it lives in your Arduino.app folder:
/Applications/Arduino.app/Contents/Java/hardware/teensy/avr/boards.txt -
(the path will be slightly different on linux or windows systems, of course).
-
now, uncomment the line that says:
teensy31.menu.speed.120opt=120 MHz optimized (overclock) -
(while you're at it, you may also want to change the optimization level: -o2)
teensy31.menu.speed.120opt.build.flags.optimize=-O2
- clone from https://github.com/patrickdowling/O_C
- use the master branch (which is the default) - the master branch contains the latest "production" released code
- the develop and other branches contain bleeding-edge code which may or may not contain bugs
-
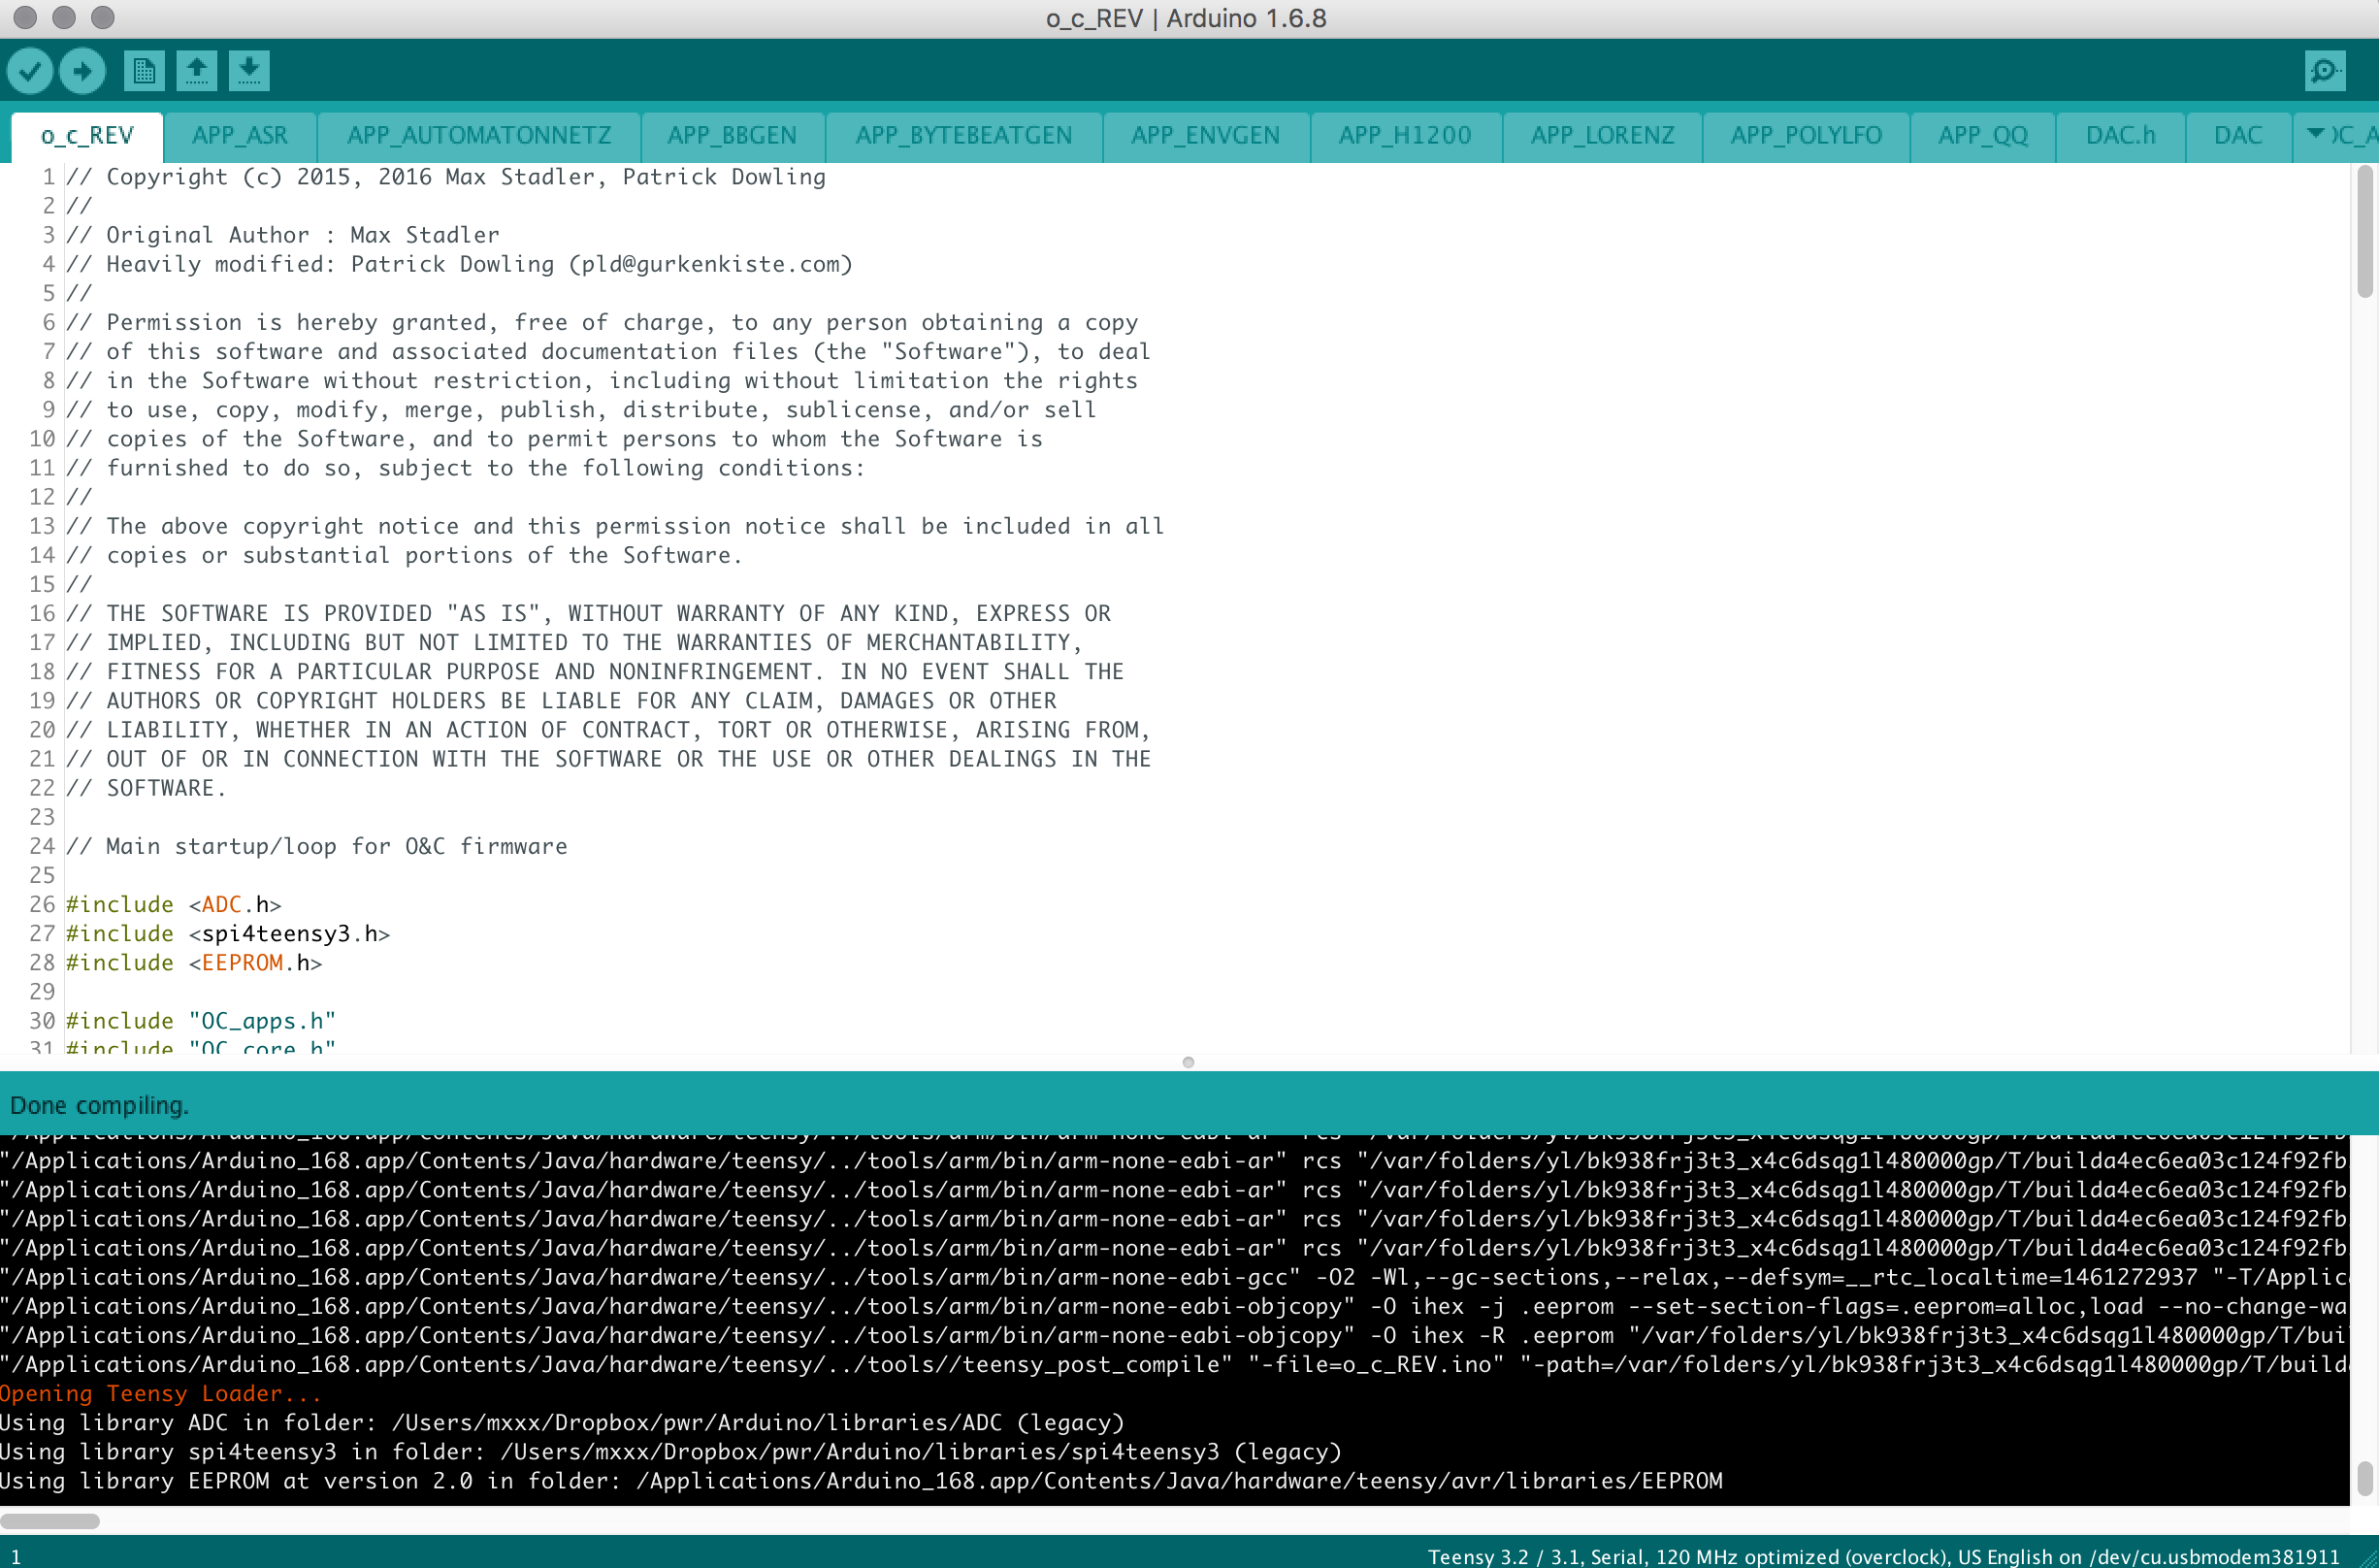
once the libraries and the source code for Ornaments and Crimes are in place, you should be able to compile the Ornaments & Crimes firmware. Open the file called o_c_REV.ino. now make sure you:
- 1) select teensy 3.2/3.1 in `Tools>Board`. and - 2) select '120MHz optimzed (overclock)' in `Tools>CPU Speed`. -
things should look somewhat like this:
-
compile. and download to your board (since you've cut the usb trace, the module needs to be powered from your eurorack PSU): the display should come to life now.
-
proceed to Calibration