Please read the coding guidelines.
This library is distributed under the BSD-style license found in the LICENSE file.
Recommends to use Unix based system for installation
- Ubuntu 20.04
- MacOS
In this installation manual we will use following additional software. You need to install it before
- git for cloning repository, for install try
sudo apt install git - screen agent for using sessions, for install try
sudo apt install screen
Because this manual is for completely full newbies (but of course they need some knowledge about Linux and terminal) we'll tell about very obvious things
In this manual we will use the following folder structure, so you should to prepare all folders and add the necessary permissions for them.
- Create folder
mkdir /srv/pen/ - Add permissions
chmod +x /srv/pen/&&cd pen - Download git repository
git clone [https://github.com/penguintop/penguin](https://github.com/penguintop/penguin)and it's create the folderpenguinautomatically via downloading - Add permissions
chmod +x /srv/pen/penguin/ - Create folder
mkdir /srv/pen/penguin/pen_data/ - Add permissions
chmod +x /srv/pen/penguin/pen_data/ - Go to the folder
cd /srv/pen/penguin/ - download PEN binary prepared file
wget "https://www.penguin.top/download/pen" - Add permissions
chmod +x /srv/pen/penguin/pen
Check pwd
it should shows that you stays in /srv/pen/penguin/ Penguin folder witn pen binary file
This command run node with using screen session
screen -S pen-test ./pen start --data-dir=./data --audit-mode --audit-endpoint=http://123.129.224.30:29999 --swap-endpoint=http://123.129.224.30:29900 --debug-api-enable --full-node --cache-capacity=10000000 --bootnode=/dnsaddr/penguin.top --cors-allowed-origins=*
Here is WEB GUI for Penguin http://112.47.58.10:8888/
It contains following sections
- Settings


You can use DEMO IP of PEN Nodehttp://112.47.58.10:1633 for API and http://112.47.58.10:1635 for Debug
Or you can use own server or pc IP of your PEN node.
- Status
Here is information about your connected node

- Files
Here is upload/download manager

When you add the file you will see in left bottom corner notification about it, check the screenshot

after it you should click button "Upload" below.
Than you'll see something like on this gif video, hash of your file. https://i.gyazo.com/80eb8aeaacc3e4b784e5a4ccdeb13321.mp4
When you go to the "Download" tab and the copy paste hash of your file and click search. You'll get the link to your file in the Penguin PEN blockchain. Please see illustration in the video below https://i.gyazo.com/390210ddff095523d391b59d24c4868c.mp4
- Stamps
- Accounting
- Peers
- backup private key
After entering and confirming the password, the terminal will print out the private key of the XWC account, which needs to be backed up

- After the private key backup is completed, press any key, you can see the following print
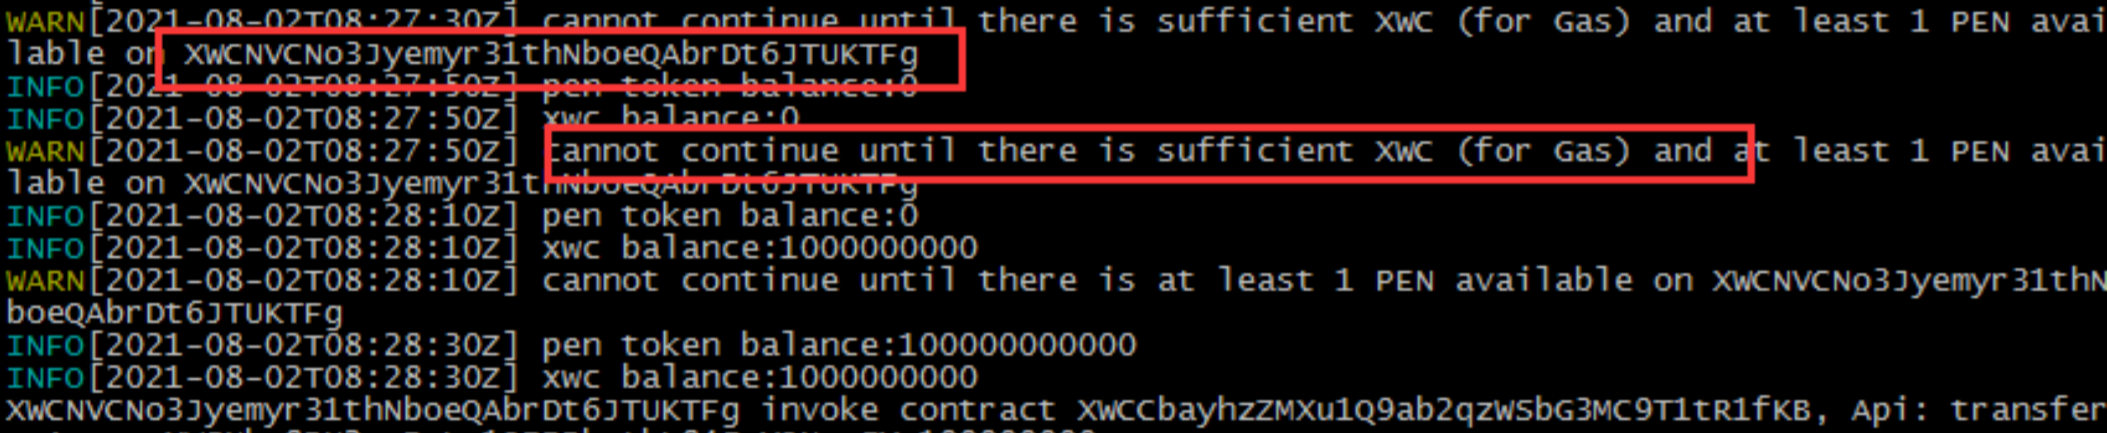
- If you do not participate in PEN mining, you need to transfer 1 XWC (for handling fees) and no less than 1 PEN to the relevant address That's it.
- If you need to participate in PEN mining, you need to transfer 1 XWC (for handling fee) and no less than 401 XWC to the relevant address PEN.
-
If you can see the following prints later, it means that the PEN node has been started normally
-
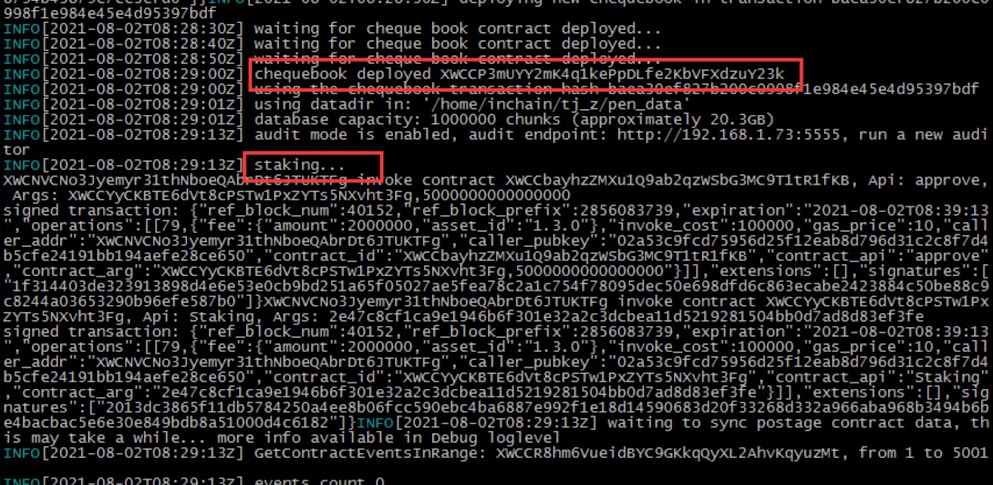
If you see the following print, it means that the PEN node has turned on the mining mode

- How to export and backup PEN's XWC account private key if you forget to back up the private key when running PEN for the first time
./pen dumpkey --data-dir=/home/pen/pen_data

--audit-modeOpen mining mode--audit-endpointMining authentication server endpoint--data-dirLocal data directory--swap-endpointXWC wallet node endpoint--debug-api-enableOpen debug api
Website: https://www.penguin.top/home Receiving operation:
- Enter the wallet address, click the [Query] button, and the amount will pop up;