![]()
Lightweight Raspberry Pi Pico C++ SDK container.
The latest version of the image is stored on Docker Hub and can be used for container runs. Commands below show how to run a container, using an image from Docker Hub
docker run -d -it --name pico-sdk --mount type=bind,source=${PWD},target=/home/dev lukstep/raspberry-pi-pico-sdk:latest

docker exec -it pico-sdk /bin/sh
The directory from which the docker run command was called will be mounted to /home/dev in the container.
So after attaching to the SDK container you can build your project following the steps:
cd /home/dev

mkdir build

cd build

cmake .. && make -j4
To build your own SDK image, You need to clone this repository and run the following commands:
cd raspberry-pi-pico-docker-sdk

docker build . --tag pico-sdk

docker run -d -it --name pico-sdk --mount type=bind,source=${PWD},target=/home/dev pico-sdk

docker exec -it pico-sdk /bin/sh
You can use the SDK container with Visual Studio Code as Raspberry Pi Pico projects IDE.
Follow the instruction below to set up VSCode:
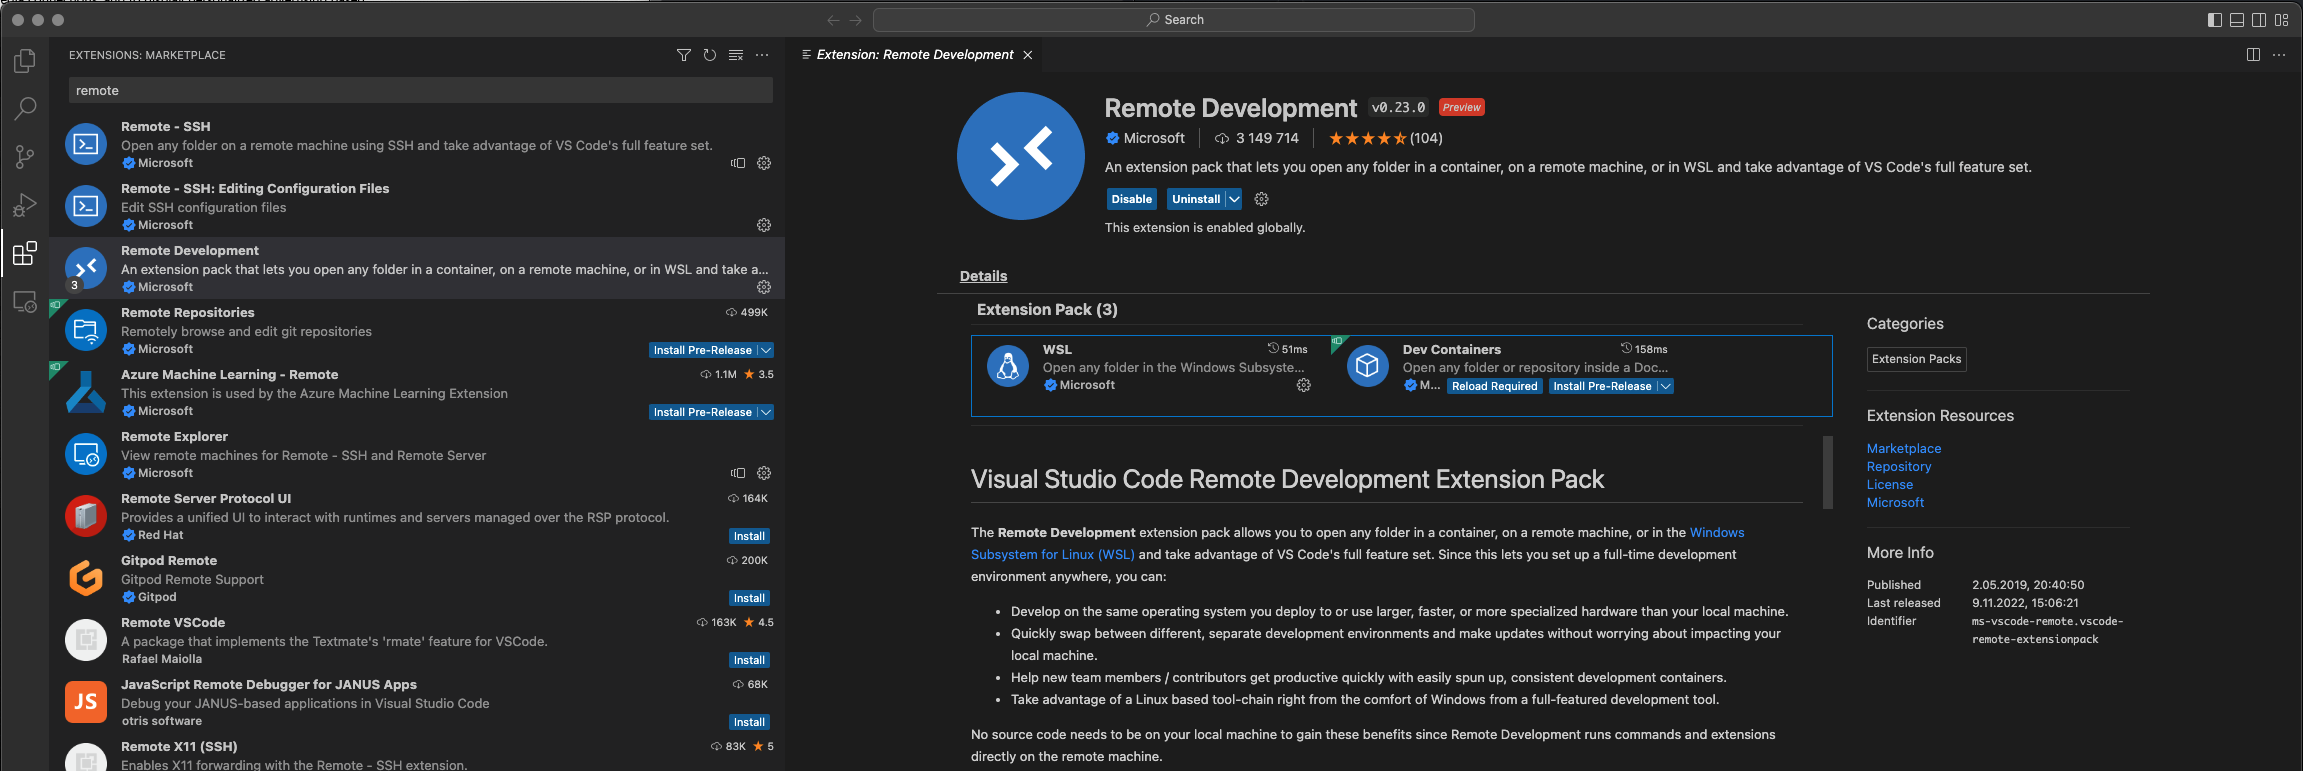
- Install Visual Studio Code and next Remote Development extensions.
-
Open the terminal and go to the projects you want to open in VSCode.
-
Pull SDK image from Docker HUB and run SDK container via the following command. The container must be running while you attach to it via VSCode.
docker run -d -it --name pico-sdk --mount type=bind,source=${PWD},target=/home/dev lukstep/raspberry-pi-pico-sdk:latest

docker exec -it pico-sdk /bin/sh
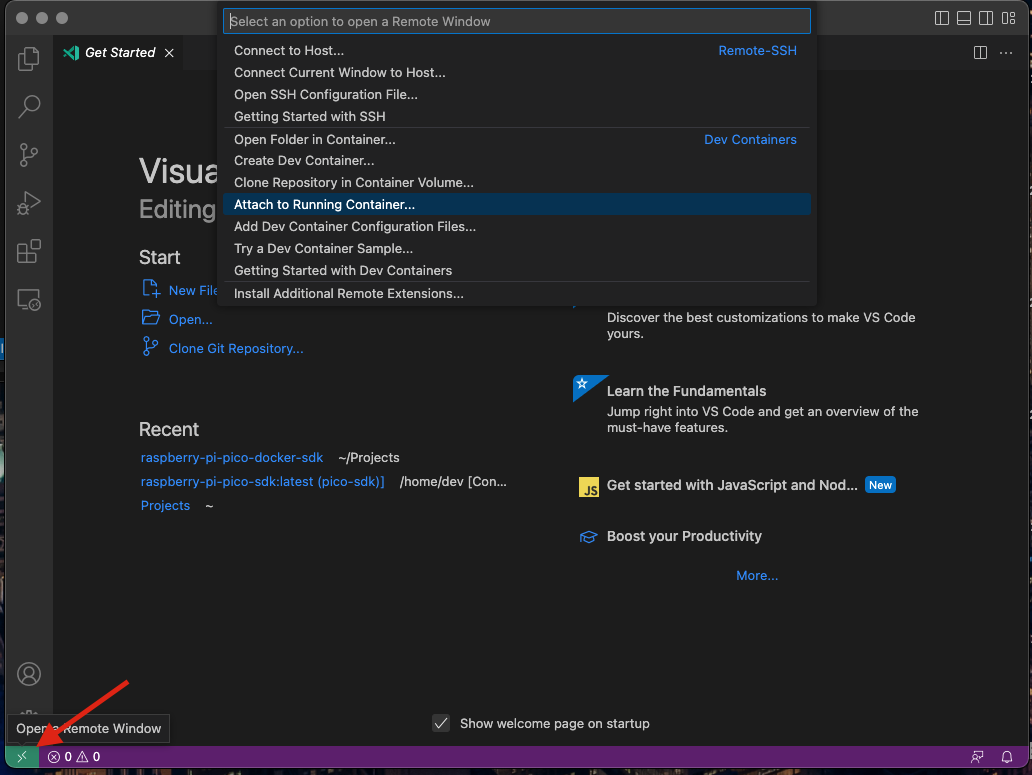
- When the container is launched, go to VSCode, click the green button in the lower left corner of VSCode and select options: Attach to Running Container...
- Select the SDK container.

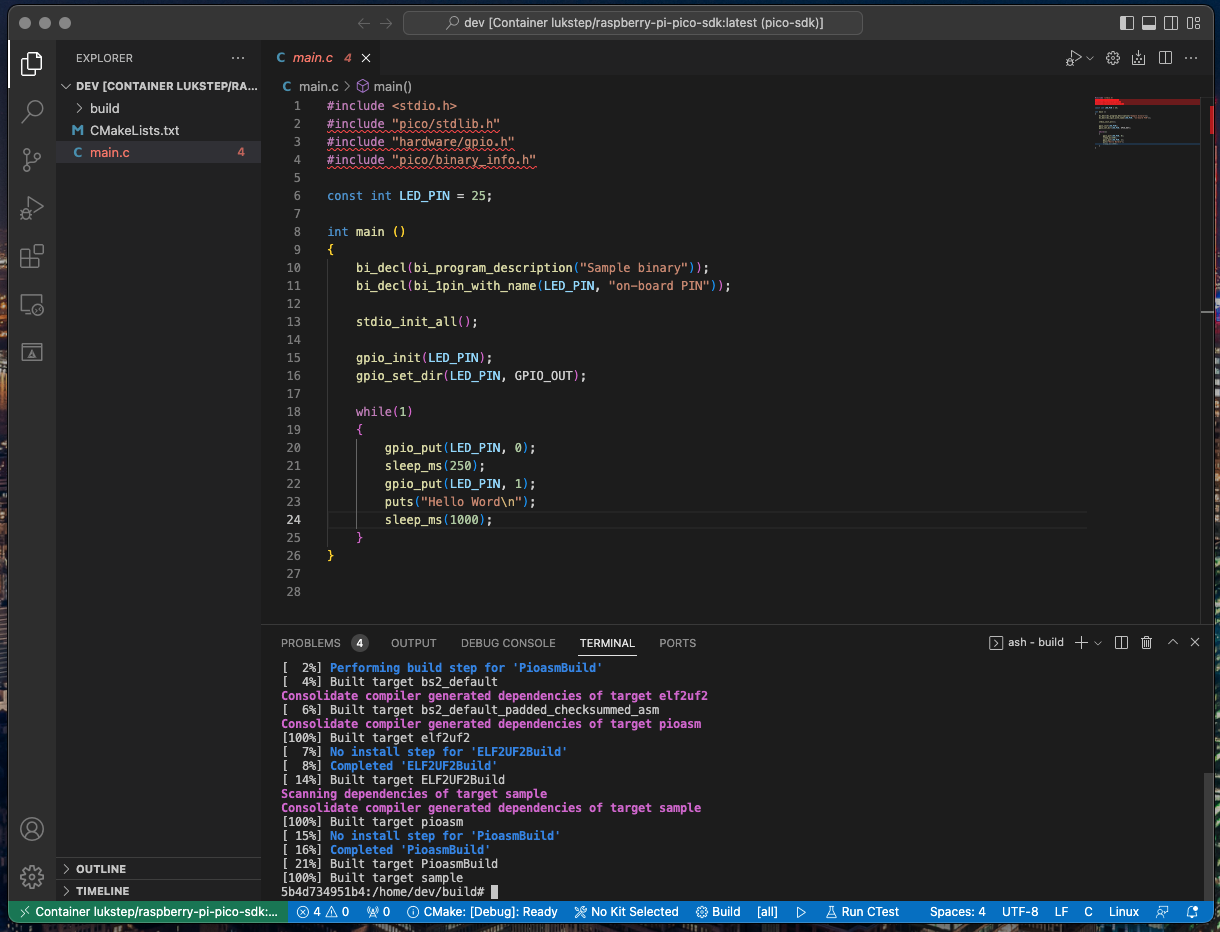
- Then a new VSCode window will open. At the bottom window, you can see that it is attached to the SDK container.

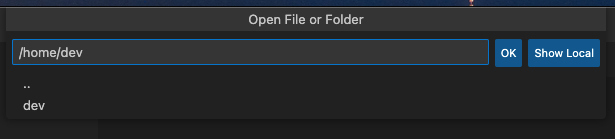
- Now, there is needed to open project files. Your project is mounted to
/home/devin the container. Go to EXPLORE tab in VSCode and click Open Folder. In opened window write/home/devand click the OK button.
- Now You can explore, develop and build your Raspberry Pi Pico project via Visual Studio Code!
For an IntelliSense that will be aware of Raspberry Pi Pico SDK dependencies, we will use Clangd. Clangd is a C/C++ language server provided by the LLVM project. To Setup Clang as Intellisense engine follow instruction below:
- To begin with, you need to install the server itself (Clangd is not installed by default in the SDK container image), to do this in the terminal call the command:
apk add clang-extra-tools
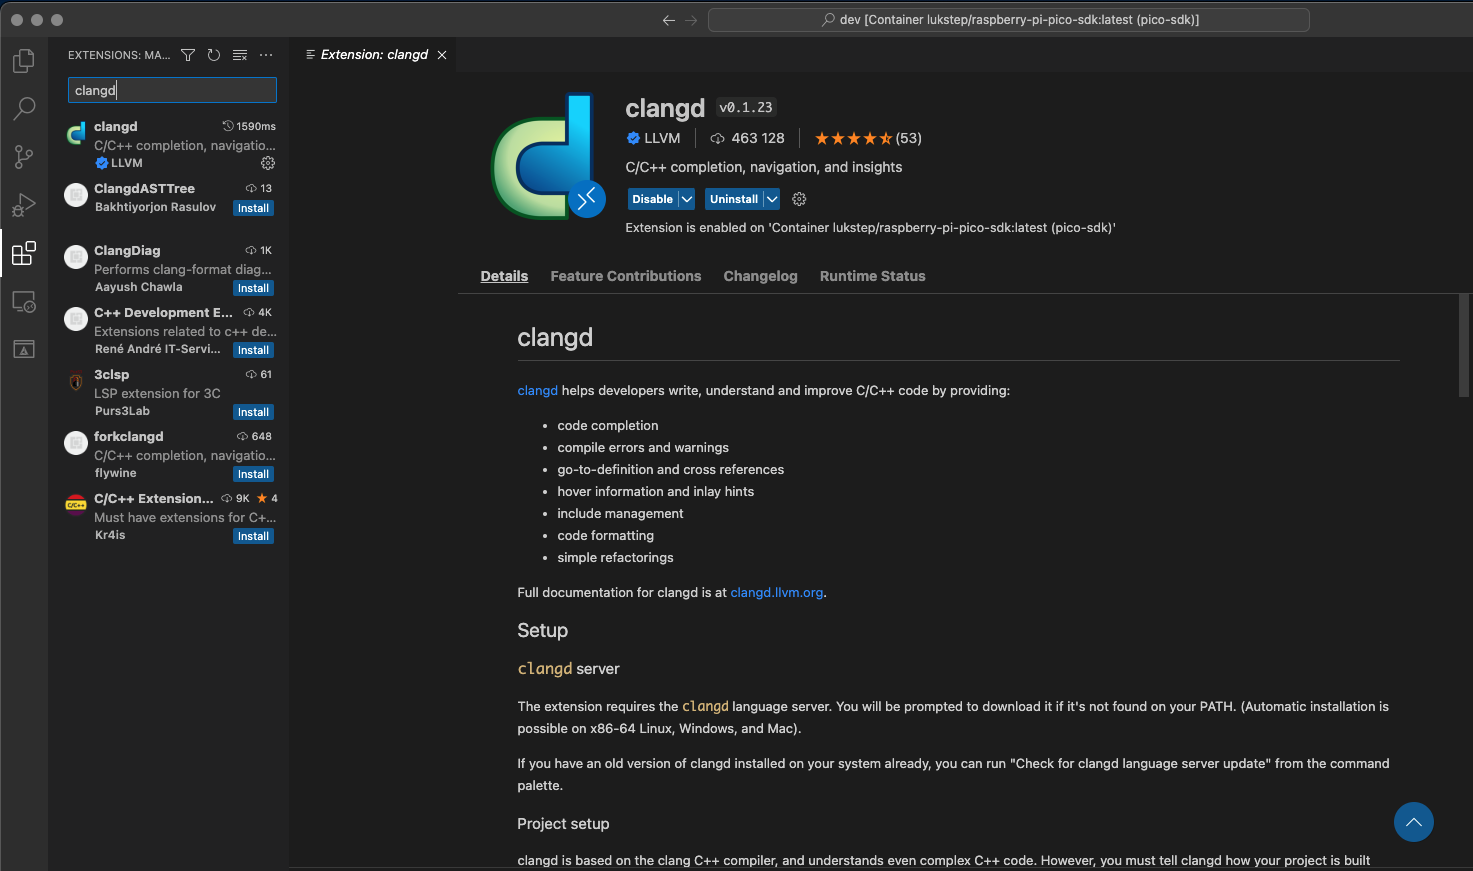
- Next is needed to install the Visual Studio Code Clangd extension.
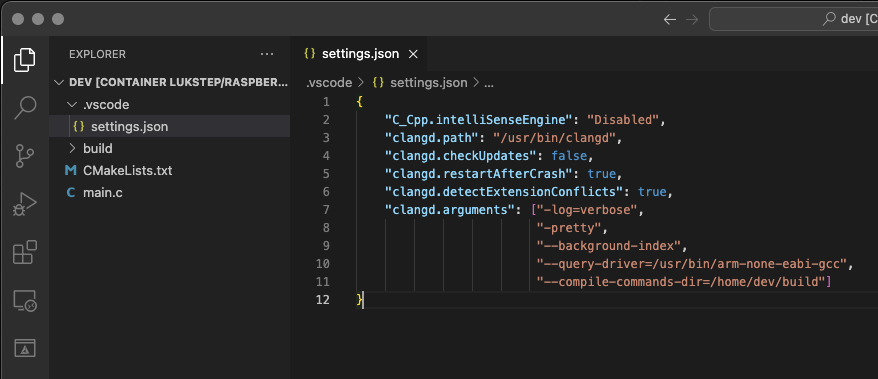
- To set-up The Clangd extension, in the project root directory, create folder .vcode with file settings.json. To settings.json past configuration from the snippet below:
{
    "C_Cpp.intelliSenseEngine": "Disabled",
    "clangd.path": "/usr/bin/clangd",
    "clangd.checkUpdates": false,
    "clangd.restartAfterCrash": true,
    "clangd.detectExtensionConflicts": true,
    "clangd.arguments": ["-log=verbose",
                         "-pretty",
                         "--background-index",
                         "--query-driver=/usr/bin/arm-none-eabi-gcc",
                         "--compile-commands-dir=/home/dev/build"]
}
- For clangd to work, it needs a
compile_commands.jsonfile. This file contains the compilation and dependency information of each file in the project. To create it you need to add to the CMake command,-DCMAKE_EXPORT_COMPILE_COMMANDS=1. So You need to build your project with the command:
mkdir build

cd build

cmake -DCMAKE_EXPORT_COMPILE_COMMANDS=1 ..

make
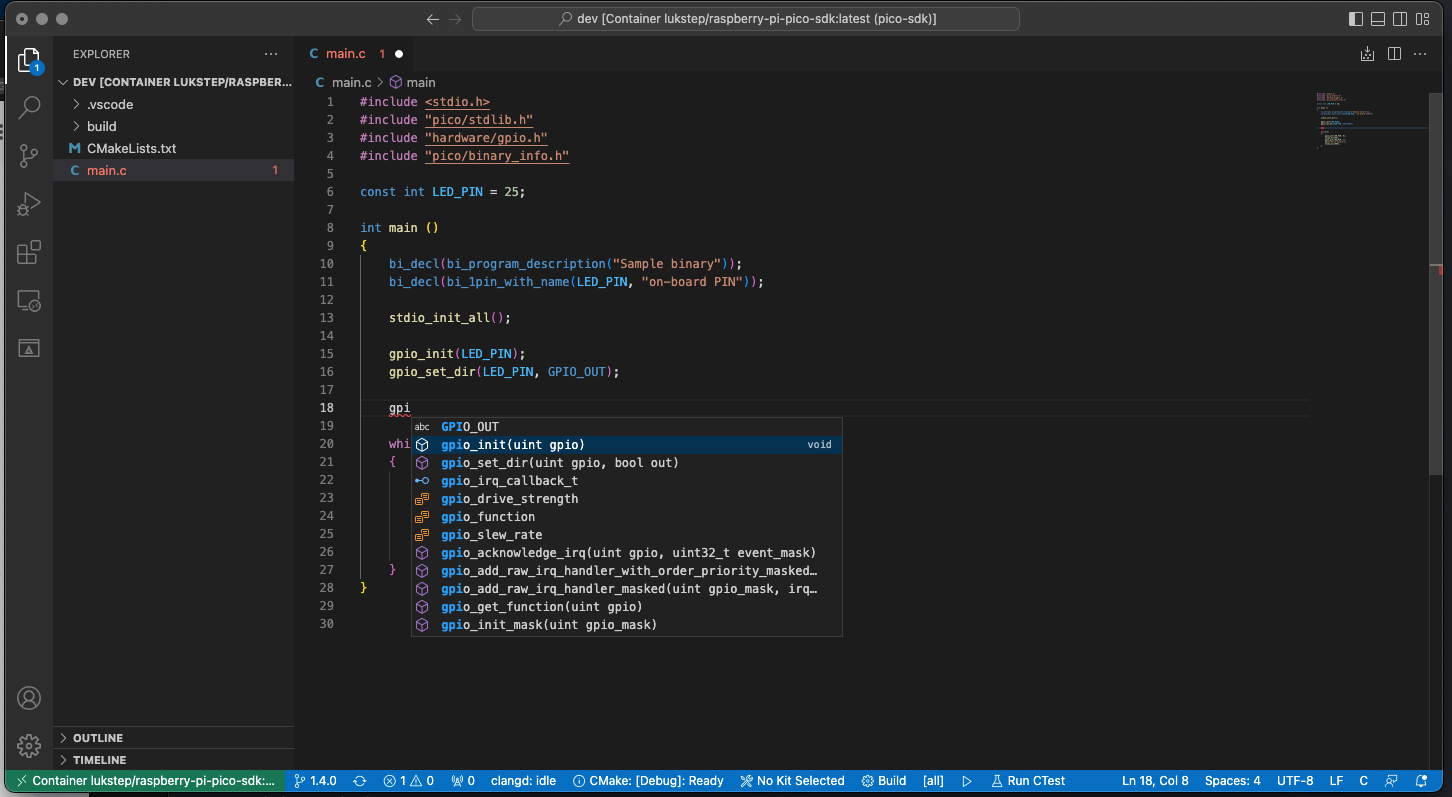
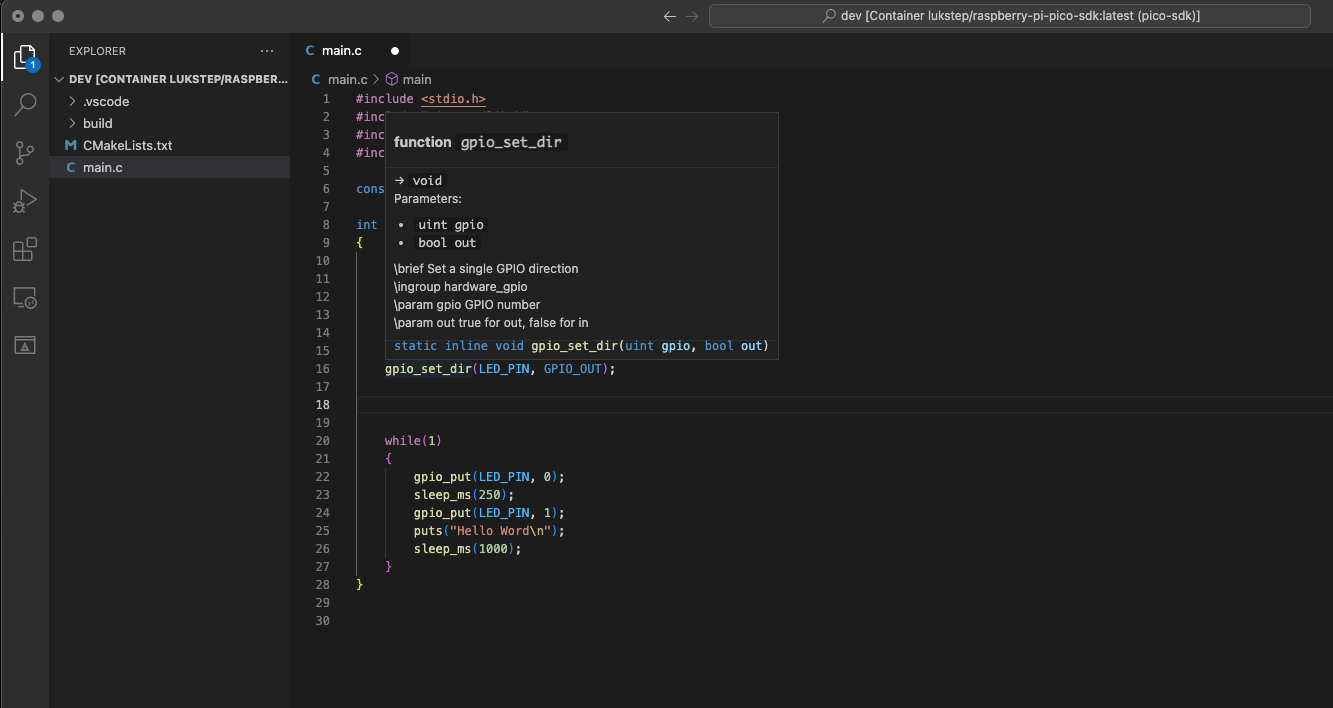
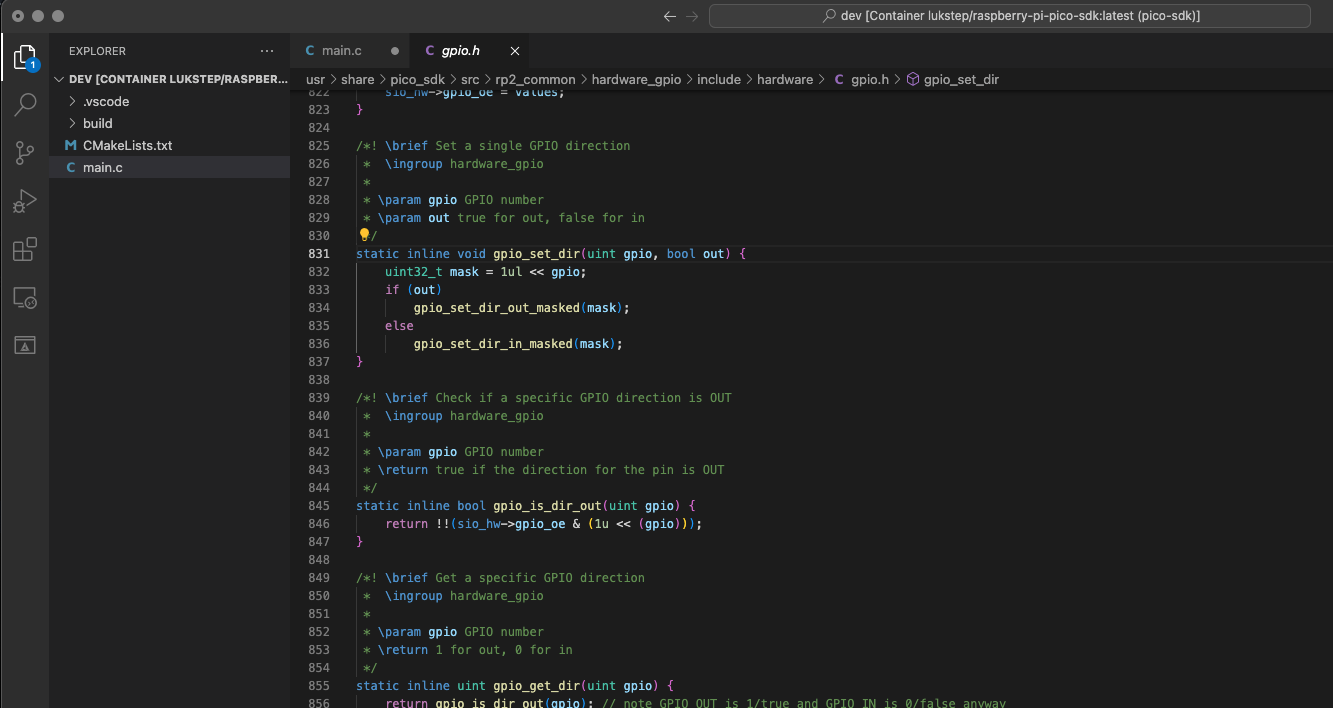
- Now IntelliSense should work!. Now you should see a prompt when you start typing. If you hover your cursor over a function from the SDK you should see its documentation, You can go to the function definition by pressing F12.