Construction part2
You will of course need a an STM32F103 board of some description, the exact board doesn't matter however the board I used was one of these...

... which are available at very reasonable prices from the usual suspects. You can also use a Leaflabs board http://leaflabs.com/docs/hardware/maple.html or one of STM's own development boards.
You will also need a display. Again these are available for not very much from ebay. I used an STLink V2 clone to program the board with the pinout as described in the Arduino sketch.
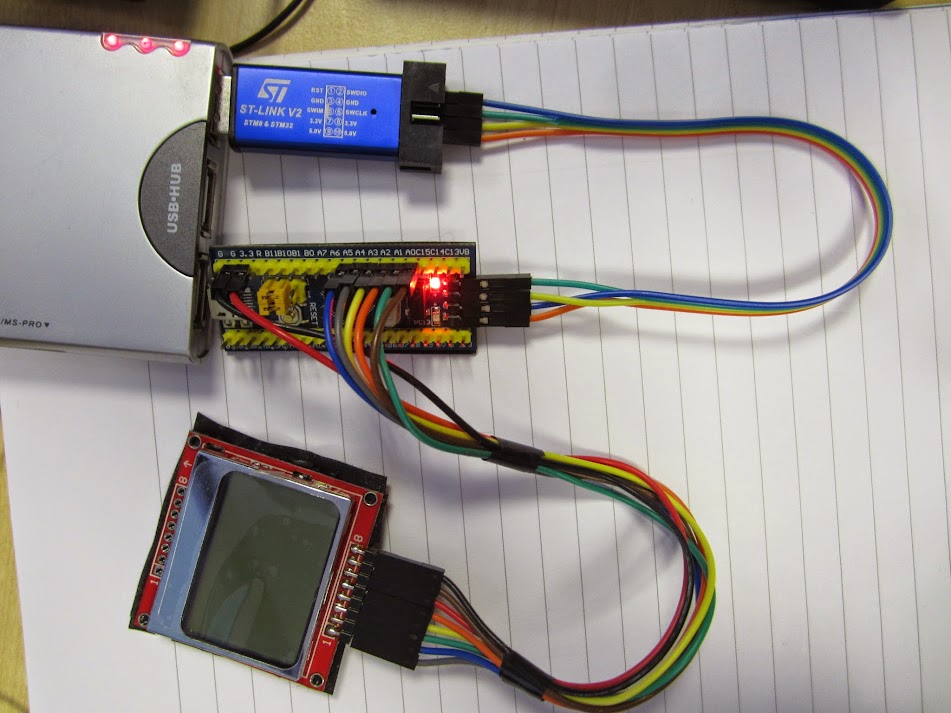
Ignore the Nokia display in the picture, you could use one of those, but the resolution really isn't up to much. I opted for an ILI9341 display, although this is only 240 x 320, but it is colour.

You can also use a serial USB converter to program the STM32F103 as per the image below.

Exact construction details I will leave up to your imagination, but here are a few picture from my "Pig Scope" build to fire up your imagination. The pig in question is a squeaky dog toy from the local Poundstretchers shop, which I picket up while looking for a suitable locking food container to put my prototype in.


Lots of hot glue (aka. hot snot) was used to hold everything together.

BNC and 1M Ohm attenuation resistor attached to PB0 - Test pin on PB1 attached to the ring in the end of the pigs nose. Scope probe attached to BNC and connected to test signal. It works!

Add some graphics and off we go... stuffing it in the pig is of course optional.