
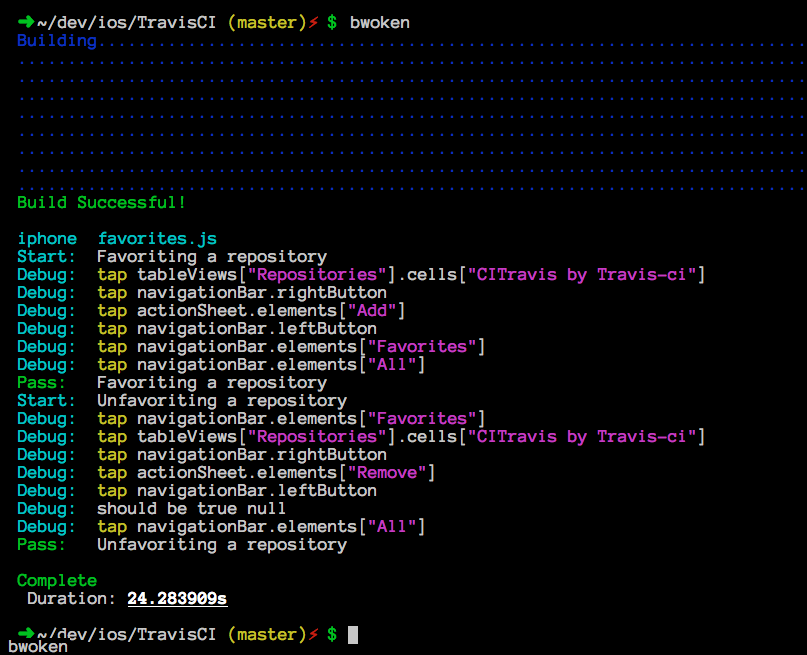
Runs your UIAutomation tests from the command line for both iPhone and iPad, in the simulator or on your device.
Supports coffeescript and javascript.
To run bwoken tests on your device, just plug it in! And if you want to run tests in the simulator, just unplug it!
Make sure bwoken is properly installed via one of the methods below. Then, build your project and run all your tests via:
$ rake
To run a single feature, add a RUN variable with the same name as your feature, ignoring the file extension:
$ RUN=focused_test rake iphone
Or, to run the feature on both iphone and ipad
$ RUN=focused_test rake
N.B.: This is the simplest way to get started and try out bwoken, but the recommended method is with RVM (see below). You can use this method without affecting your ability to later use RVM.
Ensure Xcode is up-to-date.
Install bundler and init:
$ sudo gem install bundler
$ bundle init
Add this line to your application's Gemfile:
gem 'bwoken'
Ensure your $PATH variable has bundler_bin at the front. This is usually done with .bash_profile:
$ echo 'export PATH=bundler_bin:$PATH' >> ~/.bash_profile
Restart your terminal.
And then execute:
$ bundle --binstubs=bundler_bin
Then, add the following line to your Rakefile:
require 'bwoken/tasks'
Initialize your bwoken file structure:
$ rake bwoken:init
Ensure your project is in a workspace rather than simply a project:
- In Xcode, select File -> Save as workspace...
- Save the workspace in the same directory as your .xcodeproj file
We have tried this on a standard lion installation and it works. If you have issues please open an issue and let us know.
Ensure Xcode is up-to-date.
Add an .rvmrc file to your project, such as:
$ echo 'rvm use 1.9.3@MyProject --create' >> .rvmrc
Install bundler and init:
$ gem install bundler
$ bundle init
Add this line to your application's Gemfile:
gem 'bwoken'
And then execute:
$ bundle --binstubs=bundler_bin
Ensure your after_cd_bundler rvm hook is enabled:
$ chmod u+x ~/.rvm/hooks/after_cd_bundler
Then, add the following line to your Rakefile:
require 'bwoken/tasks'
Initialize your bwoken file structure:
$ rake bwoken:init
Ensure your project is in a workspace rather than simply a project:
- In Xcode, select File -> Save as workspace...
- Save the workspace in the same directory as your .xcodeproj file
- Fork it
- Create your feature branch (
git checkout -b my-new-feature) - Commit your changes (
git commit -am 'Added some feature') - Push to the branch (
git push origin my-new-feature) - Create new Pull Request