Setup in Eclipse PDE
This page describes how to setup Protege in Eclipse using the Plug-in Development Environment (PDE). This method is slightly more complicated than the setup without PDE, however, it has an advantage that one does not generally need to run maven once the project has been imported. In particular, incremental compilation and hot code replace in the debugger should work like for ordinary java projects in Eclipse. This setup is particularly useful for those who develop and debug the main Protege components, but can also be used for developing Protege plugins.
These following screenshots were taken with Eclipse Oxygen on MacOS High Sierra (10.13.1). These instructions were also tested on Linux Mint Cinnamon, Linux Ubuntu 16.10, and Windows 10.
Specifically these components are necessary: Java IDE, Git client, Maven integration for Eclipse
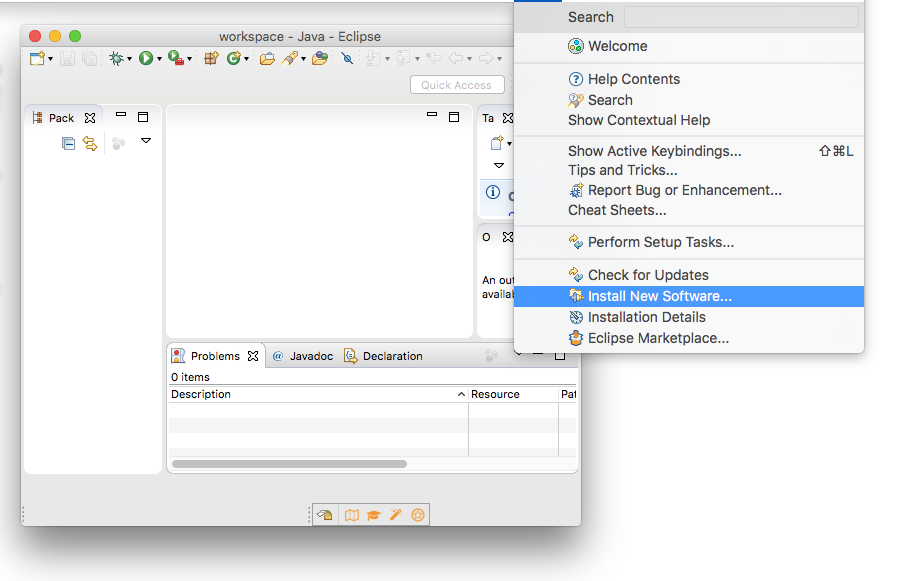
To obtain PDE, in the top menu, select "Help" > "Install New Software".
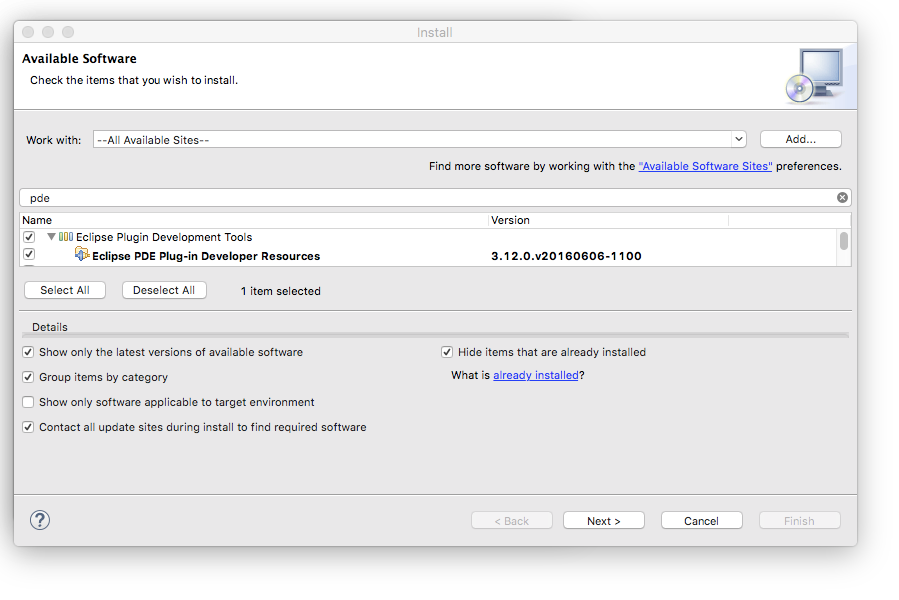
Search for PDE, select it and click "Next". In the next window "Install Details", click "Next". Accept the license agreement and select "Finish". You will need to restart Eclipse.
(does not seem to work in MacOS High Sierra)
This plugin can be used to display the coloured Protege log messages in Eclipse console, which are shown using ANSI encoding
To install go to "Help" > "Eclipse Marketplace".
Search for "ANSI Escape in Console". When found, click "Install".
Click on the "open perspective" icon in the upper right.
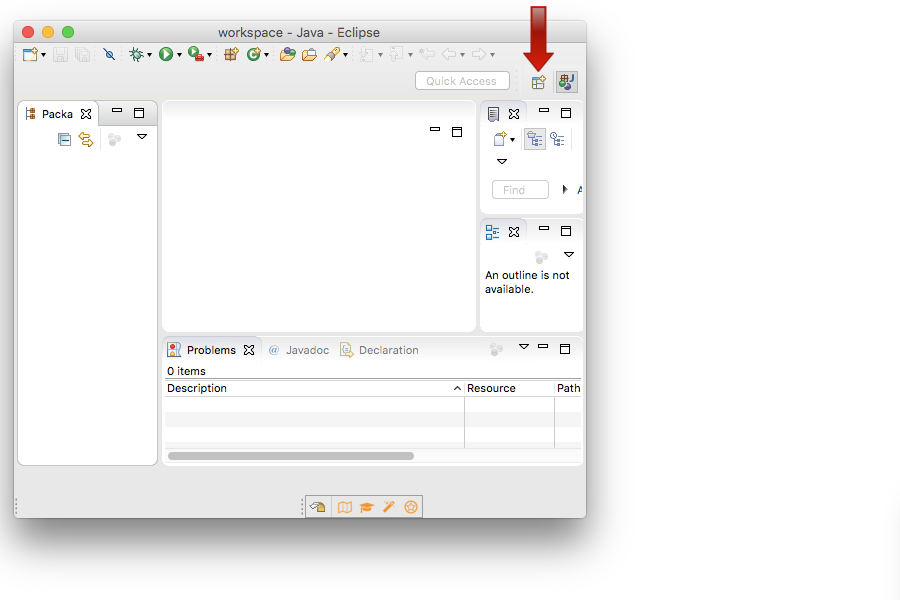
Select the "Git" perspective. Choose "clone a git repository" (button  )
and enter as URI
)
and enter as URI
https://github.com/protegeproject/protege.git
Click "Next". In the "Branch Selection" dialog select only master and click Next. In the "Local Destination" dialog, select a suitable destination directory and select "Finish". Finally, switch back to the "Java" perspective (the icon with the "J" on the top right).
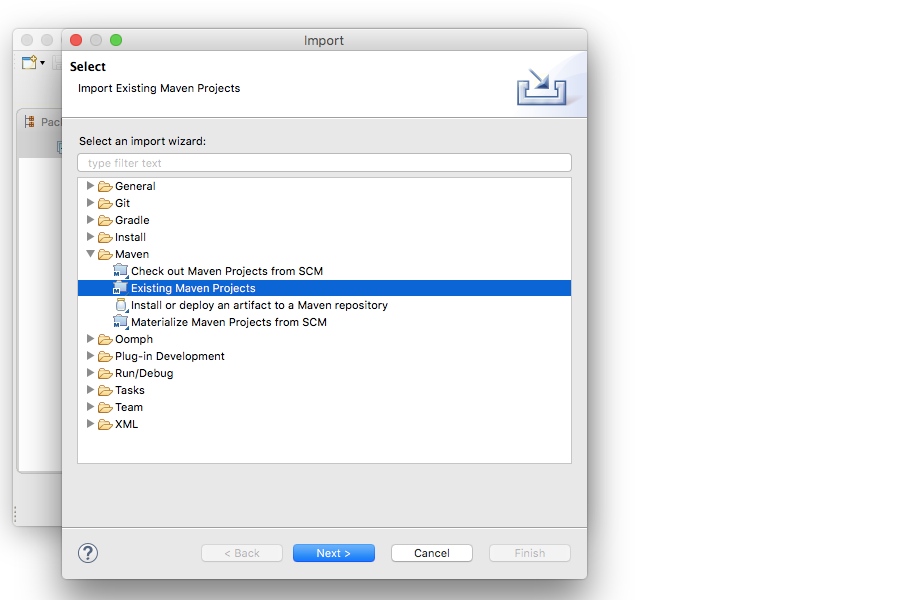
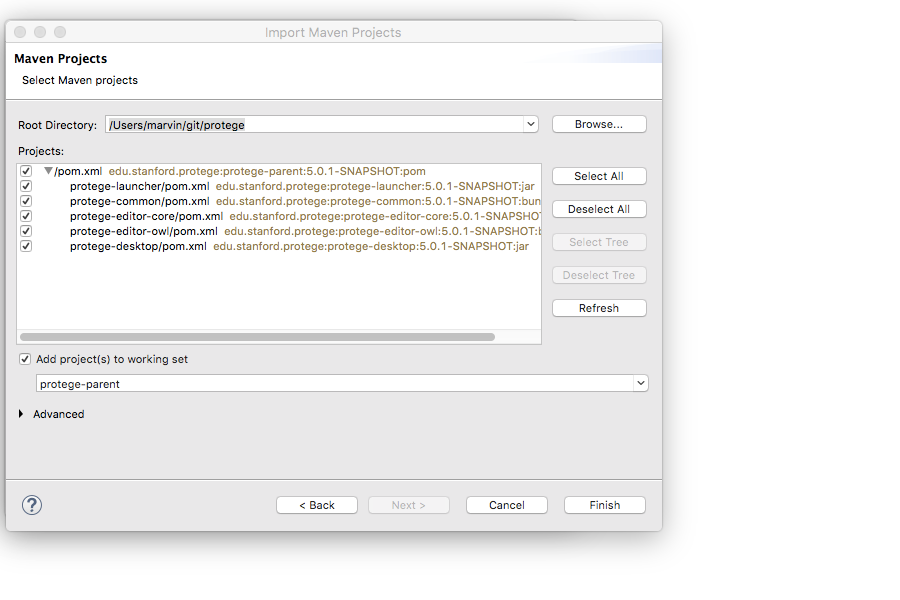
In the top menu of Eclipse, select File > Import > Maven > Existing Maven Projects, click "Next".
In the "Maven Projects" dialog, indicate as "Root Directory" the directory where Protégé was cloned in the previous step, then click "Finish".
In the left panel, right click on the project protege-common: Configure > Convert to Plug-in Projects.
(if you do not see "Convert to Plug-in Projects" under Configure then most likely Eclipse PDE is not installed)

Select the projects protege-common, protege-editor-core, protege-editor-owl and click "Finish".

Rightclick on protege-parent in the package explorer, select "Maven" > "Select Maven Profiles".

Tick "ide" and click "Ok".

This flag tells maven to prepare files and configurations so that the projects can be used in eclipse.
Now right-click on protege-parent again, select "Run as" and choose "Maven install".
Maven generates new MANIFEST.MF files in the META-INF folders of the projects which contain some settings for the projects class path. To apply these settings, one needs to update the class path of the projects in eclipse. Right click on protege-common: Plug-in Tools > Update Class path...

Select all projects (that were converted to plugins before) > Finish.

After updating the Plug-in class path, maven dependencies are removed from the classpath. To restore them, right click on protege-parent: Maven > Update Project...

Ensure that all protege-* projects are selected and press OK.

Now the classpath of each Protege project converted to Plug-in Projects will contain both Plug-in Dependencies and Maven Dependencies. However, all Plug-in Dependencies should be already provided in Maven Dependencies. To avoid unnecessary duplicates on the classpath, we can remove Plug-in Dependencies completely:
Open each protege project in the Package Explorer, right click on Plug-in Dependencies > Build Path > Remove from Build Path.
Alternatively, right click on each protege project > Properties > Java Build Path > select Plug-in Dependencies > click Remove
Protégé cannot run yet: you can see some compile errors about some missing import and export packages.

These packages are exported by bundles that are required for Protégé to run. We need to install these bundles to Eclipse. For this, we create a new PDE "Target Platform" definition, which is the environment in which Protégé should run. Go to:
Preferences > Plug-in Development > Target Platform > Add...

Select the default target definition > Next

This will add all bundles from the eclipse installation, but we will not need all of them.
Provide a name, e.g., Protege and press Add... to add more bundles.

Choose Directory > Next

In the field "Location:", put the following directory in the location where Protégé was cloned:
protege/protege-desktop/target/protege-${version}-platform-independent/Protege-${version}/bundles

Press Next. You will see a list of Plug-ins from this directory. If it is empty, the directory is probably wrong. Press Finish.
Next we select the bundles that we need. Switch to the "Content" tab of the "New Target Definition" window. In the bottom-right corner select "Group by: Location". Deselect all bundles from "${eclipse_home}". The bundles from the Protégé directory should remain selected.

Now, scroll down and manually select the bundle org.eclipse.osgi. That is the only additional bundle that we need for running OSGI applications from eclipse. Be careful if using the filter text field as the bundles that do not much the filter will be unchecked.

Press Finish. Select the newly created Protege target platform to be active and press "Apply and Close"

Next, in the top menu select Project > Clean... > Clean all projects
All compile errors should now disappear (no red marks on the projects).
In the top menu, select
Run > Run Configurations... > OSGi Framework > (right click) > New
Provide a name for the configuration, such as Protege.
Set the default start level is 1 and the default auto-start is true (upper right corner).

In the bundles ensure that the start level of all bundles except for org.eclipse.osgi is set to default (0)

In the arguments tab, remove all existing entries and supply as program arguments
-nosplash -consoleLog
and as VM arguments
-Xms250M -Xmx1G -Dosgi.noShutdown=true -Dlogback.configurationFile=${workspace_loc:protege-desktop/src/main/logging/conf/logback.xml} -Declipse.ignoreApp=true

Be careful not to introduce new spaces or line breaks! Just copy and paste the values from the above text.
Now start Protégé by pressing "Run".
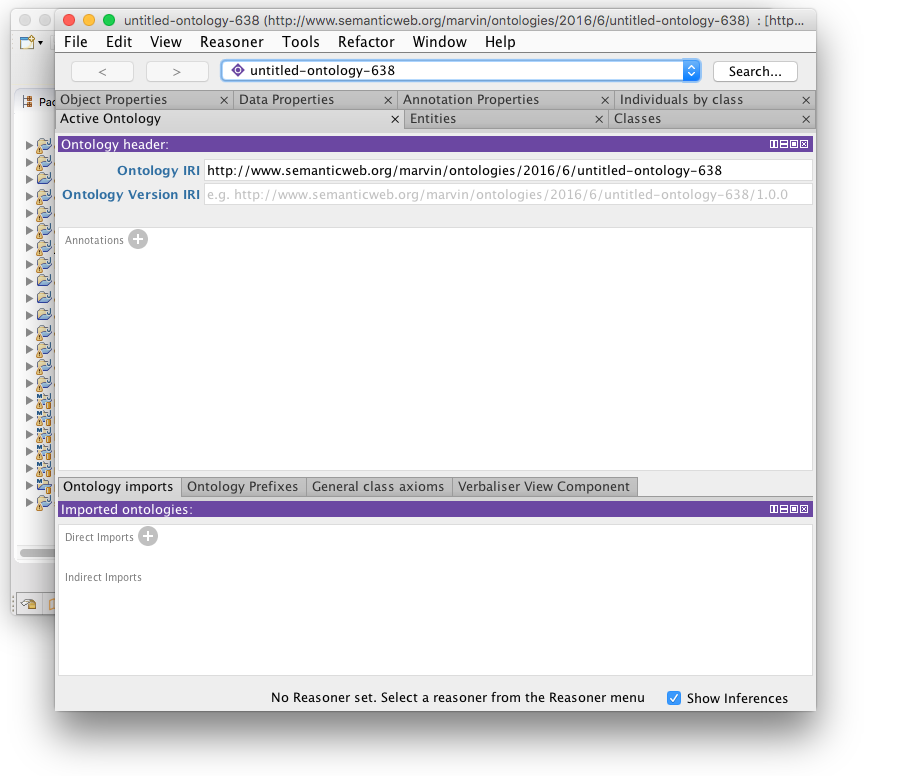
If there are no errors but Protege does not start, double check that the default start level is set to 1 and the default auto-start set to true (see above). If all settings are fine, try the fix described in Runtime problems.
Once the configuration has been created and used, it is accessible from the Run menu as well as the Run and Debug history.
If Protégé runs from the PDE configuration created above, one cannot install plugins from the Protégé interface. All plugins have to be added to the target platform. The easiest way to do so is to first start Protégé from the location it was cloned:
protege/protege-desktop/target/protege-${version}-platform-independent/Protege-${version}/
Then install the plugins from the Protégé interface as usual. The plugins will be then downloaded in the plugins sub-directory. After that, edit the configuration for the Protégé target platform:
Preferences > Target Platform > Protege > Edit...
and add the location of the plugins directory where the plugins were installed. Make sure to select them in the Content tab and in the Protégé run configuration. After that, the plugins should work from Protégé.
If after running the Protégé configuration you see in the console errors like this:
!MESSAGE FrameworkEvent ERROR
!STACK 0
org.osgi.framework.BundleException: Exception in org.eclipse.core.internal.registry.osgi.Activator.start() of bundle org.eclipse.equinox.registry.
	at org.eclipse.osgi.internal.framework.BundleContextImpl.startActivator(BundleContextImpl.java:800)
	at org.eclipse.osgi.internal.framework.BundleContextImpl.start(BundleContextImpl.java:729)
	at org.eclipse.osgi.internal.framework.EquinoxBundle.startWorker0(EquinoxBundle.java:933)
	at org.eclipse.osgi.internal.framework.EquinoxBundle$EquinoxModule.startWorker(EquinoxBundle.java:309)
	...
Caused by: java.lang.NullPointerException
	at org.eclipse.core.internal.runtime.ResourceTranslator.getResourceBundle(ResourceTranslator.java:69)
	at org.eclipse.core.internal.runtime.ResourceTranslator.getResourceBundle(ResourceTranslator.java:61)
	at org.eclipse.core.internal.registry.osgi.EclipseBundleListener.addBundle(EclipseBundleListener.java:177)
	...
Root exception:
java.lang.NullPointerException
	at org.eclipse.core.internal.runtime.ResourceTranslator.getResourceBundle(ResourceTranslator.java:69)
	at org.eclipse.core.internal.runtime.ResourceTranslator.getResourceBundle(ResourceTranslator.java:61)
	at org.eclipse.core.internal.registry.osgi.EclipseBundleListener.addBundle(EclipseBundleListener.java:177)
	...
	at org.eclipse.equinox.launcher.Main.run(Main.java:1499)
	at org.eclipse.equinox.launcher.Main.main(Main.java:1472)
It probably means that some bundles did not start. Check that in the run configuration all bundles have the default (0) start level.
If (especially after changes) when running the configuration you see some ClassNotFoundException on the console, but there are no error messages in the workspace, try the following:
- Duplicate the run configuration: Run > Run Configurations > right click on the Protege configuration created on the last step > Duplicate.
- Delete the previous configuration: right click on the previous configuration > Delete.
- [optional] Select the new configuration and at the top of the window change the field "Name" to the previous value, e.g.,
Protege. - With the new configuration selected, press Run at the bottom right corner.
It seems like the PDE configuration occasionally gets corrupted and copying the configuration can fix the problems.
If (especially after changes) you have compilation errors or missing required dependencies, try the following steps:
- Refresh projects in the workspace: File > Refresh or F5
- Update maven configuration: Right click on a project > Maven > Update Project... > Add out-of-date > OK