Inconsistent Extrusion #602
Comments
|
Yes! This is driving me crazy as well. Thanks for isolating this more @ff8jake ! I've got a pile of calibration cubes printed with different slicer settings and was never able to make the issue go away.
|

|
Here's an s3d version with fan turned off half way up wall - at the mark: |


|
More examples:
|


|
Just want to add that I compiled 3.2.0 alpha as of today's commits with no change on this issue. |
|
Just to highlight the problem only shows up when indirect light is hitting the print, here's a single wall test piece I just did with and without my phone flash:
|

|
Not the single wall box, which I will try later, but one example of somehow irregular extrusion on my MK3 using 3.1.3 firmware version. |

|
Did you try to calibrate your extruders? Which slicer did you use? Did you tried another slicer like Cura, IceSL-slicer, ideaMaker (all free), PrusaControl or different versions of Slic3r PE? |
Extruder calibration appears to be spot on (single wall thickness matches Slic3r setting of 0.45mm precisely). I have been able to reproduce this artifact on both Slic3r and S3D. I am getting this issue on both 3.1.3 and 3.2.0 Alpha. So far the only thing I have found that lessens the effect is cutting the flow rate waaaay back (70%) which gives horrible inaccuracy, or dropping temp to around 195 (from the default 210) and having to print very slowly, or turning the external perimeter speed way up and dealing with ringing. The lower temp works fine for single wall cubes, but it causes clogs on the higher speed movements like infill. Could it be that the temp is too high for the slow external perimeter speed required to prevent ringing? I understand it needs to be up there to get the filament flowing at the fast rate, but it also seems to be extremely oozy out the nozzle at 210 when stationary. If lowering the temp ends up being the answer, then all speeds across the board would need to be dropped... |
|
I’ve also had the same issues as listed about, just to confirm also... cura, slic3r and S3D all have the same results. So far I haven’t seen a print off a mk3 without this happening. There is tons of pictures on Facebook to back this all up, it doesn’t matter what I try the issues remains. Just to Also make clear this isn’t material specific either, PETG is also as bad. Thanks Jon |
|
I have also noticed this. I was convinced I didn't have my extrusion multiplier set right. I did calibrate my extruder and my single wall cubes were coming out .45mm ish. I assumed I hadn't dialed my slicer settings in but it's possible I am having a similar issue to OP. |
|
|


|
I own a MK2s Prusa printer and I can add that this is the case for my printer also. Only with ABS I have good results. The PETG produces the worst. |
|
I sped it up 1/3 to the top.
|

|
Could this really be adressed to the extruder stepper movement? Had kinda similar results on earlier firmware with 0.25 nozzle underextruding, but flowrate already was fixed. Otherwise the ominously „clicking back slapping extruder“ might cause this. 3rd mention I would have might be bad manufactured (concentricity) or dirty bondtech gears. |
|
More pics from the forums. @josefprusa @PavelSindler @XPila
|


|
Couldn't that be caused by inconsistent filament diameter?
Chris
…On 04/05/2018 01:27 PM, HeySideburns wrote:
Yes! This is driving me crazy as well. Thanks for isolating this more
@ff8jake <https://github.com/ff8jake> ! I've got a pile of calibration
cubes printed with different slicer settings and was never able to
make the issue go away.
—
You are receiving this because you are subscribed to this thread.
Reply to this email directly, view it on GitHub
<#602 (comment)>,
or mute the thread
<https://github.com/notifications/unsubscribe-auth/ABPAj9-Pmi1fa9RQ2PHo4EZ1-SDSieH8ks5tln4WgaJpZM4TI5uR>.
|
|
Any progress PRUSA?? I get the feeling you seem to be ignoring us on this topic, It would be nice if someone could at least come and give us some advise or say what your thinking??? |
|
Please note this part, being a single perimeter, was being slowed down to keep a minimum time per layer. When I sped it up 2/3 to the top extrusion became more uniform. |

|
I am printing a 200x200mm single wall part currently, no change. |
|
I'm having the same issue with my MK2. Prints were coming out great and then all of a sudden the issue started. I can't remember if it coincided with a firmware update or not unfortunately. Edit: Just looked at my older prints and they actually are the same. The lighting that you look at the print under makes a MASSIVE difference. The extruder is calibrated. I even tried lowering the extrusion multiplier to the point where there were gaps on the top layer, but it made no change to the inconsistent side walls. Tests were done with multiple high quality filaments - no change in the results.
As you can see, the visibility of the inconsistency is definitely dependent on the lighting. These pictures were of the cali cat but the same thing happens with all other prints, including a single walled cube. I'll do some testing with earlier firmware versions and see if the issue still presents itself |


|
@PavelSindler, how about a statement or analysis or progress on this issue? |
|
@cjshaker - I don't think filament inconsistency is the issue here, since it's happening for a lot of users using many different filament rolls. I've had this happen since day 1 with lots of filaments, some of them very high quality. I'm also getting these on my MK3. It doesn't look like an axis issue, but an extrusion issue. Look at the octopus' head:
If this was an axis issue, the circles would be misaligned. This is not the case here - you can clearly see the extrusion lines being very inconsistent. This has persisted through a nozzle swap as well. |

|
These were not printed by myself but kindly by Eric Clinedinst who has pretty much every variant of mk2/3. The following prints were from (top to bottom)
and the printers:
The prints were sliced with the exact same slicer settings, checked with slic3r PE vs S3D, Linear Advance enabled and disabled, in every case the result remains the same. The fact that the Mk2.5 has the same print surface quality problem (caused by what clearly seems to be inconsistent extrusion for whatever reason) as the Mk3 means we can rule out the Mk3's einsy board as a possible culprit. The only remaining possible culprits I can see are as follows:
Eric has kindly offered to help try to troubleshoot this problem. He's currently in the process of performing tests that will hopefully be able to narrow down the culprit. Will keep you all informed of the progress and findings. Additional comments: Eric distinctly remembers his now Mk2.5 printing as well as his remaining Mk2s before he converted it to an Mk2.5 from an Mk2s. And the fact the prints come out with identically looking and distinct problems as the Mk3 vs. the mk2s just drives the point home that it's not random or caused by user error/incompetence for any that think it might be. The problem is also way too consistent for so many to be that too. |


|
@MTJC - Awesome, this brings me a little more hope Prusa will acknowledge this issue and get started on a fix. |
|
The MK2s prints directly to the PEI Sheet, if three is the slightest off vibration up or down laying down the filament ? on the MK3 on the PEI Sheet with the steel sheet. if you have 0.2mm layer and 0.1mm vibration and the steel sheet acting as a speaker and amplifier. Can that do this ? to me on the images I have see it looks like the filament moving around on the top off the wall is hard to see on many images true. Only way is to test it to be sure. |
|
@ff8jake - Agreed. If we can confirm that it is indeed firmware and easily prove it, then i think it can galvanise enough mk2.5/3 users into demanding Prusa Research to a) recognise it's real and b) do something about it (since it should be resolvable). @alfskaar - nice idea but I suspect you don't have an mk2.5/3 because if you did, you wouldn't have any doubts that couldn't be the cause. The steel sheets stick extremely well to the Mk52 heat bed. |
|
@alfskaar your idea about the speaker might be genius. So I guess printing without heat on the bed should be all that is need to prove or „counter prove“ that theory. Cause yes. The heatbed clicks audibly so it DOES swing. EDIT: Is it possible to set bed temperature via the tune menu during print? If so, could someone print half a cube with heat bed on and upper half with heat bed off? |
|
My MK3 is boxed for awhile (needed to make room), but it seems to me that if this were due to the steel sheet, we'd see differing results depending on bed position. Can anyone try a cube or five in the center vs the corners of the bed just to rule this idea out? |
|
Just in case, I printed this with the heatbed off:
Now I am repeating the print with the heatbed on, I will report back later. But so far the above print looks better than the first test I uploaded to this thread. |

|
@MTJC you are correct I don´t have one yet. Consider getting one. @stahlfabrik interesting findings now I relay start to wonder what happens when it heat up and cool down, also make you wonder why nobody have done this before, if you look at the Build tack @misan very interesting. I resonantly cut a small steal sheets, thickens 0.7mm 122x127mm and I notice the resonance in the sheet and that it is not flat. Eave to my very small bed it was only one way I cold use it to make it as flat as I can. In my first design I did not have enough magnets I had to add 4 more magnets around the center. I learn that I had to use the magnets to suck down the air pocket at the center off the bed it simply did not work the other way around. My bed is not heated. Also it will be impossible to use the steal sheets on both sides alt least for the one I have. The MK3 Is similar to a Race Car if I may use that comparison. When you change sow many things as the same time is hard to predict the outcome. There is really only on way to find the problem and that is to start back tracking and see where did it go wrong. At the resent pictures off the Benchy at the Prusa forum it real looks like something is moving around again this may not ONLY be the steal sheet it can be multiple things. The user say that if he use 0.15mm layers problem is bigger and if he use 0.20mm layers problem is smaller. Also moving the bed around with the steal sheet it is more heavy, but the stepper motors is the same and the gearing is the same as fare as I know. I will be very interesting to see what a long digital dial indicator will show on the Z axis, when it moves up, you need two on one both Z axis. This will be and expensive test if you need to invest in this tools, I do have two short ones as I do use it on my Trinus and my Sherline CNC mill. But I really think you need a long one at this may only occur at some places maybe it is missing steps or Z1 and Z2 getting out off sync. You may be able to use two or one digital caliper if yo make a jig that can hold it it will not be perfect but may give you and indication. It can also be imperfections on the lead screw, or backlash making the Z1 and Z2 move around/UP/DOWN. Flipping the steal sheet around may be interesting to test to. I am not going to suggest adding PEI directly to the bed as I under stand it is a pain to remove. What about the magnets are there any parts under the bed that magnets can try to stick to ? or slow something down ? Only trying to help as it will be in my interest to that this is fixed :-) |
|
I'm also having this issue, I though all printers were like this until someone showed me a print from a different printer. I took a cross section of a vase and looked at it under a microscope, you can see that some lines are wider than others. Not sure if there is any new information here, but maybe someone will see a clue in that image. |

they are all like this and setting/filament/linear advance related, nothing wrong with your print and this is unrelated to this topic.... |
|
Printing the same thing on every layer should give you the same result. Unless the posted picture is very misleading, I would expect the extrusions to be identical there. Linear Advance and filament extrusion multiplier changes should not give you a different result. Am I misunderstanding you? I feel his question is valid, very related to this thread. I don't have an answer, but unless I'm missing something it's a reasonable question. BTW - the narrower extrusions average 6.50 pixels/layer while the wider ones average 6.28 per layer (just counting ten bumps and adding it up). If there are inaccuracies in the Z-height, but you extrude the same amount of filament while everything else is equal then you'd expect to see what you are seeing. I guess you could measure the width to get a better feel for it. |
This is #602 which is a prusa specific issue with the surface quality due to changes in extrusion amounts along the face of x/y. the image is the "Corner" of a cube sensitive to direction changes, over extrusion, temperature (height of print and cooling rate will affect something, plastic shrinks yo...) and is highly affected by linear advance.... try turning off the fan and and print faster and see how consistent it will look. it will be a hot mess, no pun intended. if it's significantly off dimensions in height then it's a z issue or other calibration problem otherwise if it's dead on, this means nothing. try fixing the multiplier for the filament or slowing down, or re-run calibration as ABL can change the heights too. |
No, it's not a "corner". It's a cross-section of the wall, as I said in my post. I printed a cube vase, cut it in half, then carefully wet-sanded the cut edge down with a fine grit sandpaper to get a smooth edge so it's easy to see under a microscope. Cross sectioning is staple of failure analysis, and in this case it will tell you if the wall thickness is changing, the z-height is consistent, or if the layers are shifting, all of which can cause the artifacts we're seeing. |
|
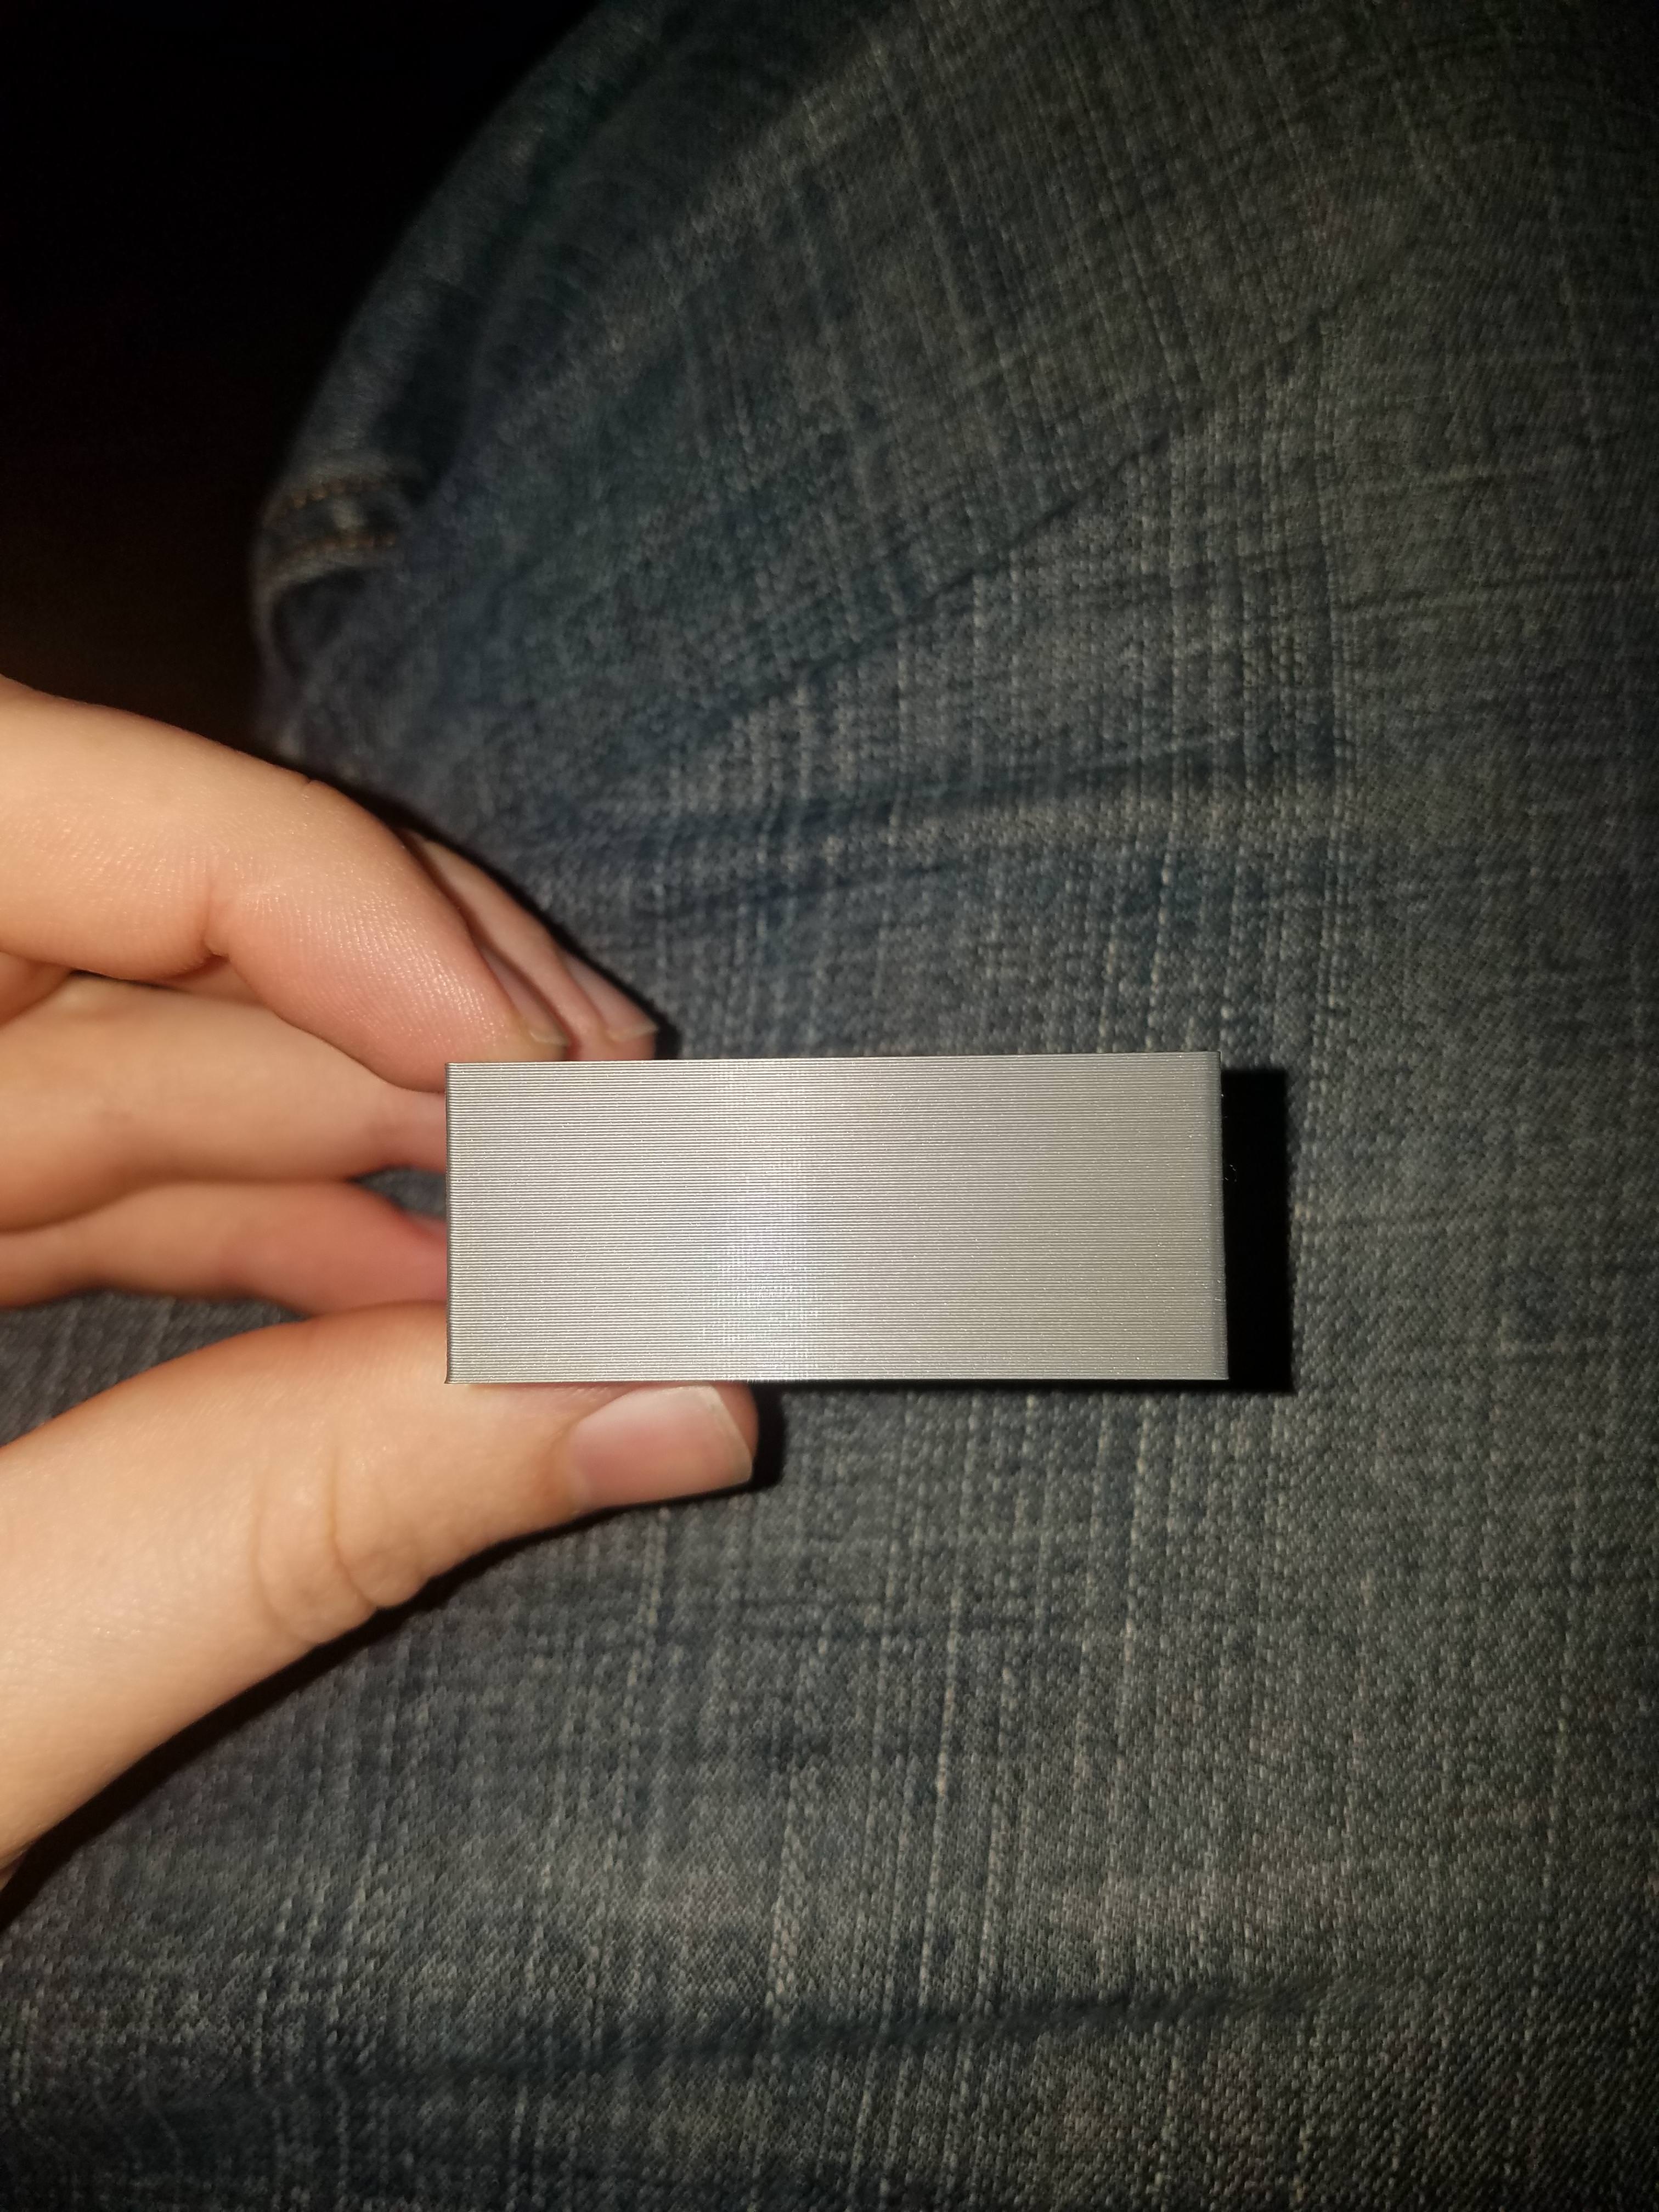
Some have suggested that the fans are insufficient to cool the heat break or the part. I did this experiment on a MK3S (the only non-stock part is a silicone sock I put on the hot end): Print a 20mm cube, 1/3 of the way up I point a big fan at the part, 2/3 of the way up I start spritzing the heat break with cold spray every 3 seconds or so. Here are the results (fan-on/cold spray locations are marked with red): |

Just go to the discord in the first post and ask them to help you. |
|
hi I have the same issue but on a printer running klipper on skr 1.4 turbo... Is there a solution for this? |

|
Damn it ... and I was just about to try Klipper to possibly get rid of that! |
Klipper doesn't solve this. A huge wave of voron users face this issue too. It's noticed that the machine with MMU which architecture is "direct-drive and remote-drive run in serial" works well. |
|
@embercc this is almost every machine that isn't bowden.... it doesn't matter if it's prusa or voron, if it uses bondtech gearing and it's direct drive it's going to have this issue regardless. see this guy and give them a shot: https://www.youtube.com/watch?v=32dTLRNIYmw&ab_channel=MihaiDesigns |
He nailed it... |
|
Coming from the voron group, because they dont give a damn thing anymore since it turned out it is a typical Dual Drive gear problem. Like if they did not copy the bondtech design which also has this design flaw. I noticed that if I change the pressure on the gears (with the dual gear spring screw) the pattern changes pronounce. I managed to get bad quality prints with no pattern in them. They have lines in them due to weak extrusion power, it is so weak so I could stop the filament flow if I grab the filament and pull it a little backwards. Then I realised it is just a different pattern due to underextrusion. No question, like Mihai investigated, this must be a problem with the gear pair. Just ordered original bondtech gears to see it there is difference. I will post the results here when it arrives. |
|
Ok here are my findings after receiving original bondtech parts:
Many people have about 9mm period length (0.4mm nozzle, 0.2mm layer height) in the pattern on Voron machines which I calculated to be 0.45mm filament length. My conclusion so far: the pattern period lenght does match the gear pair teeth length, still has no effect on the print. The period length does not match the rest of the gears' teeth length. It does not match the stepper motor's step, teeth length, and I could not conclude any match or possible repetition pattern there. that 0.45mm does not come out as a full number if I devide 360 degrees of the stepper, so we can not say it is making 5 extra push in every turn, so the coils could have different strenght. It is very difficult to achnowledge for me, but I am starting to exclude mechanical possibilities. |

|
Does this issue just start out of the blue? Or am i just only noticing it now? |
probably just noticing it. it varies between machines but this isn't prusa or voron specific at all. even prints from my old maker farm with a giant nema17 extruder and single hobbed bold shows it, although not really enough to complain, just if you look for it. it shows up less or not at all on ASA/ABS too. it's just a fact of 3d printing at this point that its there. i get no salmon skin pattern for example on my voron Afterburner nor is it on my mk2.5 with bondtech too like the previous OPs images but the basket weave look yeah, depending on the print speed and various other variables. however i don't run stealthchop or whatever on my extruder... |
Any luck so far? I also have mini AB with issue. |
depends what you mean by gears, as the gear on the motor and the motor itself could cause the issue too. try swapping more things around..... i would try the voron discord instead of here. |
|
FYI i did the LGX lite mod (V0.1) and it changes absolutely nothing about the pattern. |
neither did it for me ... It's an accumulation of tolerances. When lines get printed next to each other, like in walls with multiple line thickness, the already printed lines influence the ones printed next to them, afterwards. |
|
I know and I also tried the suggested mitigation strategies- they work to some extend. What bothers me is that nobody hat solved that problem yet its only "lines on top of lines". |
|
This video just came out in the last couple of days about debugging issues like this…. It’s really good, but not prusa specific. But the artifacts he is battling look very similar: |
|
And all this time I was in my corner ashamed of the printer I created when hundreds if not thousands of others were experiencing the same issue! |
|
Just saw the video and came here to post. Looks like I'm late to the party 😁 |
I even went so far that I converted my 350x350x350 corexy to bedslinger because of this and then to have same issue on slower and worse printer!! |
Supposedly this doesn't happen on the mk2? Do they use similar extruder gears? |
|
Mk2 used only half bondtech gear and bearing...
|

|
I did find that matching the run-out on the driven and idler gears in my
printhead to offset seemed to help a little. I used a dial guage, moved
them around, marked the gears and shafts with a sharpie. Then when I close
the idler door, I put the idler low spot to line up with the driven
gear's high spot.
And when I had WAY out of round gears, it was worse. This was all years
ago, but it's what I do. YMMV
…On Mon, Oct 31, 2022 at 11:48 AM pacaj2am ***@***.***> wrote:
Mk2 used only half bondtech gear and bearing...
[image: image]
<https://user-images.githubusercontent.com/1917365/199086133-457b6e4a-6015-4472-b7ff-215fa606e4a2.png>
—
Reply to this email directly, view it on GitHub
<#602 (comment)>,
or unsubscribe
<https://github.com/notifications/unsubscribe-auth/AAAKLELR6BKVV627F426HH3WGAIBFANCNFSM4EZDTOIQ>
.
You are receiving this because you commented.Message ID:
***@***.***>
|
|
The extruder gear is only one part of the problem. it is obviously one thing you should look at when you got the basket weave like #602 variation where the line width changes within a layer. I use a Bondtech LGX Shortcut Mosquito extruder on my MK3 which delivers almost perfect results when printing in vase (spiral) mode but when I print a "normal" object with walls composed of multiple lines and even worse with infill, it starts to show defects that look like if some layers are shifted by a few microns. This shifts are stable within the layer. In my theory these #602 variation is caused by tolerances like bearing clearance and backlash on X, Y and E axes which come into play when the direction of axis movement changes and add up when lines are printed next to each other. Printing the outermost perimeter of a wall prior to the inner wall lines, improves quality a bit, which is maybe caused by the fact that an already printed, cooled down line gets less influenced by newly printed perimeters next to it. The attached image is not the best example as the defects show strongest on matte white or shiny black material, because of the high contrast between white and shadows and between black and shiny light reflections but I hope you can still see what I described.
|

|
Josef Prusa says in this 2024 youtube video that issue is finally resolved (just for Prusa XL) by using phase stepping. Also a blog post: |
Update: @vertigo235 set up a Discord server for this issue, if you'd like to discuss/work with people on the problem. Here's the link: https://discord.gg/hYUjSnW
This issue has been closed after the overwhelming amount of replies, tests, etc. If you are needing guidance, please refer to http://prusaowners.com/wiki/index.php?title=How_to_make_prints_better_on_the_mk3 and Prusa Support.
The text was updated successfully, but these errors were encountered: