This project was bootstrapped with Create React App and customized a bit.
- Use Commitizen to produce commit message according to AngularJS convention
- Support git hook
precommitused to lint and test your code - Use conventional-changelog to generate
CHANGELOG.md - Support git hook
commitmsgused to lint your commit message - Use eslint-pretty-formatter to show results for lint
- Use prettier-eslint to format ES2017, JSX and flow automatically
- If you installed Docker you are able to use some useful npm run-script to make the docker image
- Support material design. Please look into
materialbranch react-mdl - Enabled Flow to using static types in Javascript and React App
$ brew update
$ brew install flow
$ npm i -g flow-typed // or yarn global add flow-typedFirst, you should clone the repo and install the dependencies.
$ git clone git@github.com:rhiokim/react-boilerplate.git <yourAppName>
$ cd <yourAppName>
$ npm install // or yarn
$ flow-typed install
Then, launch the boilerplate app.
$ npm startYou should see a new browser tap opening and a title of "React Boilerplate" in http://localhost:3000.
From there, you start to develop your own code in the src directory. When you finish coding, use npm run build to build the static files.
And you want to make the docker image with production files, use npm run deploy.
When committing your code, you should use AngularJS's commit message convention. Otherwise, the repo will throw an error. If you use npm run commit instead of git commit, the command will help you to produce a formatted commit message.
$ npm run build$ npm test$ npm run docker:build // build image
$ npm run docker:run // run container
$ npm run docker:rm // remove running container
$ npm run docker // run build, rm, run at oncemaster
\_ nw
\_ nw-ext (offline first app with pouchdb, etc)
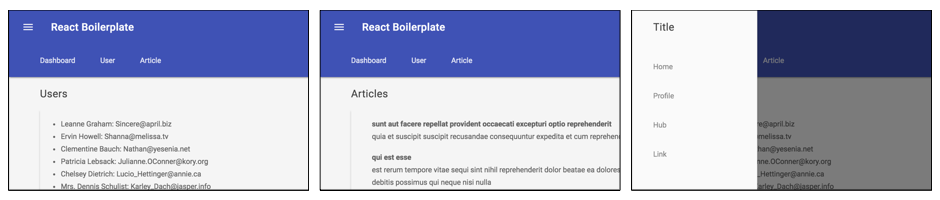
\_ material
\_ ant-design
\_ jwt (JWT demo)
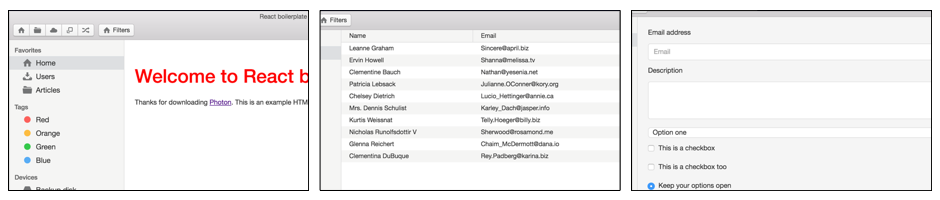
\_ photon
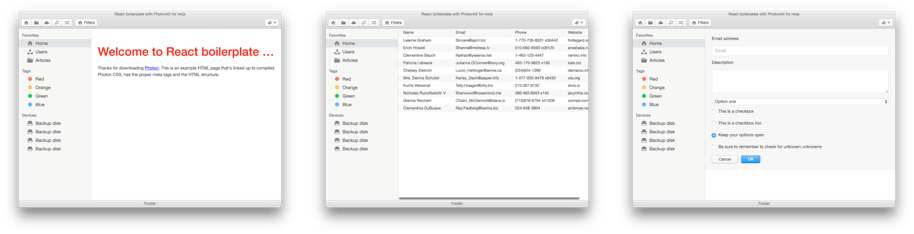
\_ photon-with-nwjs (photon + nw)
\_ semantic-ui
- with photon
- with material
- with ant-design

- with photon and nwjs
MIT