Getting Started with ButterflyMX iOS SDK Demo App
To become familiar with the ButterflyMX iOS SDK, review our demo app with basic functionality implemented.
Demo app features:
- Authentication
- Register/Unregister Webhooks for each unit
- Receive and answer a audio/video call
- Open a door within a call
- List all the available doors
- Open "Swipe to open" any available door (different from the open within a call)
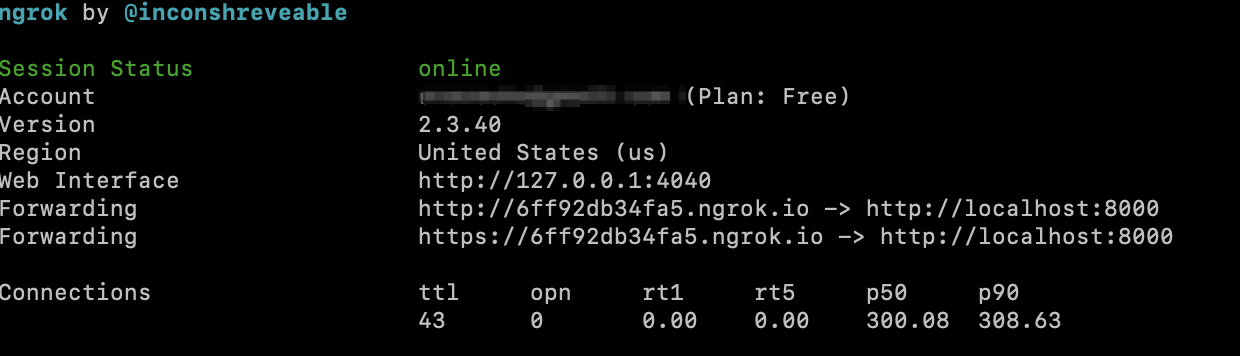
What is ngrok?
Ngrok exposes local servers behind NATs and firewalls to the public internet over secure tunnels. We will use a ngrok URL as a webhook callback URL and forward any requet from ButterflyMX backend server to your local server in docker.
Download and setup ngrok
- Go to https://ngrok.com/download
- Follow the instructions
- Please start an HTTP tunnel on port 8000
./ngrok http 8000
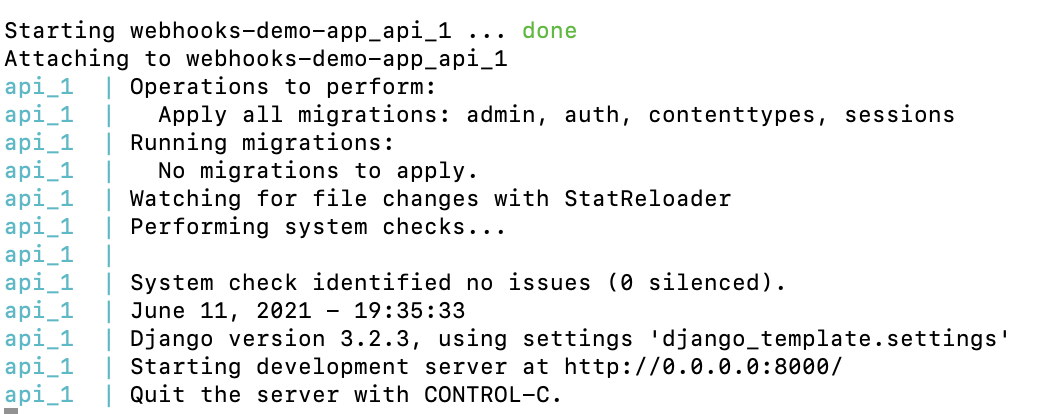
- Get the docker files from https://github.com/runslikebutter/webhooks-demo-app
- Get your VoIP Services Certificate (how to configure VoIP Push Notifications), rename it to voip.pem and put it in the root folder of webhooks-demo-app
- Open a terminal, go into the folder webhooks-demo-app and run
docker-compose upordocker-compose up -d (detached mode)
Compatible with Xcode >= 12
Make sure before you start working with the demo app you got ClientID and SecretID from ButterflyMX and you have a tenant account created (we can have a link to the process here https://butterflymx.readme.io/docs/getting-started-in-the-sandbox password is Butterfly123456).
Your credentials are attached to the specific environment (production/sandbox), make sure you use the demo app with the correct environment settings.
Make sure redirect URL is configured for your oAuth Application. It should be demoapp://test
-
Download the sample app from the current (link to repo https://github.com/runslikebutter/ios-demo-app) repository
-
Open
ButterflyMX Demo.xcodeproj -
Select
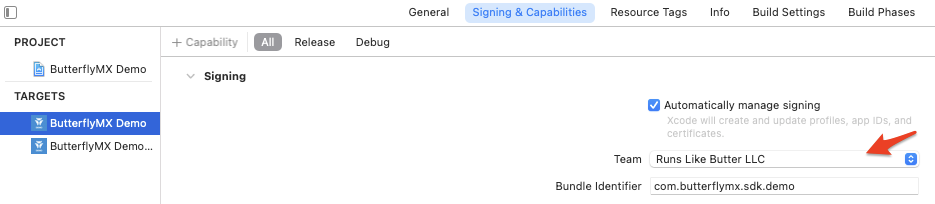
ButterflyMX Demoproject and set your company bundle identifier (Example:com.companysite.demo.butterflymx.app) and Team profile that has appropriate access to the developer portal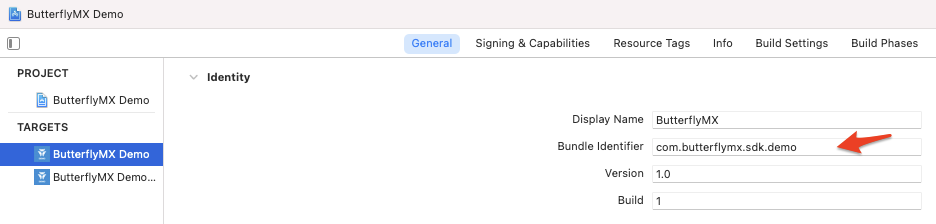
-
Update
ClientIDandSecretIDin theInfo.plistfile. Update only the setting for the specific environment (sandbox or production):
-
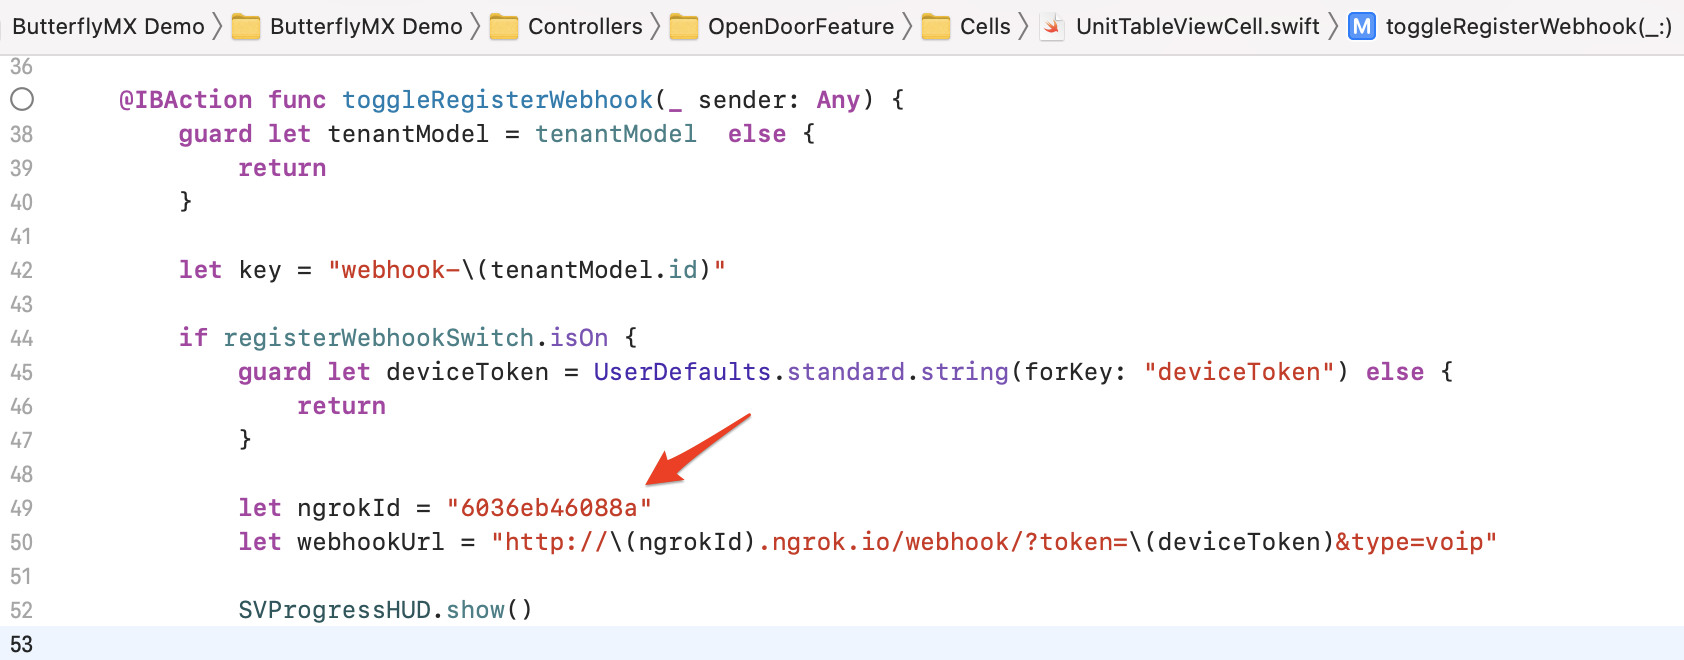
Go to UnitTableViewCell.swift, find toggleRegisterWebhook function, change the ngrokId in the screenshot below to the one shown on your own ngrok terminal.
-
Run the project on the simulator (select the desired simulator device) or real device. If the compilation process is successful you will see the app running on the simulator or a device.
(* The video call can only be received on a real device not on a simulator)
-
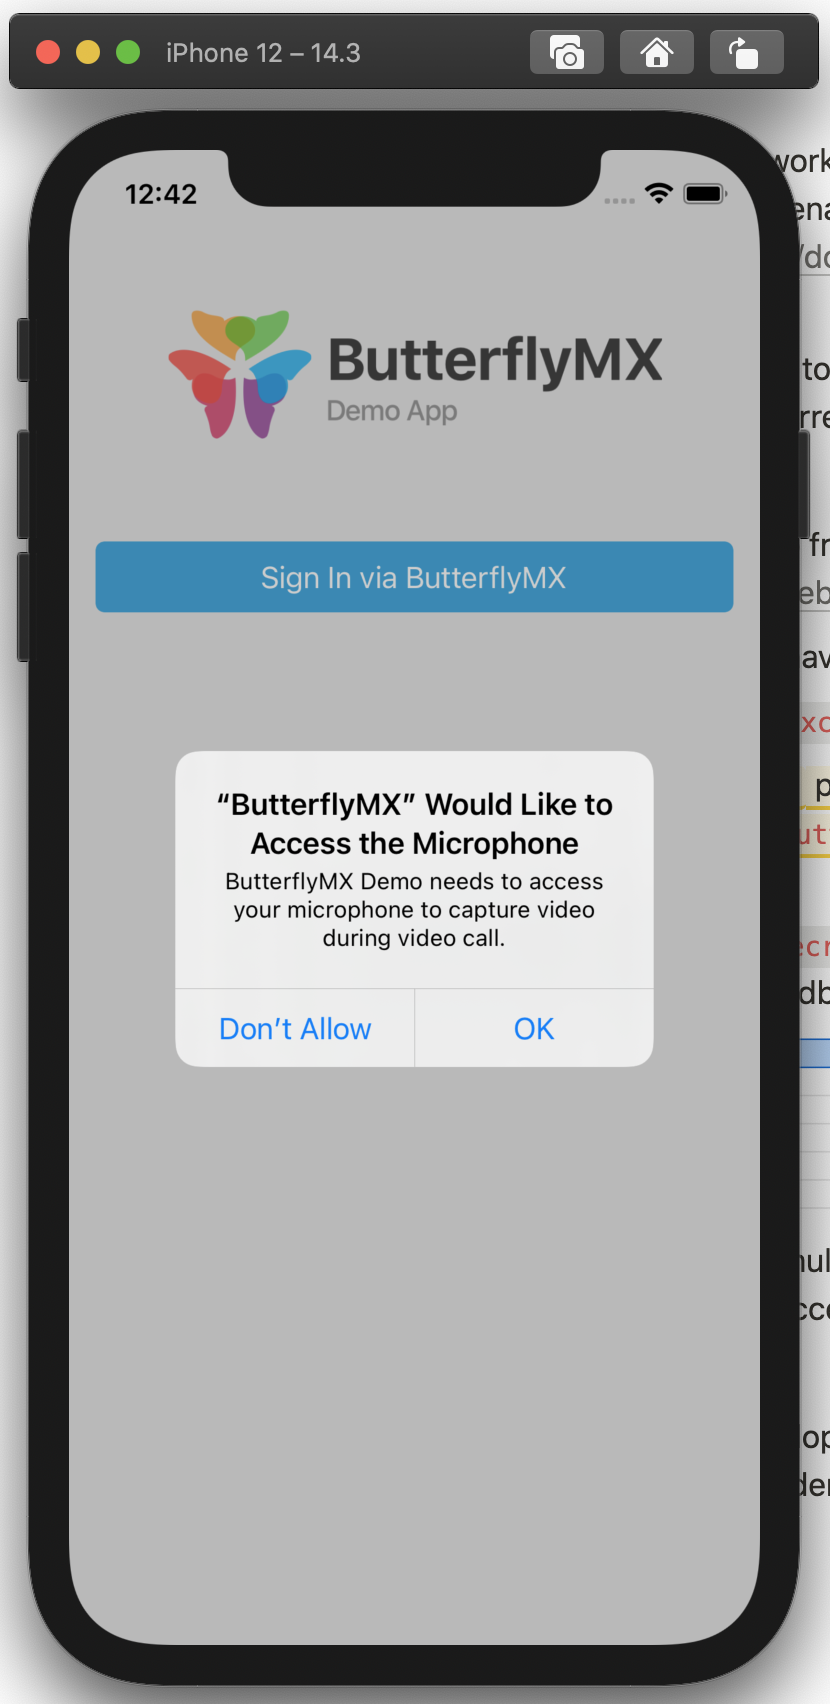
The demo app requests access to the mic and camera in order to function properly. This is needed for the audio/video calls.
-
Select the desired environment (one that you configured with the
ClientIDandSecretID) -
Press
Sign inbutton to log in with your tenant account. -
Enter your tenant login and password and confirm. The application will redirect you to the page of BASIC FEATURES

-
Tap
Open Door, the application will show a page with all units. You can register/unregister Webhook for each unit by toggling the Webhook switch button for the unit. You won't get a call from a panel in a unit unless you register a Webhook for the unit.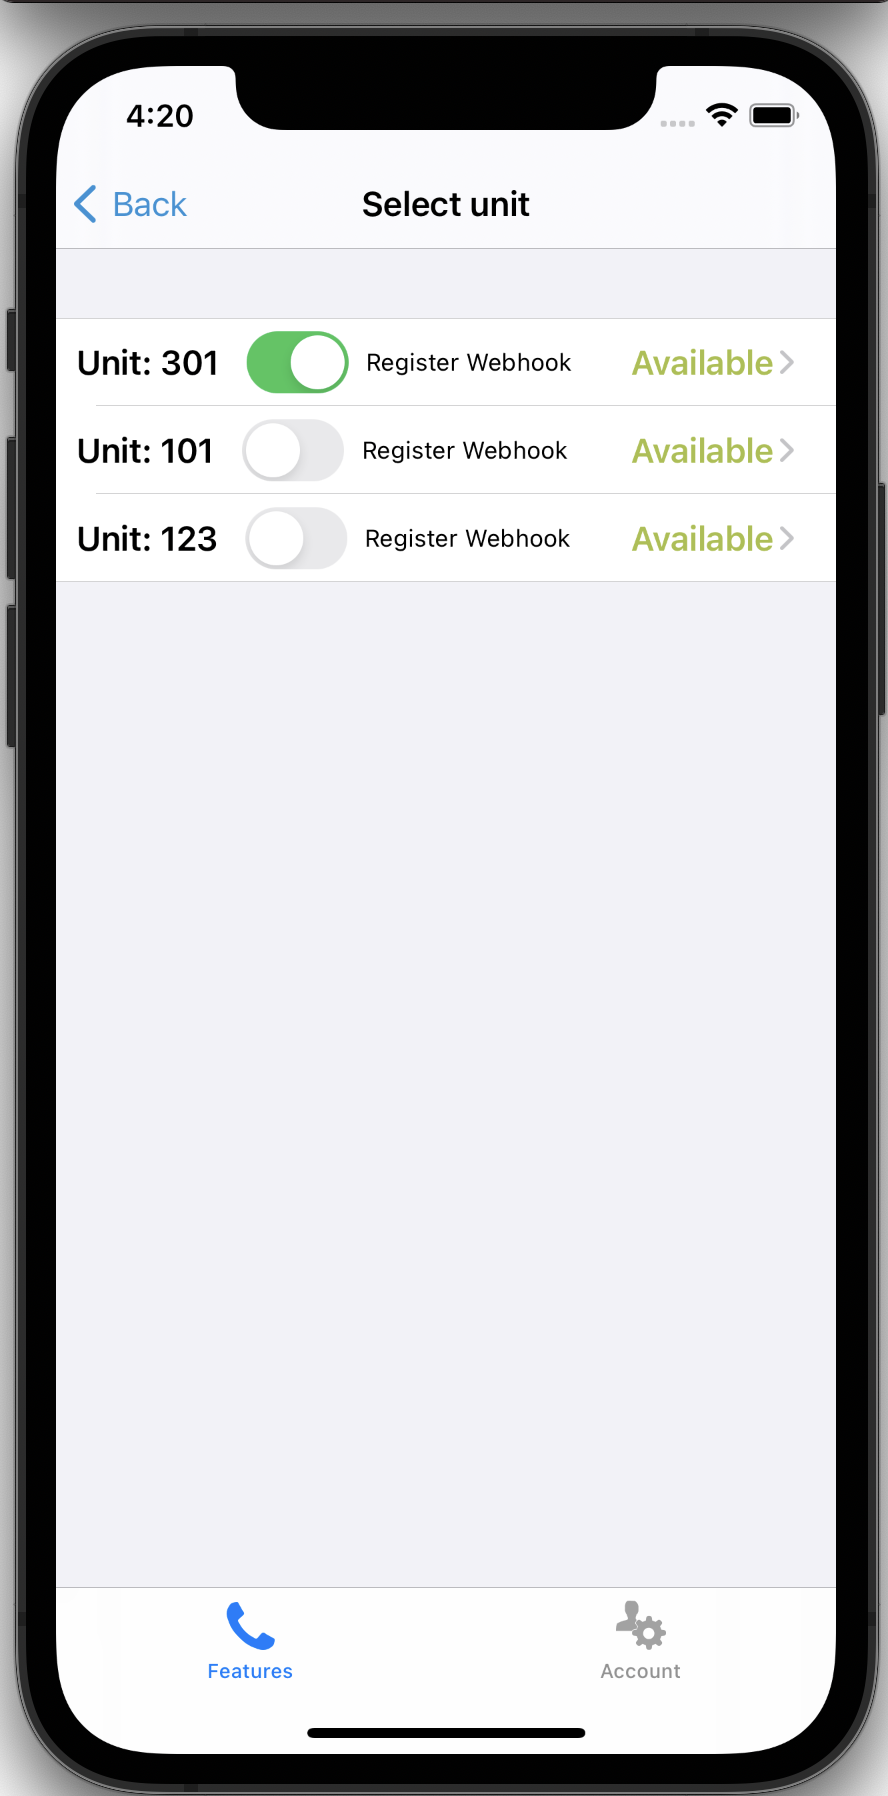
-
Open a door directly from the app. Tap"Available", you will see a panelist screen. Tap "Press to Open" button by a panel, the door controlled by the panel will be opened.
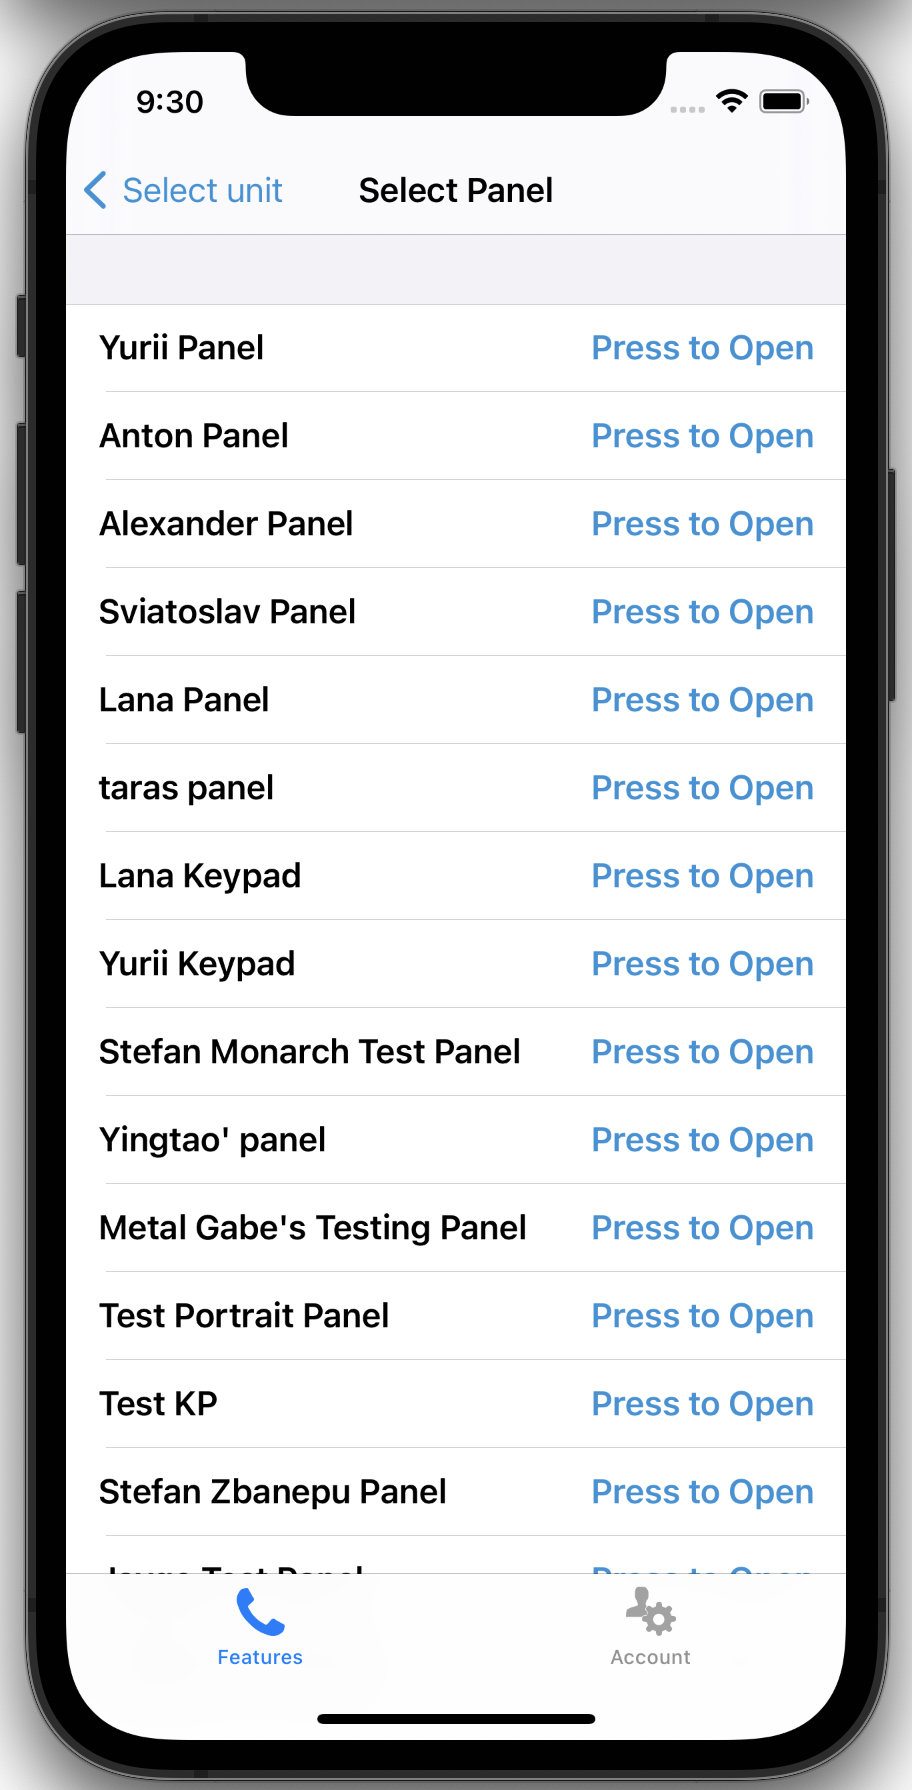
-
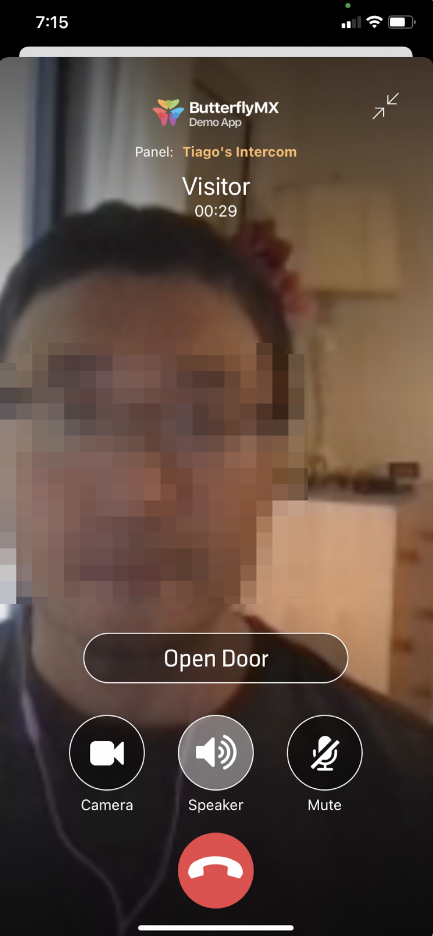
Open a door by starting a call from your panel

-
Then you will receive a call on your iPhone
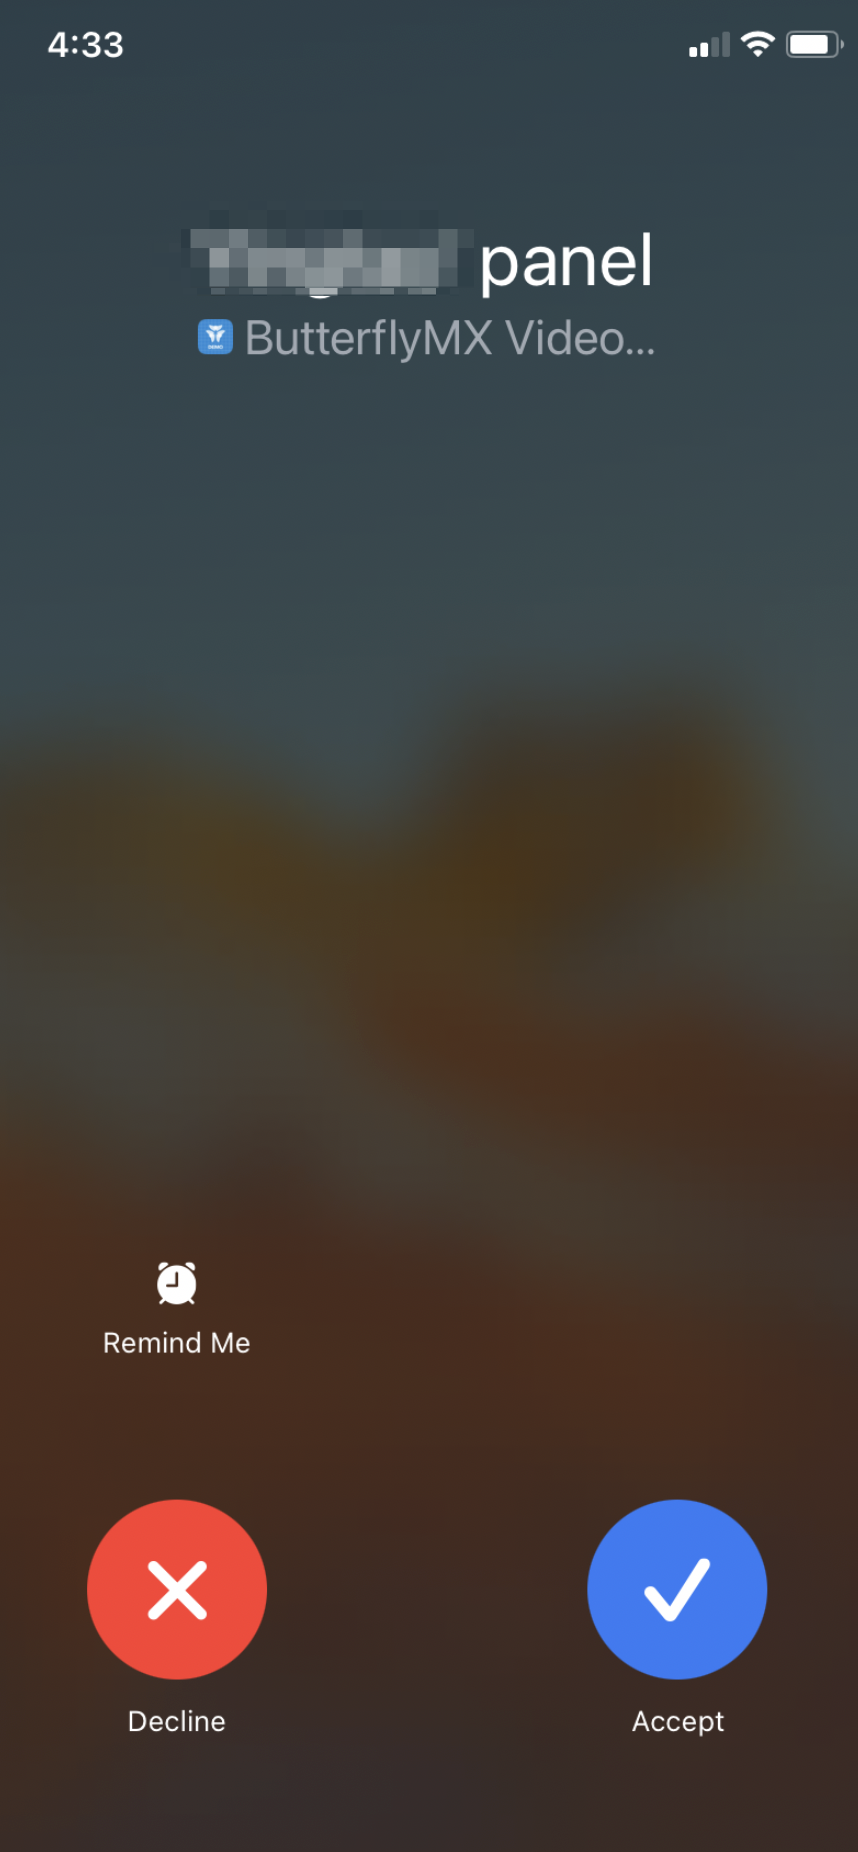
-
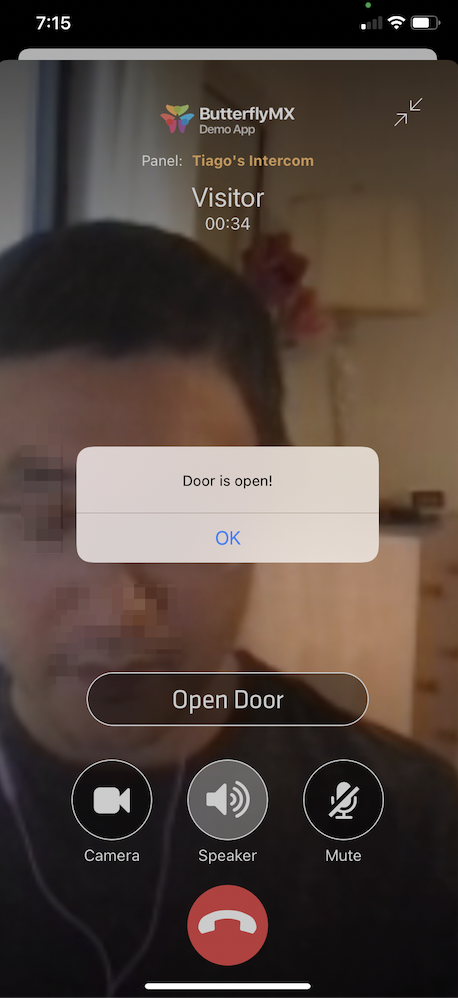
Accept the call, you will see a screen like below. You can see your visitor, talk with the visitor, and open the door for the visitor.