NOTE: This is an ancient project that no longer receives updates. For this reason, I have decided to archive this repo.
Get a paper hard copy of the price for some crypto currencies at the push of a button.
Get a paper copy of the price for 4 crypto currencies:
NOTE : The currency for the returned price is settable. For more info, please click here.
- Bitcoin
- Ethereum
- Binance coin
- Cardano
- Raspberry Pi 4B 4GB RAM (Tested on a pi4, but it should also work with a pi3 or pi2)
- Mini Thermal Receipt Printer (From adafruit)
- 2 Pin momentary push button
- 5mm LED (Any color)
- 9V 2A Power supply
- 16GB (or higher) class 10 micro SD card
- A suitable 5V power supply for the Raspberry Pi
- A mouse and keyboard for the Raspberry Pi
- A suitable HDMI cable for the Raspberry Pi
- A suitable display or monitor for the Raspberry Pi
For Raspberry Pi 2 users (Without wifi) :
- Option A: A USB wifi dongle
- Option B: A direct connection with an ethernet cable

The thermal printer's RX pin (usualy the yellow wire) connects to GPIO 14 on the Raspberry pi.
DO NOT CONNECT THE TX (USUALY GREEN) WIRE OF THE THERMAL PRINTER TO THE PI. IT IS 5V AND IT MIGHT PERMANENTLY DAMAGE YOUR RASPBERRY PI.
The thermal printer's GND (black) wire connects to a ground (GND) pin on the pi.
The led's cathode connects to a ground (GND) pin on the pi and the anode to GPIO 24.
One of the pins on the button connects to a ground (GND) pin on the pi and the other to GPIO 23.
First you must install Raspberry Pi OS on to your micro SD card and then insert it in to your Raspberry Pi.
If you don't know how to do this, Click here.
Next download the installation file: install.zip
Unzip it on your Raspberry Pi and then right click on install.sh. Then click on properties. A window will open. Go to the permissions tab and click on Execute. some options will appear. click on anyone and then click on OK:
If you don't know how to unzip zip files on the pi, Click here.

Now double click on install.sh. something like this will appear:
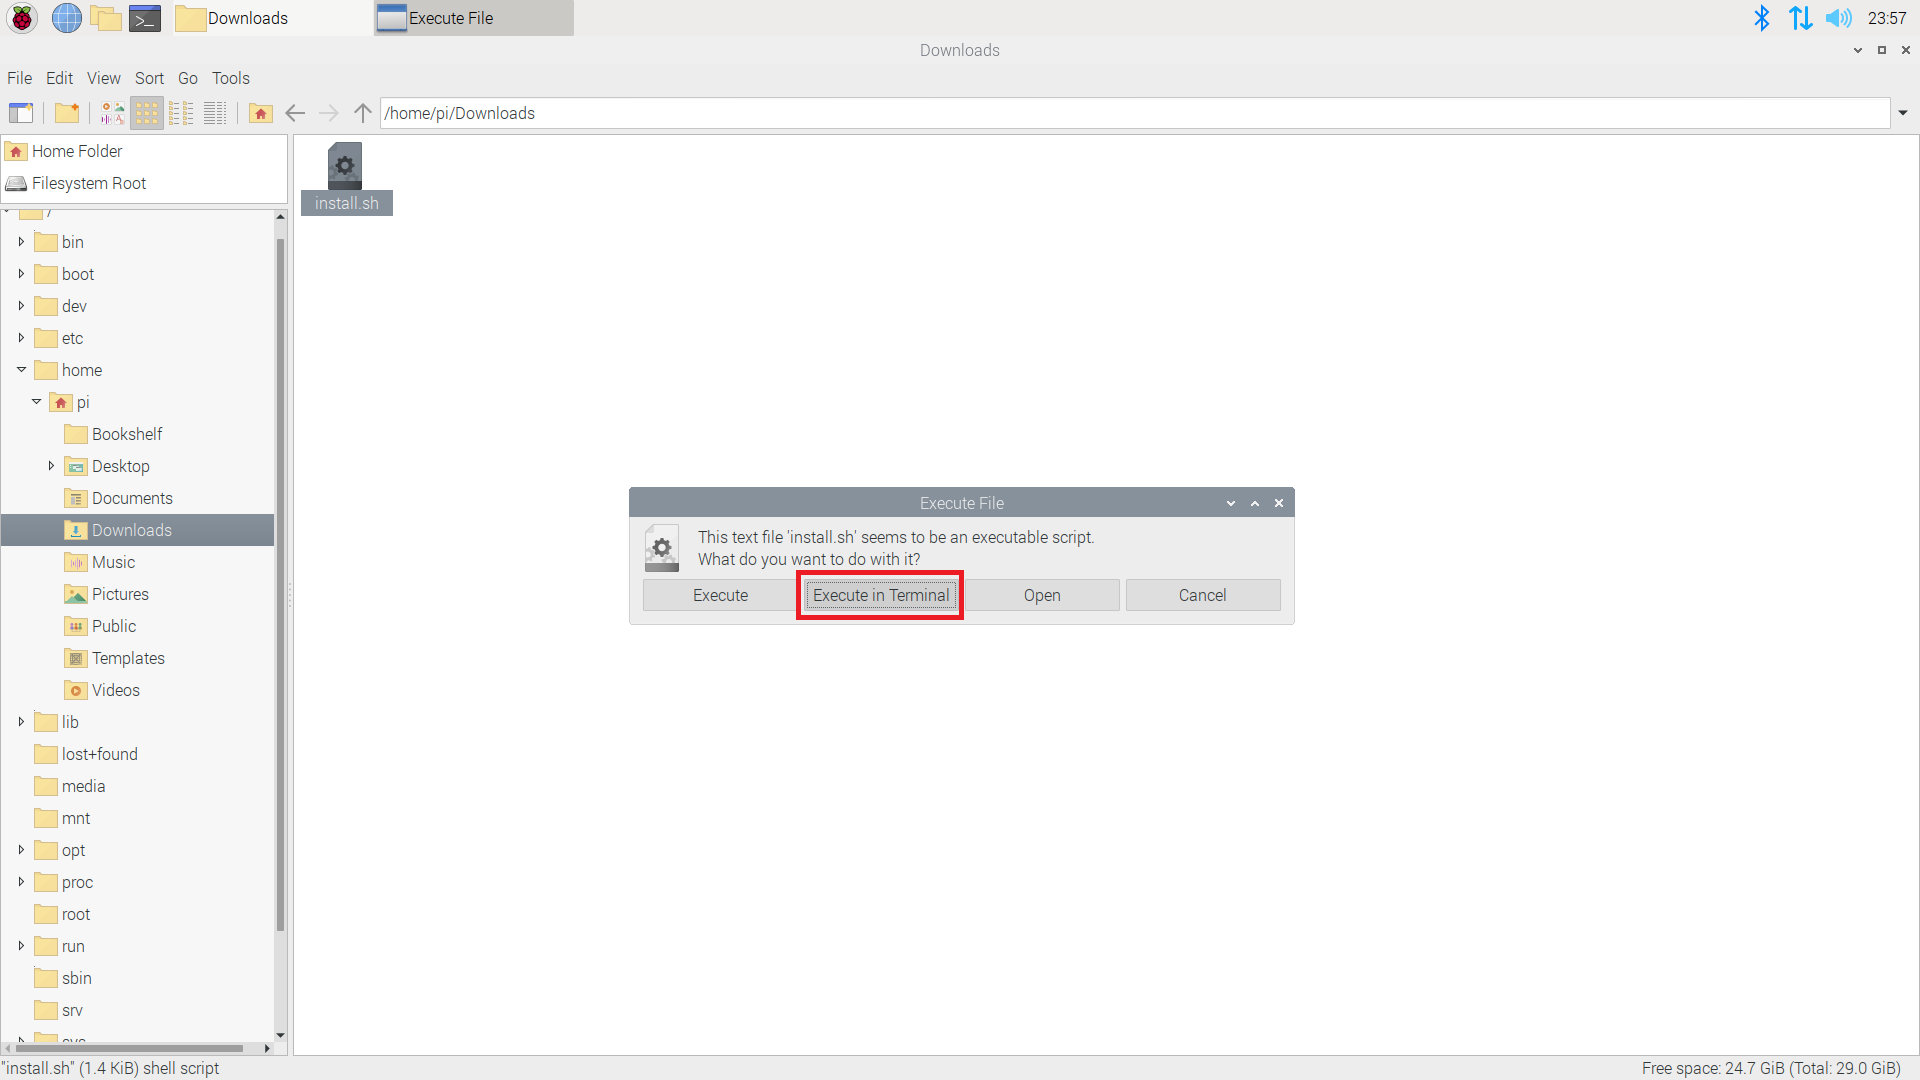
Click on "Execute in Terminal". A terminal window will open. Now just wait for all of the libraries and files to be installed.
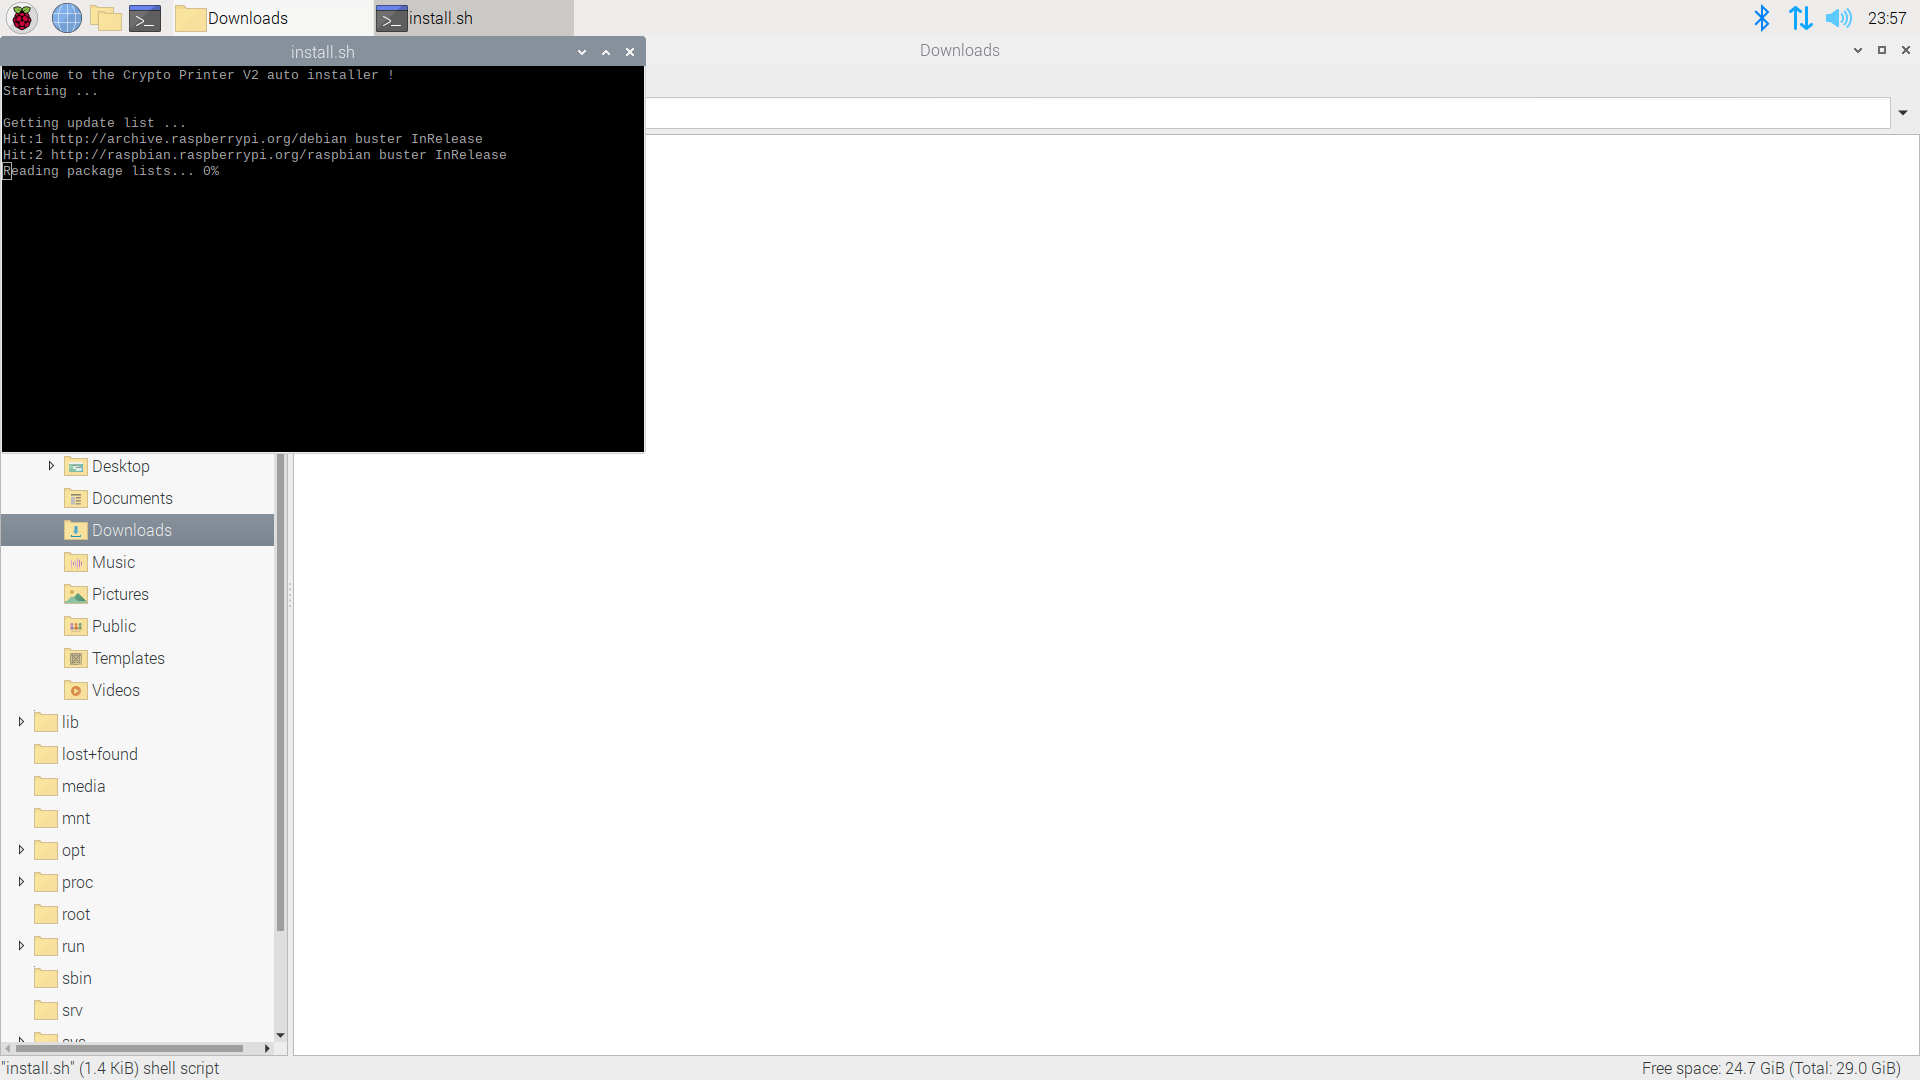
When the installation is completed, you should get a message in the terminal saying "Installation completed successfuly !" "Closing in 20 seconds"
After that there is only one small thing left to do; Configuring the serial port on the pi:
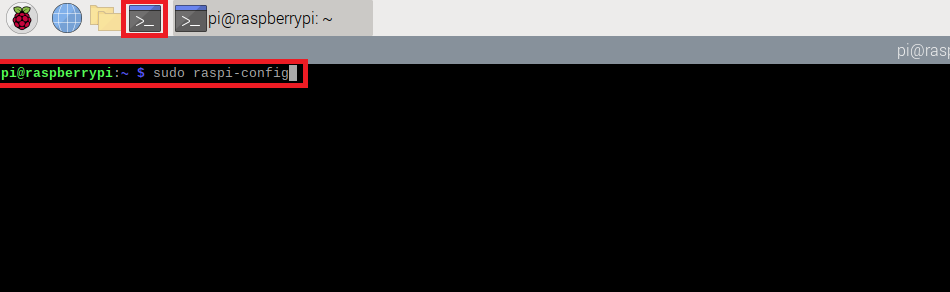
First open a terminal window. The terminal icon looks like this:

Next type sudo raspi-config in the terminal and hit enter:
The conifiguration tool will open. press the down cursor key twice to select "3 Interface Options". Then hit enter:

When the interface options menu opens, press the down cursor key 5 times to select "P6 Serial Port". Then hit enter:

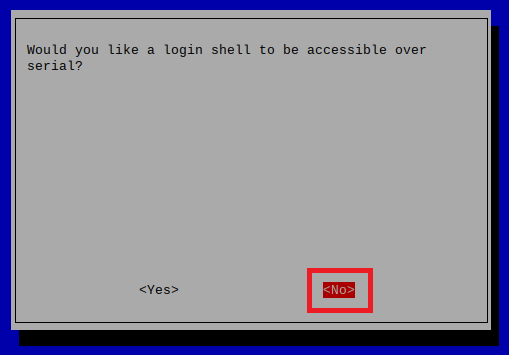
Next this screen will apear. With the left and right cursor keys select No and hit enter:
After that this screen will apear. With the left and right cursor keys select Yes and hit enter:

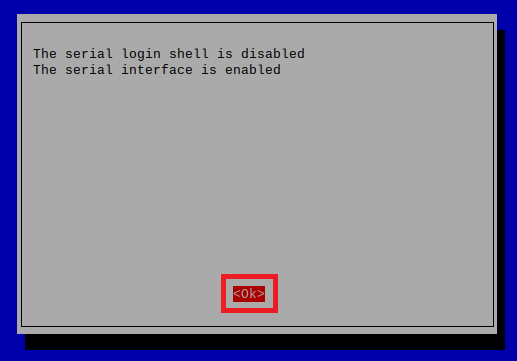
When this screen apears just hit enter:
Next you will return to this screen. Here using the left and right cursor keys select Finish and hit enter:

Then you will be prompted to reboot, using the left and right cursor keys select Yes and hit enter.
If not then type this into the terminal: sudo reboot now and hit enter.
Now the pi will reboot and the software installation will be completed!
To run the code open a terminal window and type:
cd crypto_printer_v2 hit enter. then type python3 crypto_printer_V2.py and hit enter.
Now the code will start runing. To print the prices push the button and wait.
Due to the CoinGecko API's slow speed, the program might sometimes get stuck for a bit
To stop the code you can close the terminal or hold the ctrl key and then press c on the keyboard. now you can release the ctrl key. (Or basically ctrl + c)
To test the printer, instead of typing python3 crypto_printer_V2.py type python3 printertest.py
The thonny python IDE by default comes with Raspberry Pi OS. You can view, edit and run python codes with thonny.
To open the main code for this project open the file manager on the pi. The file managers icon looks like this:

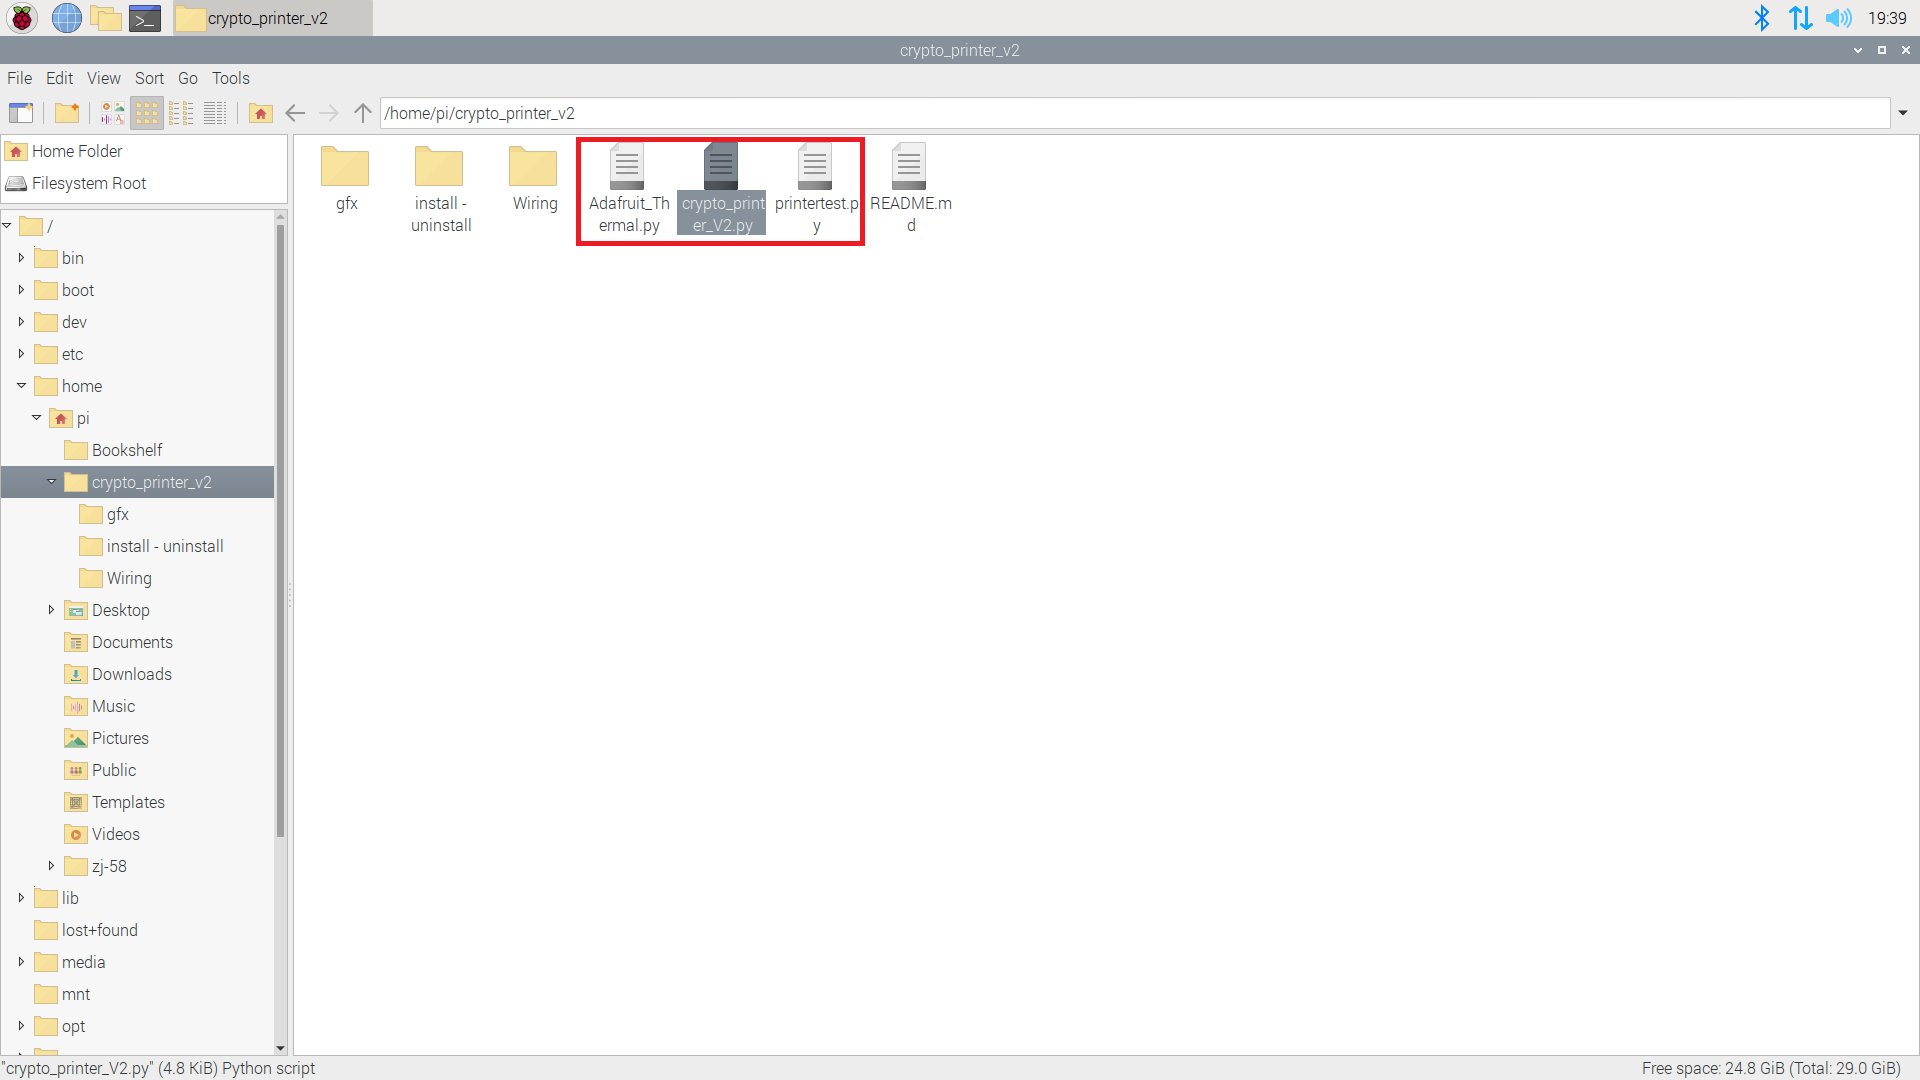
The file manager window will open. By default file manager opens in the directory that the crypto_printer_v2 folder is in. Now open the crypto_printer_v2 folder:

Inside the folder there are 3 main python codes:
- Adafruit_Thermal.py (The "library" for the thermal printer from Adafruit)
- crypto_printer_V2.py (The main code for the project written by me)
- printertest.py (The test code for the thermal printer from Adafruit)
The rest of the files and folders (directories) are for other purposes:
- README.md (This file that you are reading right now)
- gfx (The bitmaps and graphics for the printertest.py code)
- Wiring (The wiring diagram for this project in .JPG image format and .FZZ fritzing format)
- install - uninstall (Contains install.sh and uninstall.sh. to run these, follow the steps above for runing install.sh (follow the same steps for uninstall.sh))
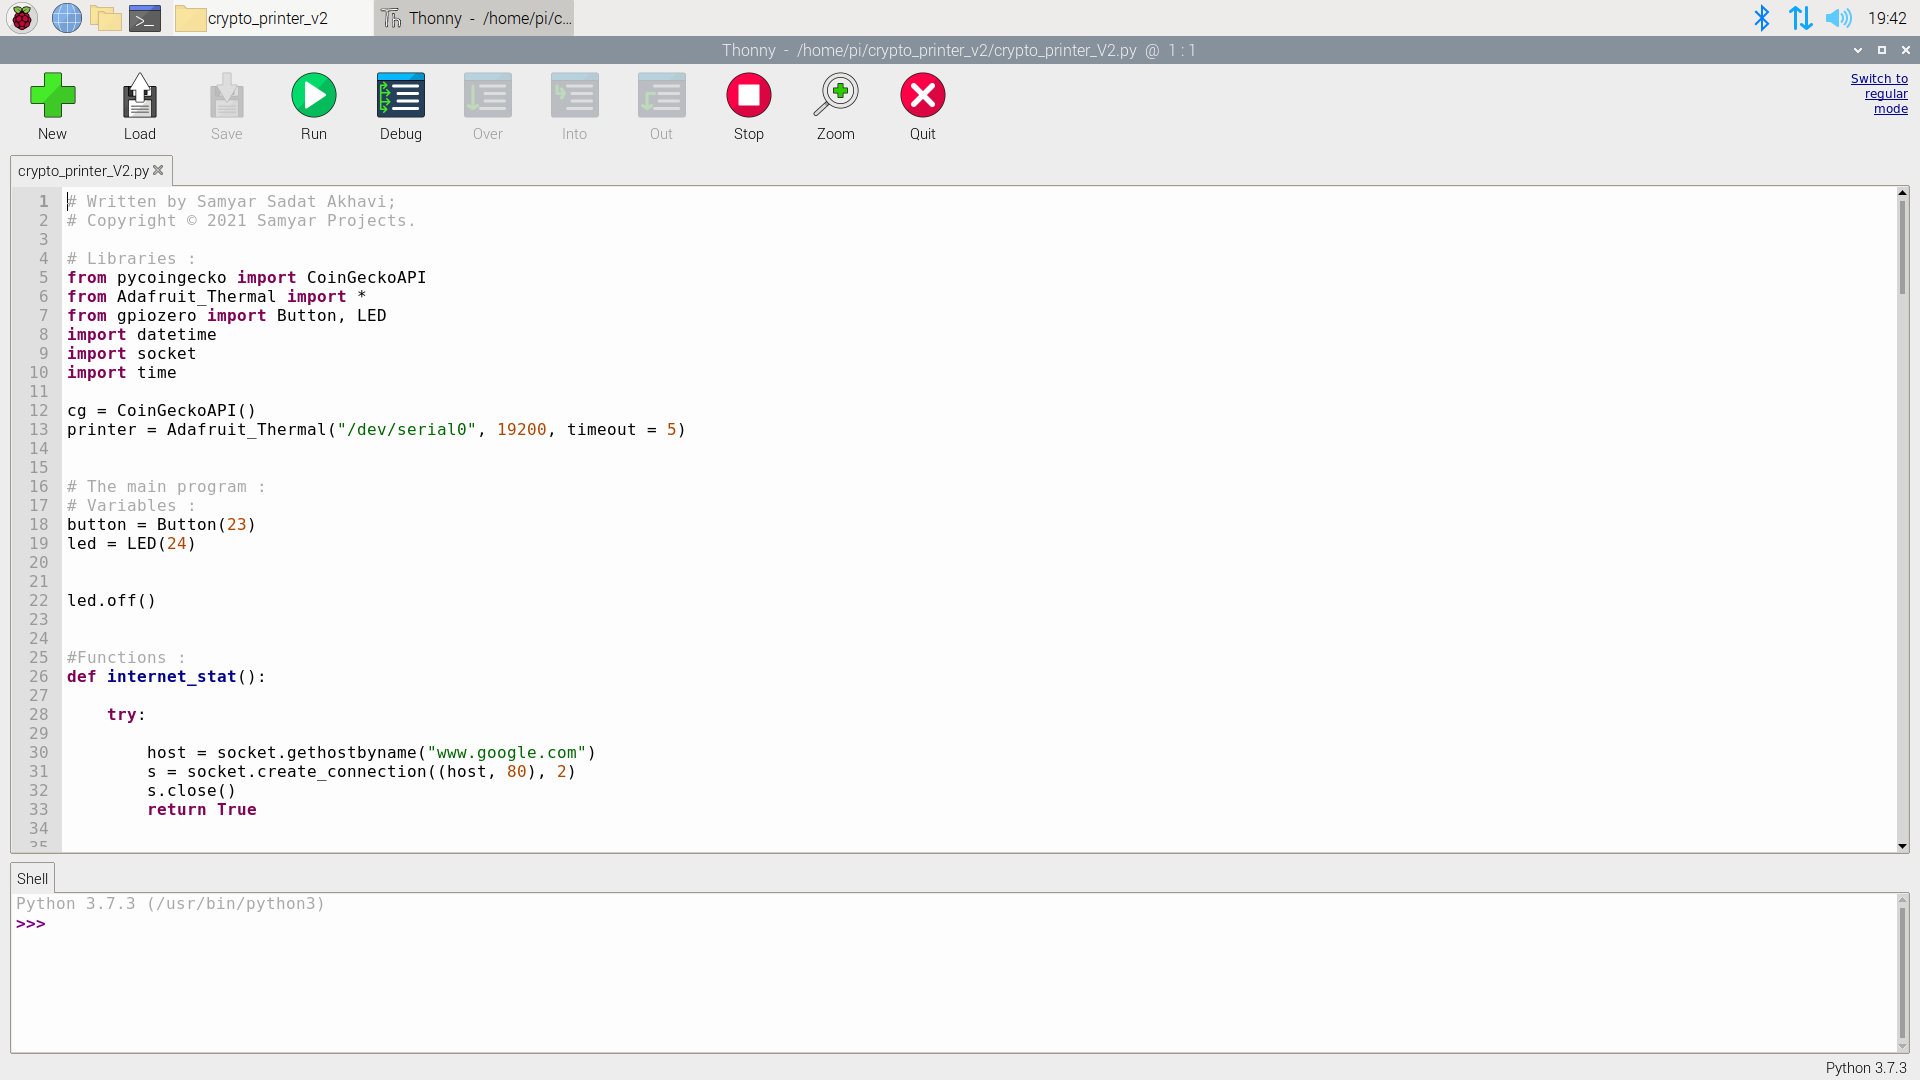
To open the python code files (.py), right click on them and then click on Thonny python IDE. Now thonny will open and you can edit the code:
To save your changes click the Save button:

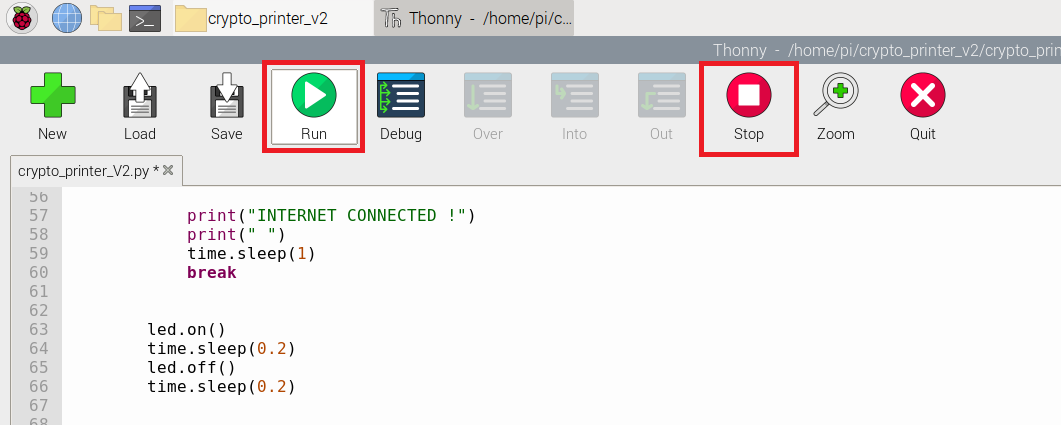
To run the code click the Run button and to stop the code click the Stop button:
For more information about thonny, Click here.
You can change the currency that the prices are printed in.
To do this, open the main (crypto_printer_V2.py) code in thonny (as described above) and scroll down to line 59:
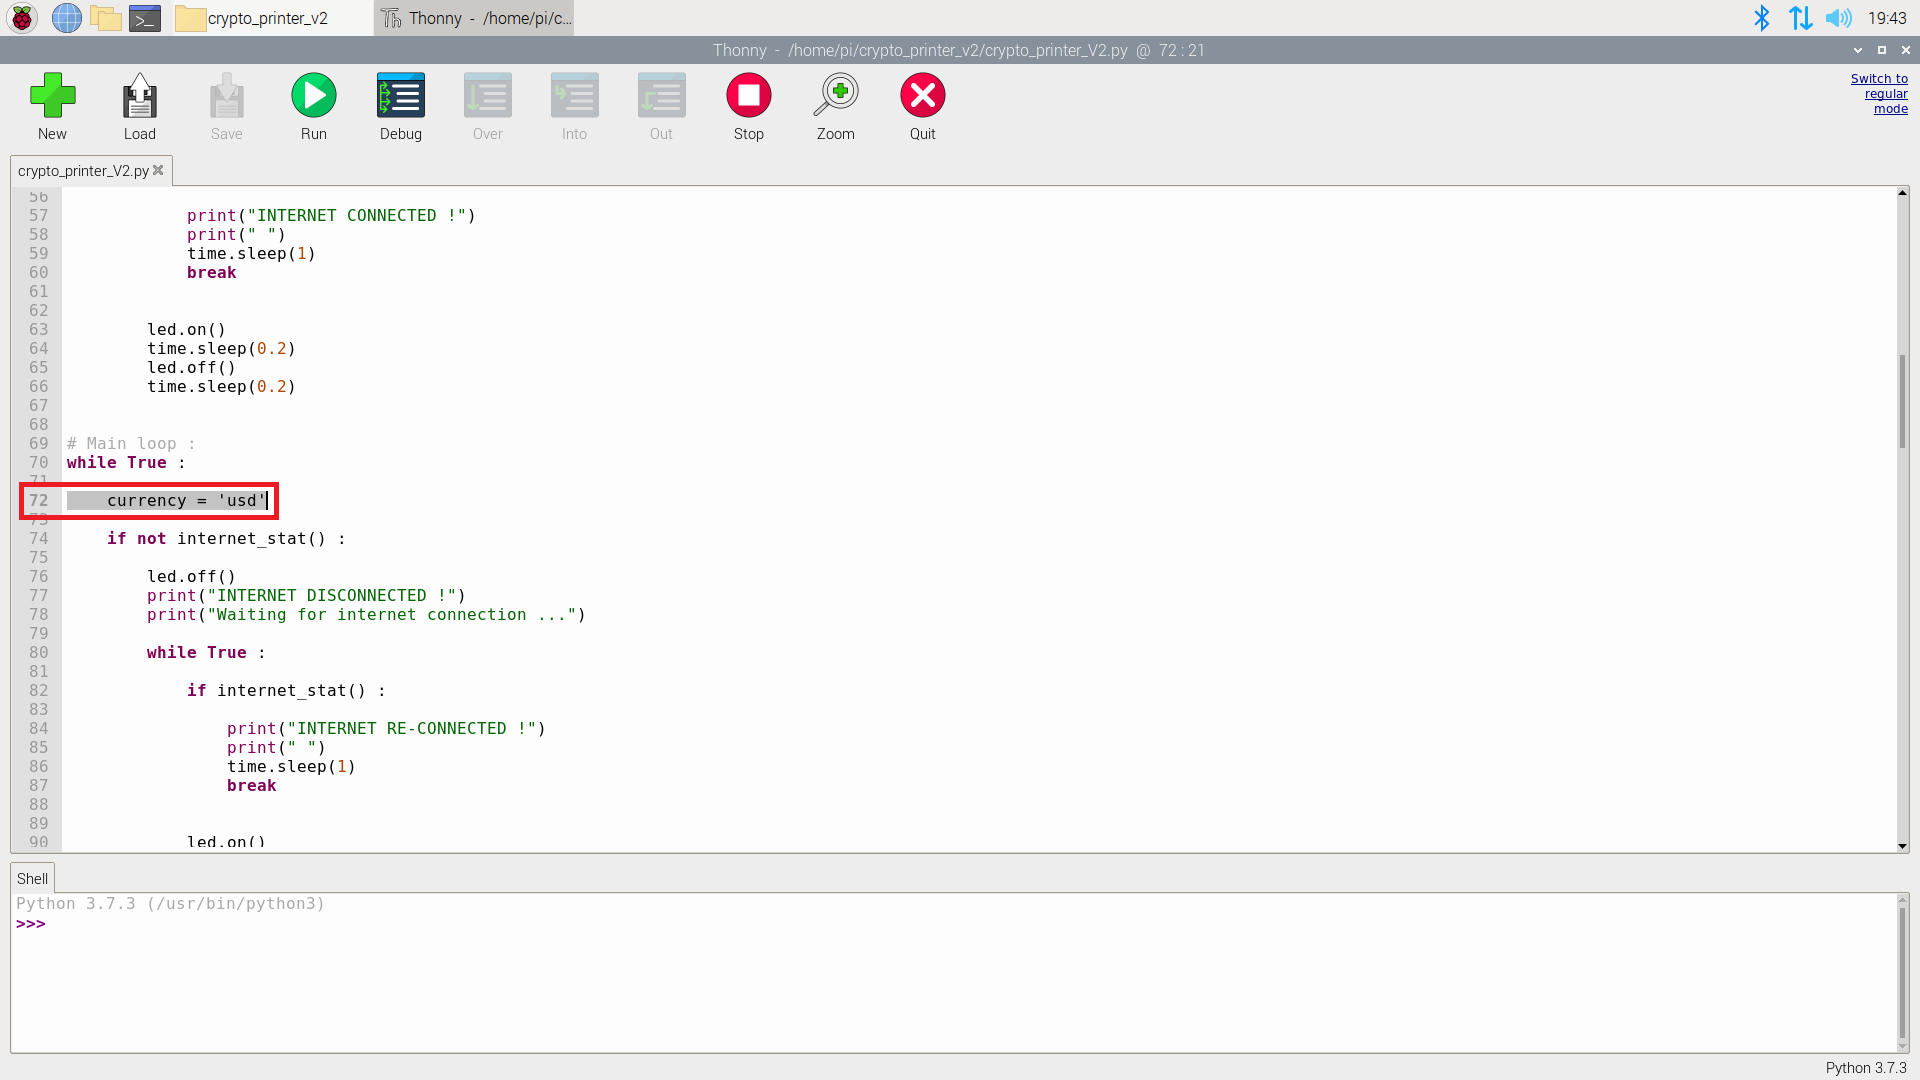
Here you can change the three letters inside the single quotation marks. You can change it to any currency as long as CoinGecko supports it.
Here is the list of supported currencies:
NOTE : Some of these currencies are actualy crypto currencies themselvs; So as well as normal currencies you can get the prices in some crypto currencies.
Some popular currencies:
- usd (US dollars)
- eur (Euro)
- cad (Canadian dollars)
- aud (Australian dollars)
- btc (Bitcoin)
- eth (Ethereum)
The rest of supported crypto and normal currencies:
- ltc
- bch
- bnb
- eos
- xrp
- xlm
- link
- dot
- yfi
- aed
- ars
- bdt
- bhd
- bmd
- brl
- chf
- clp
- cny
- czk
- dkk
- gbp
- hkd
- huf
- idr
- ils
- inr
- jpy
- krw
- kwd
- lkr
- mmk
- mxn
- myr
- ngn
- nok
- nzd
- php
- pkr
- pln
- rub
- sar
- sek
- sgd
- thb
- try
- twd
- uah
- vef
- vnd
- zar
- xdr
- xag
- xau
- bits
- sats
After you have made your changes, save the code with the Save button and run it with the Run button.
Thanks for following allong and reading this document. I hope that you have enjoyed this project. Have a nice day :)