In this guide, we will create our own custom classifier and a Node-RED application using Watson visual recognition on IBM Cloud.
- Register on IBM Cloud at https://bluemix.net
The IBM Watson™ Visual Recognition service uses deep learning algorithms to analyze images (.jpg, or .png) for scenes, objects, faces, and other content, and return keywords that provide information about that content. You can also create custom collections of your own images, and then upload an image to search the collection for similar images.

| Industry | Use case example |
|---|---|
| Manufacturing | Use images from a manufacturing setting to make sure products are being positioned correctly on an assembly line. |
| Visual Auditing | Look for visual compliance or deterioration, train custom classifiers to understand what defects look like. |
| Insurance | Rapidly process claims by using images to classify claims into categories. |
| Social Listening | Use images from your product line or your logo to track buzz about your company on social media. |
| Social Commerce | Use an image of a plated dish to find out which restaurant serves it and find reviews. |
| Retail | Take a photo of your favorite outfit to find stores with those clothes in stock. |
| Education | Create image-based applications to educate about taxonomies, use pictures to find educational material or similar subjects. |
To see the Visual Recognition service in action, see the Visual Recognition demo app. With the demo, you can analyze images for subject matter, and faces, as well as train a temporal custom classifier.
https://visual-recognition-demo.ng.bluemix.net/
Interact with the Watson API to understand how it works. Use the explorer to test your calls to the API, and to view live responses from the server.
http://www.ibm.com/watson/developercloud/visual-recognition/api/v3/#apiexplorer
OR
https://watson-api-explorer.mybluemix.net/apis/visual-recognition-v3#/
You can authenticate to the Visual Recognition API by providing the API key that is provided in the service credentials for the service instance that you want to use. After you create an instance of the Visual Recognition service, you can view the API key by selecting Service Credentials from the left pane of the service dashboard. You can do the training through the API explorer or using CURL if you prefer.
Find the complete documentation on the Visual Recognition service here: http://www.ibm.com/watson/developercloud/doc/visual-recognition/
Check other Watson services: http://www.ibm.com/watson/developercloud/doc/
Explore the APIs: https://watson-api-explorer.mybluemix.net/
- Click "Catalog" in the upper right corner and then find the Visual Recognition service at the bottom of the catalog under Watson category - (scroll down might be needed). Click on it to add it to your dashboard.

- Select the region and space where you want to deploy the service and click on 'Create'. The IBM Cloud Lite account only allows to create one visual recognition service per account, so if you already have a service in use go to Step 2.

- After few seconds you will have your service ready to be used.
Once you have created the Visual recognition service it's time to start creating a new classifier. By default, the Visual recognition service will be able to detect all kind of objects, forms, colors and things in the images. The same way the demo application in Step 0 was able to detect. However, in this lab we will create our own classifier.
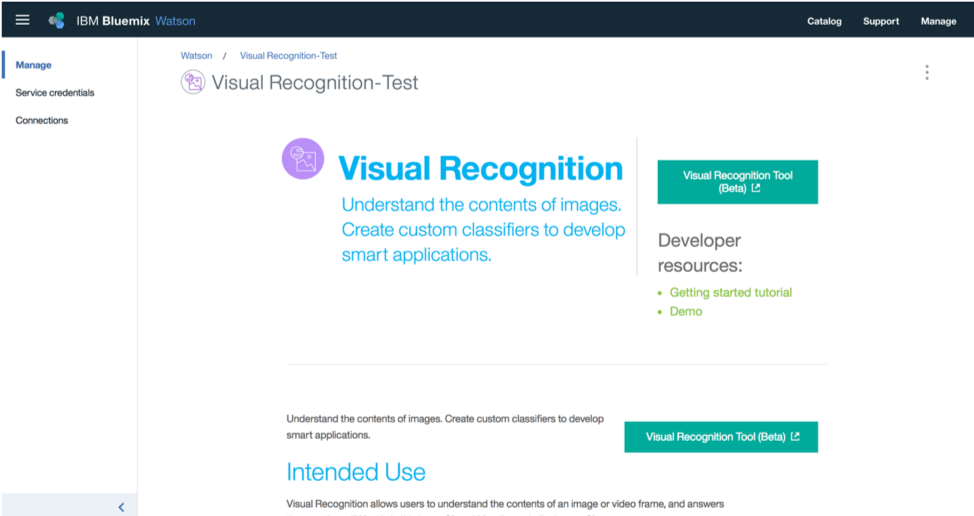
A classifier can be premade or self-created and uses algorithms to classify a picture as an input. Before we enter the Visual Recognition tool we will need to generate an API key. Click on "Service credentials" on the left side menu.
Click on the "New Credential" button to generate an API key.

A window will be prompted, simply click on "Add".

Now that you have your credentials ready, copy the API key and save it in a notebook in your computer if you want, or keep the tab open. We will need that later in the lab.

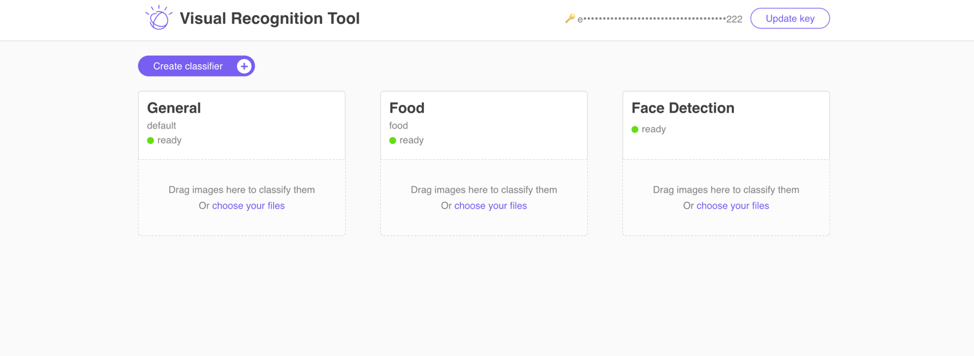
Now go back to "Manage" in the left side menu and open the Visual Recognition Tool (Beta) by clicking on the green button. This will open a new tab in your browser. Click on API Key and enter the credentials you copied in the previous stage.

You will see 3 classifiers ready. This is the default Visual recognition set up, so in addition to the general classifier it is able to recognize food and faces.
Let's create our own classifier by clicking in "Create Classifier".
Once that's done download the training data located in the "training material" folder. Download the .zip files from the sample you are planning on using (Bluemix logo, Angry Birds or Pizza).
Name your classifier for example "AngryBirds" and create three classes named "Red", "Blue" and "Yellow". For the negative class you can use the Pigs.zip file.
Drag and drop the .zip files into their correct classes. Once that's done press "Create" as shown in the next picture.

The training process can take few minutes.

Congrats! You've now created your own customized classifier in the Watson Visual Recognition service.
Now drag and drop images to test how the classifier works.

Node-RED is a visual tool for wiring the internet of things - connecting hardware devices, APIs and online services in a new and interesting way. Node-RED provides a browser-based flow editor that makes it easy to wire together flows using the wide range nodes in the palette. Flows can be then deployed to the runtime in a single-click.
- JavaScript functions can be created within the editor using a rich text editor.
- A built-in library allows you to save useful functions, templates or flows for re-use.
- See https://nodered.org for more information.
If you already have a Node-RED application and a Visual Recognition service in use in Bluemix, you can use those - In that case jump to Step 4.
- In a browser navigate to https://bluemix.net
- Select 'LOG IN' then enter your log in information and press 'SIGN IN'.
- Select the 'CATALOG' view.
- Locate the NODE-RED Starter in the boilerplate section of the catalog and click on it.
- Enter a name for your application, as shown below (host will automatically be completed). The host name must be unique on IBM Cloud, so please choose a name for example using your initials. Press 'CREATE'.

-
Your application is now staging and will be up and running/awake in a short while. Press 'OVERVIEW' to see information about your application.
-
When fully staged, click on the View app link, next to the green circle, this launches the Node-RED main page in a new tab.

- Configure your Node-RED editor. In this section, you will set up a username and password to protect your flow.

- Write an username and a password of your choice and click 'Next'. Remember that it does not have to be related to your IBM Cloud access.

Node-RED is an open source project so you can add new nodes to the palette by modifying the package.json file.


*Your Node-RED flow is all set!
Now click Go to your Node-RED flow editor to open the flow editor and enter your credentials to access the editor.


- When using Node-RED we build our apps using this graphical editor interface to wire together the blocks we need. We can simply drag and drop the blocks from the left menu into the workspace in the center of the screen and connect them to create a new flow.
Note: If you get an "Authorization denied" message when deploying your applications make your sure you are logged in. Click on the icon on the top right side of the Node-RED canvas and login with the credentials you created in the previous steps.

This is the flow we are going to build in this step to test the visual recognition capabilities:

Locate the inject node under the input section in the palette window.
The inject node is simply a node to send a message (string, timestamp etc) through your flow.
- Drag the node onto the workspace in the middle of the screen. Double click on the inject node to configure the node. Change the payload to be a string, and add a direct link to an image you would like to analyze. For example: https://www.thesun.co.uk/wp-content/uploads/2017/06/nintchdbpict0002407806071.jpg?strip=all&w=960

-
Next, we add the Visual recognition node, under the Watson section in the palette.
-
Drag the node onto the workspace. Connect the Visual recognition node with the inject node by dragging the output and input dots together and double click in the visual recognition node to configure the setting. This node will analyze the image sent by the inject node.

Configure the node like the above image with your own API key.
- Add a function node for parse the output of the visual recognition.
Double click on the function node and add the following code: (Be aware, that sometimes there can be format problems when copying the code.)
msg.payload="Watson says that is a/an: \n ";
    for (var i=0; i < msg.result.images[0].classifiers[0].classes.length; i++) {
    msg.payload += msg.result.images[0].classifiers[0].classes[i].class + " with a score of " + msg.result.images[0].classifiers[0].classes[i].score + "\n";
    }
return msg;-
To see the results of the image analysis in the debug tab add a debug node. This node doesn't need any configuring.
-
The flow is now complete. Make sure that all nodes are connected then click 'Deploy' in the top right corner on the screen.
-
The flow should now look like this.

Click the button to the right of the inject node. To see the results of the analysis, take a look at the debug tab.

In order to make the lab easier we are going to import the rest of the code. You can get the complete Node-RED flow from the Node-RED-VisualRecognition-flow.txt.
Import the flow by simply clickcing on the 3 white lines on the top right corner of the Node-RED window. Import - Clipboard - and paste the text you copied from above.


This will create the missing part shown in the first picture of this section. You will need to do some editing on few nodes, because credentials are not transferred with the rest of the code.
Edit the Visual Recognition nodes with your own credentials (API Key).
Now feel free to find you own images and add them to the different inject nodes to either classify the image, recognize the text in and image or detect faces.
Same way you imported the code in the previous step, copy the following text and import it in Node-RED. In this case use NodeRED-CustomClassifier.txt
We should have the next flow:

This flow takes a picture and runs it through the custom classifier created in Step 2. If it finds a match it will tell us what Watson sees in the picture, if it can't find a match it will print a message saying that.
Remember you will need to edit the credentials in the Visual Recognition node and write your own ID in the function "Define the classifier ID".
Your classifier ID can be found in the Visual Recognition Tool: (Do not use the ID shown in the picture)

Edit the blue timestamp/inject node with the image URL you want to run through the classifier.
In this workshop we have used the Node-RED application to train Watson, but there are other ways to do this.
-
Watson API explorer https://watson-api-explorer.mybluemix.net/apis/visual-recognition-v3 Probably the easiest way to train Watson! Create an IBM Cloud account, create a visual recognition service to get the credentials and then in the API explorer just upload your images and write your credentials to train your custom classifiers. Quick and no coding needed!
-
Command line https://www.ibm.com/watson/developercloud/visual-recognition/api/v3/ Explore the command line options and how to add Watson visual recognition capabilities to your applciations. Check the guide on how to do this in Curl, Python, Java and Node.
-
npm package https://www.npmjs.com/package/watson-visual-recognition-utils Command Line Interface and NPM module for easily creating/updating Watson Visual Recognition customer classifiers.