 This is a DIY project to push the Dirtywave M8 Headless into a PCB and make it handheld.
Test build was done on the fabricated PCB. MIDI I/O AUDIO OUT seems to be working well.
This is a DIY project to push the Dirtywave M8 Headless into a PCB and make it handheld.
Test build was done on the fabricated PCB. MIDI I/O AUDIO OUT seems to be working well.
- Idea sketch
- Draw proto Schematics
- Design proto PCB
- Proto type
- Design PCB
- Fabrication PCB
- Test Build


- M8 Headless will be installed on teensy4.1.
- The client software for Headless is m8c, which is published by laamaa.
- The client computer will be a Raspberry Pi3 Model B+.
- For the display, we will use a third party display for the Raspberry Pi. (You can find them at Aliexpress)
- We will implement MIDI IN & OUT.
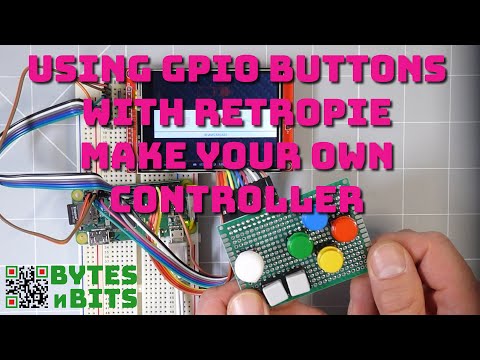
- We will use the GPIO pins of the Raspberry pi to perform key emulation and try to get close to the original key layout.
- Sandwich the above various devices on two PCBs.
- If there is enough room, I would like to implement a battery module as well.
The setup for using the m8c and Raspberry Pi can be seen in detail in the littlescale video.
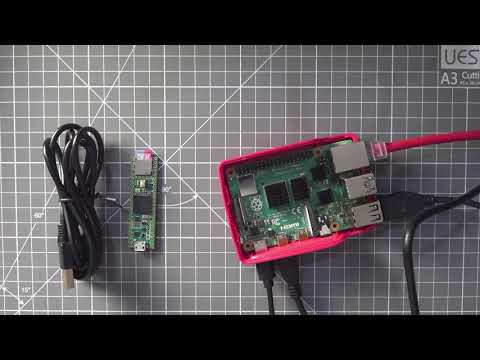
Since this video shows video and audio output from the HDMI port, we will assume that audio output is available using a 3.5mm stereo jack if you use a touch display with audio output, available from Aliexpress. Or I'm thinking of getting the sound through a DAC module.
hacked together a quick teensy 4.1 midi i/o and audio out board for making it a bit easier to use the #m8tracker headless version in my dawless setup pic.twitter.com/O24RRRLSRL
— Jonne Kokkonen (@laamaa) June 13, 2021
- Use Headless version 2.0.5, because MIDI I/O does not work well.
As has been discussed several times on Dirtywave's Discord, it seems possible to implement MIDI IN and OUT in a Headless environment. The developer, trash80, commented "MIDI in is pin 28, MIDI out is pin 1, it's enabled". I plan to implement them as shown in the schematic below.

Key emulation (key mapping) using the GPIO pins of the Raspberry Pi is also currently in the hypothetical stage. There are plenty of people practicing something similar with the Retropi! For the keyswitch itself, I will use the same one as the M8 original.
I'd like to use the tiny little battery charging modules that Aliexpress sells so that I can seamlessly connect the power supply, PSU, and charging. I think I will agonize over where to put the batteries!
James' work has addressed some of the concerns of this project!

