
vpype plug-in to convert images to flow field line art inspired by Sean M. Puckett's work and the "Creating evenly-spaced streamlines of arbitrary density" paper by Jobard and Lefer.
For an existing vpype installation using pipx, use the following command:
$ pipx inject vpype 'git+https://github.com/serycjon/vpype-flow-imager.git#egg=vpype-flow-imager[all]'For an existing vpype installation using pip in a virtual environment, activate the virtual environment and using the following command:
$ pip install 'git+https://github.com/serycjon/vpype-flow-imager.git#egg=vpype-flow-imager[all]'For a new installation of vpype flow imager, use the following commands:
$ python3.8 -m venv my_virtual_env
$ source my_virtual_env/bin/activate
$ pip install 'git+https://github.com/serycjon/vpype-flow-imager.git#egg=vpype-flow-imager[all]'
vpype is automatically installed with vpype flow imager, so no further steps are required.
You can confirm that the installation was successful with the following command, which also happens to tell you all
you need to know to use vpype flow imager:
$ vpype flow_img --help
Usage: vpype flow_img [OPTIONS] FILENAME

  Generate flowline representation from an image.

  The generated flowlines are in the coordinates of the input image, resized
  to have dimensions at most `--max_size` pixels.

Options:
  -fi, --flow_image FILE          An image to use for the flow field. X and Y
                                  components of the flow vector are encoded
                                  in the red and green channels, as in a
                                  normal map. Must be the same size as the
                                  main input image. It might work if they
                                  have exactly the same aspect ratio.
  -nc, --noise_coeff FLOAT        Simplex noise coordinate multiplier. The
                                  smaller, the smoother the flow field.
                                  [default: 0.001]
  -nf, --n_fields INTEGER         Number of rotated copies of the flow field
                                  [default: 1]
  -ms, --min_sep LENGTH           Minimum flowline separation  [default: 0.8]
  -Ms, --max_sep LENGTH           Maximum flowline separation  [default: 10]
  -ml, --min_length LENGTH        Minimum flowline length  [default: 0]
  -Ml, --max_length LENGTH        Maximum flowline length  [default: 40]
  --max_size LENGTH               The input image will be rescaled to have
                                  sides at most max_size px  [default: 800]
  -ef, --search_ef INTEGER        HNSWlib search ef (higher -> more accurate,
                                  but slower)  [default: 50]
  -s, --seed INTEGER              PRNG seed (overriding vpype seed)
  -fs, --flow_seed INTEGER        Flow field PRNG seed (overriding the main
                                  `--seed`)
  -tf, --test_frequency FLOAT     Number of separation tests per current
                                  flowline separation  [default: 2]
  -f, --field_type [noise|curl_noise]
                                  flow field type [default: noise]
  --transparent_val INTEGER RANGE
                                  Value to replace transparent pixels
                                  [default: 127; 0<=x<=255]
  -tm, --transparent_mask         Remove lines from transparent parts of the
                                  source image.  [default: False]
  -efm, --edge_field_multiplier FLOAT
                                  flow along image edges
  -dfm, --dark_field_multiplier FLOAT
                                  flow swirling around dark image areas
  -kdt, --kdtree_searcher         Use exact nearest neighbor search with
                                  kdtree (slower, but more precise)  [default:
                                  False]
  --cmyk                          Split image to CMYK and process each channel
                                  separately.  The results are in
                                  consecutively numbered layers, starting from
                                  `layer`.  [default: False]
  --rotate DEGREES                rotate the flow field  [default: 0]
  -l, --layer LAYER               Target layer or 'new'.  When CMYK enabled,
                                  this indicates the first (cyan) layer.
  --help                          Show this message and exit.  [default:
                                  False]
You will need a C++ compiler before running the default flow imager installation. One way of getting the compiler on Windows is installing Visual Studio with C++ package (tutorial).
If the installation fails on some things related to "hnswlib", you can use the fallback installation, removing the [all] from the installation command, e.g.:
$ pipx inject vpype git+https://github.com/serycjon/vpype-flow-imagerIf you still get errors, feel free to create an issue here on github, or ask around at the (drawingbots discord).
To create a SVG, combine the flow_img command with the write command (check vpype's documentation for more
information). Here is an example:
$ vpype flow_img input.jpg write output.svgThe example output was generated with:
$ cd examples
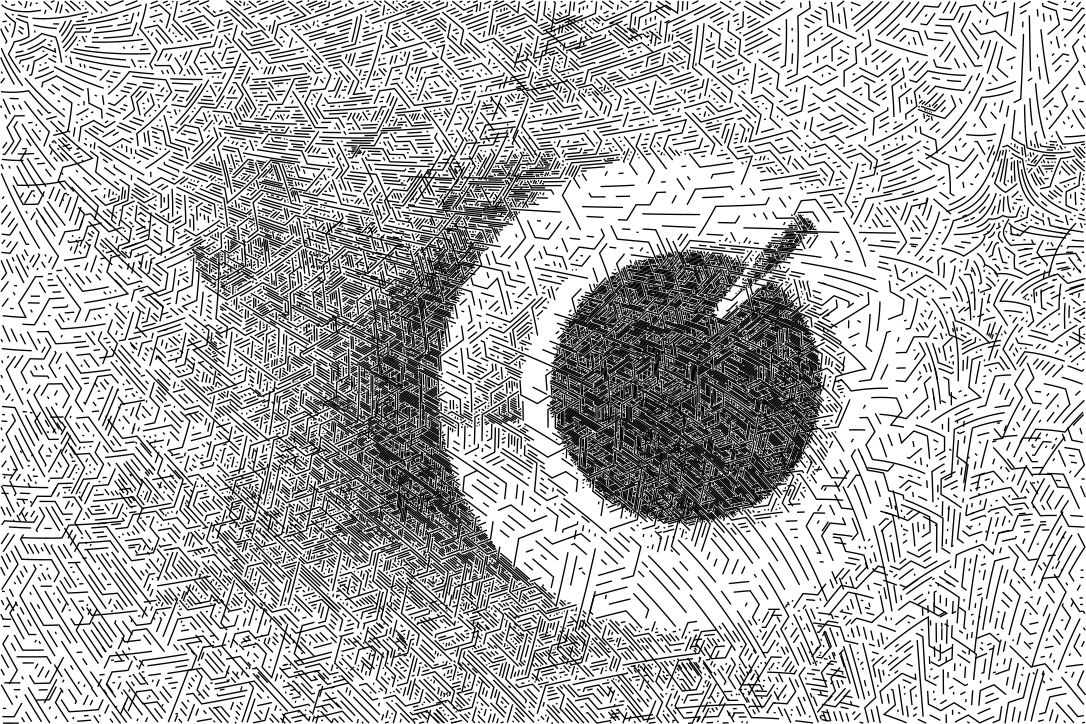
$ vpype flow_img -nf 6 coffee.jpg write coffee_out.svg showIt took around 3 minutes on my laptop. In this example, the flow field was rotated 6 times to get hexagonal structure in the result.
The default:
$ vpype flow_img coffee.jpg write coffee_out.svg showproduces a smoother result like:

You can control the result line density by changing the --min_sep and --max_sep parameters.
You can also locally override the vpype PRNG seed using the --seed and --flow_seed parameters. The --flow_seed is used only in the flow field construction, so if you want to create a multi-layer svg (e.g. CMYK), you can do something like
vpype flow_img -fs 42 -l 1 C.jpg flow_img -fs 42 -l 2 M.jpg flow_img -fs 42 -l 3 Y.jpg flow_img -fs 42 -l 4 K.jpg write --layer-label "Pen%d" cmyk.svg showBy specifying the same -fs (--flow_seed) for all the layers, you will get the same flowline directions on all the layers.
The following is an example with curl_noise and dark_field enabled:
vpype -v -s 42 flow_img -f curl_noise -dfm 1 -nc 0.03 examples/coffee.jpg write examples/coffee_dark.svg
Starting from the most interesting / useful:
min_sep,max_sep- Control the flowline density (separation between flowlines)min_length,max_length- Control the flowline length. (settingmin_length > 0breaks the flowline density constraints)field_type- Set tonoise(default) to get opensimplex noise flow field, set tocurl_noiseto get curly flow field.cmyk- convert the input RGB image into CMYK and output four layers.rotate- Rotate the flow field. Useful if you want to achieve cross-hatching (example:vpype flow_img -fs 42 examples/coffee.jpg flow_img -fs 42 --rotate 90 examples/coffee.jpg show)n_fields- Number of rotated copies of the flow field (default: 1). For example, try out 3, 4, or 6 to get triangular, rectangular, or hexagonal patterns.edge_field_multiplier- When set to a number (try 1 first), the input image is processed to detect edges. A new flow field, that follows the edges is then calculated and merged with the noise field based on the distance to the image edge and thisedge_field_multiplier, i.e. the resulting flow follows image edges when close to them and the noise field when far from edges.dark_field_multiplier- Similarly, when you setdark_field_multiplier(again, try 1), a new flow field is constructed. This one curls in dark image areas and gets added to the other flows, weighted by darkness and thedark_field_multiplier. You can combine bothedge_field_multiplieranddark_field_multiplierat the same time.seed,flow_seed- Setseedto a number to get reproducible results. Setflow_seedto a number to get reproducible flow field (but the resulting flowlines are still pseudorandom).kdtree_searcher- use exact nearest neighbor search. This gets rid of occasional dark clumps, but the computation is much slower.transparent_val- Transparent pixels (from e.g. RGBA png image) get replaced by this 0-255 intensity (default 127). The transparent image parts always use the noise field (eithernoiseorcurl_noise) without image-controlled fields (edge_field,dark_field). This can be used to obtain contrasting background.
(feel free to create a pull request with better documentation)
GNU GPLv3. See the LICENSE file for details. Example coffee photo by jannoon028 Kd-tree searcher CC0 from Python-KD-Tree.