Projects: How to use BASIC on Arduinos
I wrote a number of tutorials on how to use BASIC on an Arduino. They build on one another and feature certain aspects of the BASIC interpreter and the devices it can be used on. All of them are published on arduino.cc and instructables.
For this tutorial you need any simple Arduino device, a USB cable and the Arduino IDE.
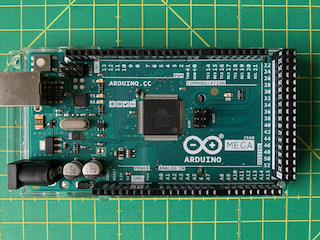
In the tutorial https://create.arduino.cc/projecthub/sl001/basic-on-arduinos-5b4e24 you will learn how to install BASIC on Arduinos and how to use it.
A plain Arduino will be able to do most of the things you can do with C++. Many of the Arduino standard examples have been ported to BASIC
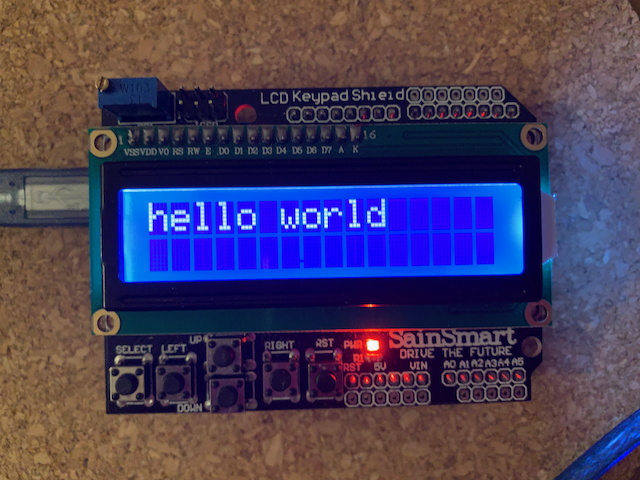
The tutorial also shows how to connect and use a display with BASIC. A standard LCD 16*2 shield with buttons will be used for that.

BASIC can be used to build standalone computers just like the home computers of the 70s and 80s.
The Rockwell AIM 65 was one of the early 6502 based computers of the 70s. It had a 20 character display, a little thermo printer and a fairly big keyboard. Standard memory was 1k or 4k. More details can be found on the "old computers" page. A lot of software was available on ROM. I never had an AIM 65 but I always liked the barebone look of it:

To build this computer, you will need
- Arduino Mega 2560
- USB Cable to connect it to your computer
- a working Arduino IDE on your computer
- I2C ready 20*4 LCD display
- a small breadboard and a small prototype shield for Arduino UNOs and MEGAs
- a PS2 connector socket and a PS2 keyboard
- Optionally a thermo printer

Prototypes look like this.

Read the tutorial https://create.arduino.cc/projecthub/sl001/aim65-lookalike-computer-from-scratch-8d94d6 for this step.

While the display based computer in project 3 is nice and easy to build from standard components at virtually no costs, the small display limits its usefulness. When I had completed this project I felt that I needed a bigger screen for a real computer. There is a large number of TFT display on the market but running then on an Arduino is not as easy and standardised as the LCD version.
You need for this step
- Arduino DUE or Mega 2560
- USB Cable to connect it to your computer
- a working Arduino IDE on your computer
- a UTFT supported LCD displays and a TFT shield suitable for your computer
- a breadboard
- a PS2 connector socket and a PS2 keyboard
- the UTFT library from http://www.rinkydinkelectronics.com/library.php?id=51
Read the tutorial https://create.arduino.cc/projecthub/sl001/homecomputer-from-scratch-a04fb9 to understand how to build this computer.
This project is about building a small IoT computer running with BASIC with low cost components. There is a lot of powerful hardware on the market that can be used for it. Integrating them properly can get a lot of compute power for almost no money.
The computer presented here serves in my home as an MQTT display station. It is connected to Wifi, reads messages from an MQTT broker, displays and records them. It has an PS2 keyboard interface and can be used as a standalone system. Alternatively the programs on it can be changes via the serial or USB interface.


You need for this:
- Wemos D1 R1 ESP8266 boards
- USB Cable to connect it to your computer
- a working Arduino IDE on your computer
- a datalogger shield with DS1307 real time clock and SD card reader
- an SD card
- a PS2 connector socket and a PS2 keyboard
Optionally an I2C LCD display.

Read the tutorial https://create.arduino.cc/projecthub/sl001/the-10-euro-iot-computer-with-esp-8266-e93681 for this project.
One of the most interesting little hardware devices currently on the market is the TTGO ESP32 VGA board. It has two PS2 connectors for a mouse and a keyboard, a VGA connector and a haedphone jack. Two GPIO pins are still usable and the SPI interface is available to connect further peripherals.

You need for this
- A TTGO VGA board
- USB Cable to connect it to your computer
- a working Arduino IDE on your computer
- a PS2 keyboard
- a VGA cable and monitor
- a small SD card
- the FabGL library from https://github.com/fdivitto/FabGL
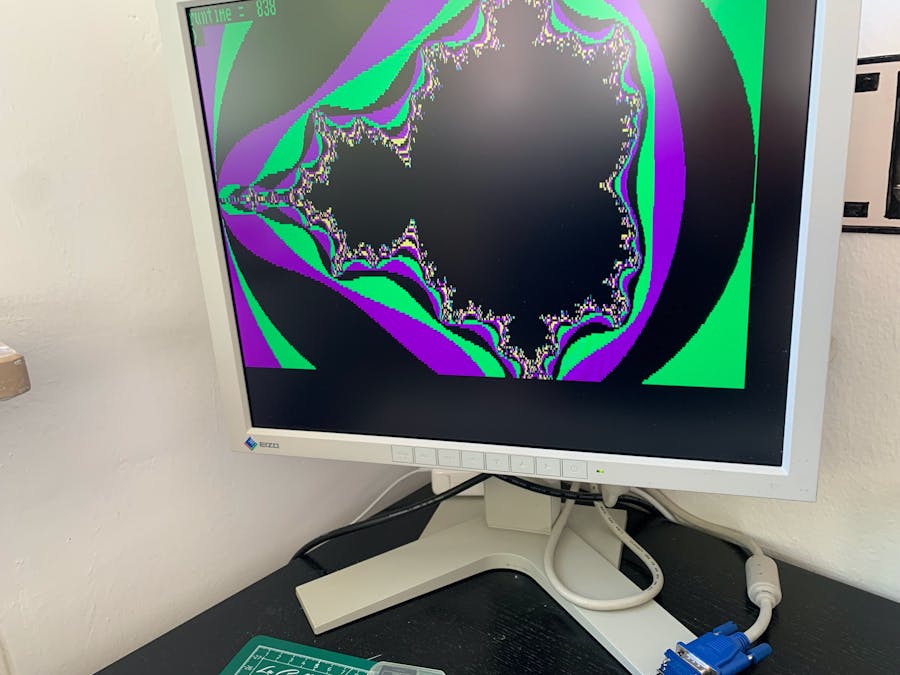
The end result will be able to do this
Please go to https://www.instructables.com/A-VGA-Computer-Based-on-ESP32-and-FabGL-With-Sound/ to learn how to build this computer.
This project is based on an Arduino RP2040 connect. It can go to the internet, drive a small display and has an SD card as mass storage.

This computer is an ideal lab system. I use it to test and debug circuits.
Read the tutorial in arduino.cc if you want to build this computer: https://create.arduino.cc/projecthub/sl001/arduino-rp2040-standalone-iot-computer-running-basic-433144.