Language Model Customisation
This tutorial extends this Medium post and explains how to customise your Snips music voice assistant so that it knows your personal playlists, favorite artists and songs. This will allow you to play them on your Sonos speaker using voice.
- Clone the
snips-skill-sonosrepo
We call the piece of code that does an action based on the output of the Snips voice platform a skill. The skill that handles the interaction between Snips and both Spotify and Sonos is available in this repo. In order to clone it locally, issue the following commands in a terminal on your computer (there is no need to do this on a raspberry pi)
git clone git@github.com:snipsco/snips-skill-sonos.git
Preferably, create a virtual environment in the repository (optional):
cd snips-skill-sonos
virtualenv venv
source venv/bin/activate
Finally, install the required packages
pip install .
- Get your playlists, favorite artists and songs
We have included a convenience script to make this step very easy. All you have to do is issue the following command
python get_spotify_user_data.py XXXXX artists.txt tracks.txt playlists.txt
where XXXXX is your Spotify refresh token which you can get from this app. The previous command will create three files (artists.txt, tracks.txt and playlists.txt) containing respectively your favorite artists and tracks as evaluated by Spotify, and the complete list of your playlists. Now let's teach your assistant about them!
- Customising your assistant
Head to the Snips console and open your Sonos assistant. We will fork the Music Player bundle in order to customise it. This is done by clicking on the bottom right corner of the bundle and then selecting Fork.
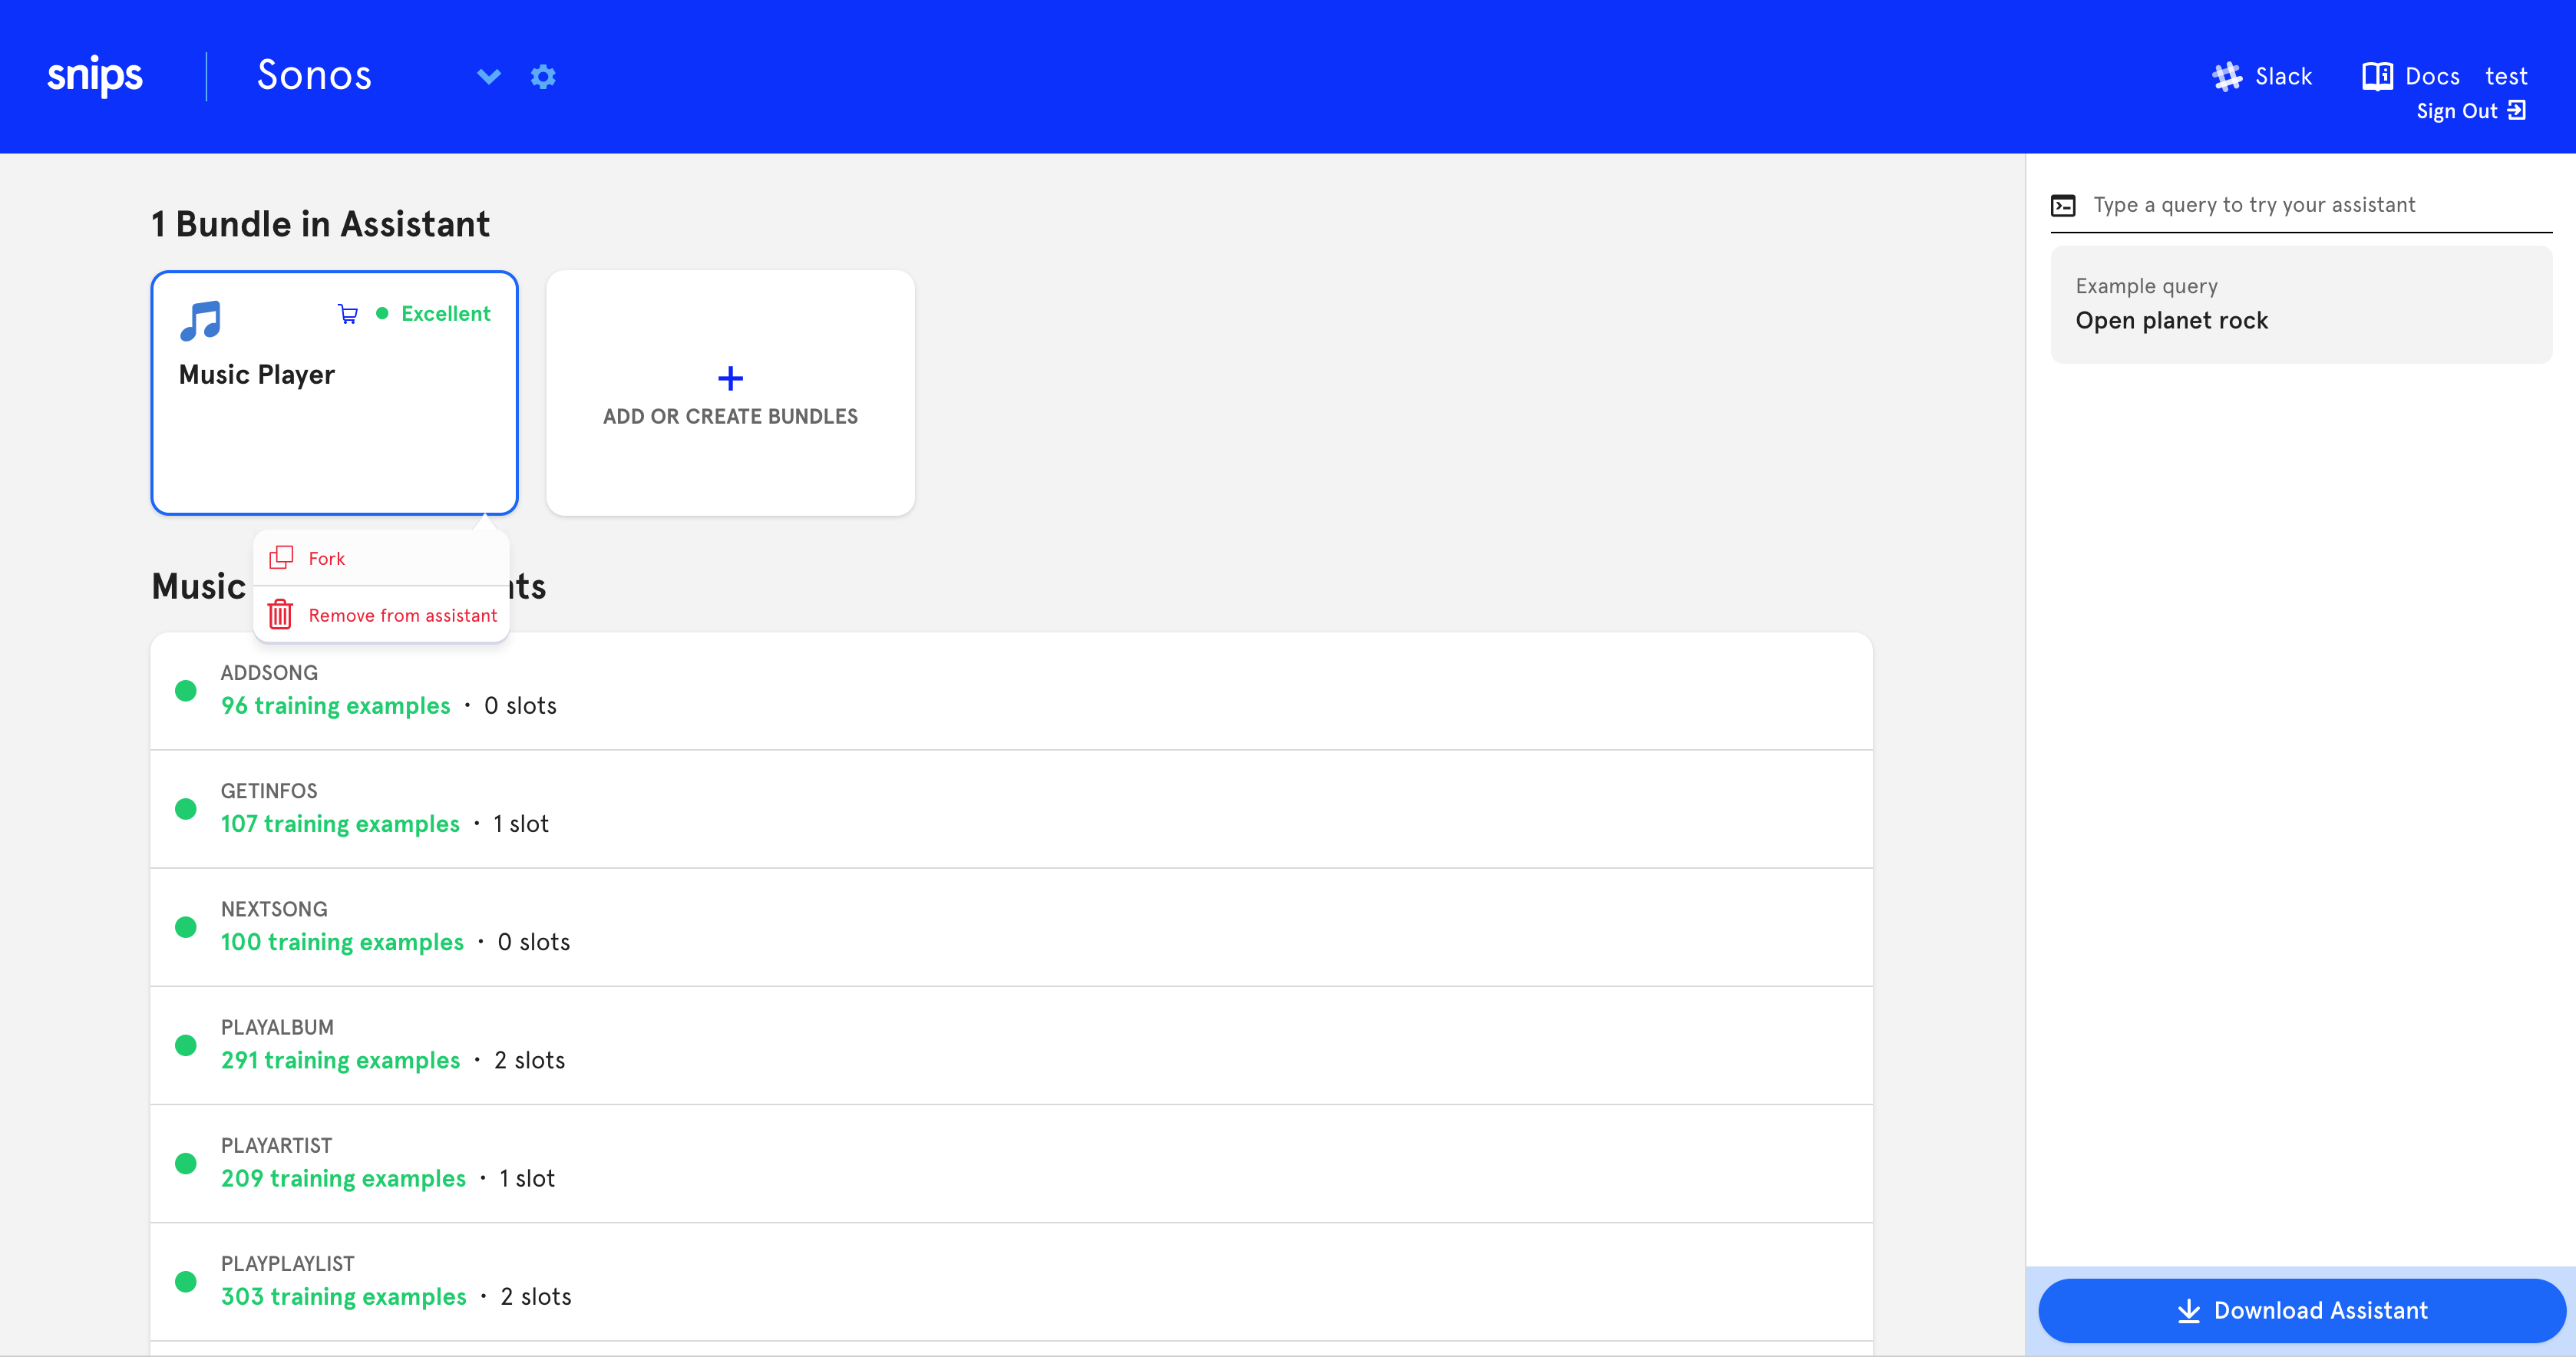
Click Yes, Fork in the dialog box that opens. You can now copy intents and start editing them. Let us start with the playArtist intent. Click on the copy icon next to the trash one, as shown on the picture below.

Once you have done that, you will be able to access the detail of the intent. Open by clicking on it (it may have moved to the bottom of the intents list). You should get to the following screen
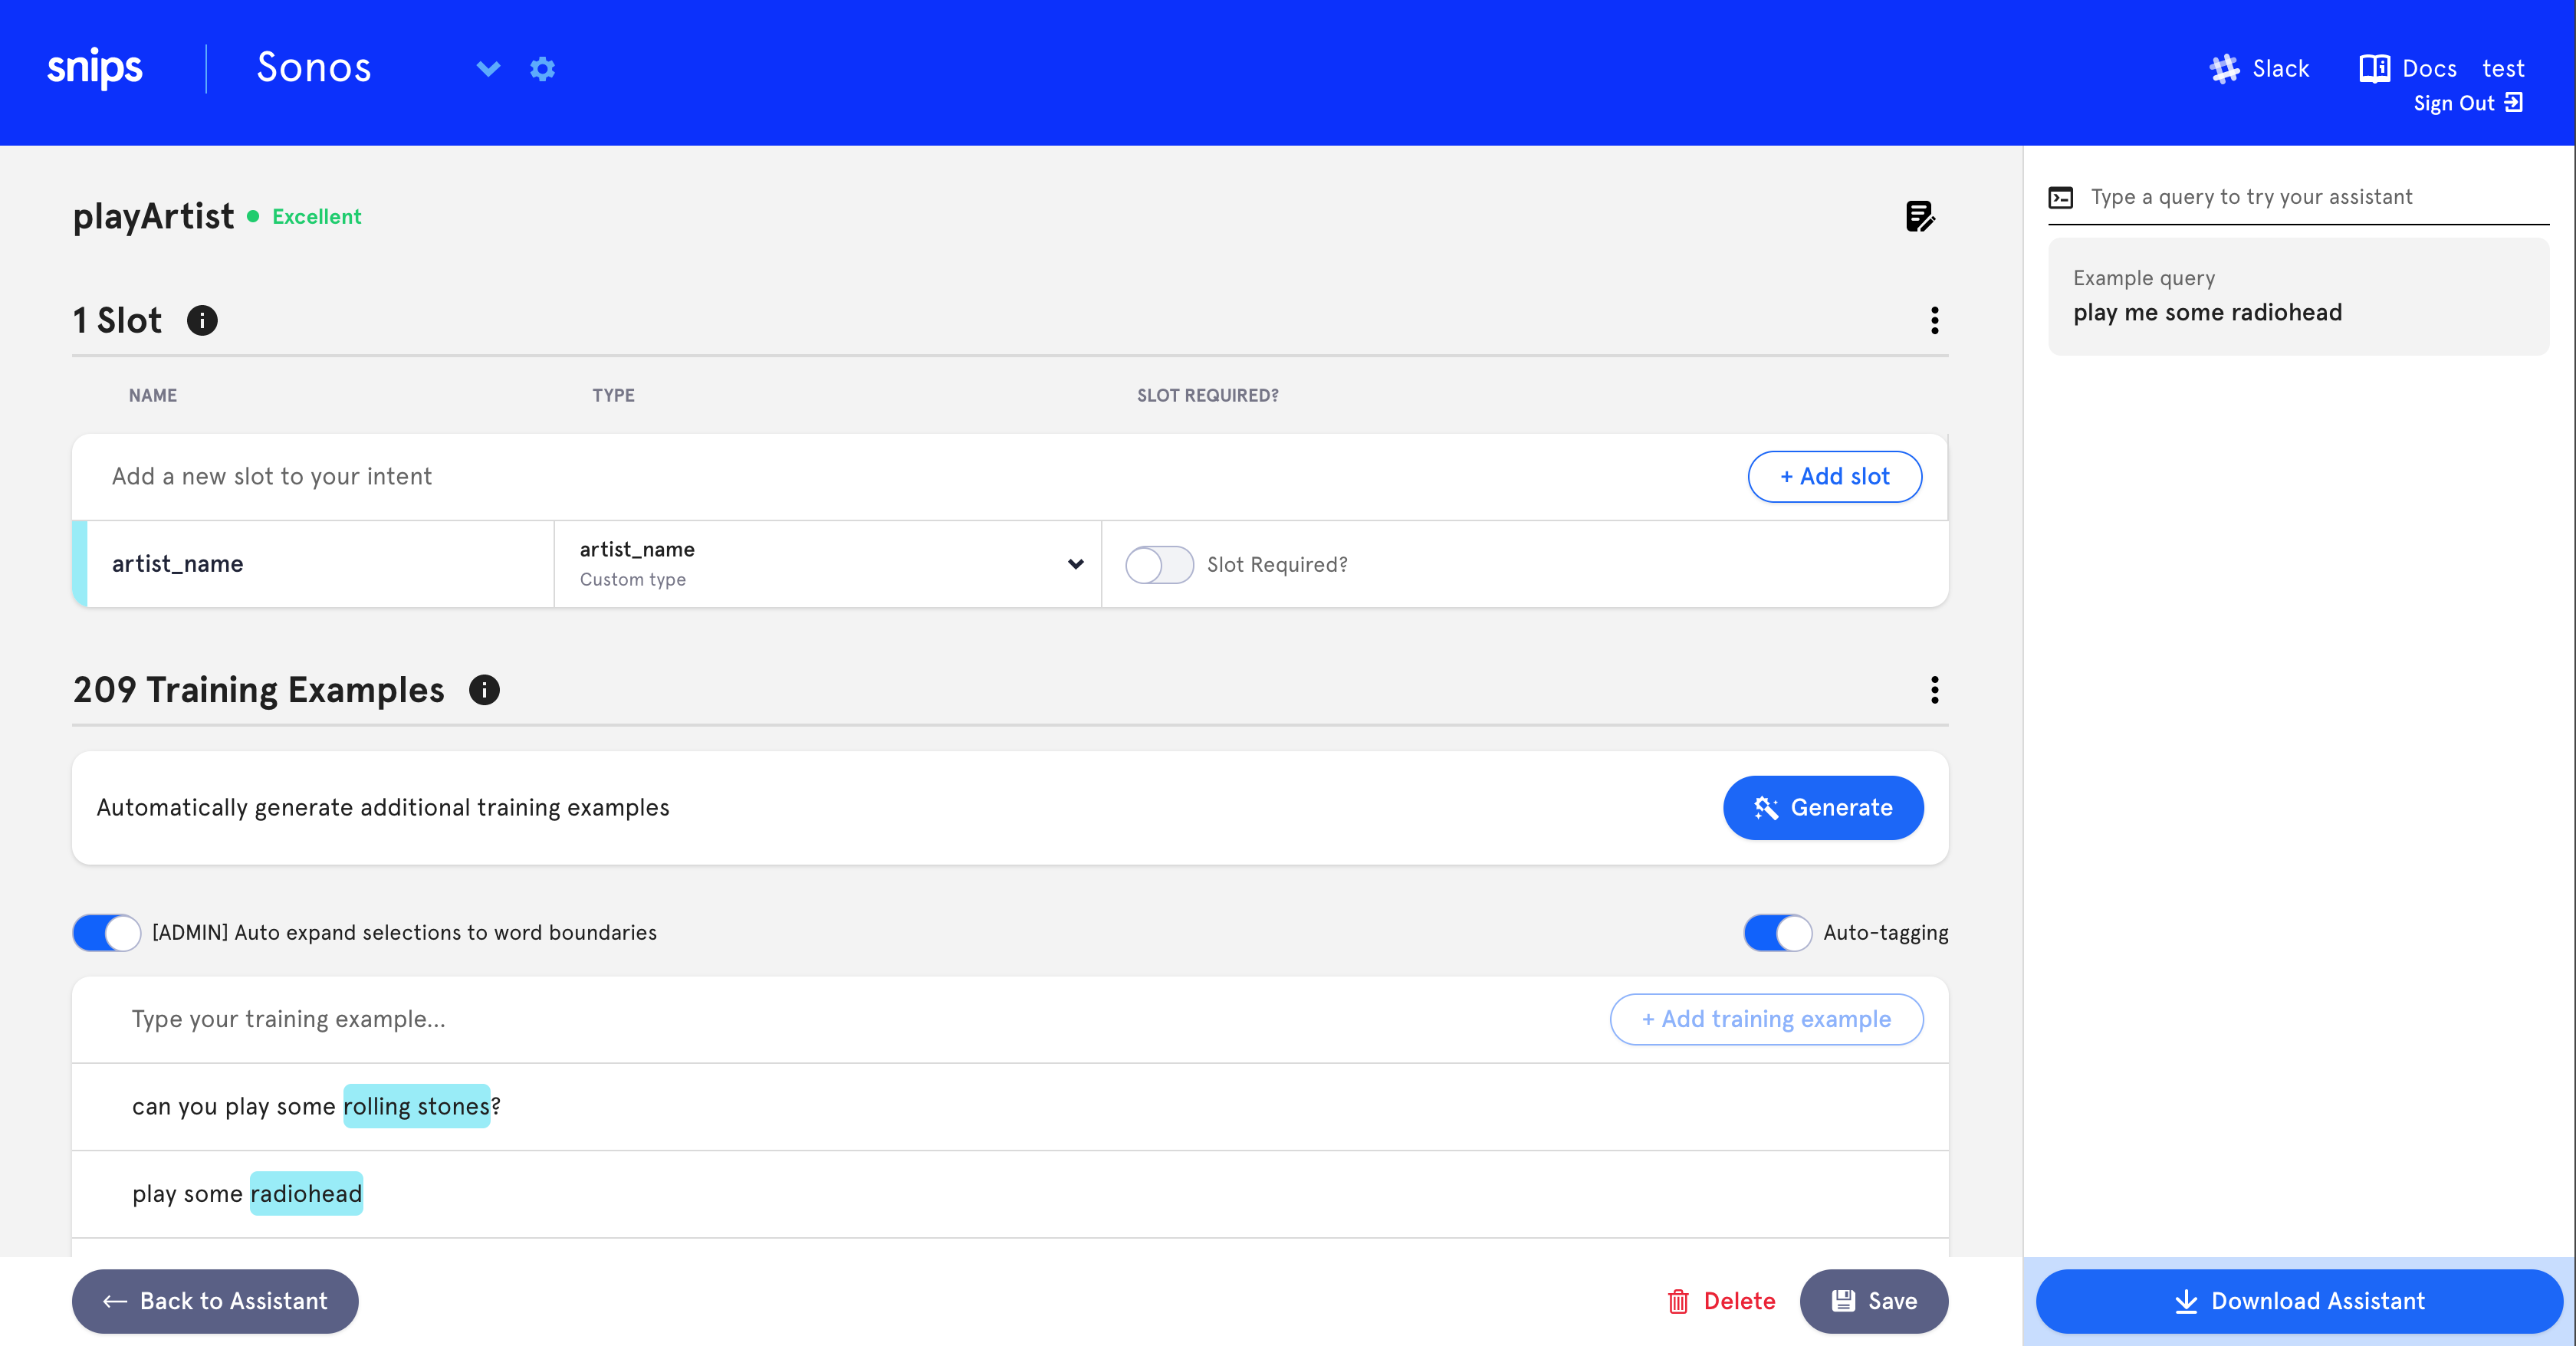
In the slot dashboard, click on artist_name to edit the slot type. You will then have access to a table of values that this slot can take. Extending it is very easy. Scroll down to the bottom of the page, and find the Import button

Click on it, and copy paste the content of your artists.txt file in the dialog box.
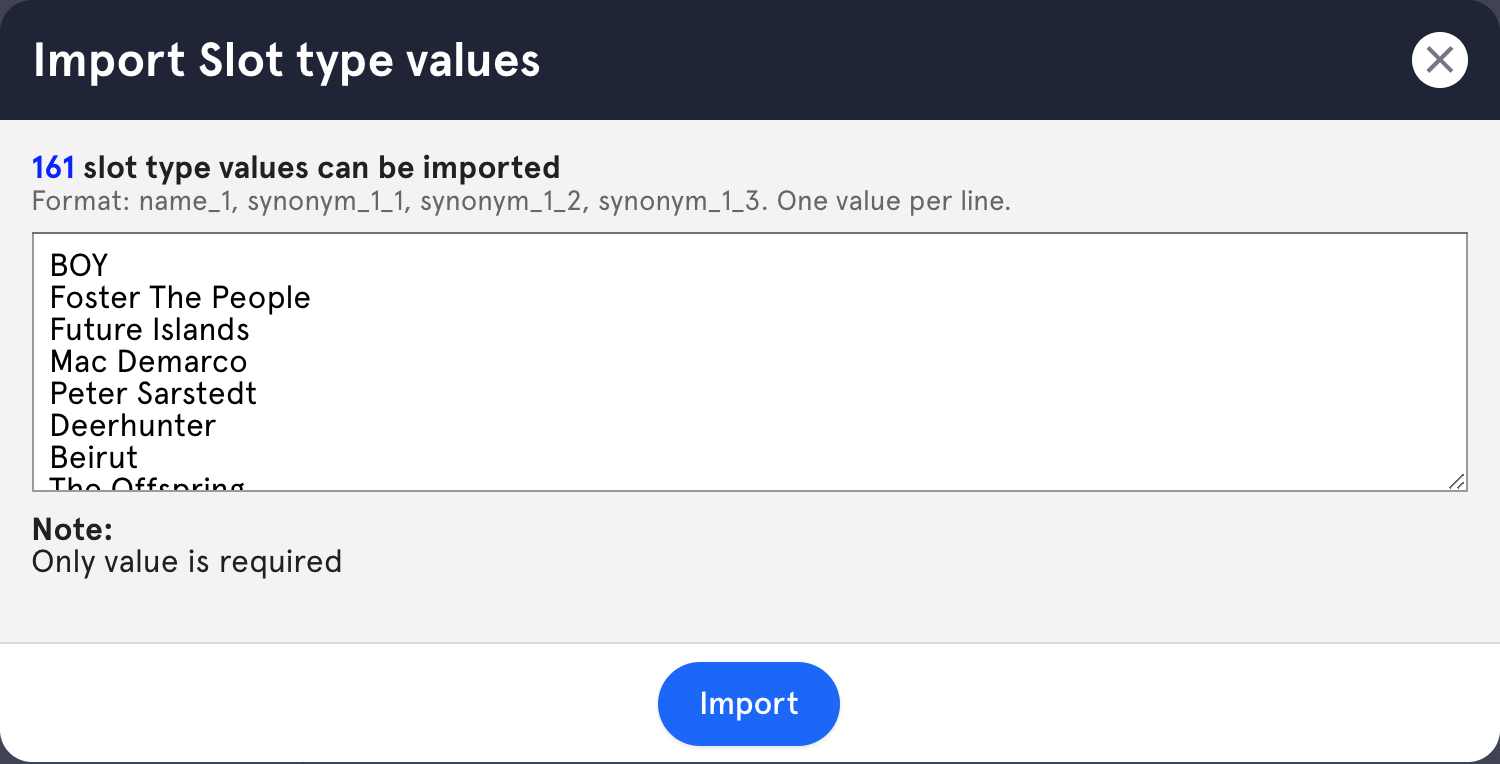
Click on import, and once the import is done, close the slot type page. Don't forget to save your assistant.
You can now repeat exactly the same steps to customise your playlists (by editing the playlist_name slot in the playPlaylist intent) and your tracks (by editing the song_name slot in the playSong intent).
Once you are done, don't forget to save your assistant, which will trigger a retraining of the Natural Language Understading engine. Once this is done, hit Download Assistant. The final adaptation then takes place, adding to the Speech Recognition engine the new entities that we've just imported.
Once you have downloaded the assistant archive, follow the instructions here to update your assistant on the Raspberry Pi. That's it, you're all set! Your assistant should now understand your wildest tastes in music and your most creative playlists names!