This program is designed to produce a PR image for the Alberta smash community (SSBU) from the .csv export of aisight's GlickoMan player rankings management program.
Note that because this program is intended for internal use, the program does minimal error checking, and trusts that the user will supply properly formatted input.
- v2.1.1 - fixed a bug in which program crashed if repeat name is found in character map; program now shows warning pop-up and ignores repeat names
- v2.1 - added ability to load colour configuration from config.txt file; added ability to save to config.txt; added larger 3DS icons; added ability to select palette for 3DS icons; character map can now specify any "character" and the program will look for character.png before using the default Smash icon
- v2.0 - made all image files external so that icons can be swapped (useful if generating the image for other games); added icons for Smash 3DS; added ability to select text and line colours; "Division" and "Updated" text in the header no longer appear if respective fields are left blank
- v1.2.2 - made header file external, so the user can modify it
- v1.2.1 - added PT icon; changed game text colour in the header to red for readability
- v1.2 - added ELO difference column; added ability to take characters from a separate .csv file
- v1.1.1 - added manual entry of ELO differences; this is an informal update - please ensure that the .csv conforms to the expected input, as this is more of a patch before further refinement of this feature
- v1.1 - added Master Hand, Giga Bowser, Random icons; made Sandbag a specific icon; made unknown character into the smash icon; added ability to specify colour of the text in divisions
- v1.0 - initial release
Create a Visual Studio solution pr_image_generator, and include the source files included in pr_image_generator. In the executable directory, copy over the contents of /bin. In other words, if your built executable appears in bin/Release, you should have bin/Release/images/ and bin/Release/config.xml.
In the main form designer window, select the main window and set the Icon property to smash.ico included in the repository. In the Project Properties Application tab, set the icon to smash.ico as well.
The first step is to export the .csv representing the current rankings from GlickoMan. The export MUST contain all columns (Name, Wins, Losses, Games Played, Win %, Score).
The .csv can then be modified to add to the PR image. This modification should be done in a simple text editor.
See the included example_input.csv for an example. Values for hex code colours can be found here.
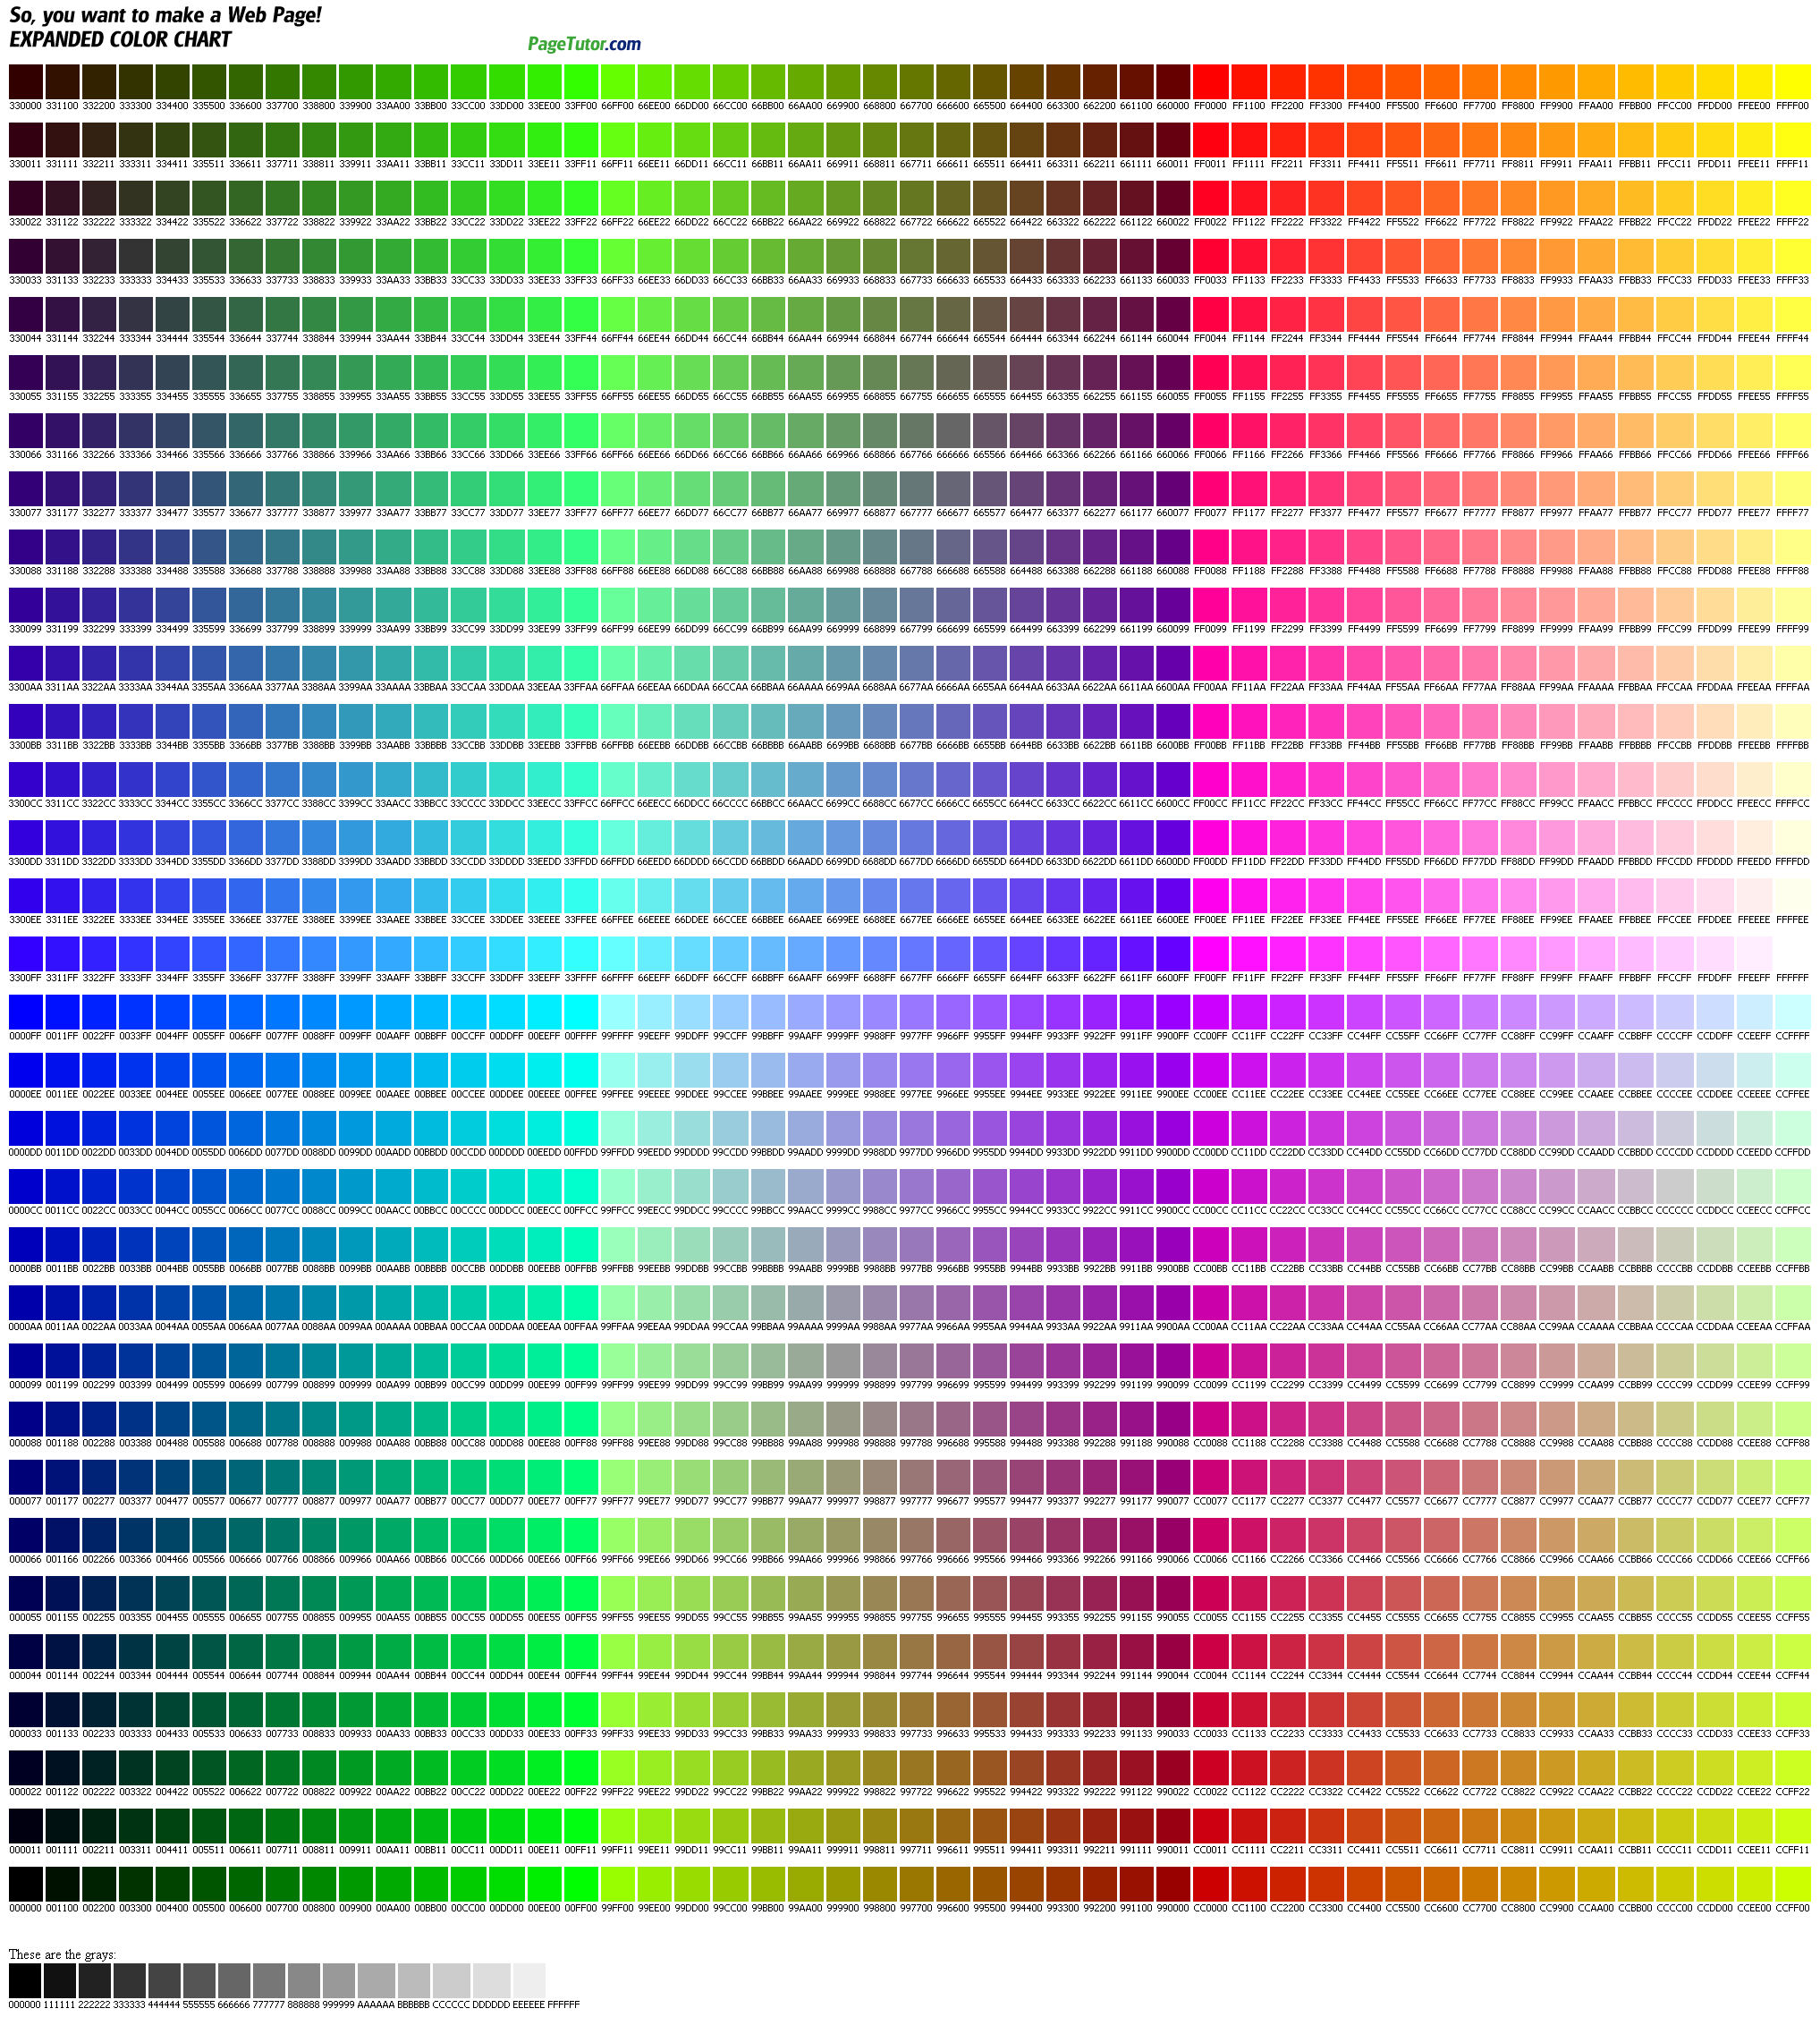
Above the top player in each division, add another row. This row should contain three fields separated by commas, with no spaces between the commas. The first field should contain "/DIVISIONTITLE", without the quotes. For example, to denote the gold division, we add a row with the first field /GOLD. In the second field, enter the hex code of the colour to represent the division. For example, for the gold division, we might enter CCBB33. In the third field, enter the hex code of the colour of the text. For example, if we want GOLD to be written in black, we would enter 000000 in the third column.
/GOLD,CCBB33,000000
The header that appears at the top of the image is header.png in the images/ directory.
You may freely replace this image (while maintaining the same size) to use a different header.
If you do NOT wish to use a character map to specify the characters for each player, you can add the characters manually in the .csv. In this case, leave the Char Map: field blank when running the program.
Add the characters used for each player as the seventh field for each player, in the following format: CHAR1/CHAR2/.../CHARN.
For example, a player who plays Squirtle, Ivysaur, and Charizard would be a value "Squirtle/Ivysaur/Charizard" in the seventh column, without the quotes. The maximum is five characters.
If you do not wish to use a previous .csv to determine the ELO change, the program also gives you the option to manually enter the ELO change. This is done as the eighth field for each player. Any text string is valid in this field, as long as it does not contain a comma. In this case, leave the Prev CSV: field blank when running the program. If the ELO difference is entered manually, it will NOT be coloured based on plus/minus, but rather will adopt the main text colour throughout.
For example: Player,49,0,49,100,2200,Squirtle/Ivysaur/Charizard,+18
Again, in general, do NOT include spaces around the commas.
Note that if a character map .csv is specified when running the program, anything entered as the seventh field in this way will be IGNORED, and the information will be taken from the character map .csv instead. Similarly, if a previous .csv is specified when running the program, anything entered as the eighth field in this way will be IGNORED, and the information will be calculated from the difference in the two .csv's.
Once the program launches, simply fill in the information.
In the Game: field, enter the name of the game (eg- Project Melee)
In the Date: field, enter the date of the update, in any format
In the Region: field, enter the region for which the PR applies
In the Icon Set: field, select whether to use Brawl, Melee or 3DS icons. Use the Brawl set for PM; Melee characters in PM (Roy, Mewtwo, etc.) will borrow the Melee icon.
For the Import CSV: field, use the Browse button to find the modified .csv file from which to generate the image.
For the Prev CSV: field, use the Browse button to find the .csv file used to generate the PREVIOUS PR image; this will be used to help the program calculate the ELO change for each player
For the Char Map: field, use the Browse button to find the .csv file that contains the player-to-characters mapping
For the Save to: field, use the Browse button to indicate where to save the PR image.
Select the desired colours for "Main Text", "Header Text", "Division Name", "Game Name",
"Line 1", "Line 2", "+ELO Text", and "-ELO Text". The program will load colour values from
config.txt, if present. Use the Save Colours button to save the current colour set to config.txt.
Use Load Config Colours button to load colours from config.txt.
Once the information is completed, press Generate Image. A pop-up should appear indicating where the image was saved.
The character map is used to specify what characters should appear next to each player's name. It is recommended to create one character map file for each game, so that the appropriate map for the chosen game can be loaded when running the program.
The format of the character map should also be a .csv, with two fields on each line, separated by a comma.
For example, a Project Melee character map for five players might looks like:
Alphicans,Yoshi/Mario Crusayer,Metaknight KillLock,Marth Stutterfoot,Link/Diddy Victra,Dedede/Peach/Falcon
Valid character names in each character set are as follows (note that capitalization matters):
- Bowser
- CaptainFalcon, CFalcon, Falcon, CF
- DonkeyKong, DK
- DrMario, Doc
- GW, Gameandwatch, MrGameandWatch, GaW
- Ganondorf, Ganon
- GigaBowser
- Falco
- Fox
- IceClimbers, ICs, Popo
- Jigglypuff, Jiggs, Puff
- Kirby
- Link
- Luigi
- Mario
- Marth
- MasterHand
- Mewtwo
- Ness
- Peach
- Pichu
- Pikachu
- Random
- Roy
- Samus
- Sandbag
- Sheik
- YoungLink, YLink, YL
- Yoshi
- Zelda
- Bowser
- CaptainFalcon, CFalcon, Falcon, CF
- Charizard
- Dedede, D3, KingDedede
- Diddy, DiddyKong
- DonkeyKong, DK
- DrMario, Doc
- GW, Gameandwatch, MrGameandWatch, GaW
- Ganondorf, Ganon
- GigaBowser
- Falco
- Fox
- IceClimbers, ICs, Popo
- Ike
- Ivy, Ivysaur
- Jigglypuff, Jiggs, Puff
- Kirby
- Link
- Lucario
- Lucas
- Luigi
- Mario
- Marth
- MasterHand
- Mewtwo
- MK, Metaknight, MetaKnight
- Ness
- Olimar
- Peach
- Pichu
- Pikachu
- Pit
- PokemonTrainer, PT
- Random
- Rob, ROB
- Roy
- Samus
- Sandbag
- Sheik
- Snake
- Sonic
- Squirtle
- ToonLink, TLink, TL
- Wario
- Wolf
- YoungLink, YLink, YL
- Yoshi
- Zelda
- ZSS, ZeroSuitSamus
- Bowser, Koopa
- BowserJr, BJ, KoopaKid
- CaptainFalcon, CFalcon, Falcon, CF
- Charizard, Zard, Lizardon
- DarkPit
- Dedede, D3, KingDedede
- Diddy, DiddyKong
- DonkeyKong, DK
- DrMario, Doc
- Duckhunt, DuckHunt, DuckHuntDuo
- GW, Gameandwatch, MrGameandWatch, GaW
- Ganondorf, Ganon
- Greninja, Gekkouga
- Falco
- Fox
- Ike
- Jigglypuff, Jiggs, Puff, Purin
- Kirby
- Link
- LittleMac, LilMac, Mac
- Lucario
- Lucina
- Luigi
- Mario
- Marth
- Megaman
- Mii
- Miibrawler, MiiBrawler
- Miigunner, MiiGunner
- Miiswordfighter, MiiSwordfighter, Miisword, MiiSword
- MK, Metaknight, MetaKnight
- Ness
- Olimar, CaptainOlimar, PikminandOlimar
- Pacman
- Palutena
- Peach
- Pikachu
- Pit
- Random
- Rob, ROB
- Robin, Reflet
- Rosalina, Rosetta
- Samus
- Sandbag
- Sheik
- Shulk
- Sonic
- ToonLink, TLink, TL
- Villager
- Wario
- WiiFit, WiiFitTrainer
- Yoshi
- Zelda
- ZSS, ZeroSuitSamus, ZeroSuit
For the 3DS set only, you have the option of adding a palette suffix "_n" to select the nth palette of the icon. For example, DK_8 will result in the pink DK icon being used, rather than the default colour, while DK_6 will result in white DK being used. If no suffix is added, or an invalid suffix is entered, then the default colour will be used. See the images/ directory for the available palettes for each character. Most characters will have 8 options, while Little Mac has 16.
If a character not on this list is found in the character map, the program will first search the images/ directory for character.png. For example, if Akuma is found in the character map, and Akuma.png exists in the images/ directory, then Akuma.png will be used. If no such file is found, then the default Smash icon will be used.
It is valid to list no characters - the program will put no icons next to the player in this case. Note that in manual entry mode, there must still be a blank field between the commas.