esp8266 led example blink Welcome to the esp8266_blink wiki! Beginning Internet of Things Projects using Arduino, NodeMCU ESP8266 The introduction of NodeMCU esp8266 connect with LED sensor using Arduino IDE Node MCU with LEDThis example is using necessary things as below. Nodemcu esp8266 all version LED 1 each : + to D1 connecting LED as picture above

Any more important than anythings is download Arduino IDE Software
- https://www.arduino.cc/en/Main/Software After we finished downloading and installation then Open the program Arduino IDE Software
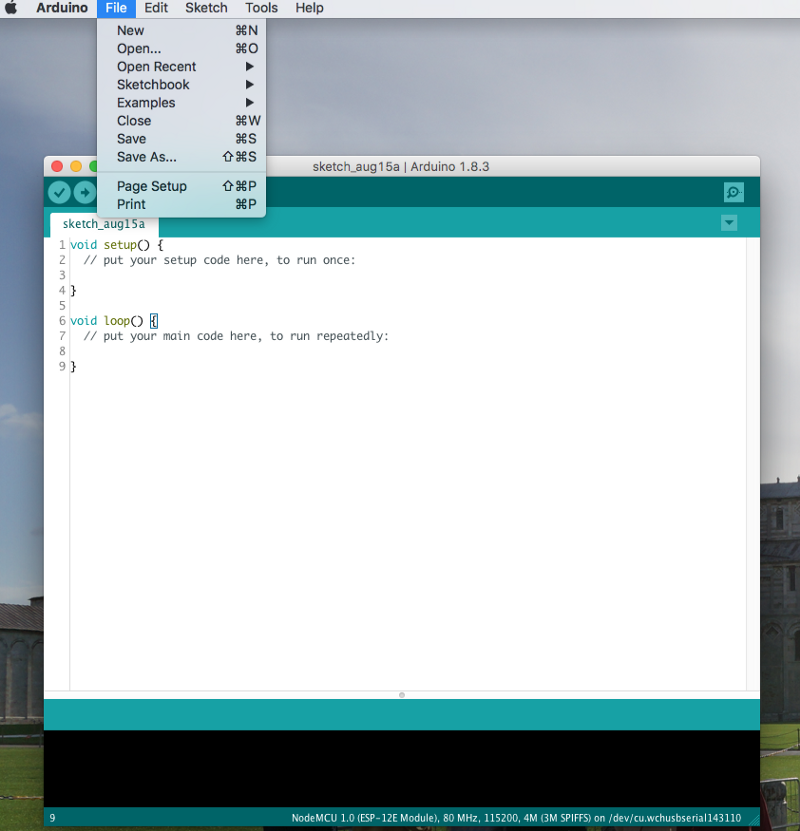
choose File -> KEY ⌘+N
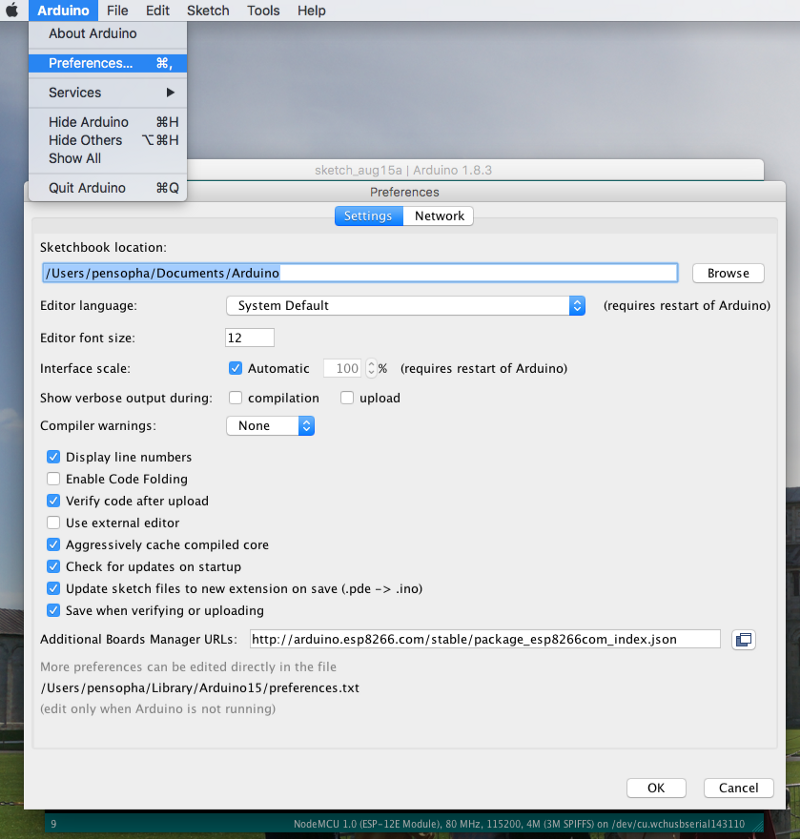
- Download ESP8266 Library https://github.com/esp8266/Arduino Arduino -> Preferences Looking at Additional Boards Manager URLs : Put this link http://arduino.esp8266.com/stable/package_esp8266com_index.json then click OK button
- You can install several sensor and Board library by using Board Manager Firstly we should install NodeMCU or ESP8266 library that we put link of database from GitHub before. Go to Tools -> Board -> Board Manager See two pictures show as below to easy understand


Tools -> Board Choose Boards ManagerClick Install buttonClick install button and waiting for installation about 10 minutes
-
Download USB to TTL Driver http://sparks.gogo.co.nz/ch340.html
-
Use microUSB connect to the computer then make sure that my computer already known our NodeMCU Go to Tools -> Port USB or Port So now we see /dev/cu.usbmodem… we hi-light or click at /dev/cu.usbmodem…

From the step 3 we install library of NodeMCU or ESP8266 finished. We should choose Board Controller to NodeMCU 1.0 (ESP-12E Module) In this step if we can not see ESP8266 Module it's mean we fail to install at step 3 the solution is we should reinstall again

- Choose File -> Examples -> ESP8266 -> Blink This example making blink LED Built in on Broad


From Coding at above picture We replace and put more coding Put define at the top
#define LED_PIN D1
- Replace LED_BUILTIN to LED_PIN The reason is because we connect external LED to D1 and we want it blink
