The Tenjin Android SDK allows users to track events and installs in their Android apps. To learn more about Tenjin and our product offering, please visit https://www.tenjin.com.
- Please see our Release Notes to see detailed version history of changes.
- We recommend using the latest version of Android Studio.
- For Unity integration, please visit https://github.com/tenjin/tenjin-unity-sdk.
- For any issues or support, please contact: support@tenjin.com.
Please use the steps listed below under the section 'Android Studio.'
If you use Maven, add implementation com.tenjin:android-sdk:VERSION to your Gradle dependencies and add mavenCentral() to the source repositories if it’s not there already.
-
Download the latest Android SDK from here.
-
Add the Tenjin SDK into your Android Studio project. Go to the Project Navigator in Android Studio. Select the option
Projectin the Project Navigator. You will find thelibsfolder under theappmodule of your Android Studio project. -
You need to add the file
tenjin.jarortenjin.aarto thelibsfolder. -
In your Android Studio project under
appmodule, select thebuild.gradlefile, and add the following under the dependencies block:dependencies { implementation fileTree(dir: 'libs', include: ['*.jar', '*.aar']) implementation files('libs/tenjin.aar') }
We have a demo project - tenjin-android-sdk-demo that demonstrates the integration of tenjin-android-sdk. You can this project as example to understand how to integrate the tenjin-android-sdk.

If you distribute your apps on Google Play Store or Amazon store, implement the following initial setups.
The Tenjin SDK requires the following permissions:
<uses-permission android:name="android.permission.INTERNET" />
<uses-permission android:name="android.permission.ACCESS_NETWORK_STATE" /> <!-- Required to get network connectivity (i.e. wifi vs. mobile) -->
Google Play requires all API level 32 (Android 13) apps using the advertising_id(Android Advertising ID (AAID)) to declare the Google Play Services AD_ID permission (shown below) in their manifest file. Please add this permission as soon as possible. You are also required to update the tenjin-android-sdk to version 1.12.8 in order to use the below permission.
<uses-permission android:name="com.google.android.gms.permission.AD_ID"/>Add Android Advertising ID (AAID) and Install Referrer libraries, add it to your build.gradle file.
dependencies {
  implementation 'com.google.android.gms:play-services-ads-identifier:{version}'
  implementation 'com.android.installreferrer:installreferrer:{version}'
}By default, unspecified is the default App Store. Update the app store value to either googleplay, amazon, or other depending on your app.
-
AndroidManifest.xml:<meta-data android:name="TENJIN_APP_STORE" android:value="googleplay" />
-
setAppStore():TenjinSDK instance = TenjinSDK.getInstance(this, "<SDK_KEY>"); instance.setAppStore(TenjinSDK.AppStoreType.googleplay);
  TenjinSDK.AppStoreType.googleplay // Google Play App Store
TenjinSDK.AppStoreType.amazon // Amazon AppStore-
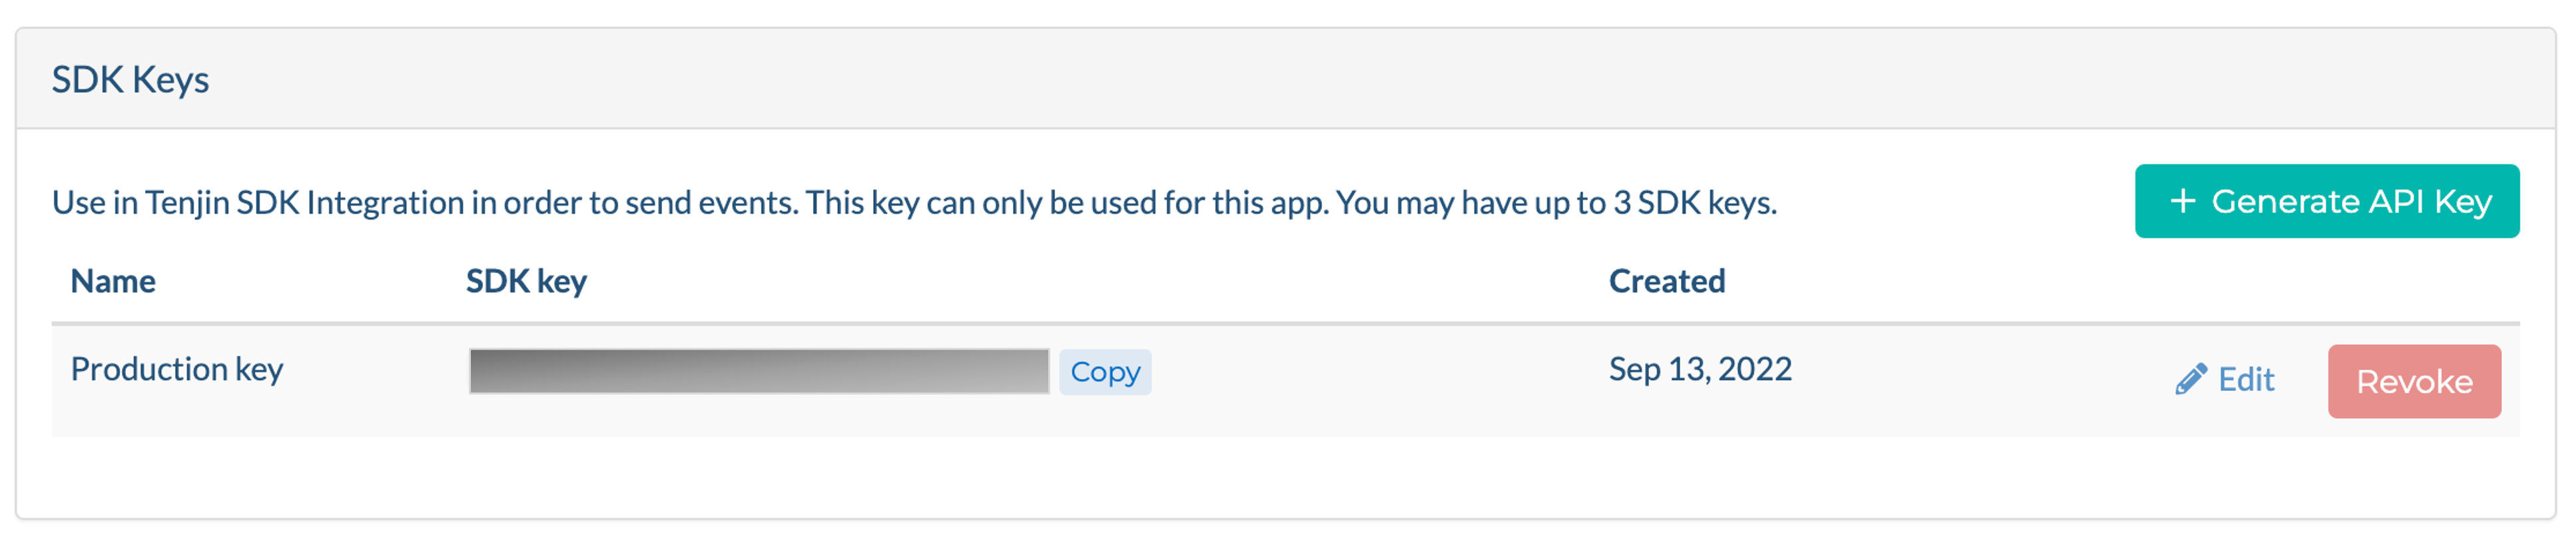
Get your
SDK_KEYfrom your app page. Note:SDK_KEYis unique for each of your app. You can create up to 3 keys for the same app. -
In your Activity, import Tenjin:
import com.tenjin.android.TenjinSDK; -
In the
onResumemethod of your mainActivityclass, add the following line of code:TenjinSDK instance = TenjinSDK.getInstance(this, "<SDK_KEY>"); instance.setAppStore(TenjinSDK.AppStoreType.googleplay); instance.connect();
Note
If your app has the logic to ask user's consent between onCreate and onResume, use onCreate instead of onResume for Tenjin SDK initialization because users who don't consent won't be tracked on onResume.
Note
Please ensure you implement this code on every onResume, not only on the first app open of the app. If we notice that you don't follow our recommendation, we can't give you proper support or your account might be suspended.
If you distribute your apps outside of Google Play Store or Amazon store(Other Android store), implement the following initial setups.
The Tenjin SDK requires the following permissions:
<uses-permission android:name="android.permission.INTERNET" />
<uses-permission android:name="android.permission.ACCESS_NETWORK_STATE" /> <!-- Required to get network connectivity (i.e. wifi vs. mobile) -->
Google Play Services requires all API level 32 (Android 13) apps using the advertising_id(Android Advertising ID (AAID)) to declare the Google Play Services AD_ID permission (shown below) in their manifest file. Please add this permission as soon as possible. You are also required to update the tenjin-android-sdk to version 1.12.8 in order to use the below permission.
<uses-permission android:name="com.google.android.gms.permission.AD_ID"/>Add Android Advertising ID (AAID) and Install Referrer libraries, add it to your build.gradle file.
dependencies {
  implementation 'com.google.android.gms:play-services-ads-identifier:{version}'
  implementation 'com.android.installreferrer:installreferrer:{version}'
}
To be able to collect Meta's Install Referrer, add these queries to your Android Manifest:
<queries>
  <package android:name="com.facebook.katana" />
</queries>

<queries>
  <package android:name="com.instagram.android" />
</queries>
If you are using an Ad Network that targets the IMEI, you will need to add the following permissions enabled.
<uses-permission android:name="android.permission.READ_PHONE_STATE" />Tenjin supports promoting your app on other Android App Stores using the Android OAID. We have the following requirements for integrating OAID libraries.
MSA OAID is an advertising ID for devices manufactured in China that the MSA (Mobile Security Alliance) provides. For integration with the MSA library, download the following oaid_sdk_1.0.25.aar and supplierconfig.json.
Add the following to your project gradle file:
implementation files('libs/oaid_sdk_1.0.25.aar')
Be sure to copy the supplierconfig.json file to the assets folder of your project.
For outside of China, you can collect OAID using the library provided by Huawei. For integration with the Huawei OAID library, add the following to your project:
In your build.gradle file, add the Maven address for the Huawei SDKs:
allprojects {
    repositories {
        google()
        maven { url 'https://developer.huawei.com/repo/' }
    }
}
dependencies {
    implementation 'com.huawei.hms:ads-identifier:{version}'
}If you are marketing your app with Huawei App Gallery, add both the Huawei OAID SDK from above and the Install Referrer library.
dependencies {

    implementation 'com.huawei.hms:ads-identifier:{version}'
    implementation 'com.huawei.hms:ads-installreferrer:{version}'

}By default, unspecified is the default App Store. Update the app store value to other.
-
AndroidManifest.xml:<meta-data android:name="TENJIN_APP_STORE" android:value="other" />
-
setAppStore():TenjinSDK instance = TenjinSDK.getInstance(this, "<SDK_KEY>"); instance.setAppStore(TenjinSDK.AppStoreType.other);
-
Get your
SDK_KEYfrom your app page. Note:SDK_KEYis unique for each of your app. You can create up to 3 keys for the same app. -
In your Activity, import Tenjin:
import com.tenjin.android.TenjinSDK; -
In the
onCreatemethod of your mainActivityclass, add the following line of code:TenjinSDK instance = TenjinSDK.getInstance(this, "<SDK_KEY>"); instance.connect();
Note
Please ensure you implement this code on every onCreate, not only on the first app open of the app. If we notice that you don't follow our recommendation, we can't give you proper support or your account might be suspended.
-keep class com.tenjin.** { *; }
-keep public class com.google.android.gms.ads.identifier.** { *; }
-keep public class com.google.android.gms.common.** { *; }
-keep public class com.android.installreferrer.** { *; }
-keep class * extends java.util.ListResourceBundle {
    protected java.lang.Object[][] getContents();
}
-keepattributes *Annotation*
Do not obfuscate oaid classes:
-keep class XI.CA.XI.**{*;}
-keep class XI.K0.XI.**{*;}
-keep class XI.XI.K0.**{*;}
-keep class XI.xo.XI.XI.**{*;}
-keep class com.asus.msa.SupplementaryDID.**{*;}
-keep class com.asus.msa.sdid.**{*;}
-keep class com.bun.lib.**{*;}
-keep class com.bun.miitmdid.**{*;}
-keep class com.huawei.hms.ads.identifier.**{*;}
-keep class com.samsung.android.deviceidservice.**{*;}
-keep class com.zui.opendeviceidlibrary.**{*;}
-keep class org.json.**{*;}
-keep public class com.netease.nis.sdkwrapper.Utils {public <methods>;}
If you are using Huawei libraries, you can to use these setttings:
-keep class com.huawei.hms.ads.** { *; }
-keep interface com.huawei.hms.ads.** { *; }As part of GDPR compliance, with Tenjin's SDK you can opt-in, opt-out devices/users, or select which specific device-related params to opt-in or opt-out. optOut() will not send any API requests to Tenjin, and we will not process any events.
To opt-in/opt-out:
import com.tenjin.android.TenjinSDK;

public class TenjinDemo extends ActionBarActivity {
    @Override
    public void onResume() {
        //standard code
        super.onResume()

        //Integrate TenjinSDK connect call
        String sdkKey = "<SDK_KEY>";
        TenjinSDK instance = TenjinSDK.getInstance(this, sdkKey);

        boolean userOptIn = checkOptInValue();

        if (userOptIn) {
            instance.optIn();
        }
        else {
            instance.optOut();
        }

        instance.connect();

        //Your other code...
        //...

    }

    protected boolean checkOptInValue(){
        // check opt-in value
        // return true; // if user opted-in
        return false;
    }
}
To opt-in/opt-out specific device-related parameters, you can use optInParams() or optOutParams().
-
optInParams()will only send device-related parameters that are specified.optOutParams()will send all device-related parameters except ones that are specified. -
Kindly note that we require the following parameter to properly track devices in Tenjin's system. If the mandatory parameter is missing, the event will not be processed or recorded.
advertising_id
-
If you are targeting IMEI and/or OAID Ad Networks, these params are required:
imeioaid
-
If you intend to use Google AdWords, these params are required:
platformos_versionapp_versionlocaledevice_modelbuild_id
If you want to only get specific device-related parameters, use optInParams(). In example below, we will only these device-related parameters: ip_address, advertising_id, limit_ad_tracking, and referrer.
String sdkKey = "<SDK_KEY>";
TenjinSDK instance = TenjinSDK.getInstance(this, sdkKey);

String[] optInParams = {"ip_address", "advertising_id", "limit_ad_tracking", "referrer"};
instance.optInParams(optInParams);

instance.connect();
If you want to send ALL parameters except specific device-related parameters, use optOutParams(). In the example below, we will send ALL device-related parameters except:
String sdkKey = "<SDK_KEY>";
TenjinSDK instance = TenjinSDK.getInstance(this, sdkKey);

String[] optOutParams = {"locale", "timezone", "build_id"};
instance.optOutParams(optOutParams);

instance.connect();You can automatically opt in or opt out using your CMP consents (purpose 1) which are already saved in the user's device. The method returns a boolean to let you know if it's opted in or out.
optInOutUsingCMP()
TenjinSDK instance = TenjinSDK.getInstance(this, "<SDK_KEY>");
optInOut = instance.optInOutUsingCMP(); | Param | Description | Reference |
|---|---|---|
| ip_address | IP Address | |
| advertising_id | Device Advertising ID | Android |
| limit_ad_tracking | limit ad tracking enabled | Android |
| oaid | Open Advertising ID | Android |
| imei | Device IMEI | Android |
| platform | Platform | Android |
| referrer | Google Play Install Referrer | Android |
| os_version | operating system version | Android |
| device | device name | Android |
| device_manufacturer | device manufacturer | Android |
| device_model | device model | Android |
| device_brand | device brand | Android |
| device_product | device product | Android |
| carrier | phone carrier | Android |
| connection_type | cellular or wifi | Android |
| screen_width | device screen width | Android |
| screen_height | device screen height | Android |
| os_version_release | operating system version | Android |
| build_id | build ID | Android |
| locale | device locale | Android |
| country | locale country | Android |
| timezone | timezone | Android |
To understand user revenue and purchase behavior, developers can send transaction events to Tenjin. Tenjin will validate transaction receipts for you. Kindly note that we currently only support IAP transactions from Google Play and Amazon AppStore.
IMPORTANT: You will need to add your Base64-encoded RSA public key in the Tenjin dashboard > Your Android App > Edit.
You can retrieve your Base64-encoded RSA public key from the Google Play Developer Console > Select your app > Development Tools > Services & APIs. After entering your Public Key into the Tenjin dashboard for your app, you can use the Tenjin SDK method below:

After entering your Public Key into the Tenjin dashboard for your app, you can use the Tenjin SDK method below:
public void transaction(String productId, String currencyCode, int quantity, double unitPrice, String purchaseData, String dataSignature)Example:
public void sendPurchaseEvent(Purchase purchase, Double price, String currencyCode) {
    String sku = purchase.getSku();
    String purchaseData = purchase.getOriginalJson();
    String dataSignature = purchase.getSignature();

    TenjinSDK instance = getTenjinInstance();
    instance.transaction(sku, currencyCode, 1, price, purchaseData, dataSignature);
}Important
You will need to add the Amazon Shared Key in the Tenjin dashboard > Your Android App > Edit.
You can retrieve your Amazon Shared Key from the Amazon AppStore Developer Console.
After entering your Amazon Shared Key into the Tenjin dashboard for your app, you can use the Tenjin SDK method below:
public void transactionAmazon(String productId, String currencyCode, int quantity, double unitPrice, String receiptId, String userId, String receipt)Example:
public void handlePurchase(final Receipt receipt, final UserData userData) {
    try {
        if (receipt.isCanceled()) {
            revokeConsumablePurchase(receipt, userData);
        } else {
            Log.d(TAG, "=====================> RECEIPT: " + receipt.toString());
            Log.d(TAG, "=====================> USER: " + userData.toString());

            String productId = receipt.getSku();

            // The Amazon IAP Receipt does not have currency, quantity, or price
            // You will need to set those values accordingly.
            //
            String currencyCode = "USD";
            int quantity = 1;
            double price = 1.00;

            String userId = userData.getUserId();
            String receiptId = receipt.getReceiptId();
            String purchaseData = receipt.toString();

            TenjinSDK instance = TenjinSDK.getInstance(this, "<SDK_KEY>");
            instance.setAppStore(TenjinSDK.AppStoreType.amazon);
            instance.transactionAmazon(productId, currencyCode, quantity, price, receiptId, userId, purchaseData);

        }
    } catch (final Throwable e) {
        mainActivity.showMessage("Purchase cannot be completed, please retry");
    }
}You can verify if the IAP validation is working through our Live Test Device Data Tool. You should see a live event come in:

Disclaimer: If you are implementing purchase events on Tenjin for the first time, make sure to verify the data with other tools you’re using before you start scaling up your user acquisition campaigns using purchase data.
Choose between 15% and 30% App Store’s revenue commission via our new setup. The steps are -
- Go to CONFIGURE --> Apps
- Click on the app you want to change it for
- Under the ‘App Store Commission’ section click ‘Edit’
- Choose 30% or 15% as your desired app store commission.
- Select the start date and end date (Or you can keep the end date blank if you dont want an end date)
- Click Save (note: the 15% commission can be applied only to dates moving forward and not historical dates. So please set the start date from the date you make the change and forward)
Note
The initialization event connect() must come before sending any custom events.
You can use the Tenjin SDK to pass a custom event: eventWithName(String name).
The custom interactions with your app can be tied to level cost from each acquisition source that you use through Tenjin's service. Here is an example of usage:
String sdkKey = <SDK_KEY>;
TenjinSDK instance = TenjinSDK.getInstance(this, sdkKey);

//Integrate a custom event with a distinct name - ie. swiping right on the screen
instance.eventWithName("swipe_right");You can use the Tenjin SDK to pass a custom event with an integer value: eventWithNameAndValue(String name, String value) or eventWithNameAndValue(String name, int value).
Passing an integer value with an event's name allows marketers to sum up and track averages of the values passed for that metric in the Tenjin dashboard. If you plan to use DataVault, these values can be used to derive additional metrics that can be useful.
String sdkKey = <SDK_KEY>;
TenjinSDK.instance = TenjinSDK.getInstance(this, sdkKey);

//Integrate a custom event with a distinct name and value - ie. paying 100 virtual coins for an item
instance.eventWithNameAndValue("item", 100);
Using the example above, the Tenjin dashboard will sum and average the values for all events with the name item.
Keep in mind that this event will not work if the value passed not an integer.
//Integrate a custom event with a distinct name and value - ie. paying 100 virtual coins for an item
instance.eventWithNameAndValue("item", "1");
Tenjin offers server-to-server integration, which is a paid feature. If you want to access to the documentation, please send email to support@tenjin.com and discuss the pricing.
If you are running A/B tests and want to report the differences, we can append a numeric value to your app version using the appendAppSubversion() method. For example, if your app version 1.0.1, and set appendAppSubversion(8888), it will report app version as 1.0.1.8888.
This data will appear within DataVault, where you will be able to run reports using the app subversion values.
TenjinSDK instance = TenjinSDK.getInstance(this, "<SDK_KEY>");
instance.appendAppSubversion(8888);
instance.connect();Tenjin supports retrieving of attributes, which are required for developers to get analytics installation id (previously known as tenjin reference id). This parameter can be used when there is no advertising id.
Warning
Attribution Info is a paid feature, so please contact your Tenjin account manager if you are interested in.
You can set and get customer user id to send as a parameter on events.
.setCustomerUserId(userId: "user_id")
.getCustomerUserId()
TenjinSDK instance = TenjinSDK.getInstance(this, "<SDK_KEY>");
instance.setCustomerUserId(userId: "user_id");
userId = instance.getCustomerUserId(); You can get the analytics id which is generated randomly and saved in the local storage of the device.
getAnalyticsInstallationId()
TenjinSDK instance = TenjinSDK.getInstance(this, "<SDK_KEY>");
analyticsId = instance.getAnalyticsInstallationId; If you already have a CMP integrated, Google DMA parameters will be automatically collected by the Tenjin SDK. There’s nothing to implement in the Tenjin SDK if you have a CMP integrated. If you want to override your CMP, or simply want to build your own consent mechanisms, you can use the following:
setGoogleDMAParameters(boolean, boolean)
TenjinSDK instance = TenjinSDK.getInstance(this, "<SDK_KEY>");
instance.setGoogleDMAParameters(adPersonalization, adUserData);
To explicitly manage the collection of Google DMA parameters, you have the flexibility to opt in or opt out at any time. While the default setting is to opt in, you can easily adjust your preferences using the optInGoogleDMA or optOutGoogleDMA methods, ensuring full control over your data privacy settings:
instance.optInGoogleDMA();
instance.optOutGoogleDMA(); You can enable/disable retrying and caching events and IAP when requests fail or users don't have internet connection. These events will be sent after a new event has been added to the queue and user has recovered connection.
.setCacheEventSetting(setting: true)
TenjinSDK instance = TenjinSDK.getInstance(this, "<SDK_KEY>");
instance.setCacheEventSetting(setting: true);Tenjin supports the ability to integrate with the Impression Level Ad Revenue (ILRD) feature from,
- AppLovin
- Unity LevelPlay
- HyperBid
- AdMob
- TopOn
- Clever Ads Solutions (CAS)
- TradPlus
This feature allows you to receive events which correspond to your ad revenue is affected by each advertisement show to a user. To enable this feature, follow the below instructions.
Warning
ILRD is a paid feature, so please contact your Tenjin account manager to discuss the price at first before sending ILRD events.
You can verify if the integration is working through our Live Test Device Data Tool. Add your advertising_id or IDFA/GAID to the list of test devices. You can find this under Support -> Test Devices. Go to the SDK Live page and send the test events from your app. You should see live events come in: