Crash Course Walkthrough
Ready.. Set... GO! Read through, and we'll show you the basics in a ~30 min walkthrough.
Create a new Web Application in Visual Studio. Select the "Empty" template with no other references or folders. Unit tests not needed.
Go through the typical process of getting Umbraco 6 running via NuGet.
PM> Install-Package UmbracoCms -Version 6.2.5Open /config/umbracoSettings.config and change the defaultRenderingEngine to Mvc:
...
<templates>
  ...
  <defaultRenderingEngine>Mvc</defaultRenderingEngine>
</templates>
...
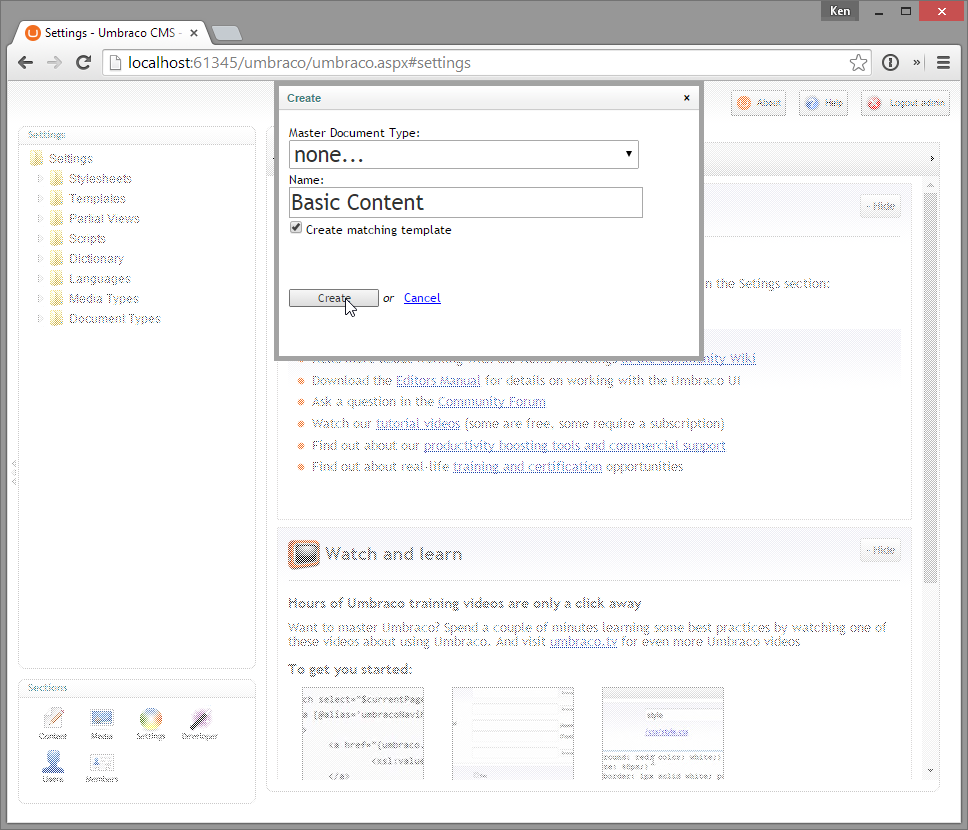
Create a new document type and matching template.
Add these properties:
- Headline (textstring)
- Headline Image (Media Picker)
- Body Content (Rich Text)
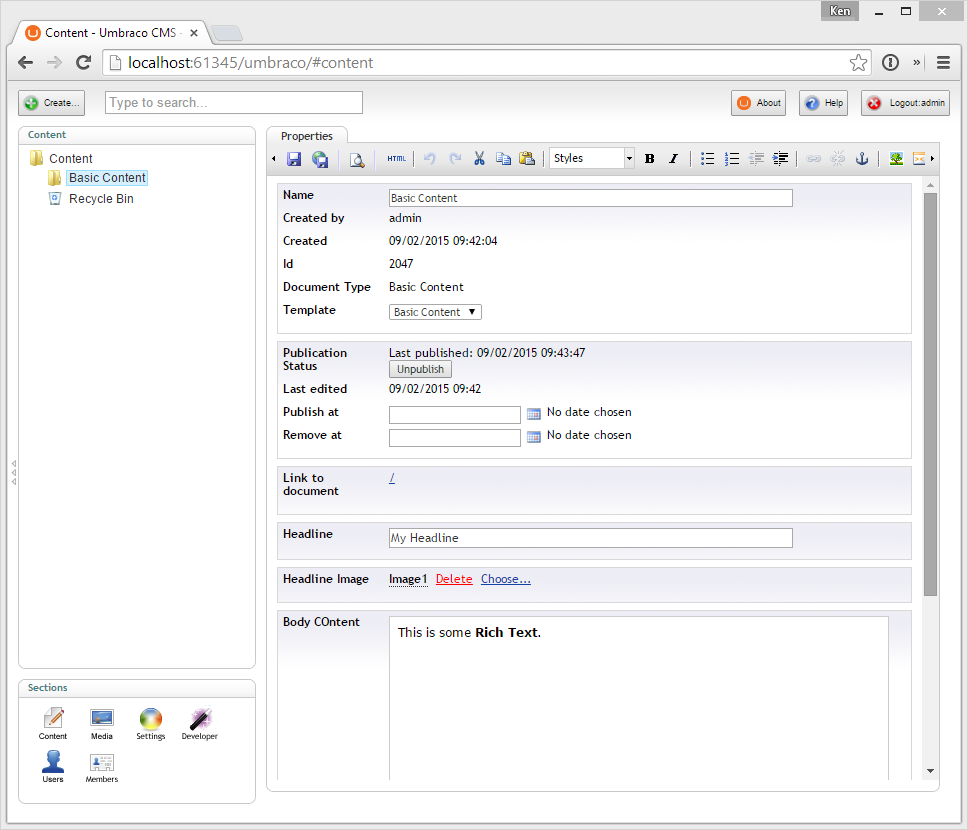
Publish the document.
PM> Nuget.exe Sources Add -Name UmbracoVaultBuild -Source https://ci.appveyor.com/nuget/umbracovault-5m6ate96gcwx -UserName <appveyoremail> -Password <appveyorpassword>
PM> Install-Package UmbracoVault -Source UmbracoVaultBuildIn Visual Studio, create a new view model class called BasicContentViewModel.cs in your site.
using System;
using System.Collections.Generic;
using System.Linq;

using UmbracoVault.Attributes;

namespace WebApplication1
{
    [UmbracoEntity(AutoMap = true)]
    public class BasicContentViewModel
    {
        public string Headline { get; set; }
        public string BodyContent { get; set; }
        public UmbracoImage HeadlineImage { get; set; }
    }

    [UmbracoMediaEntity(AutoMap = true)]
    public class UmbracoImage
    {
        [UmbracoProperty(Alias = "umbracoFile")]
        public string Url { get; set; }
        public string Alt { get; set; }
    }
}Create the following class to register your view model namespace, and set the default render MVC controller for Umbraco to Umbraco Vault's default controller.:
public class CustomApplicationEventHandler : ApplicationEventHandler
{
    protected override void ApplicationStarting(UmbracoApplicationBase umbracoApplication, ApplicationContext applicationContext)
    {
        Vault.RegisterViewModelNamespace("WebApplication1.ViewModels", "WebApplication1");
        DefaultRenderMvcControllerResolver.Current.SetDefaultControllerType(typeof(VaultRenderMvcController));
    }
}If you created a template with the document type above, you'll already have a .cshtml file in the Views directory. Include this in your VS project and have it look like this:
@model WebApplication1.BasicContentViewModel
@{
Layout = null;
}
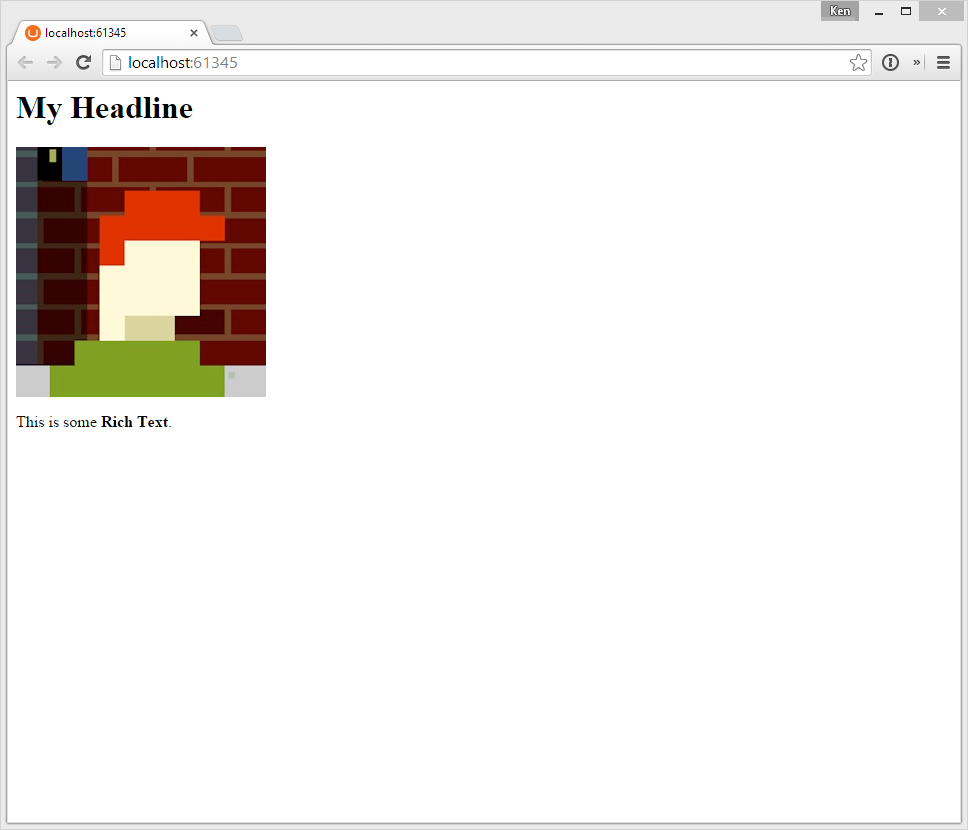
<h1>@Model.Headline</h1>
@if (Model.HeadlineImage != null)
{
<img src="@Model.HeadlineImage.Url" alt="@Model.HeadlineImage.Alt"/>
}
@Html.Raw(Model.BodyContent)That's it! Your page should now be published and visible with your view model.