01:Make sprite and sprite animation
Sprite is 2D graphic object on 2D game, for example character, item, etc.
Please refer document Sprite, SpriteRenderer for more information.
Select "Spaceship" into Sprites/Spaceship.
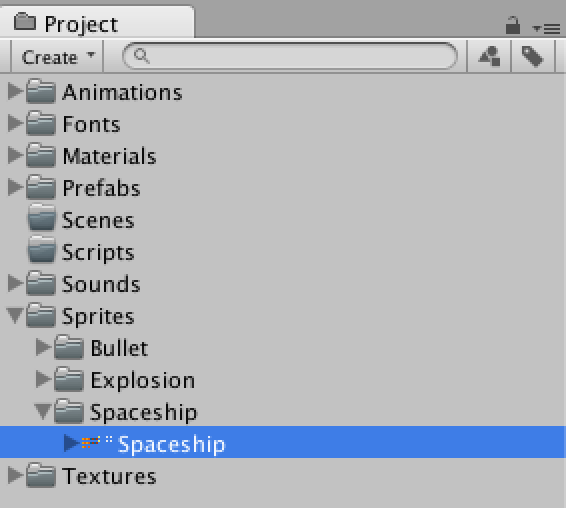
fig1.1: Selecting "Spaceship" texture.
"Spaceship" texture import at 2D mode, already should import as Sprite. If TextureType is Texture, push "Apply" button and change Sprite like fig.1.2.

fig1.2:
When single Texture contain multiple Sprite in Texture Import Settings, Sprite Mode change Multiple and Pixels Per Units change 50.
![]()
fig1.3:
Length unit call unit in Unity. Speaking more, convert 1 unit to 1 meter."Pixels Per Units" is relationship of pixel and unit.
The same size 1 pixel as 1 unit.
![]()
The same size 100 pixel as 1 unit.
![]()
Texture Import Settingsの「SpriteEditor」ボタンを押してSpriteEditorを開いてみましょう。
In Texture Import Settings, push "SpriteEditor" button and open SpriteEditor.
![]()
fig1.4:
Sometimes a sprite texture contains just a single graphic element but it is often more convenient to combine several related graphics together into a single image. For example, the image could contain component parts of a single character, as with a car whose wheels move independently of the body. Unity makes it easy to extract elements from a composite image by providing a Sprite Editor for the purpose.Please refer document SpriteEditor for more infomation.
Multiple sprite edit for texture. Click "Slice" button on upper left. Change Type Automatic to Grid By Cell Size.

fig1.5:
Pixel Size input X 48 Y 48.
![]()
fig1.6:
Push "Slice" button and confirm to add glid-line in texture, and reflection by push "Apply" button.
![]()
fig1.7:
When it's figure 1.8 like as Project View, it's OK.
![]()
fig1.8:
Make Animation as figure 1.9 on Unity.

fig1.9: Player Animation(gif)
Make AnimatorController and AnimationClip automation when Drag and Drop multiple sprite in Scene View. Drag and Drop in Scene view from Spaceship_0 to Spaceship_3.
![]()
fig1.10:
Sprites/Spaceship, then AnimationController file which corresponds to Animation Clip file is made. File name change Player and AnimationClip file name change Normal, Drag & Drop into Animations/Player each other.

fig1.11: Sprites/Spaceship animation Clip file and AnimationController file is made.
The name of Spaceship_0 of each of GameObject and AnimationController is changed to Player.

fig1.12:
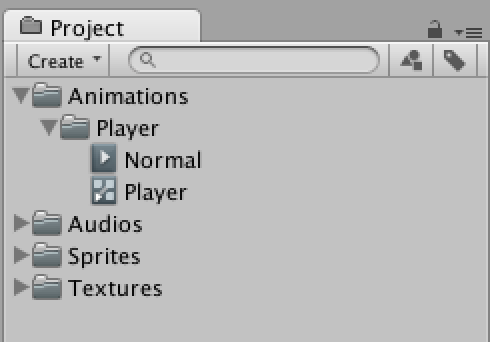
fig1.13:
There are 2 ways to change the name of GameObject.
1.Change the name on the inspector.
When select GameObject, Inspector show various information.
GameObject name is shown at the top of the inspector is able to edit, edit and push Enter.

fig1.14:
2.Change the name on the Hierarchy.
Select GameObject on Hierarchy and push Enter, the name is able to edit. Edit and push Enter.

fig1.15:
By now, Sprites Animation is completed. Push Play button and play game.
Animation make as figure 1.16 on Unity.

fig1.16: Player Animation(gif)
同じようにSpaceship_4からSpaceship_7までの4つを選択し、シーンビューにドラッグ&ドロップしてAnimatorControllerとAnimationClipファイルを作成してください。
Drag and Drop in Scene view from Spaceship_4 to Spaceship_7, make AnimatorController and AnimationClip in Scene View.
![]()
fig1.17:
Named Enemy.

fig1.18:

fig1.19:
BulletのSprite ModeをMultipleにしてSprite Editorを開きましょう。 TypeはGrid By Cell SizeでPixel SizeをX 16 Y 16とします。
Change Sprite Mode of Bullet Multiple, open Sprite Editor. Type change Grid By Cell Size and Pixel Size input X 16 Y 16.
![]()
fig1.20:
スライスしたらApplyボタンを押しましょう。 また、Pixels Per Unitsを100に変更します。(弾のスケールを小さくします)
Slice and push "Apply" button. Besides Pixels Per Units change 100 (Bullet scale make small).
We will be make below Animation

fig1.21: Animation of Explosion(gif)
ExplosionのSprite ModeをMultipleにしてSprite Editorを開きましょう。TypeはGrid By Cell SizeでPixel SizeをX 80 Y 80とします。スライスしたらApplyボタンを押しましょう。
Change Sprite Mode of Explosion Multiple and open Sprite Editor. Type change Grid By Cell Size and Pixel Size input X 80 Y 80. Push "Slice" button and confirm to add glid-line in texture, push "Apply" button.
![]()
fig1.22:
同じようにExplosion_0からExplosion_10までの11つを選択し、シーンビューにドラッグ&ドロップしてAnimatorControllerとAnimationClipファイルを作成してください。アニメーション名はExplodeにします。
Drag and Drop in Scene view from Explosion_0 to Explosion_10, make AnimatorController and AnimationClip in Scene View. Animation named Explode.
![]()
fig1.23:
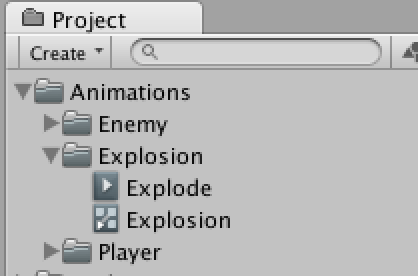
fig1.24:
今まで作成した「Player」、「Enemy」、「Explosion」をPrefabファイルとして保存します。 Prefabsフォルダを作成し、フォルダに向けてゲームオブジェクトを1つずつドラッグ&ドロップします。
Made "Player", "Enemy", "Explosion" in Hierarchy, preserve as Prefab directory. Make Prefabs directory and Drag and Drop one by one.
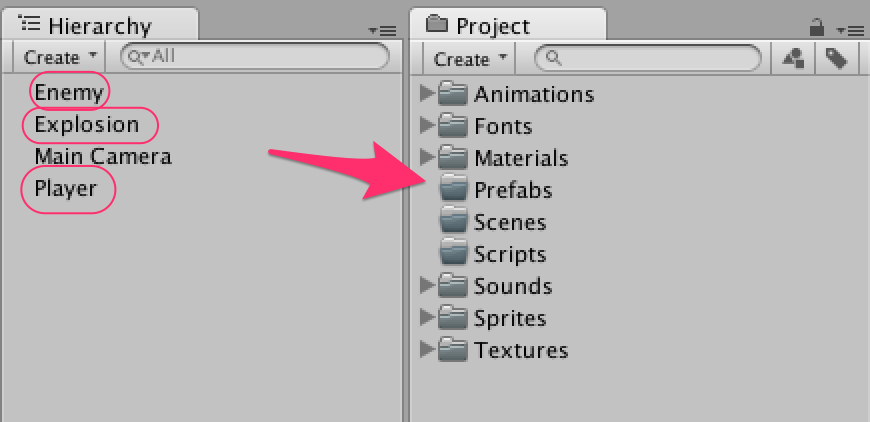
fig1.25:
3つともPrefabにしたらシーン上にあるゲームオブジェクトは削除しましょう。 ゲームオブジェクトの上で右クリックをしてメニューを表示します。Deleteを選択してください。
When make Prefab about 3 GameObject, delete GameObject on Scene. Right-click on GameObject and select Delete.

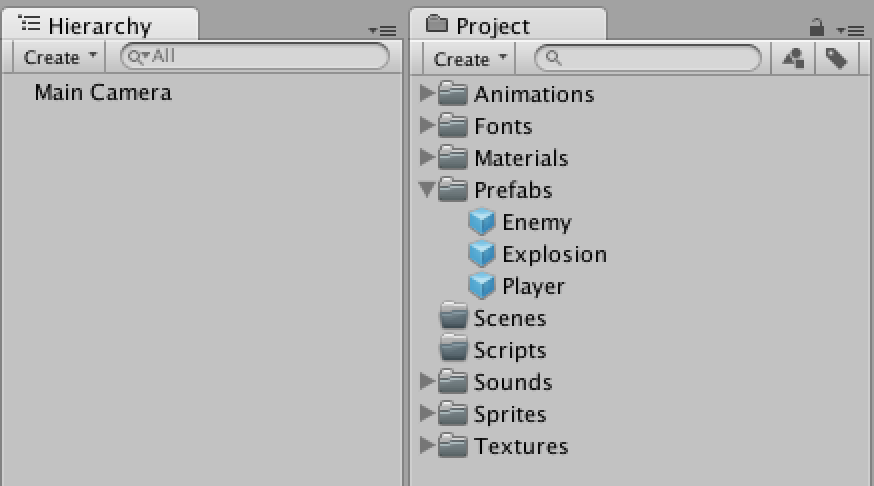
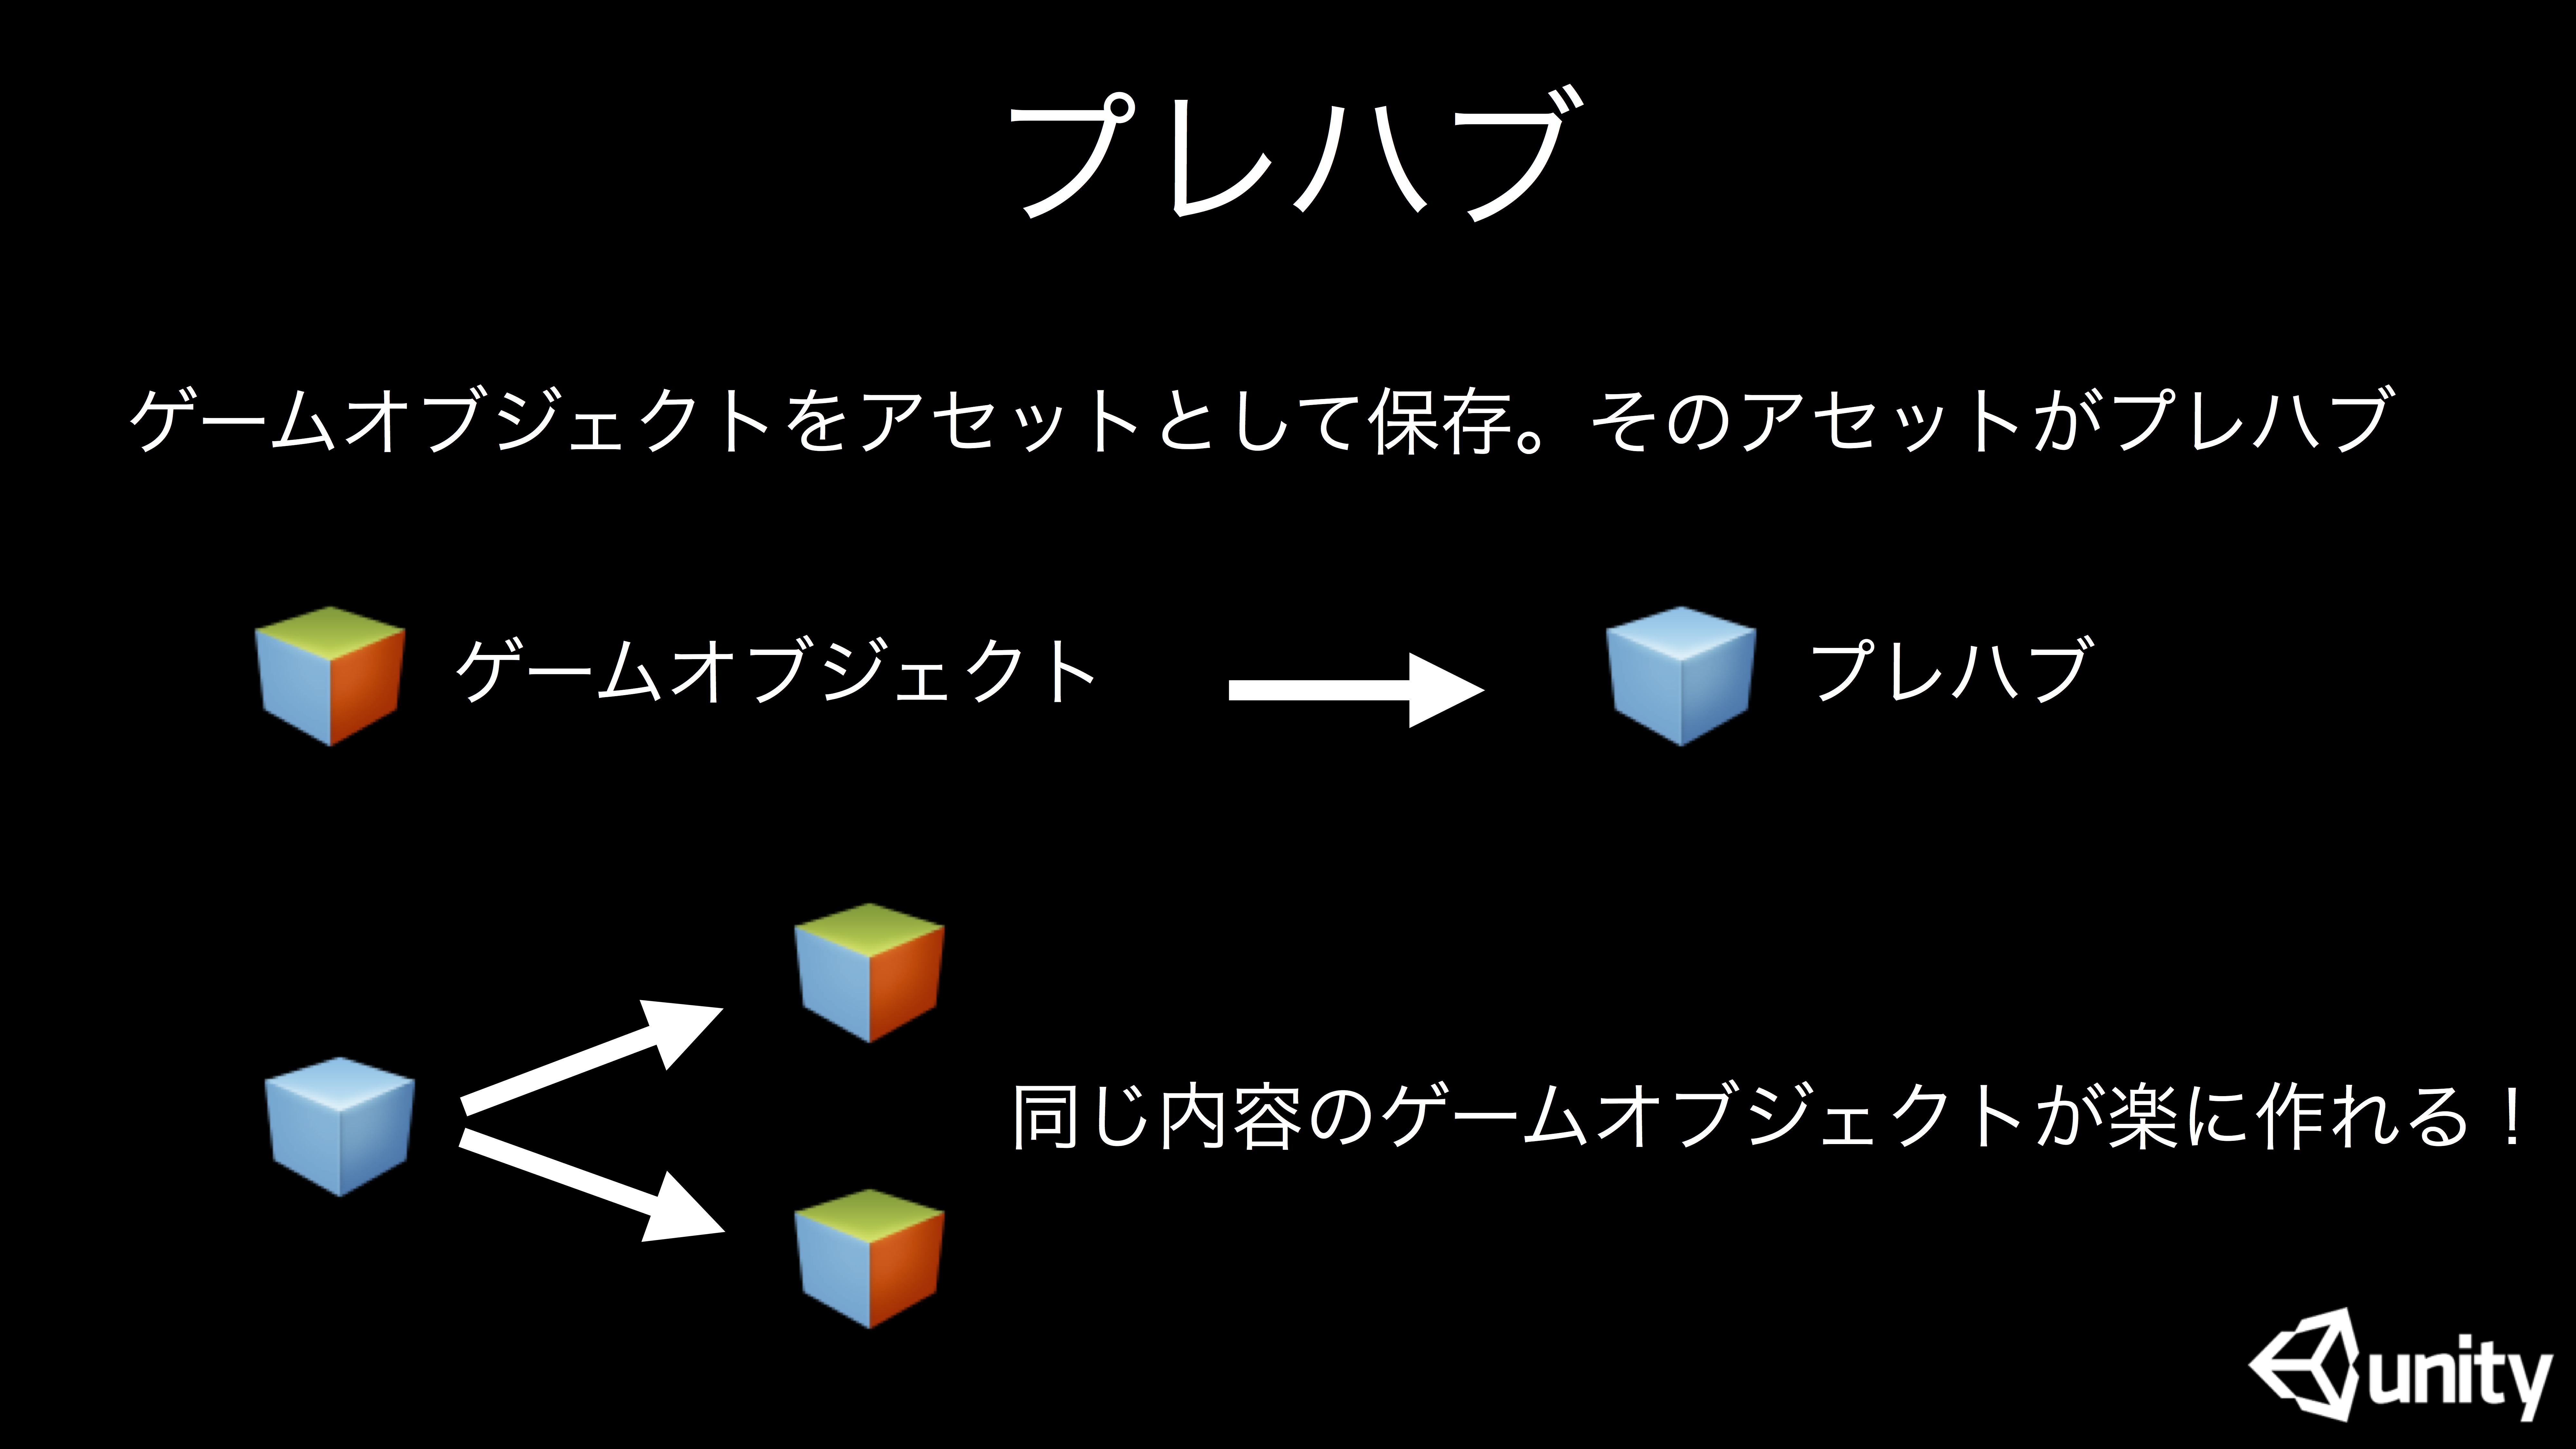
fig1.26:
Please refer document Prefabs for more infomation.
This part is finished. If you get stuck, Download below project file and next part.

Before you start this tutorials
01:Make sprite and sprite-animation
02:Move player
03:Shooting bullet from player
04:Make enemy
05:Collision Detection, Animation Event, Layer
06:Make background
07:Mechanism making of Wave type
08:Put on sounds
09:Limit player's move and some adjustment
10:Title
11:Enemy HP, bullet power, animation
12:More Waves and add Score
第01回 複数の解像度に対応する(黒帯を追加する)
第02回 複数の解像度に対応する(引き伸ばす)
第03回 タッチパネル対応
第04回 バーチャルジョイスティック対応