Set up Home Assistant on a Raspberry Pi
This tutorial describes how to install Home Assistant Core on Raspberry Pi to get started with Home Assistant and set up the development environment.
Home Assistant is a Python-based open-source smart home system. It supports connection to smart devices across different platforms, which allows you to control a connected home with one system. We use Home Assistant Core (recommended for developers) to install Home Assistant OS and runs the program in Ubuntu Server. For more information about other installation methods, see the instructions on Home Assistant.
You have installed Python on your system. Python 3.8.0 or later is recommended.
| Hardware/Software | Description |
|---|---|
| Computer | A computer |
| Device to run Home Assistant | Raspberry Pi 3 or later This tutorial uses the 64-bit Raspberry Pi 4, with 8 GB RAM. |
| Environment | Ubuntu Server 20.04.2 LTS |
| Wireless router | One piece |
| microSD card | One piece |
| SD Card reader | One piece |
-
Download and install Raspberry Pi Imager 1.6.
-
Insert the microSD card into your computer.
-
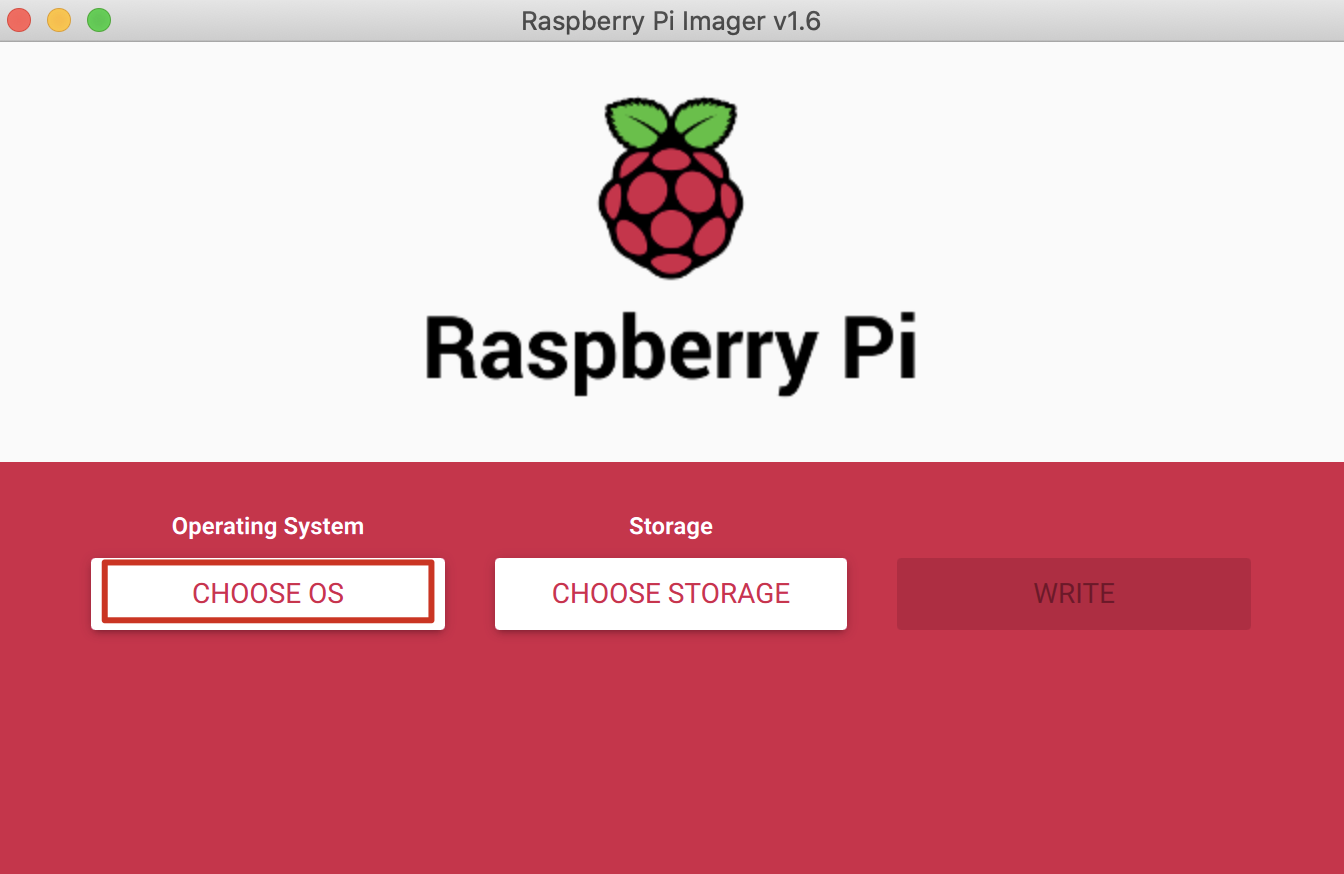
Start Raspberry Pi Imager 1.6 and click CHOOSE OS.
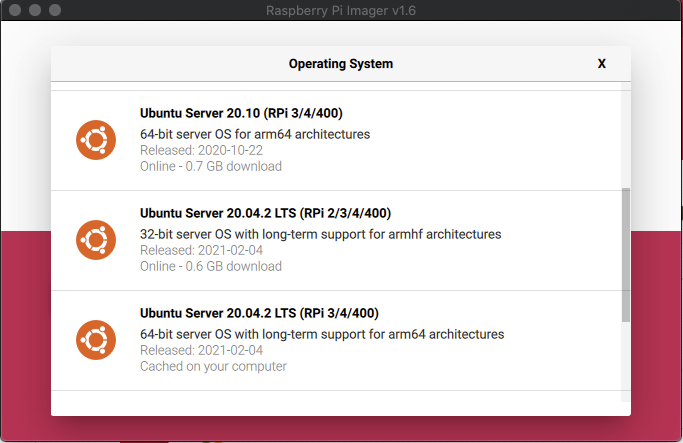
- In the Operating System dialog box, select Other general purpose OS > Ubuntu > Ubuntu Server 20.04.2 LTS (RPi 3/4/400).
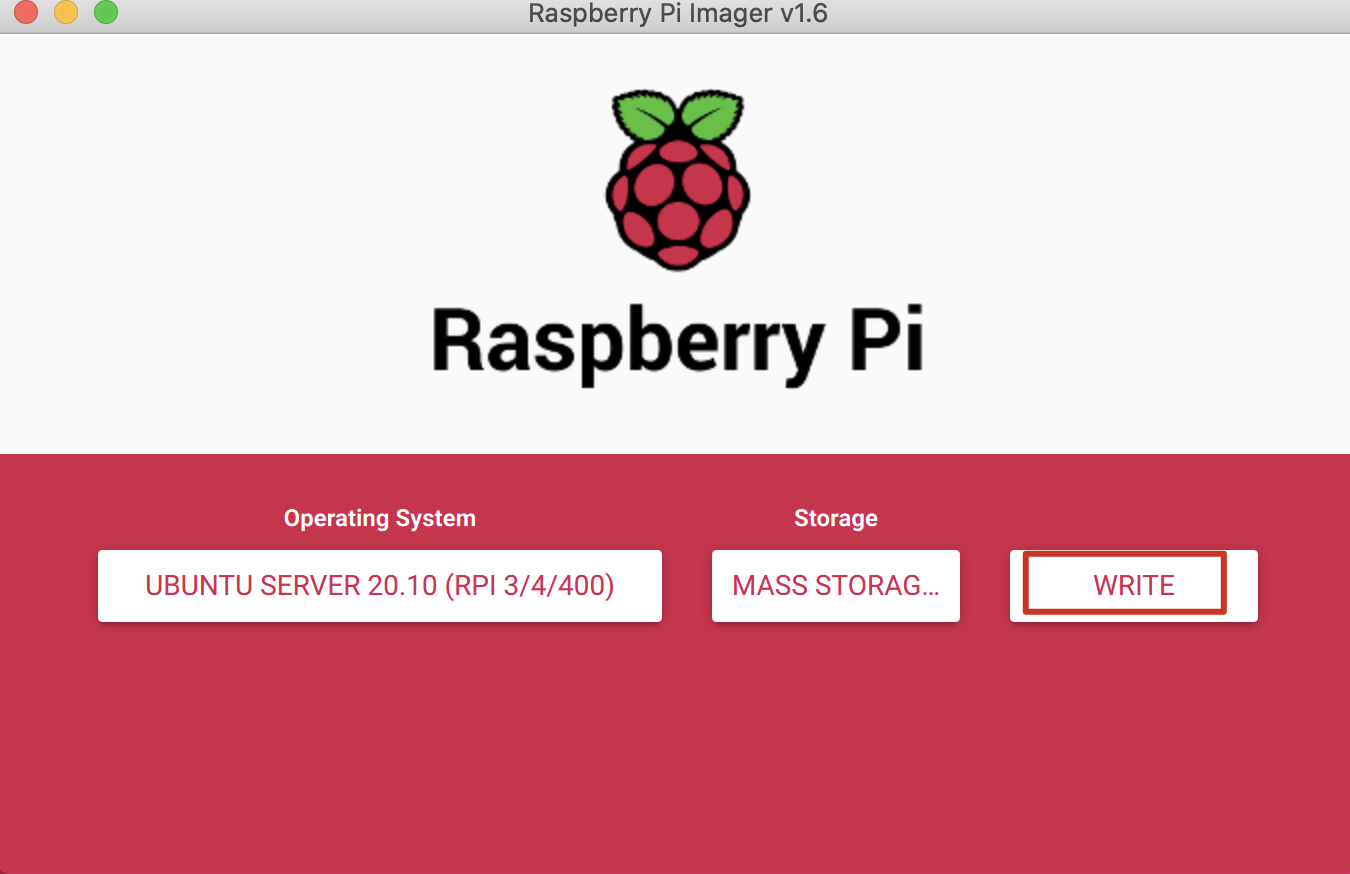
- On the page of Raspberry Pi Imager 1.6, click CHOOSE STORAGE and select your microSD card.
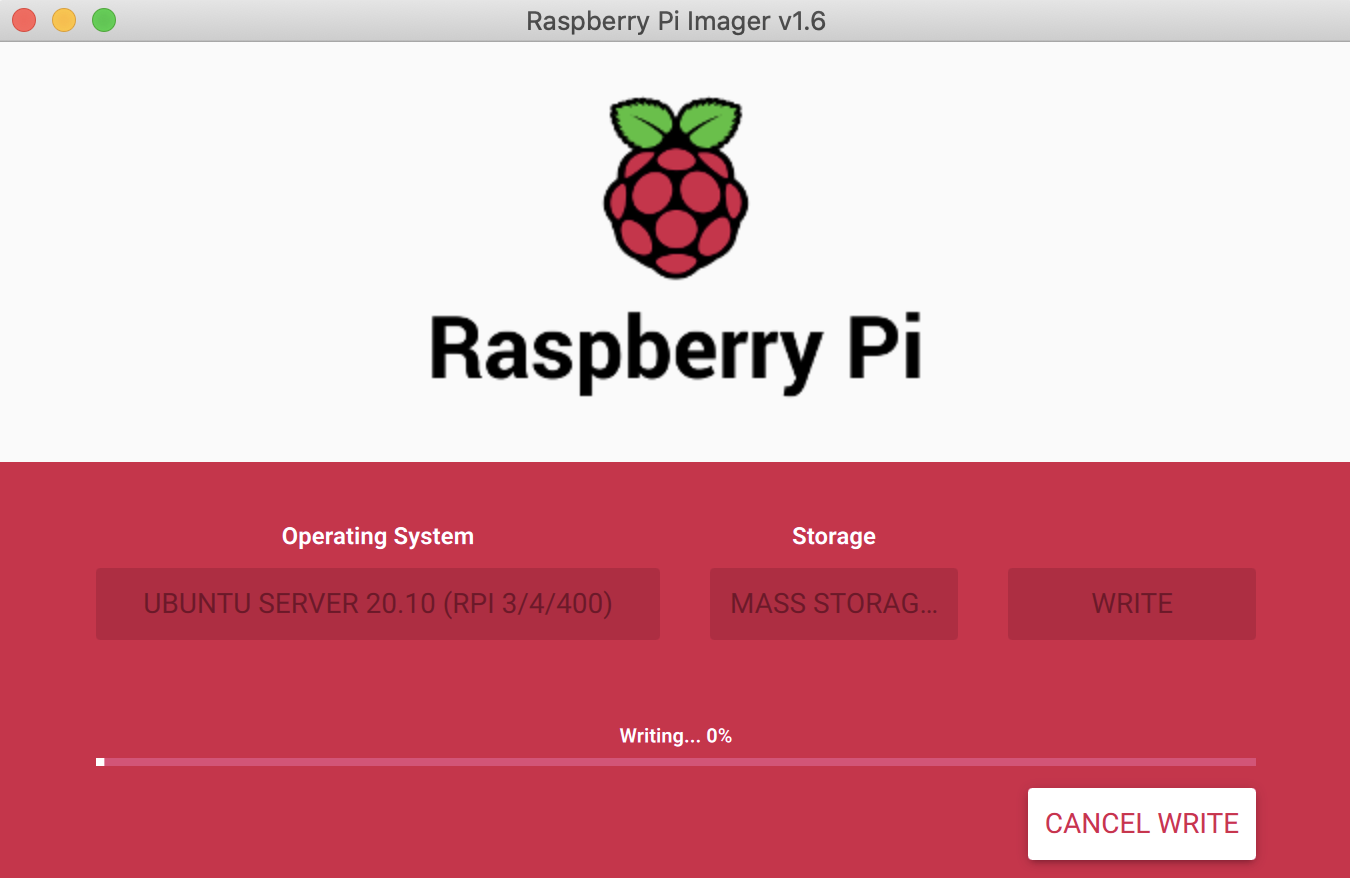
- Click WRITE to flash the SD card with Raspberry Pi Imager.
- Waiting for flashing completed.
- Remove the microSD card from your Mac and insert it into the Raspberry Pi.
You can connect Raspberry Pi to the internet through a wired Ethernet connection (recommended) or a Wi-Fi network.
- Wired connection Use an Ethernet cable to connect Raspberry Pi to the router.
- Wi-Fi connection
- Insert the flashed microSD card into your computer.
- Open Finder on your Mac and click Locations > system-boot.
- Open the network-config file with a text editor. Change the
myhomewififield to the SSID of your router and theS3kr1tfield to the password of your router.wifis: wlan0: dhcp4: true optional: true access-points: myhomewifi: password: "S3kr1t" - Save the file and exit.
- Insert the microSD card into Raspberry Pi.
- Find your Raspberry Pi's IP address on the local network from your router setup page. This tutorial uses
192.168.1.140as an example. - Make sure your computer and Raspberry Pi connect to the same LAN. Execute the following command to connect to Raspberry Pi.
ssh ubuntu@192.168.1.140 - Enter the default password and then enter the new password twice to reset the password.
Note: The default username and password of Ubuntu Server both are
ubuntu.
Execute the following three commands respectively to install dependencies. The installation process will take some time.
sudo apt-get update
sudo apt-get upgrade -y
sudo apt-get install -y python3 python3-dev python3-venv python3-pip libffi-dev libssl-dev libjpeg-dev zlib1g-dev autoconf build-essential libopenjp2-7 libtiff5 --fix-missing
-
Create a directory for the installation of Home Assistant.
mkdir ~/hass -
Create and activate the virtual environment for Home Assistant.
- Go to the directory.
cd ~/hass - Create virtual environment.
python3 -m venv . - Activate virtual environment.
source bin/activate
- Go to the directory.
- Install Python package.
python3 -m pip install wheel - Install Home Assistant Core.
pip3 install homeassistant
Execute the following command to start Home Assistant.
hass
When you start Home Assistant for the first time, the system will create ~/.homeassistant directory to store configuration files and install required dependencies. This process will take some time.
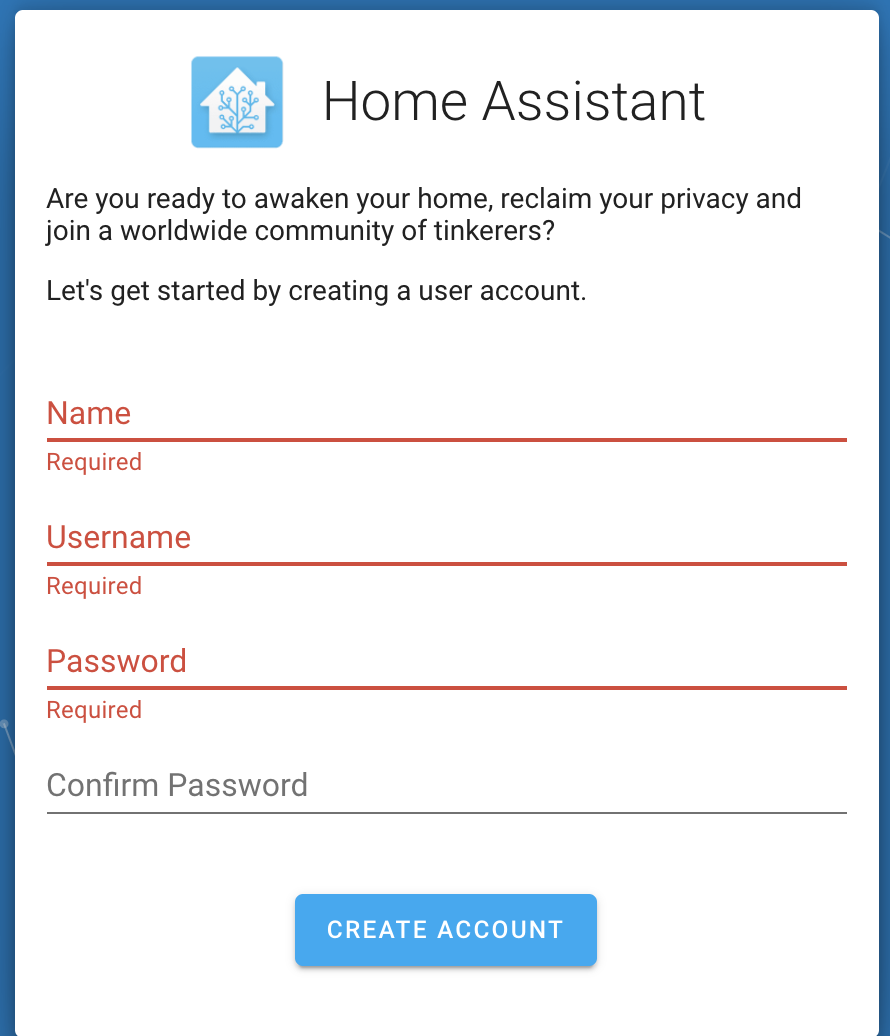
Visit http://192.168.1.140:8123 in a browser by using a device in the same LAN. If the Home Assistant homepage appears, it indicates that installation is successful.
Note: The IP address here is only for demonstration. Use your Raspberry Pi's IP address.
We use Samba to share .homeassistant directory in the LAN. You can modify the .homeassistant file directly on your computer, which will help the development of drivers.
- Install Samba.
sudo apt-get install samba samba-common-bin - Configure
smb.conffile.Note: Yo must specify an absolute path to
smb.conf, such as/home/ubuntu/.homeassistant.- Edit the file.
sudo vi /etc/samba/smb.conf - Add the following line of code to the bottom of the configuration file.
[pi] path = /home/ubuntu/.homeassistant writeable=Yes create mask=0777 directory mask=0777 public=no - Save the file.
- Edit the file.
- Add a Samba account.
Note: When you use the
sudo smbpasswd -acommand to create a Samba user, the account must be a Linux system account, such as ubuntu.- Execute the following command line.
sudo smbpasswd -a ubuntu - Enter a password, such as
a123456.
- Execute the following command line.
- Restart Samba to make the configuration effective.
sudo systemctl restart smbd
Once Samba is installed, the development environment is set up.
-
Open Finder on your Mac.
-
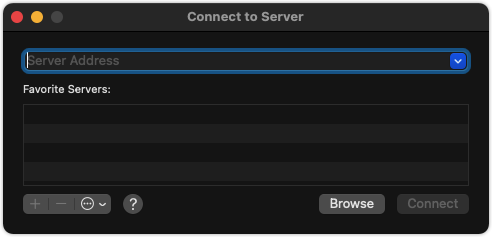
In the top-left corner of the screen, click Go > Connect to Server.
-
In the dialog box, enter your Raspberry Pi's IP address and click Connect.
smb://192.168.1.140/piNote: The IP address here is only for demonstration. Use your Raspberry Pi's IP address.
-
In the dialog box, enter the account and password of the Samba user. See the following example.
- Name: ubuntu
- Password: a123456
-
Click Connect to access the Home Assistant folder shared with Raspberry Pi.
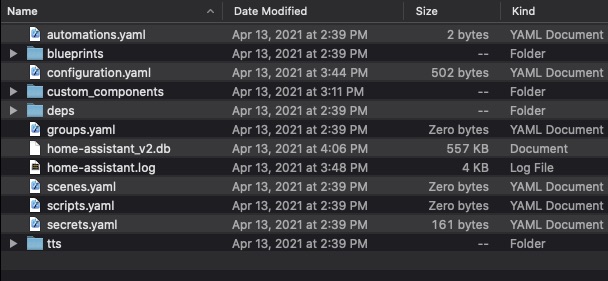
You can access the Home Assistant folder through Samba and proceed with the development of drivers. For more information, see Develop Tuya-Compatible Home Assistant Drivers.