Using the New Dimensions API
The Dimensions class recently added to Twinspire Core is designed to assist in layout and performing logic on dimensions. Often, when working with anything relating to positions and sizes, there are trivial, if not boilerplate, code that needs performing when needing to layout your interface or other items on the screen.
This class attempts to solve trivial matters by providing useful utilities.
The dimensions API works on the class Dim, found under twinspire.geom.
Normally, you only need to define one standard Dim, and the rest follows the API.
Make sure to also import twinspire.Dimensions.*; to work with all these functions statically without needing to use the Dimensions class for every function call.
For example:
var container = new Dim(10, 10, 500, 200);This creates a dimension positioned at 10, 10 with the width 500 and height of 200 pixels.
We can centre this dimension using centreScreenX and centreScreenY, to centre the dimension directly in the middle of the client. But we can do better than this.
The above two functions are useful if we want to centre a dimension just on the X or Y-axis, hence their names. But if we want to centre a dimension using a width and height, we can instead use centreScreenFromSize.
var container = centreScreenFromSize(500, 200);This function returns a new Dim which we can use as a container.
Let's say we want buttons that work their way down this container. We can use dimGrid for this.
var container = centreScreenFromSize(500, 200);
var buttons = dimGrid(container, [ { sizing: DIM_SIZING_PERCENT, value: 1.0 } ],
[ { sizing: DIM_SIZING_PIXELS, value: 50 }, { sizing: DIM_SIZING_PIXELS, value: 50 },
  { sizing: DIM_SIZING_PIXELS, value: 50 }, { sizing: DIM_SIZING_PIXELS, value: 50 } ]);
As you can see, we are needing to repeat the same code to get 50 pixel heights for each of our buttons. Instead, we can use a utility function for this repetitive work, called dimMultiCellSize.
var container = centreScreenFromSize(500, 200);
var buttons = dimGrid(container, [ { sizing: DIM_SIZING_PERCENT, value: 1.0 } ], dimMultiCellSize({ sizing: DIM_SIZING_PIXELS, value: 50 }, 4) );
This is easier to read now.
Now, let's use the following function to render something using these dimensions we get from using dimGrid:
function drawButton(dim:Dim)
{
	g2.color = Color.Blue;
	var active = GlobalEvents.isMouseOverDim(dim);
	if (active && GlobalEvents.isMouseButtonDown(BUTTON_LEFT))
	{
		g2.color = Color.fromFloats(0, 0, .5);
	}
	else if (active)
	{
		g2.color = Color.fromFloats(.4, .4, 1);
	}

	g2.fillRectDim(dim);

	return (active && GlobalEvents.isMouseButtonReleased(BUTTON_LEFT));
}
Now, let's finish our render code:
if (drawButton(buttons[0]))
{

}

if (drawButton(buttons[1]))
{

}

if (drawButton(buttons[2]))
{

}

if (drawButton(buttons[3]))
{

}
As you can see, dimGrid returns an array of Dim. It will begin with the columns, then go down the rows. So, for example, in a grid that is 3x3, getting index 4 is the very centre of the grid, while index 6 is the bottom-left cell.
Our full Haxe code looks like this:
package;

import kha.graphics2.Graphics;
import kha.Framebuffer;
import kha.System;
import kha.Color;
using twinspire.extensions.Graphics2;

import twinspire.GlobalEvents;
import twinspire.events.Buttons;
import twinspire.geom.Dim;
import twinspire.Dimensions.*;

import twinspire.Application;

class Main
{

	static var g2:Graphics;

	static function render(frames:Array<Framebuffer>):Void
	{
		g2 = frames[0].g2;

		g2.begin(true, Color.fromFloats(.9, .9, .9));

		var container = centreScreenFromSize(500, 200);
		var buttons = dimGrid(container, [ { sizing: DIM_SIZING_PERCENT, value: 1.0 } ], dimMultiCellSize({ sizing: DIM_SIZING_PIXELS, value: 50 }, 4) );

		if (drawButton(buttons[0]))
		{

		}

		if (drawButton(buttons[1]))
		{

		}

		if (drawButton(buttons[2]))
		{

		}

		if (drawButton(buttons[3]))
		{

		}

		GlobalEvents.end();

		g2.end();
	}

	static function drawButton(dim:Dim)
	{
		g2.color = Color.Blue;
		var active = GlobalEvents.isMouseOverDim(dim);
		if (active && GlobalEvents.isMouseButtonDown(BUTTON_LEFT))
		{
			g2.color = Color.fromFloats(0, 0, .5);
		}
		else if (active)
		{
			g2.color = Color.fromFloats(.4, .4, 1);
		}

		g2.fillRectDim(dim);

		return (active && GlobalEvents.isMouseButtonReleased(BUTTON_LEFT));
	}

	public static function main() {
		Application.create({ title: "Example", width: 1280, height: 720 }, () -> {
			System.notifyOnFrames(render);
		});
	}
}

Let's add some spacing between our buttons. We can scale on the Y-axis to perform scaling on the dimensions.
if (drawButton(dimScaleY(buttons[0], 0.9)))
{

}
Using the dimScale functions will return a new Dim, meaning it is not inline. Note that not all functions in the Dimensions class are inline. Those that are inline will modify the dimensions in place, so be careful of this.
If we apply this same logic to the rest of our buttons, we can get a result that produces space between the buttons.
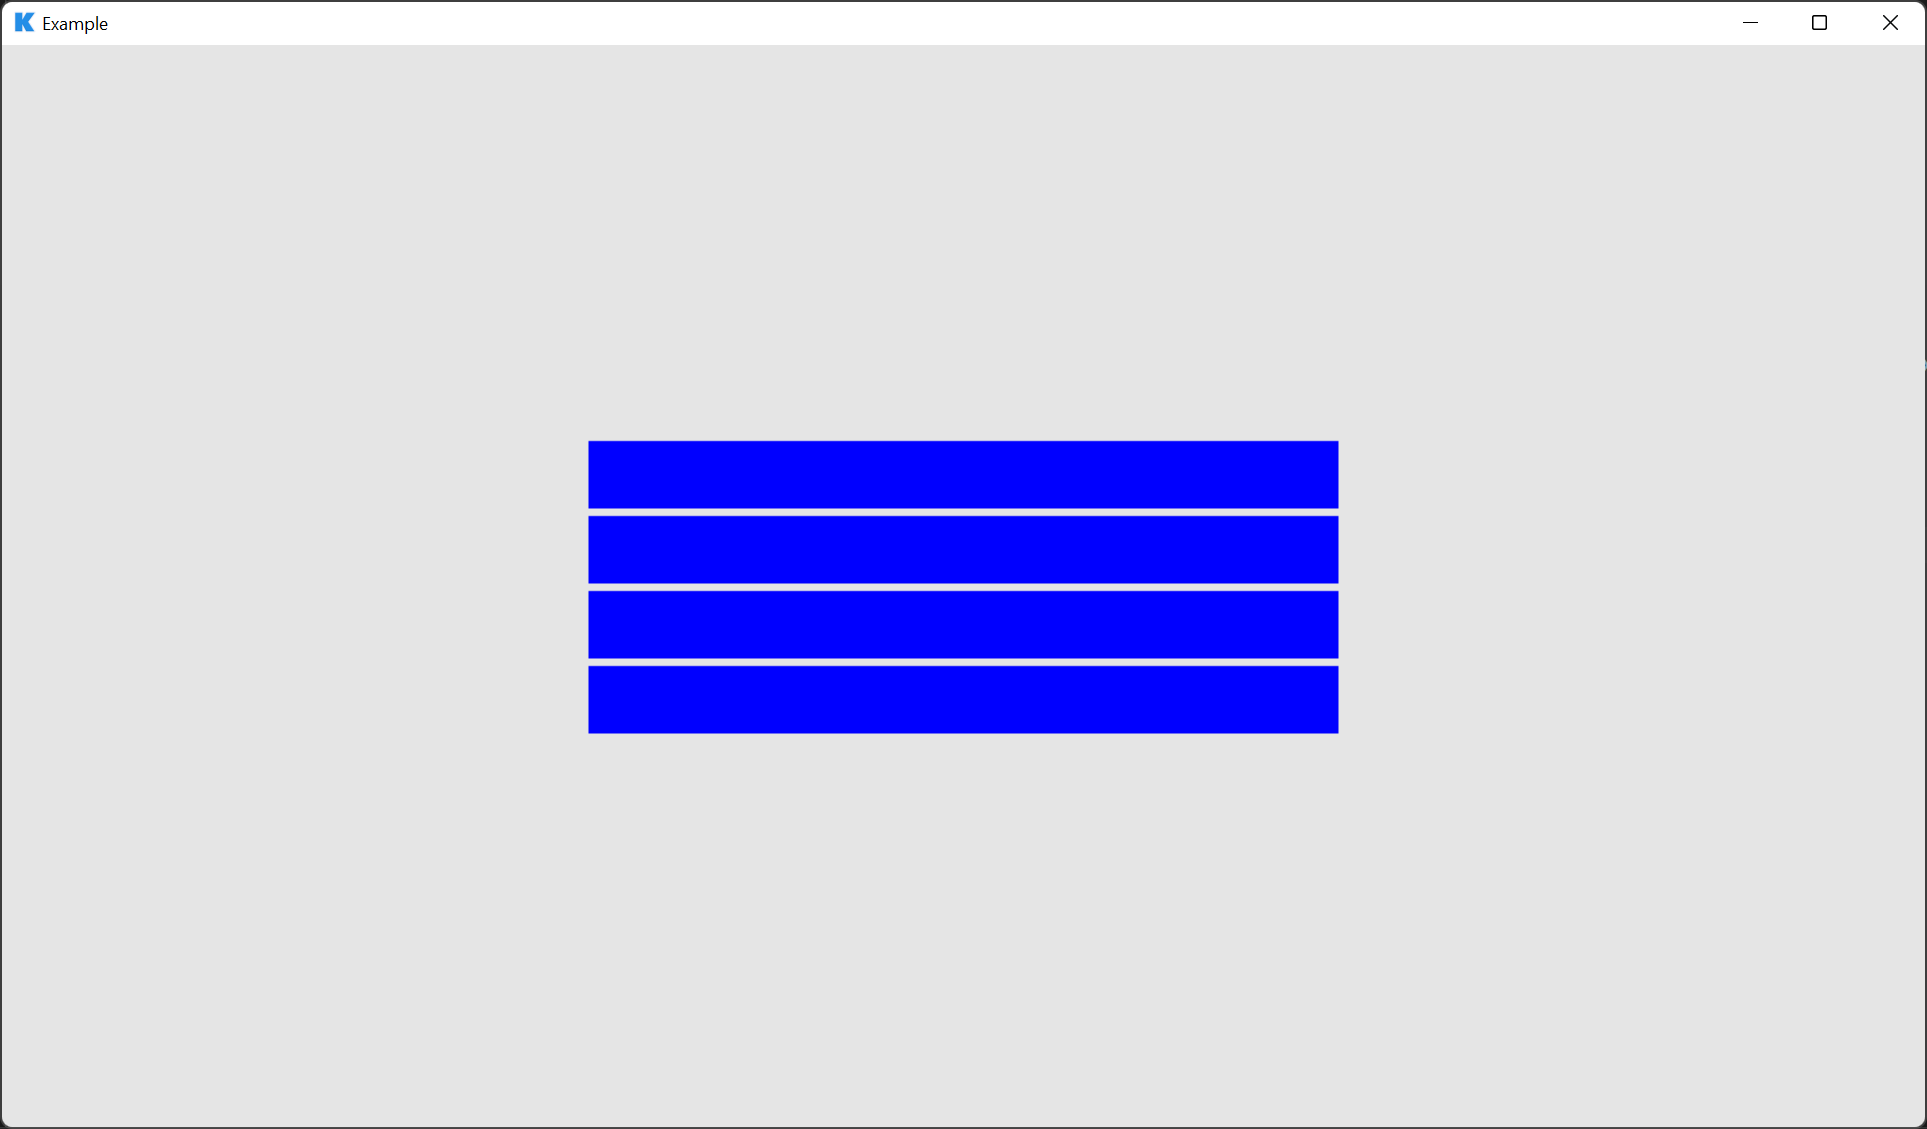
As you can see, you can do some powerful things with the new Dimensions API. Play around and see what you can do.
The ultimate goal of this new API is to perform layout logic before you perform rendering, making it more trivial and less error-prone to simulate events on your render loops.